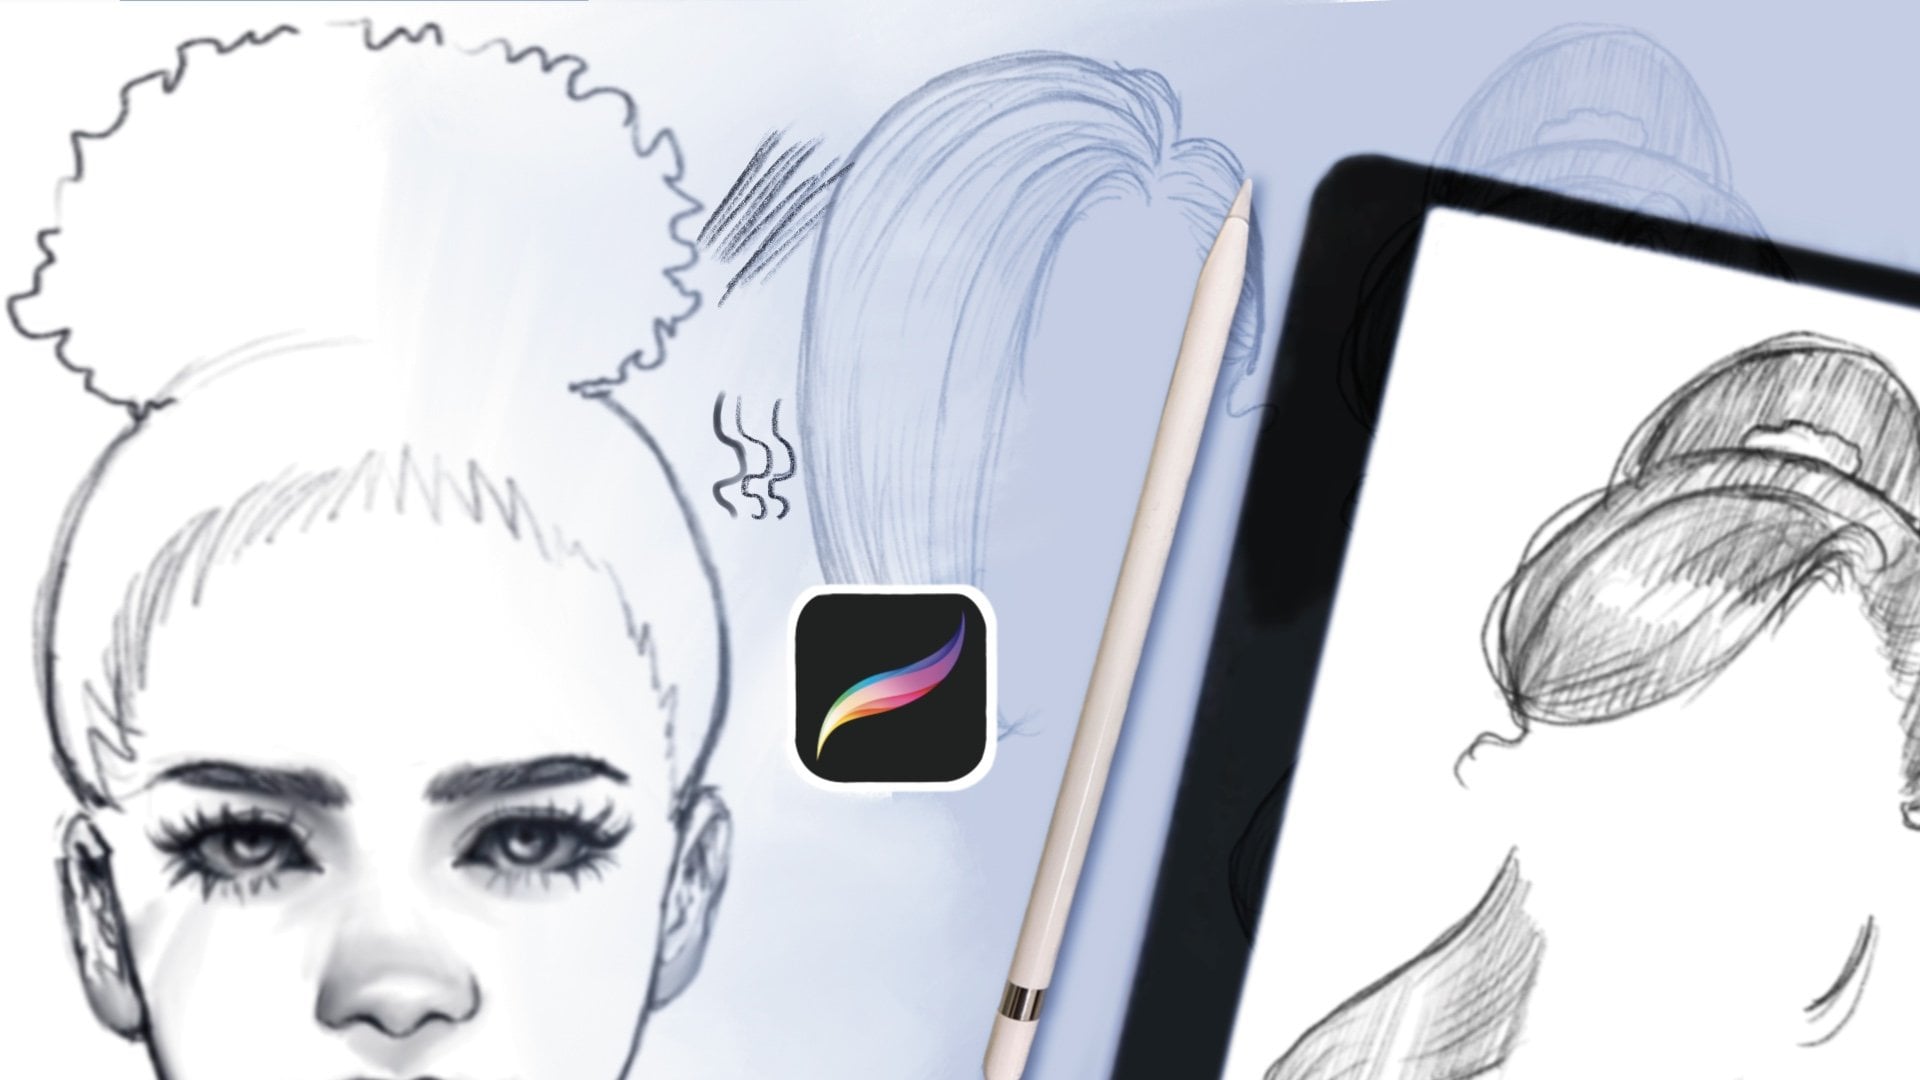
Transcripts
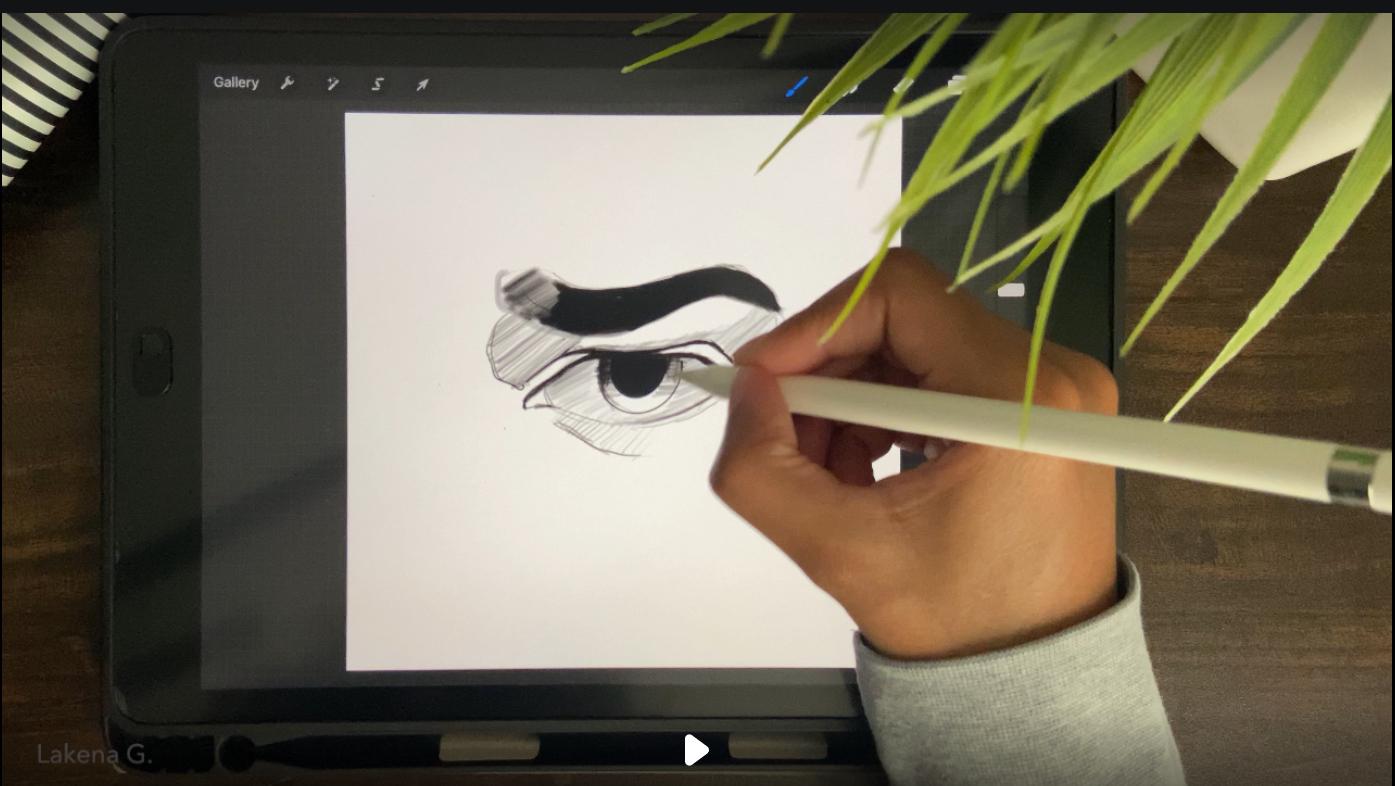
1. Intro Video: Hi. Have you ever drawn eyes or doodle as early as
you can remember? Well, I have from an early age, my name is leukemia and I am
so sought to digital artist. I started my art
journey in 2017. I have been doodling in most
of my notebooks. Since then. I found that I loved the
process of drawing eyes. Over the years, I have
developed my skills and honed each detail needed to
enhance my eye drawings. I've found drawing eyes digitally was much simpler
than I ever imagined. Using brushes on
Procreate was just as fun and exciting
to experiment with. I am going to teach you in this class how I applied
traditional techniques. I learned to my digital drawings using airbrush and
pencil brushes. Because eyes are important in portraits and character art. You'll find that drawing eyes in different styles enjoyable. This class is for intermediate, but beginners are welcome
to take this class as well. There's so much different
ways to approach I drawings. And I hope that you will
find the style that you like and explore even
more after this class. During this class, I'll
be talking about tips. I pupils, eyebrows
and eyelashes. I will also cover drawing
eyes with pencil brush, semi realistic
with the airbrush, as well as key areas to highlights and make
your eyes pop. These tips will be useful for
you while we draw eyes or rough sketches of
your characters are portraits of family
members or even yourself. So let's get started.
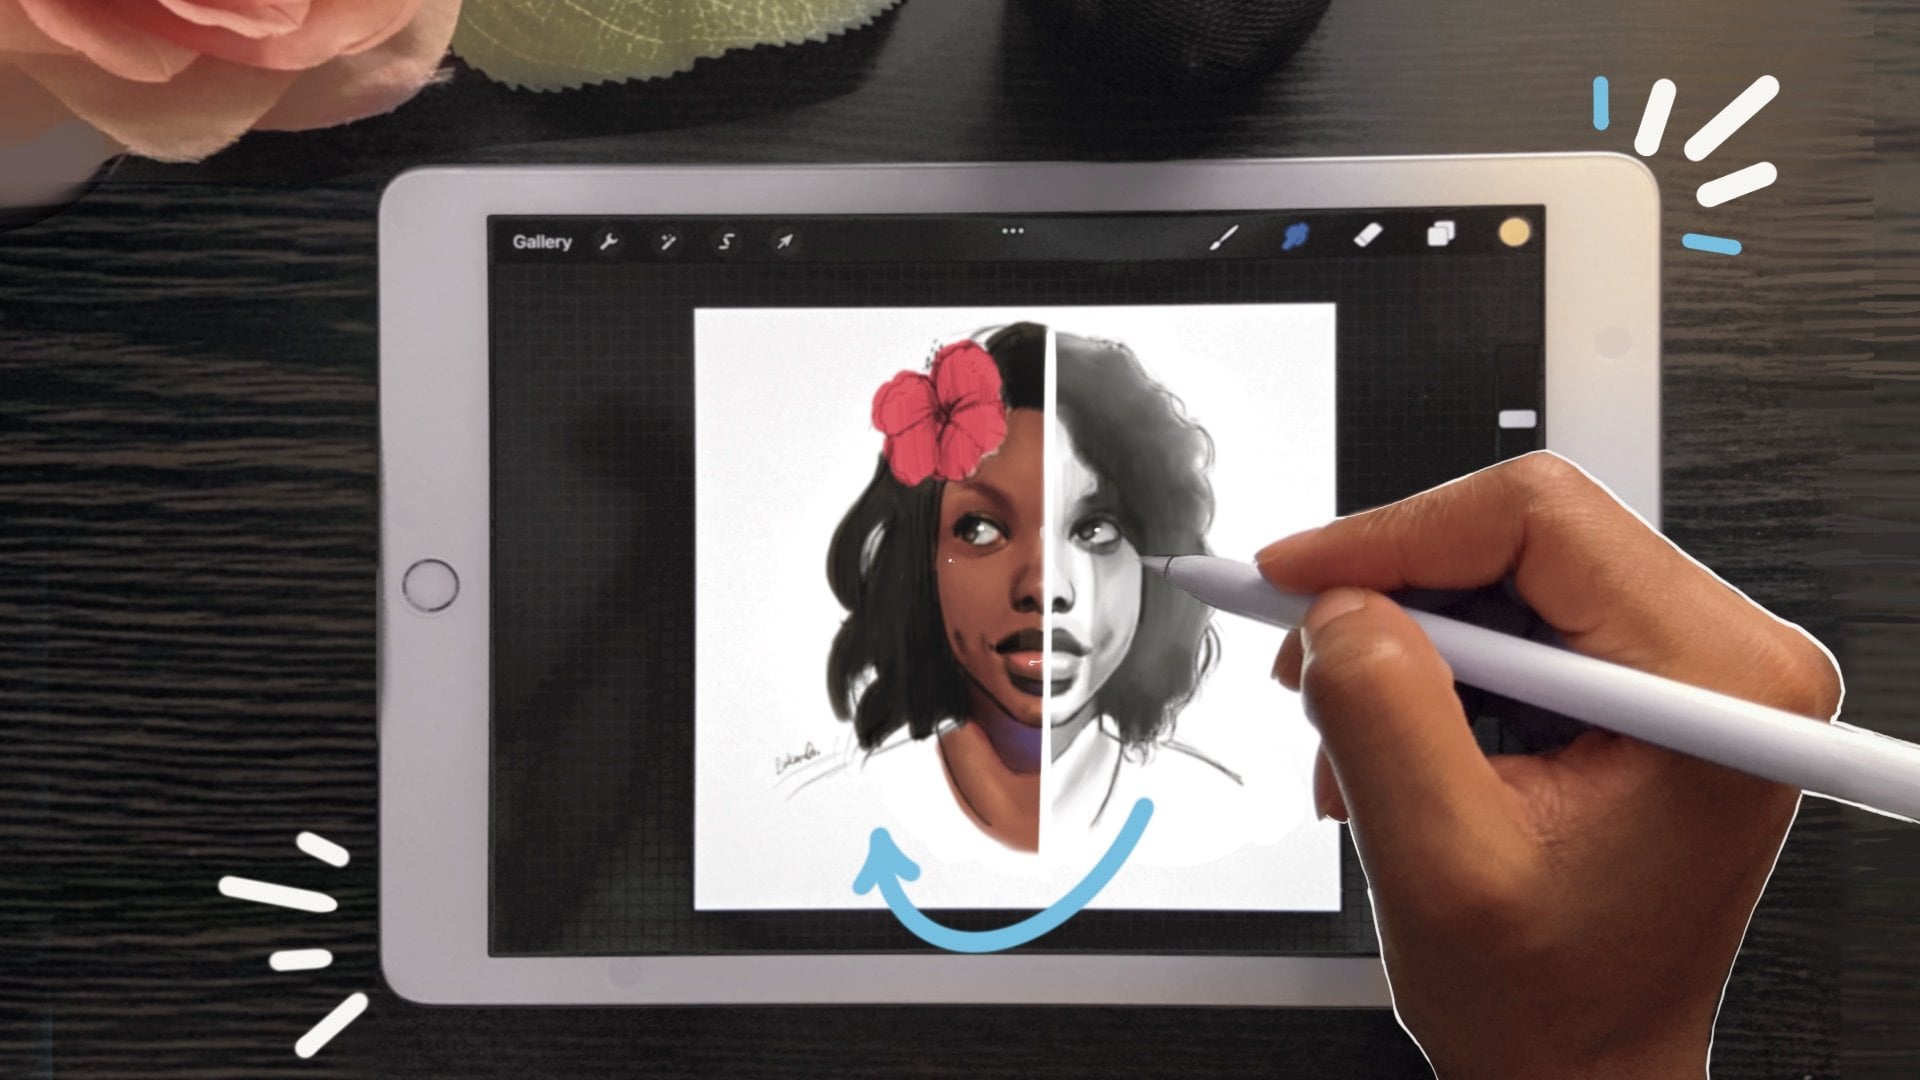
2. Class Project: Hi, welcome to the
class projects. As you can see,
you're going to use a reference photo
for my first lesson. This is going to be
further realistic style. Don't want you to do is use a reference photo or a
photo of your own choosing. Focus and one style, realism or some heroism. Sketch the shapes of the eye, the basic outline, and then use the shading techniques
you learned in this class. I also need to add features,
anything you like, like eyebrow ring or anything that will make
it unique for you. You can also use
some realistic style by emphasizing more
realistic features, then others, and then work
around with less detail. This will be a fun
project for you. So see you in the first lesson.
4. Tips for Drawing Eyelashes and Eyebrows: Welcome to the tips for drawing
eyebrows and eyelashes. So for this, I'm just going to explain how I start off
drawing an eyebrow. You want to do is just
have a basic line outline. Just want to show the
direction and just how the form of the
eyebrow is going to be. What you see out here is angry, worried, and resting
that I have outlined. Just to show what expressive
eyebrows looks like. For these eyebrows,
I'm just gonna do simple shading,
diagonal hatching, just to get the basic
form and show you from dark to light how the
eyebrow usually looks. Although the second
server I did is not as arch in the sense that he
doesn't give off the emotion. You just have to
make sure you have the right curves. In
order to do that. The worried eye brow, you can see it's
the tip of the eye. Eyebrow is facing down
and the eyebrow that usually has closer to
the nose is arched up. That can give you the basic form of how your eyebrow would be when you feel
certain emotions. So hopefully this was helpful. And the next lesson
is going to be tips, drawing
eyelashes, eyelash. I'm just going to start off
with the same form here. There's gonna do
basic line outline. And as I showed you at the top, your eyelashes, we'll
go in those directions. So if you follow along
with this example, you should be able to get the eyebrow or the eyelashes
in the way you'd like. Make sure that the eyelashes the longest or the edge of the
eye closer to your ears. The other eye, lashes closer to your inner eye
should be shorter. So as long as you know
which direction is going, you can get the basic
form of your eyelashes. Sometimes I also darken
the eyelash line. Doesn't have to be
for makeup purposes. But you can just show it. Makes sure that shadow is
there because you usually don't see each follicle
of your eyelash. Another example would
be to draw two lines and then draw the eyelash
in-between those lines. That would be a great
way to practice. And just to get your basic form and get familiar with
how to draw eyelashes. Another form you can do is
just to fill it in first and then draw each line
of the eyelash. Make sure you can do this that you don't make
it to clumped. You don't want the
eyelashes to boxy. Anytime you do this eyelash, you want to make sure
that it actually, the tip of the Eilish is sharper than from the
base of the eyelash. I'm going to give
you an example here. And duplicating even
the lower eyelash, you're just going to do a
basic form like an arch. You don't want it to
be like a half circle. We just wanted to be basic shape that can show the outline of the eyelash as
shown here as well. You want the eyelash to be almost a triangle,
an arch triangle. If you practice this way, this will also help you to learn the basic shapes
and you're hellish. Another example would be
when your eyes are closed, your eyelashes are
usually look fuller. As you can see in
this photo here. Your eyelashes are
sometimes clump, but they're not two
boxes together. So you just want to show the sharpness of your
eyelash when it's closed. So if you keep practicing, you will definitely
get the hang of it. And it'll be much
easier as you go on drawing eyes and looking
at your references. And just having more fun. So I hope this part was helpful. And here's the next part we're going to talk about
right now is Highlights. Highlights are pretty simple, depending on the intensity or the complexity of
your reference photo. But the basic habit
would be the inner eye, as I'm showing here. The eyeline where you usually see like I water
if your eyes are watery. The inner eye of the iris, just to show the
reflection of the light. And the upper eyelid will be the next area
where we should. I highlight this, you
can see the islet really emphasizes and really just
makes your drawings pot. So this is just for the basic shape of your
eye looking straight on. When it's at a
different perspective. Of course it's going to change. But this usually just makes it pop in which you want to
do is blend it out a bit. You don't want it
to be too sharp. And here's next lesson. See you in the next lesson.
5. Tips for Drawing Eye Iris and Pupils: Hi. So this will be about
eye pupil and iris is, I'm just going to be showing you this as a quick demonstration. Here. I'm going to be starting
with my base outline. I use a tool in Procreate that allows me to get
a perfect circle. To do this, you will draw the circle as you
see me do here, and then hold the shape
using the pencil. You can edit the
shape at the top if at first turns
into an eclipse. This is a great way to practice and have a
foundation to start with. I'm just going to
be adding the iris, the eye pupils here and
goes that's going to be where the darkest part
of the I will be. I also like to add a highlight. Well, I don't usually do
this in the early stage. I'm showing it as just a
reference demonstration here. I love to create a gradient
effect while shading here, I usually shade
this way when I'm trying to make the
eye look realistic, I start darker
value at the top of the circle and gradually
make the value lighter. I'm going to be just
doing random lines here, so it doesn't have
to be perfect. You can do use different
shading styles here. As you see, I'm doing
horizontal hatching and that way it will
easier for me to gradient. You want that look to
create a natural look, and then you can always work
from there to add details. It's a smudge watercolor tool and that will make easier
to blend smoothly. So I'm just going to be
adding, just smudging it. And while it makes it darker, sometimes it makes it lighter. So you have to add
more value on there to get the right color or
the right shade you want. You can also just
take your time here. It doesn't have to
be perfect either. Just work and build your way up. It is great to blend
in a circular motion to and then define the
areas that got blurred. Going to be making
certain areas darker. You'll also want to
keep the pupil as the darkest area because
the top of the iris is to indicate the shadow
of the upper eyelid. So that's why that
shouldn't match, be as dark as other
area we have. For the inner circle. I want to mention adding a
light color is good here, just to the left of the eye, using the eraser tool or you can add a light shade of
a different color. The next, that will
be a cartoon style. Here you see me filling in the style and then
adding the highlight. This is just a basic
circle, circle reference. Here you don't have to be
too attached to detail. Now I'll be showing you
another, I suffer this. I, I am going to show you a way to do
this with the airbrush. Unlike the pencil brush, you won't have to
do as many layers. So right now we're
trying to create a solid circle just
for the base outline. And what you'll do is you'll use a softer brush here just to
create some softer edges. And you'll create a half
circle within the circle. As you can see right
now, it's like faded. And that's a really good
look because the color, you don't want it to
be too hard edged, then I will have a harder
edge like highlight. It's very subtle, but it helps to define the eye more and
almost little circular. Then you want to make sure
you define the pupil. The same color you
had as the beast. I didn't have at the
regular highlight above it, but you can get
the basic picture. The next I will do
is just a solid, I was a regular highlight. That's how you would
really see it in cartoons just to
get a simple look. So hope this helps and see
you in the next lesson.
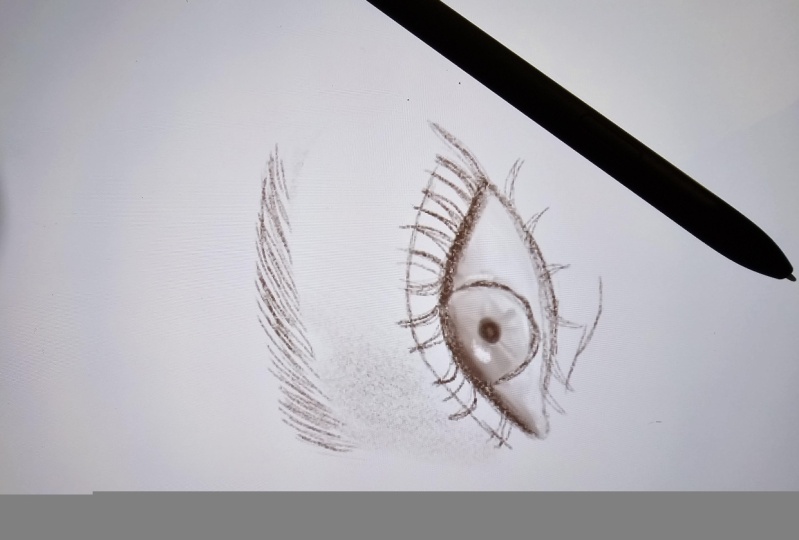
6. Drawing Realistic Eye with Pencil Brush Part 1 : Thank you for watching this far. This is gonna be the first
lesson, drawing realistic I, based on our reference photo
using the HB pencil brush, you can use the picture of your own eye or fall
along with the photo. I will leave a link of
the reference photo available for you to use in
the class resources section. Using a reference photo, I like to start with
a light outline and moves to the darker lines after I am okay with
how it, how it looks. As you can see, the
basic shape of this. I will be a half circle. You don't have to P2 of warm
when you're looking at it. Just break down the shapes
and start with the outline. And that will help
you to realize that the basic outline is very helpful for
you to start with. I make changes as I
go and try not to overthink the angle
is not the same. I didn't notice that the
angle that I have the eye is slightly off,
but that's okay. I'm not trying to
get the exact image that the reference photo halves. Getting the outline shape
is important to you, your frame of reference. But as I said, it's okay
to sketch for awhile. It doesn't have to
be exact or perfect. You just need to have
the lines that create basic shape that show you're blocking in the
light and the shadow areas. It's okay to erase and just take your
time with this sketch. Just have fun. You can see that my skin
starts to the eye shape. Then I worked to add
the other areas. I don't work in a uniform way. I work around the photo. As I go. Here, I'm adjusting. But I noticed that I
created too large of an area for the eyeliner. So I'm just going
to adjust that. He might wonder why
I fill in the dark, Aileen her first with
a realistic temp, It is great to get the
shadow areas out of the way. This way you make sure
you can differentiate which is shadow
and light spaces. Because we are working
on a gray scale. Adding the initial values give you even more visual
weight to look forward to. As I worked, I like to remember the importance of shading
in the whites of the eye. It is not white, but
light blues are grazed. When color that
give that effect. It should be completely filled in with a light
gray for sketching. Sometimes you might have to
go darker depending on if the shadow is cast by the light source or if there's really just a lot of
light shining on the eye. Island is early on and it is important to include
all the subtle shadows, even the ones that might
not seem important. As I work. I'm looking at my
reference photo, but I'm also using
what I already know. I don't have a set
method of where I usually start shading first. We're working in details. I just hop around and settle
on an area to start with. I draw in what I can see and
reference what the shading, how the shading varies. I'd like to make sure I
keep the form and build. The three-dimensionality
isn't good to create light shading
that made me so skin. But you don't want
to like overstayed. The minimum, minimalistic
look that I'm trying to get here is provided by this
gray scale reference. The darkest part of the eye
reference is the eyebrow, the eyeliner, the
eyelashes and the iris. And those are what you
want to stand out more. The level of
contrast is great to work with because it
grabs your attention visually and it is very perfect
for drying and practicing with right now I'm continuing
to build the shading. And because this
requires so many layers, it does take time, but it gets it into
a calming effect. After awhile, you're just building and building
and building. You wanted to keep
the textures and the hatching like this. And just continue to build because we are going to
smooth it out later. But for now, just
make sure you get as much detail as you can
in this early sketch fees. And stay tuned for part two.
7. Drawing Realistic Eye with Pencil Brush Part 2: Next here is the fun
part for part two. I absolutely love
the shading method that it mimics traditional art. I would blend this
way my sketchbook, but instead of using the
brush like I do here, in procreate, I would use a Q-tip or you can
use your finger. But here too, you can
use your finger as well. If you don't have
an Apple Pencil. That way you can easily
blend and smooth the values. This way also requires
multiple layers of shading because blending
often loses intensity. So you have to darken
the areas again and again just to make sure
you get the right value. Human continue to blend in a circular motion just to make sure I get the
shadow areas even. To keep it minimal,
you want to make sure what is emphasized
is the outer eye, the iris, and the darker areas. Because those are the vocal
point of the drawing. As you can see, I am including I'm not going
to include the hair. But that would have
been a cool part to one of the reasons I love black and white
photos also is how it helps artistic practice
in contrast of details. Because it's easier
to break down the shading area without
being distracted. It also helps to call it easier. I do have a class
that I did earlier, portrait shading and I cheated. I colored the drawing that I
shaded it using this method. So it's basically
the same technique, but it makes it easier to color because you already
have the values down. Now we focusing on the iris, the details here will tell you if the drawing
is realistic enough. Shape is supposed
to be more rounder, so I will definitely have
to adjust this later on. This is expected because
I'm drawing free hand. I still want to be
consistent with the shading for the reference. This is the fun part
of the process, like refining the details in getting the
details within AI. So if you have to zoom
in on your reference just to get the details
within the iris. That's totally fine. It's definitely good to
add all the details you can just to make it
look very realistic, you know how to
do photo realism, but you wanna do as close
to realistic as possible. So I'm just going to continue to build and shade and add details. And sometimes for here, the lines, I will do our zigzag. So you can kinda do random
lines within the iris and still give off the
effect of a realistic. I continue to Shane
and Shane and Shane and build and just make sure I get all the
details within diaries. I don't want to miss that
part because that is very much the focal point
of the drawing as well. And here I'm going to be
adding the highlight, which is one of the
most important parts. As you can see, it makes
your eye drawings pop. So knowing where to
put your highlight is very important as well. Although this highlight is, doesn't look exactly like
the reference photo, it's still makes it look
like a realistic drawing. So it's essential to get
that makes it stand out. And don't forget to
darken the eyebrows. Like I seem to have here. You need to make
sure didn't get the darker the iris as well because that's also the vocal
point of the drawing. So I keep blending and blending
and smoothing out just to make sure I have everything
in the right place. I also recommend putting
white lines around the iris. That will also make the
iris and give your drawing, your eye drawn more
visual weight. So here's a reference
versus my drawing. And I'm not necessarily
happy with it, so I'm just going to
adjust a few things here just to make it a little more
similar because I noticed this little
bit too wide. So here is my drawing. In the next lesson, I
will show you how I draw eyes in a semi
realistic stat.
8. Drawing Semi-Realistic Eye with AirBrush: I will discuss, will be
drawing some realistic style. Using the hard
airbrush in Procreate. The heart hair brush can
be used in several ways. You can get sharp details like the pencil brush and
his Sartre lines. At the same time. This brush is
amazing and I would definitely recommend
practicing with this before you
start your project. So you can see before
I did the eyebrows, same way I did in the other video where I
was just showing you how to draw the eyebrows in a simple way using just a
simple outline at first. The semi realistic style. You do keep the lines. So this is very important
to know as well. Usually has a cartoonist
characteristics and you have less details in the eyebrows and less emphasis on the realistic iris or pupil. As with the realistic drawing, I like to draw with a sketch, outline of the eyebrows, the eyes with eyes are looking. Place key lines that
will tell the feeling in the eyes direction and where
the shadows will fall. The eye for this
demonstration is loading seriousness
because you see the brow is scrunched like being the example I mentioned before. The eyelid is also touching
the upper eyeline. I'll be using this brush only. So right now you
see me fill it in. And when you increase
the brush size, you can get filling
a wider area. As I draw, I use a
gradient effect as well. So at the tip of the eyebrow that meets the shadow
of the inner eye, I lightened that
area because that is where the eyebrow each
are the lightest. As I draw, I'm filling in
the shadows using hatching. Hatching can be diagonal,
horizontal or vertical. So I'm switching up
how I do that here. So you can choose which
way you want to do it. You can be organized
and do everything in the same style of hatching
or you can switch it up. Brandon, I'm just going to
keep doing diagonal hatching just to build the
form of the eye. And you can see how I do that. They are like it looks
more three-dimensional, but whichever you prefer to
do is definitely your choice. A key tip. Also follow the flow of the eye while shading the inner eye, the under the eyebrow, and the lower eyelid. So those are the key areas
are usually shade first. Just to make sure I have the
form and what I wanna do. Remember to shade from dark
to light for the inner eye, that area is usually white, so usually have to
have a shading to really indicate what
is going on and that there is something over
the I like the upper eyelid, the eye pupil as well. I use the blending tool, watercolors much as I work. So I just use that
multiple areas just to smooth out the
lines that I want. While we do keep the lines, I try to smooth it
as much as possible. Because that really does
help with the forum. As you saw in my
realistic demonstration. We continue to layer
and make sure that we have everything in the
places that we wanted. So we're just blocking in the shading the shapes
and just making sure that we have the
form as close as possible before I
put all the details. And so I like to darken
the area as well. And then I'm gonna be
going into blending. That's gonna be the fun part. So as I work as well, I am just because I smooth out, things get lighter
so I have to add more shading just to
make the build better. And I can just keep refining my sketch as I work
and making sure that the details I have really
do look semi realistic. Because I'm not trying to
do a cartoon style where it's less and less detail
is just more shapes. I still want the
form to look smooth and be able to transition well. And other key area to
make sure you shade is if you have the eyelids
crunched on the upper eyeline, you want to make sure
that shadow is there as well to indicate that
they're touching. As we, as we work, we want to make sure
that when we're shading, that we highlight those
key shadow areas. And this is where these are. So as I use my smudge
tool to blend, I'm gonna make sure I keep
the form and don't lose the, the volume or the
three-dimensionality that I have in the eye. So make sure to get those areas. This is a similar
realistic is you are looking at a realistic eye, but you can tell
that it's not as detailed as a
realistic I would be. So has cartoonish features. So right now, you can
definitely race and add more details if something
doesn't feel right to you. I also like to add
a light highlight just to show that there's
more tension in the eye. Highlights really
emphasize emotions and just let you know
where the water line is. The you in the next lesson.
9. Bonus Video: Anime Eyes: Welcome to the bonus lesson. In this lesson, I'll
be discussing anyway. As you know, I shapes can
be a variety of shapes. You can have circles, ovals, eyes, they usually
show the upper eyelid. Is that lower eyelid? Who are different variations
depending on your style. Anime eyes usually have an
upper eyelid, a lower eyelid. Using a line to signal those. The inner eye is not
easily indicated. Don't have a line. It's just very it's
just shown there. You just know it
when you look at the very basic form
in a stylized way, the pupil and iris does not
have to be shown as well. Usually have a basic
shape shaded in or filled freely and without
even showing eye pupil. In this one, I will be showing
the without the art board, just a basic shape. And from those of it
right now you can see it looks like an enemy high. You really don't have to do too many details, too
many embellishments. And one thing I love to is
the feature in Procreate, where you could copy paste
and just refer your eye back. If it's harder for you to
draw the left eye freehand. Using this feature. I'm going to
duplicate this again. And I will show you
the difference when you add the eye
pupil in the eye. This is another style that you can use and drop the color, fill it in and makes sure
that the circle is full. I really love this feature
as well and procreate. Or you could just add and drop. As you can see, this is
a total difference with the eye pupil drawn. I'm going to add, I like this is just a basic shape of a circle. I didn't even erase the shading or have their
bacon still see that. Highlight. The difference is
pretty amazing. So these are different
stylization that you can do. And in the ICU know there's so many different variations
is just really cool. How much detail or lack
of detail or a lack of shapes you can add to an enemy to make it
look really cool. I didn't know that my
underneath the linker loop tired and
then also indicate this I is the girls
because she has the mascara and eyeliner. On. The next video I'm
going to show you is how I draw a guy's enemy. In this one, it is not
as round as the girls. I would indicate. That's more like a
very stylized feature. The guys I would
be a little more, not mean, but just a
little bit together. So this is the
shape of the guys. I will be almost like
an L at the top, and then the lower
will be half circle. These can be different, indicated in different ways. And then you're going
to add the circle to indicate where the
I would be looking. I'm gonna do the same
thing here and duplicate just to make that process easier to show you how
you could do this. So you're going to copy and
you're going to duplicate, copy and paste that. And then you're going
to have to flip it horizontally for you and make
sure the sizing is okay. So it looks even doing this, it will also be
easier to practice. Duplicate the eye again, and then change the style in there just to see which
one you like best. This one I'm going to
do the same thing. I'm going to add the iris or that I can I'm
sorry, the eye pupil. I'm going to add
that. And you're going to see the difference. So right now, the
first expression, it almost seems like
you should see a link. And then the eye pupil added. You can see that
there's some type of motion for me within the eye. These basic indications are what really drives expression. And you have to know, if you're trying to do here
is trying to zing shock. If you're trying to do happy, just where those features
are going to need to be. So the expression you want will come across
with your characters. This is the basic, basic form of an enemy. I, I really, really, really love doing these
shapes because it just is so cool how you can just do a shape like this and
just be so impactful. And you can easily, easily
add that cutout that you see. And i to indicate
another highlight. Here you can see the contrast
between the guy's eye on top and the girls.
I add the bottom. So thank you so
much for watching.
10. Final Thoughts : Thank you so much for taking
my class and taking the time out to really
explore my drawings. I really love this subject and I hope that you enjoy
this class as well. What we learned in this class was how to tackle drawing
eyelashes, eyebrows. I liked, I resist what you need to complete a forum realistic
style and stylistic style. You also notice how the
shadows and to keep the forum. If you liked this
class, please follow me on my Skillshare page and leave your projects in the
project section of this class. Also follow me on my paper
and pencil Instagram page. Instagram page I
designed two are my YouTube page,
allergy sketches. And just follow along with me. And thank you. See
you next time.
 Lakena G., Digital/Traditional Artist