Transcripts
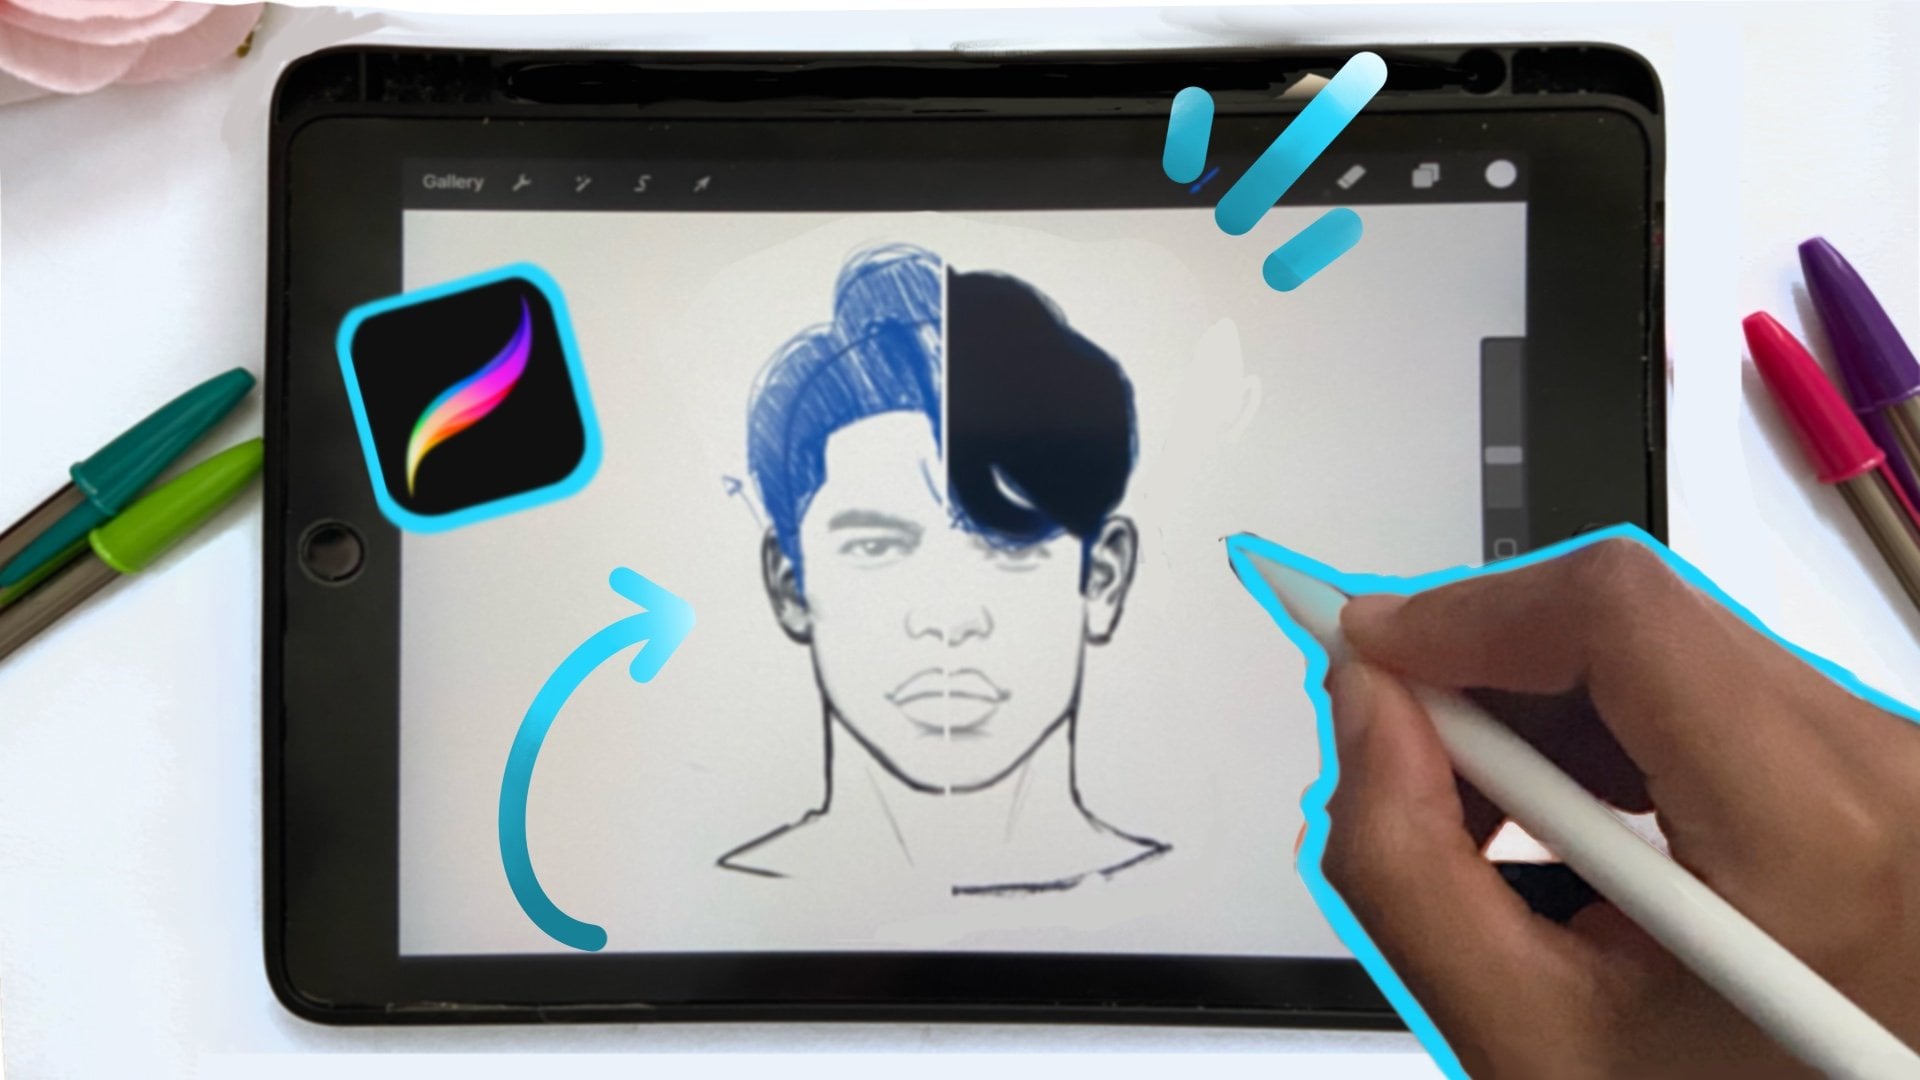
1. Intro video : Drawing Hair and want
more simplistic styles. Well, this class will help you with the chest that my
name is looking at. And I am a digital artist. And I have drawn here for
a really long time since I started doodling and doing fashion sketches and
portraits and others. Sometimes hard to get a style
that you like when you're sketching and you don't
want to overdo it or go into too much detail. And sometimes it just
seems so stressful just to even try to
do simplistically. Well, I learned over the
years that it's better to do that than to try to
do each strand of hair. And that really is not feasible
when you're trying to do quick sketches or just get some ideas out
on a piece of paper. This class, I hope this will
help you with just that. Even though this is going to
be in Procreate and digital, you can definitely
use these styles I'll be talking
about in the class, in your sketchbook
and even using pen, ink, paper, so many other
things you can be able to use. So in this class
we're going to learn about four different styles. These are using different
ranges of Pencil shading. And you can do full shading or just keep the outline of
the hair shape itself. We talked about curly hair, straight hair, wavy here, and how those work well with the styles
I'll be mentioning. You can use any of these styles with those
types of hair types. This class is not
gonna be detailed. It is just gonna be just
for if you're using quick sketches or you're
trying to just jot down ideas. This type of styles I'm going to be discussing in this class. This class is for
beginner and you can also have intermediate,
take this class as well. These are just different
styles if you're too stuck in detail and
you want simplistic, this class will vary. Pretty much help you do that. You can use these in
your studies and as you try to practice drawing
hair more and more. So with that, I hope that
these will be helpful for you. So please join me in the first less than
you would just be talking about the class project?
2. Class Project: Hi, Welcome to the
class project. Can use reference photo and reference the drawings
reference from the class. You can also try
to practice using one style or all of them. You can sketch the shape
of the hair first. Then you just sketch
styles in the class. And you can add accessories. Anything else you'd like. After that, if
you'd like to post your rough sketches or
your final drawing, that'll be great as well. I mentioned I included
a practice sheet that you can use to
just help you out, as you will see you
in the next lesson.
4. Tips to know: Hi, Welcome to Tips. You need to know. I wanted to start off
with an important note. When you're starting
to draw hair. When you have the sketch
figure or the face that you do not let the hair sit on
top of the crown of the head. You want to have a space in-between extending
upwards few inches. You will get the volume
of the hair even though these sketched out,
it's very simple. So it's nice for Hair look flat, like it's not going. Now we'll go into
types of hair line. The first hairline
I wanted to show you was the height airline. This hairline is
characterized more into the crown of the head and further away
from your eyebrows. The second hair line is called
the end shape here light. You can see it's
characterized by M shape that is there using the blue highlights
because I've indicated. Another hair line you can use in your drawings is the
straight line here, line. That is more notable, I would say in men. But you can also
have women that have straight hair line is the
bell-shaped hair line. This hairline is
characterized by more for circular hair line. You can note that many
up-to-date and ponytail. Another notable
well-known hairline is a widow's peak here Line, which is noted by
the sharpness of the front of the hair and it
curves away from the fees. Then how to analyze references. So we're gonna be starting
off with the first reference. This is a straight hair
from on back angle. So I'm going to be starting
off when we notice that you just notice the shape of the curve of the
head at the top. Notice the bottom
curve is just street. So what I'm noting
here is the lines. And as you analyze the photo, you can see that
the lines are going straight in a
different direction. Then I highlight the highlight. The highlight is, you can definitely tell what
the **** it is here. We're going to break
down these in shapes. And I'm gonna show you how you can do this with this
cook sketch right here. So I'm trying to just imitate those shape I see
in the reference. And then just shading
using that angle. So this shading is Hatching. I'm just doing like vertical. But directional hatching. I'm not necessarily trying to
draw every strand of hair, I'm just hatching it that way, so it almost mimics
the hair strands. So the highlight here I'm
gonna show you again. You can easily
haven't highlighted here by just implying it. You don't have to
actually how to add white to or anything lighter to show a highlight
when you're sketching. So the next one is
gonna be an up. Do this up, do I am
breaking down into shapes. You can see this is a messy bun. And as we analyze the shapes, you can just see most of his like circular and the
top almost looks triangular. So we're just trying to
outline the shapes that we see and then break those down. So these are the key
steps you'd want to do when you're
analyzing your reference. Just break them
down in shapes and then try to figure out
how you want to shade it. So even though I
started off with the shading, please
don't mind that. I'm trying to mimic
what I'm seeing here, which is the shape at the top and the
shapes at the sides. You can see like it's a
half circle for the button. And I'm just trying to indicate
a few messy sketch lines. Just to indicate
what I'm seeing. These sketch lines will
be very helpful for you. When you're just studying. You don't have to be messy, doesn't have to be perfect. And I see that it's
a little too round. So I'm going to adjust to
mimic what I'm seeing in my reference and kind of
flatten out the sketch. So this is basically how I would analyze my hair references. So see you in the next lesson.
5. Hair Sketch Style 1: Vertical Hatching : Hi, welcome to Sketch
Style number one. In this style, we'll be
focusing on Vertical Hatching. I'll be showing you
three examples. The first one is
shoulder length hair. When creating a hairstyle, you want to start
off with making sure that the hair is above
the crown of the head. And then if you're using bangs, you want to make sure the
banks follow your eyebrows. So I'm just giving the basic
outline of my hairstyle, which is a half up, half down for a few adjustments I usually make at the start, and then I get into the shading. The shading is just
vertical hatching following along with the hair. And if you're going
to ahead highlights, you just want to try to keep
that in mind as you go. You can even darken
certain areas, like the hair that sits on the base of
the head or the roots. Or you can shade in darker
areas below the ears. So this gives you a shading
style that is very simple but still effective for your hairstyles in your
practice, sketches. Details that always add our phi ways to make it look
a little more realistic. I usually change it up as I go. And these are just quick
styles that be showing you. This one is done. The next
style is a short Bob. Short Bob's, you can occur
or you can change them up. They usually have straight
at the end as well. But this one I'm going to
be using a curved end. So any curving under her ears couldn't do the same thing I
did with the first Sketch, making sure that the hair
is above the crown of the head so that the
hair does not look flat. Going to add a widow's peak, which I showed you in the first section for the tips to know. As you can see what
this shading style you can still do it
for any hairstyle. Just use the vertical hatching. Make sure that your
lines are tight and straight together and
you want it to look even in your shading in order to make sure
that it looks like the hair is the same shade. If you're using if you do too dark areas is going
to make it look like you, the hair is in shadow and kinda, kinda throw off your sketch. Unless you know where your
highlights are going to be. I always wait until the last second to try
to get the detailed. And so that's I'm doing
with the hair line. I use flyways or baby hairs and tried to give it
a little more detail. And here is a final look. The next example is
gonna be long wavy hair. I wanted to show you this
example to let you know that this style of sketching you
can use with any hairstyle, curly when we so what
this wavy hair, It's, the key is to make sure you follow the curve of
the hair as you're going. So I'm giving her long hair in this example and making
sure that I can show like the side of her hairline starts and our hair
is above her head. I make adjustments
as I go and I'm adjusting this right
here for the shading of the Vertical Hatching
because it wasn't following the curve of the how
the curves would look. In this sounds very simple, just making sure that you're
not going into many details, just making sure the key
areas you're shading, make your hair look wavy. And I always erase the base headline to make sure that the hair it looks
really weird ****. This is a quick example
and I hope this is helpful for you to see you
in the next lesson.
6. Hair Sketch Style 2 : Line Art : Welcome to Sketch Style number to be starting with a bus
cut with alongside beings. And I wanted to
let you know this Style renewed focus on shape, minimal style, and Line shading
that starts at the roots. And at the end of the hair. I started off with the basic
shape of my hairstyle. And I'm giving her a long
bangs that will cover the left side of her face
and focus on a short, very short style at
the right side of this style will be
characterized by cut in the back and just a
long section in the front. I start off by using
lines that show that the hair is going
in a certain direction. And you wanted to
show that by keeping the lines further
from each other. So I'm not using
the same technique as I did in the first Sketch, which is keeping the
lines tight together. This is just a quick
line directional style where you're just
trying to ensure that the hair is going in
a certain direction. The next style is
gonna be a messy bun. This Style, I'm going to
start with the outline here. The roots, gonna be
a little different, but I'm trying to figure out
what style I want to do. This. I start off with the hair line and then I use that
as my starting line. Then I use the lines I'm trying to do to make
sure that it here it looks like it's curving
around her head to look like a messy bun needs to be
high on the top of her head to make sure that the hair looks like
it's piled on. And I use the little
details like curlicues to show that the hair is a little more messy
than put together. Because this is
supposed to messy. You want to make sure your
lines are not to too neat, but still look like the
hair is three-dimensional. So I'm following shapes and following the shape
of the head and how lines usually try to
curve when you look at OISE hair or an update. As you can few lines,
I use a very simple. They're not too close together, but they still visually make you think that the hair
isn't going to make sure that I erase the base of the head outline and then
you'll see it better. And here's the final. See you in the next lesson.
7. Hair Sketch Style 3: Vertical Hatching/Line Art: Welcome to Sketch
Style number three. In this style, I will show
you how a ponytail with banks can be worked with the first two styles
I shown before. There'll be a combination of vertical hatching and line work. I'll be starting
off with showing that the outline sketch, I'm going to be
doing things again, but this is gonna be looking
a little different from the first few
examples I've shown. This is basically a hairstyle
that's coming from my head. I'm not really using
a reference here, and I'm not really thinking
about a reference just using the examples that I've seen
before from my studies. You don't have to use the
style for your project. You can use the previous styles if those are easier
for you to do. This style, I'm showing
you in just the Line Art. So I'm using the same
technique I didn't my last Sketch Style. And then I'm combining
that with the first one. You do the line work first, the outline, the line work, and then you add the vertical
hatching that gives you a little more shading to make your hairstyle look even
more three-dimensional. So these styles I really
usually just use when I'm just doing quick
sketches in my sketchbooks. I want to sketch on
my iPad and just want to do a quick studies of hairstyles that I'm
just trying to get. I really like the
Style combinations. So I choose the styles
every once in awhile. Whichever style that suits
me or I feel it will fit the type of
Sketch I'm doing. If you look at how
the sketch works, it's the same as if you
were using markers. You do the outline first and
then use the markers to add the values to make the hair look a bit more
three-dimensional. So this is really quick sketch. I'm using flyways as usual just to give it
more visual weight. But here is the final look. And the next hairstyle, it's gonna be twin buns. This is even more
of a hairstyle, I just randomly thought above. And I'm going to start
with the widow's peak. And this gave her a
long string hairs coming down on her face. I gave her a really high
hair starting point. Wasn't sure what I
was doing with that, but I just went with it. So sometimes your sketches
won't go as look as natural, but you just want to just play around and just
try out hairstyle. So this is gonna be
one of those examples. The bun is not really
a traditional button, but I'm just gonna give
her three types here. I'm going to follow the
same thing I did where I'm going to I did the outline. I'm going to go into shading, going to make sure those lines curve around the head
and make sure it looks like it's a up to look and give all those
details in there. So making sure the hairline
looks like a hairline, then I'm going to
work in those lines. Make sure new like they're
curving around the head. This, you can take a step
further and just do line work. Just goes straight line
and you don't have to try to think about highlights or anything
like that if you're just starting out just
to practice shapes. So I'm just following the bunch
shape again here as well. Doing lines that are not making lines that are
not tied together. But just give you
some visual weight. What's gonna be the
vertical hatching is where you're going
to have the shading. And you want to make sure
that shading is even valued. And here I'm just
playing around just trying to add different things. This is just a good
style to practice with when you're doing
this quick sketches. And it really just gives you
a visual weight and make the hair looks like
it's three-dimensional. And gives you more pop off the page so you don't
want your sketches, if you don't want to
sketches to just be just straight outline
with nothing in them. You can just give this look
with more visual weight. I'm going to add
other curly cues and baby hairs just to give it a little more detail than I'm cleaning up my
sketch here and there, and just adding a
little more things that I think will make the hair
look a little more unique. And here's the final look. I hope this helps and see
you in the next lesson.
8. Hair Sketch Style 4: Silhouettes and Solid Fill: Welcome to sketch
out number four. It's always starting off
with short kinky girls. For this style. This style is indicated
with the S and C curves. So I'm just doing them really
tiny just to show that I'm doing the Kinky
curls and not wavy. I like to start off with
the forming and just to show how they hair is
going to look on the head. And then I go into the shading. I started off very light
and then I'm going darker. Because this look has like three looks if
you think about it. If you don't like
how the lines look, you can just fill fill it in and just cover
all of those binds. But you have to make
sure with this look that you are following
the curves at the end of the hair and where
it's going to be human, make sure you fill it all in so that tells that the
hair is darkened. The next style is going to be a curly puffed. With this style. I like to start off with the hairline and
then work my way in. I think for most of
my up-to sketches, this is how I start. I just want to make
sure the hairline is where I want it to be first. And then I start to
indicate how high the hair is going to be
when it looked in the AP2. So for this look, I'm not gonna really try
to make anything concrete. I'm just going to do
a basic silhouette of the hair and can already tell that it is a puff
and not a ponytail. And with this look, you can
either keep it like this and do away with lines that show the head like
I just did here. Or you can feel it in from me. I decided to fill it in and I'm going to use
vertical hatching. Again. I'm not going to really
pay attention to a highlight or the
light source intuition for this example. I'm just going to just
trying to fill it in. And when you see that
you're doing Vertical, it's hard to really show
that during the hairline. You'd want it to look more
natural and right now, it doesn't look like that. So after I fill in everything, I'm going to have to really pay attention to the hairline
just to make sure that it doesn't look so rigid because they don't
like the lines right now. I'm gonna do the same as I
did in the first example. I'm going to fill everything
in and just darken it. So if you do it this
way with the sketch, you can always change
the color if you don't want it to be
just plain black. Right? I'm gonna be working on
the front of the head. Some using simple like tight lines to try to make
sure the hair line looks like tiny little hairs that are usually see on the
front of the head. I'm going to also
give her BMI here. But that's gonna
be after I kinda smooth out her hair edges. And I also gave her
curlicues at the side. That's the style that
I really liked to do. Even if it's just straight here. Because sometimes you
can display your hair and just have a little curve. So I like that as well. I'm going to fill that in. And when you're
doing the Fill in, you can angle your pencil, your iPad Pencil, and it
will make sure the brush is flat and really gets
good area in shading. So you'll see that here. How it needs to look. You have to turn
on your cursor on the settings so you can
see on your campus. So I'm going to be doing the edges still and
smoothing that out. Another tip you can use is by using the Smudge tool for
the watercolor jewel. And you can just kinda
smooth it out that, that way instead of you
having to individually draw the edges of the hair. Definitely want to
have the baby hairs. So I'm finishing that up and
I'm gonna be adding flyways. In the other examples. I didn't really pay
attention to flyways, but you can always
add those in there. Just sneak their
lines thinner than how you lines used to draw with. And then I'm going to
show you the side. So if you look at
the side profile, using this style is
pretty much the same. You just have to do the
outline, do the sketch, and then fill it in
if that's what you want or you can leave
it with just the line. Here is my final sketch. So I wanted to show
you the process. So we start off with
just the outline. Then we filled in in lines, vertical hatching, and
then we fill it in Solid. If you'd like it that way.
9. Bonus Video: Refining Your Hair Sketch: Welcome to bonus
sketching session. In this bonus lesson, I just wanted to
show you how to get your hair to look
even more realistic. And this sketching
style is pretty simple. You just have to
start by keeping close lines together
as you Sketch. And this is just directional, so you're starting one
end to the other end. You're going to use the lines as your guide, your initial sketch. So I'm using the Abdu, sketch from the
Sketch Style number two to show you this example. As you're sketching, you're
going to leave space. So you can leave a highlight. So that's just going to show you where the highlight
for the hair is. You're going to work slowly
from shape to shape. Basically one section at a time. Because you don't want
to overwhelm yourself by trying to do too many spaces. You complete one section and
then go on to another site. I started with one-half first. Then go on to the second half. And I'm just going
very slowly and I'm trying to just
keep the lines close together and go in the
direction that the hair It's taking me because when you
have an up to your hair, it kinda curves around
your head and you want to show that when you're
doing this style. I also liked this
because it's meditative. If you just take your time
and don't overthink it. And as you're going, you just
kinda get into a groove. Simpson, to keep going
with the direction lines, making sure I curve the lines to show that the hair is
curving around the head. If you notice that on my
lines are darker than others, but even that out. Now onto the bunk, we're gonna try to make sure
that the BUN is curved. So we're not doing
too much curve, but we're trying
to make sure that you can tell that
the BUN is a bug. I really like how
simple this is because I guess it's just
good one direction to the other direction. And in Try not trying
to meet in the middle, but not connect those
lines to leave space. So you can show the highlight. If you were going to actually
do more highlight in terms of more diverse highlight
is to use a reference. I'm heading flyways here. And then I'm going to add even more darker lines
for the shadows. So this is basically like
Hatching. Also work. If you start light you can
go darker and your shadows that I'm adding the
shadows at the base of the bun where the bone
meets the hair as well. And then at the
front of the hair, I don't have any baby here
is showing on this one, but you can definitely add baby hairs that will definitely make your
drawing with heat. Pedophile like how
simple this is, but it just makes it
look so realistic. So I hope this bonus tip
will help you and have FUN
10. Final Thoughts : Hi, thank you for
taking the time out to explore drawing hair
in simple styles. It has been very FUN and I hope it was helpful in your journey. What we learned in this
class is how to draw hair, how to look for
specific hair lines. How to use and
analyze references to identify the shapes of
the hair as your study. How to draw in four
different styles, such as Sketch with
Vertical Hatching, sketching with just lines, sketching with vertical hatching
and lines and sketching while filling in the hair or leaving it as just a silhouette. After finishing this class, you can check out my profile
and follow me there. You can also leave
a review of class when you are done with your projects or
before that as well. Few like as well. You can also follow me on my YouTube page. Rows G sketches. My Instagram, paper arts Pencil, my other Instagram
at designed to Art. And thank you so much.
See you next time.
 Lakena G., Digital/Traditional Artist