Digital Sketch: How to Draw a Messy Bun Hairstyle in Procreate
 Lakena G., Digital/Traditional Artist
Watch this class and thousands more
Watch this class and thousands more
Lessons in This Class
-
-
1.
Introduction
0:46
-
2.
Outline Sketch
2:17
-
3.
Shading
2:39
-
4.
Final Thoughts
0:30
-
-
- --
- Beginner level
- Intermediate level
- Advanced level
- All levels
Community Generated
The level is determined by a majority opinion of students who have reviewed this class. The teacher's recommendation is shown until at least 5 student responses are collected.
4
Students
1
Project
About This Class
👀Excited to Try This?
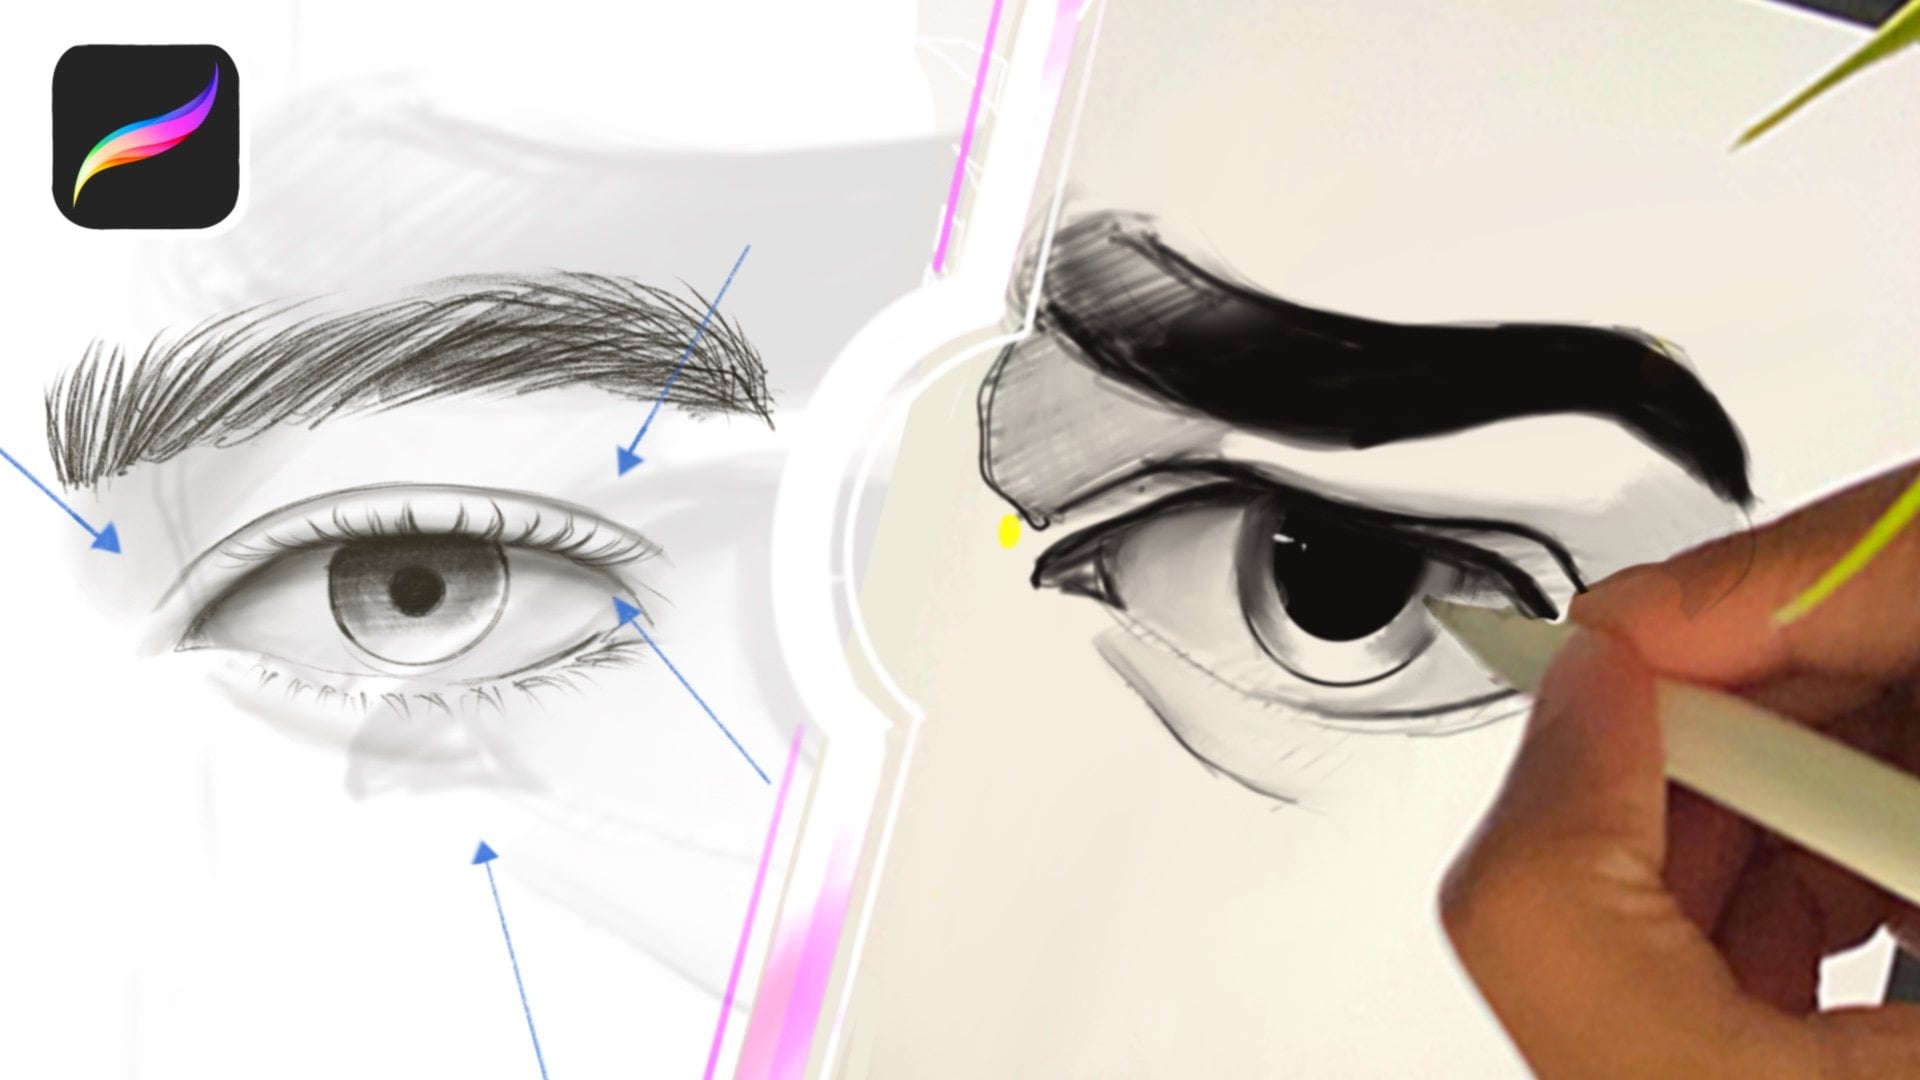
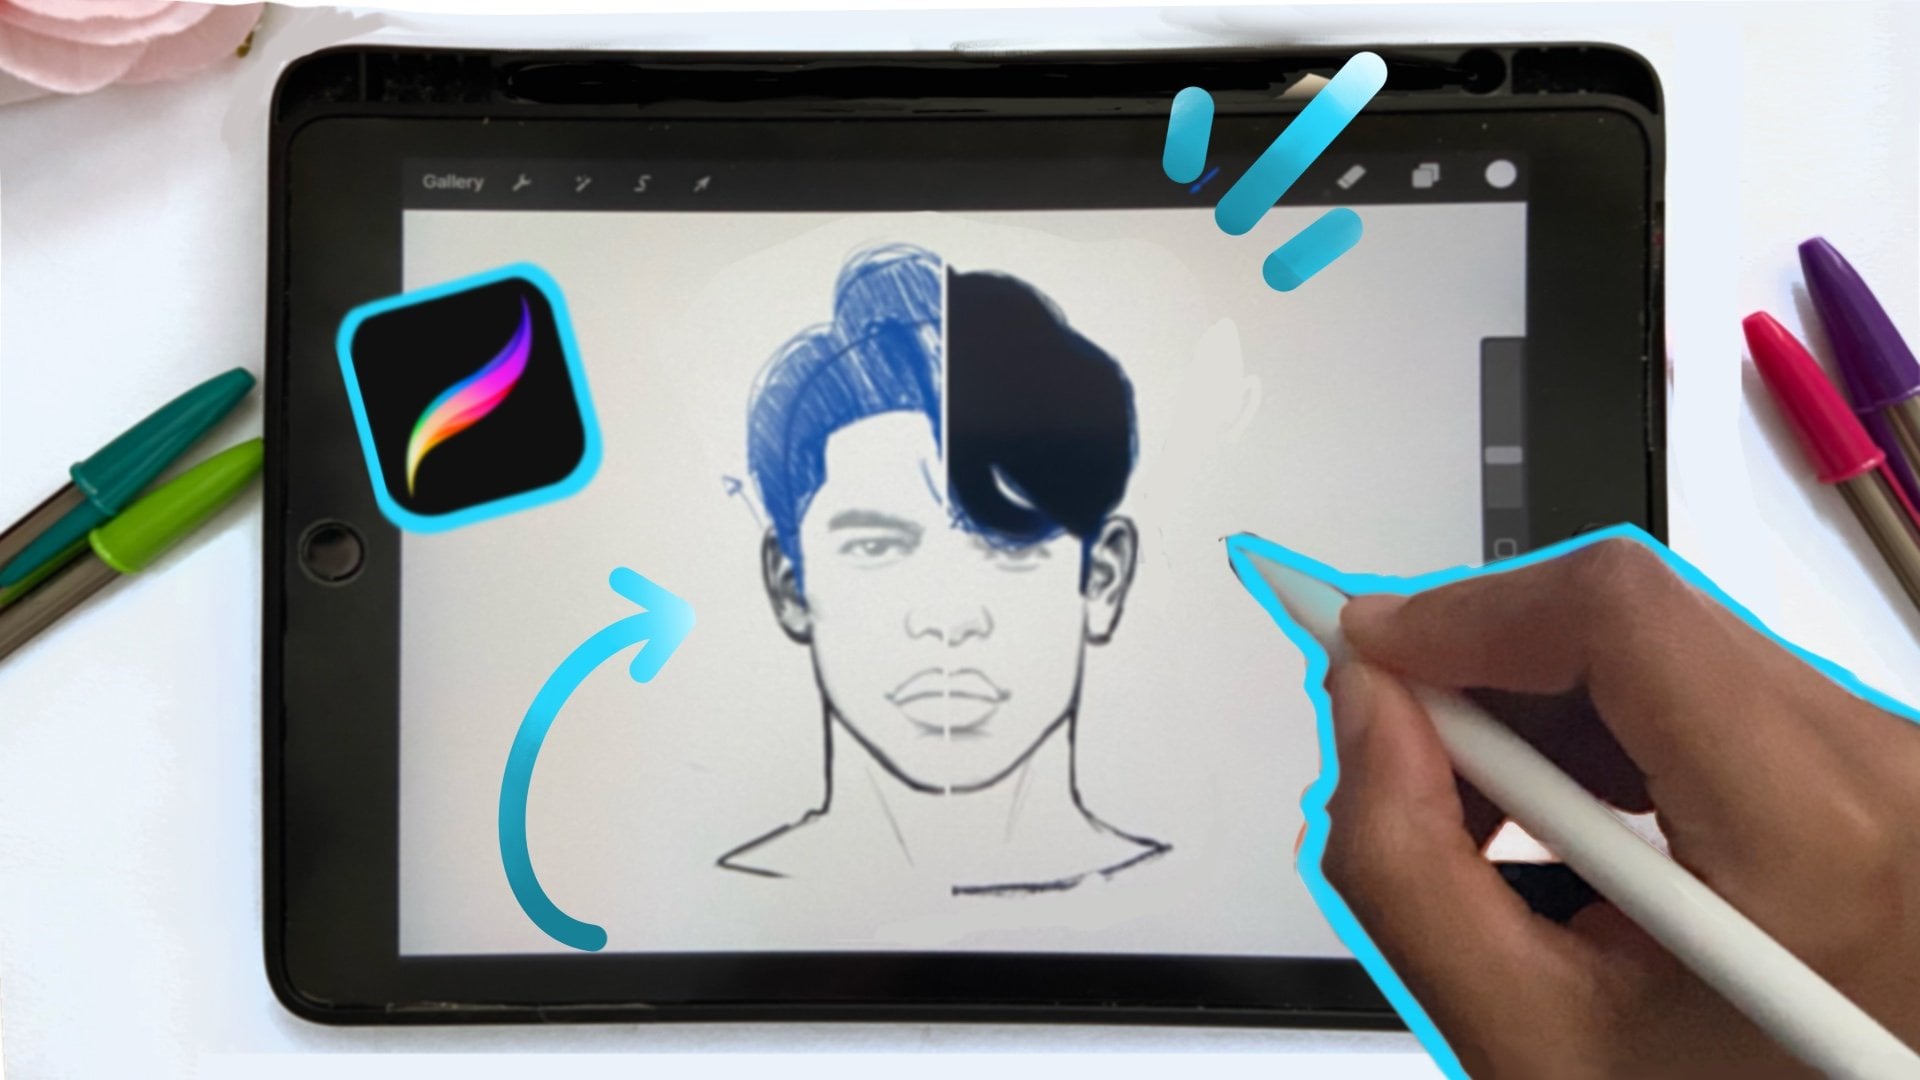
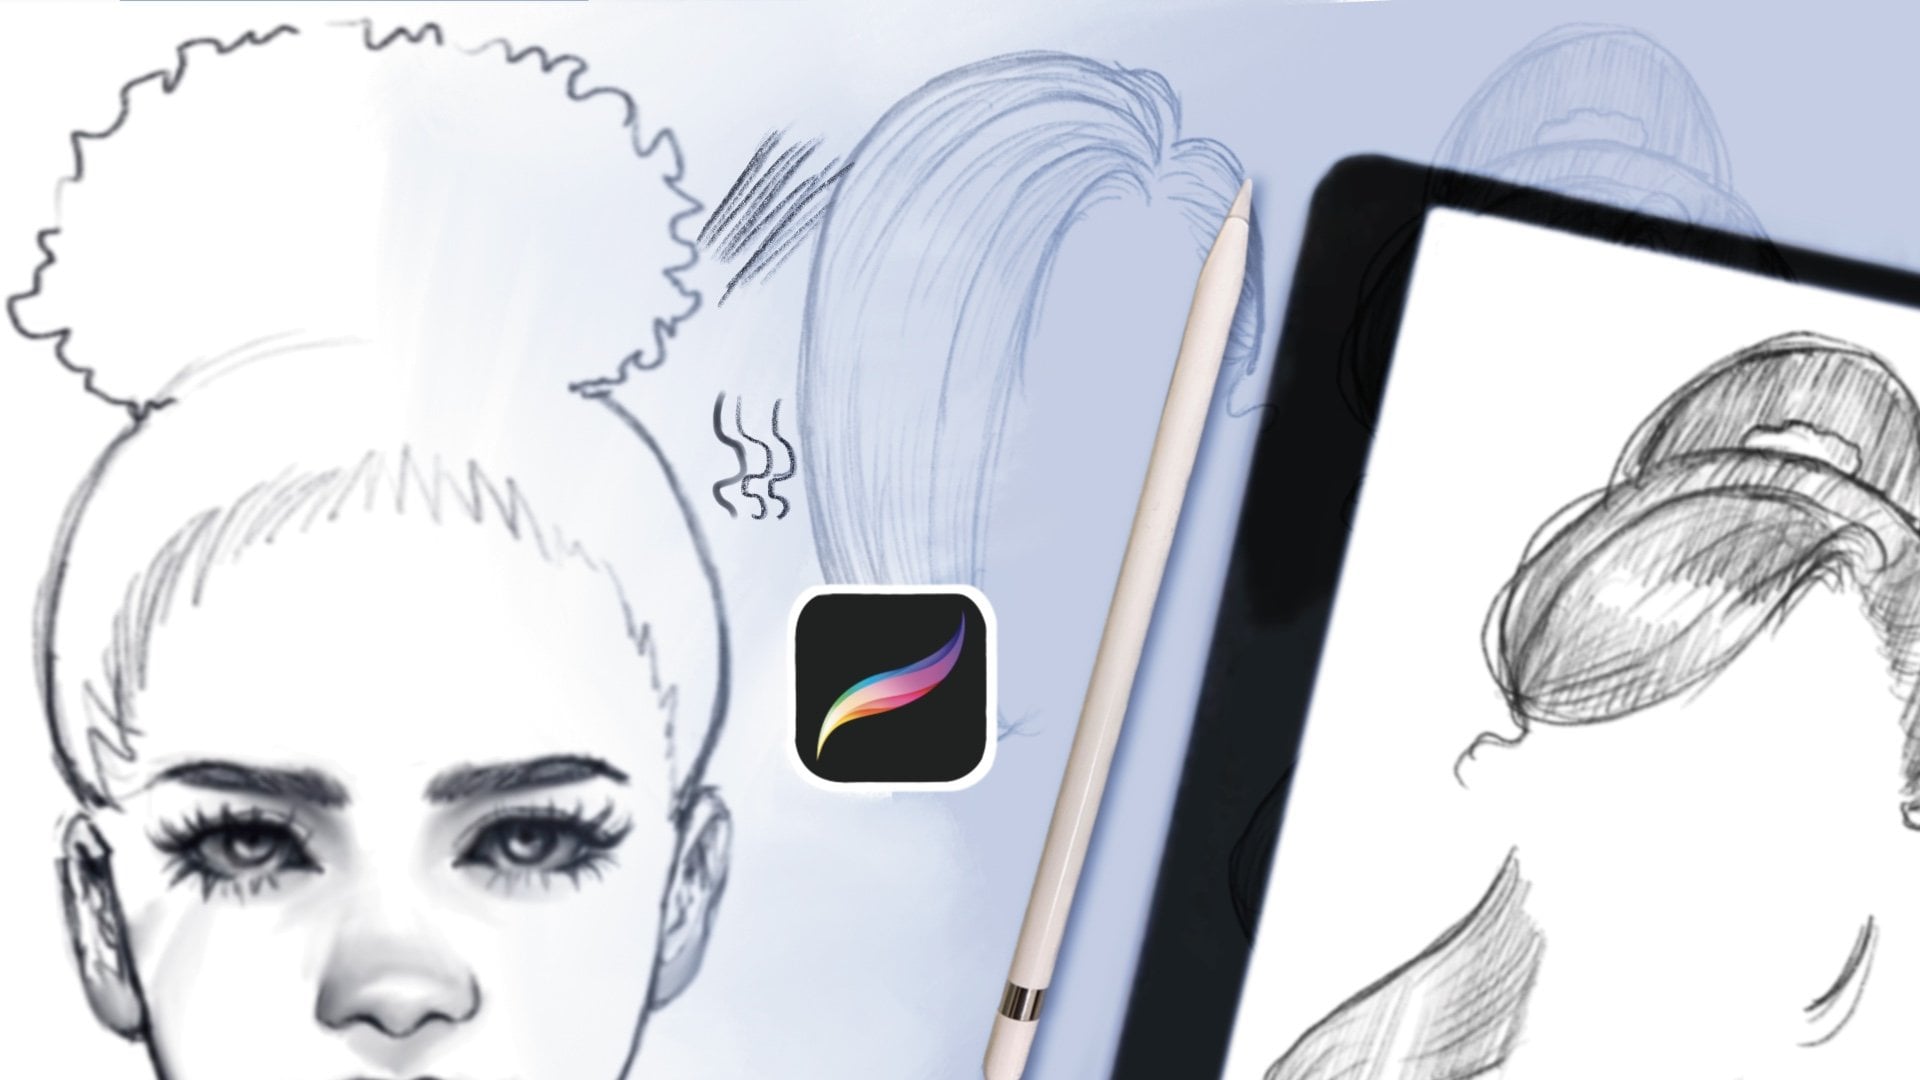
In this class, I will show you how to draw hair using HB Pencil Brush in Procreate. I will walk students through my process of drawing a messy bun style starting from simplest form using few lines to easy shading techniques. We will explore messy bun style to get a better understanding of shapes and form.
✏️You will learn:
- How to draw female messy bun hairstyle
- How to simplify hair shapes and form
- How to effectively shade hair using one brush
- How to sketch in a pencil style
By the end of this class, students will know how to draw hair for fun using a single Procreate brush. You will be able to break down each step needed to learn how to shade hair using simple line work. This class is geared toward beginners but it will also help artists who have trouble with drawing with simple lines or simply want to learn more tips for drawing hair.
➡️You can check out the previous class here with more beginner tips for drawing hair:
Digital Sketch: 4 Easy Sketch Styles for Hair in Procreate
🌹Follow my social:

Hands-on Class Project
Time to draw your own cute messy bun hairstyle!
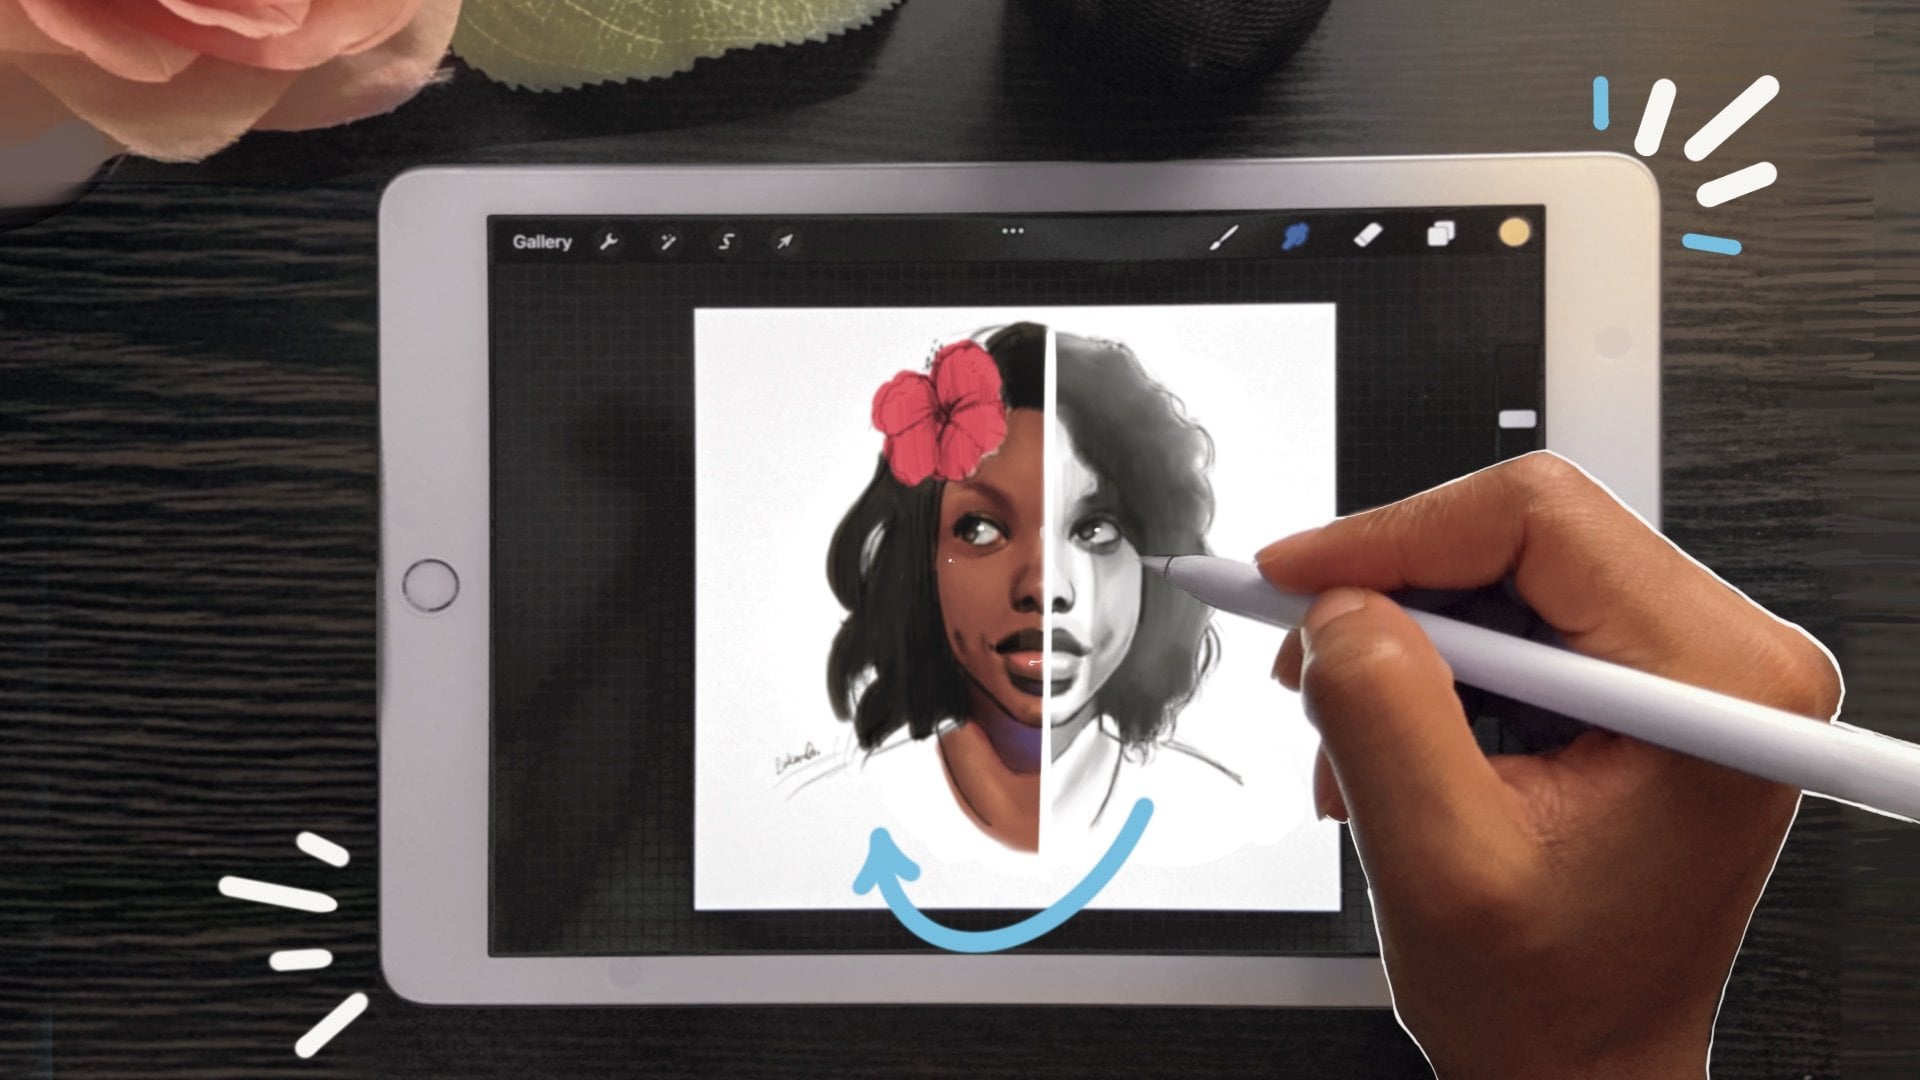
For this class project, draw a messy bun. Simple sketches are the main goal but if you want to be more detailed you can add what you like. If you want to add hair accessories, you are welcome to too. I am excited to see how messy you can make sure bun hairstyle.
🌹Steps:
- Start with basic shape outline
- Add lines for hair direction
- Add shading using hatching
- You can add any accessories you like to draw or would want your own character to have
- Be sure to post your progress as you go
- Upload your finished drawings in the Project Section and leave comments or ask questions in the discussion section
So glad that you took this class and I am ecstatic to see what you all draw!
🌹Materials:
- Procreate App or any other software you have available
- iPad/Apple Pencil

Class Ratings
Why Join Skillshare?
Take award-winning Skillshare Original Classes
Each class has short lessons, hands-on projects
Your membership supports Skillshare teachers
Learn From Anywhere
Take classes on the go with the Skillshare app. Stream or download to watch on the plane, the subway, or wherever you learn best.