Transcripts
1. Introduction : ID has trouble drawing hair and really want to try to focus on drawing guy hairstyles. Well. My name is Lakina. I'm a traditional digal artist. I would like to help
you with just that. So in this class, we're going to be talking about different types of hairstyles and hair
textures for men. I'm just going to be
going over the basics, not anything too complicated or any techniques that are just too detailed at this stage. This class is for beginners and intermediate artists who just like a different
idea of how to break down hairstyles and how these
approaches can help you in your sketches and just to get your studies going as you
tackle new hairstyles. We'll be looking
over references. I'll also include a
worksheet that you can use. We talking about
tips for hairline. I'll also break down a
demo using a reference, and I will show you how you can shade your hair just
using basic shapes and other sketching styles
that might help you as you start to sketch.
Let's get started.
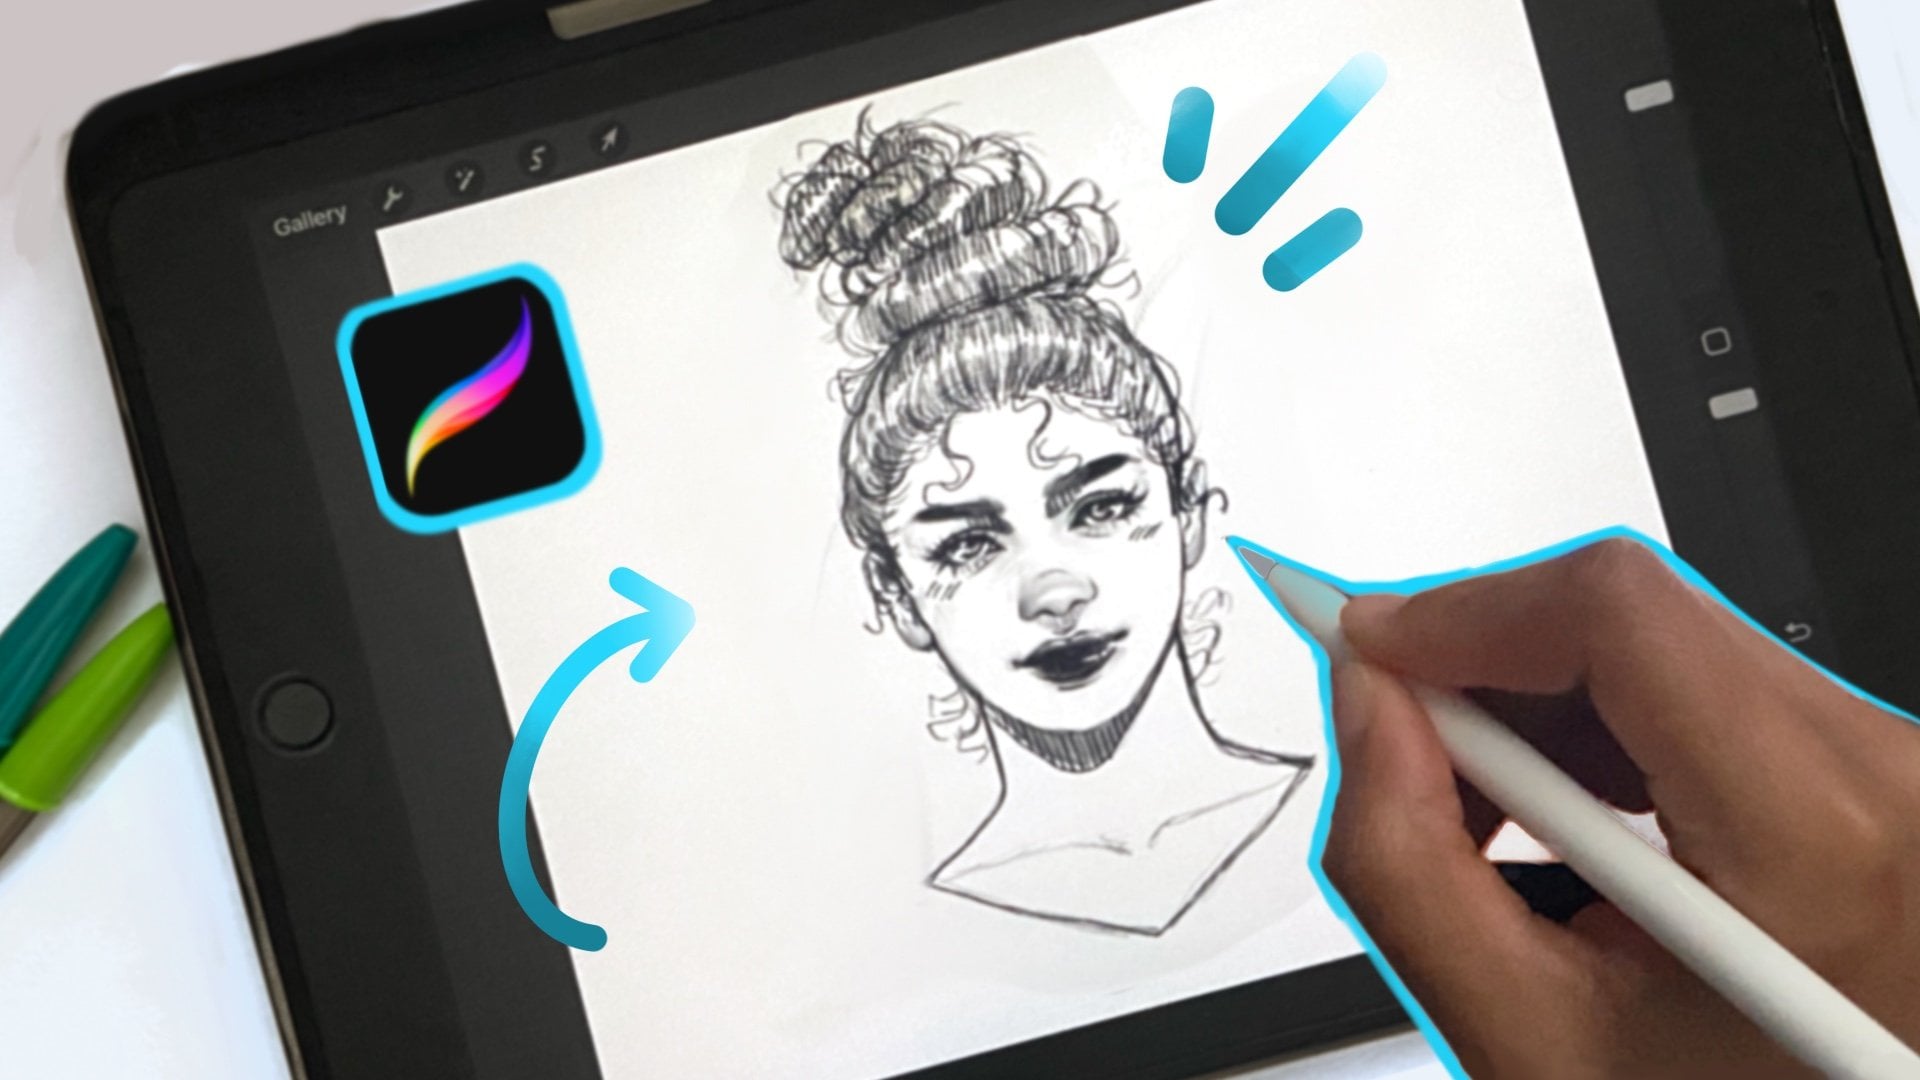
2. Class Materials : For the class materials, what you will need is a
default brushes in Procreate, and the Procreate
app, Apple Pencil, and iPad or any digital
R app you have on hand. The reference photos
you use is your choice, but these are examples I
would like you to look for. The website Pixels has
great options like everyday haircut and
short hair with volume. Next up, last project.
3. Class Project: Class project, it will be
relatively easy and simple. First, I would like you to
choose a photo reference. Break the hairstyle into shapes, choose a shading style, then sketch out the hairstyle. Lastly, as you make
your progress, you can show that in
the project section or just post your
final drawings. So let's get to hairline type.
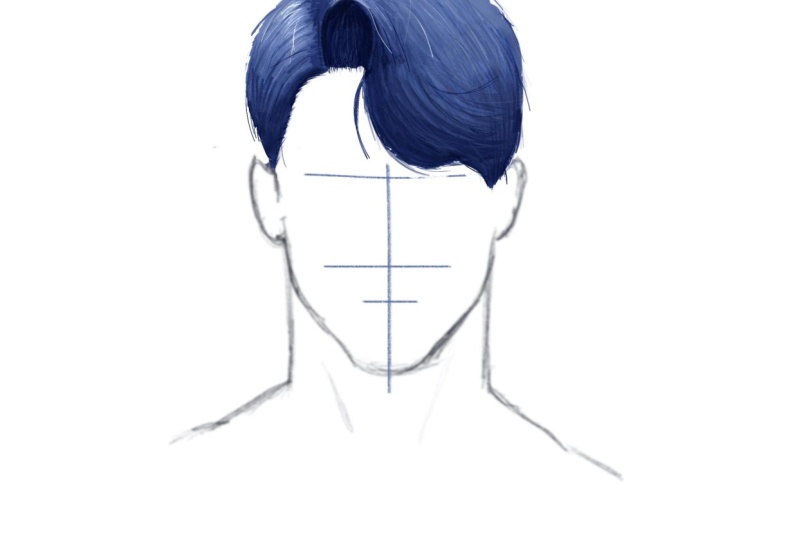
4. Hair Drawing Tips I: I'll be talking about
hairline types. I also want to start with letting you know about
the hairline types. You have high hairline, which
is very high on the head. Then you have popular hairline, which is M shape
hairline that you can notice on many
male characters. The next hairline is a
straight hair hairline where you can note
in most haircuts. Then you have the
widow's peak hairline, which is also a very popular
hairline in guys hair. I included three
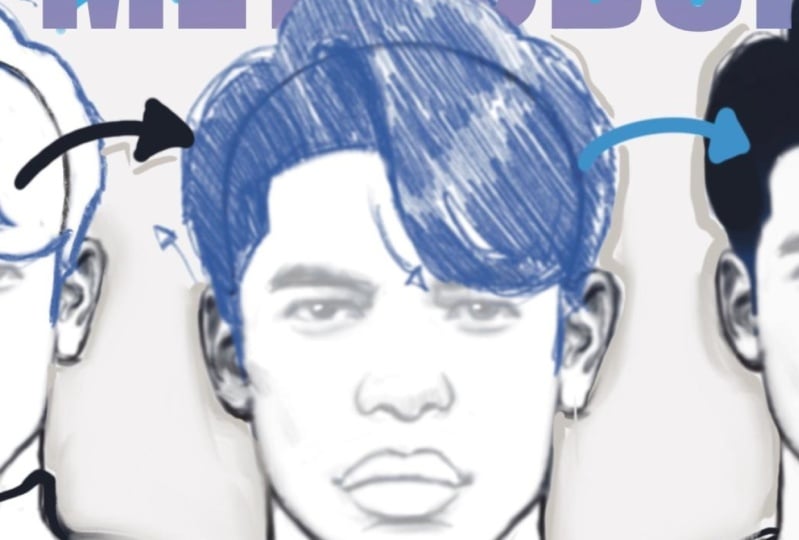
different head shapes. So I wanted to discuss
that a little. Here, you have a very
rounded head shape, sort of cone head shape, and then you have a
flatter head shape. What you don't want is
a two round head shape because our heads are
not entirely round, either from the front
or from the side. There's also always a
flat surface on top. So unless your character
is very stylized, you want them to have a very, very round head
wouldn't really fit into a semi realistic or
realistic style shape. As your face shape changes, the hair styles that you can draw on your characters
might change as well. This is just a quick example of a rounder shape face for a guy. Also good to note,
different face shapes might change the hairstyles you can draw and each hairline also changes
as you age up characters. When you note this, usually
in older characters, the hairline is very far
back or the character might have a few hairs closer to their ears rather than have
much of their hair on top. Everything varies as you
age your characters. Also good to do is to study
face types as you sketch. Usually in guys, you might
find an angular face, round face, chisel jaw, or a longer face type. Those are the tips
I want to include next up hair types,
tips number two.
5. Hair Drawing Tips II: I can get familiar with the different types
of hairstyles. We have the straight hair
and we have the wavy hair. We also have long hair
for guys and curly hair. You can note that
the curly hair can also be bigger curls, but I just included the
tighter curl hairstyle hair. Next, you have dreads
that can vary in length. This one is a shoulder
length dread style. Lastly, you have Afro style. Afro as well, can
be big or small, and in this case, I added a lot of volume to
this afro style. I also have male
hair buns and beard. I'm not going to be talking
about beard in this class. In this section, I'll be talking about more important tips. Let's start off with long hair. You want to find the
point of tension. This way, you have a
good idea of where the hair starts by using
where the hair usually parts. You can use a center part or side part as your
starting guide. So as you analyze different
hairstyles and simple shapes, you want to just note
the direction it's going and the length or
certain other details. In short hair, in this
example is a center part. B going from the center, you can follow the
arrows and note that the top part of the hair is longer than the
back part of the hair. Not the shapes are
almost like a book, like an open book
that's just flat. If you think of it that
way, that might help. In this curly hairstyle, you can note the big shapes. This is a simple mohawk style. Note that the sides of this
curly hairstyle is shaved. Usually, if you use
a regular pencil, you can achieve this texture. The next hairstyle we have
is a straight, short hair. Note that this hairstyle has
a side part and the side of the head on the left side is shorter than the
side on the right side, which has almost like
a bang look to it. But underneath that hair is usually a shorter
hair as you can see the sideburns and you know that the back hair is always
shorter than the front. Now let's analyze a reference. In this, I am trying to break
down the main shapes I see. The first thing I notice
is the hairline type. What we see here is a
widow's peak hairline. And now noting the
points of tension, you can see the direction
of where the hair is flowing and is
away from the face, as you know with these arrows. As I'm breaking down, I want to start off with
the top of the head. Because the top of
hair is away from the face and it draws
your line of sight. You want to start off
with a bigger shape. This is what I'm
going to be breaking down the hair in sections. These are just not really the
main shapes I'm following, but I'm really just trying
to see what I note. Now I'm going to show
you a quick demo. This is how I'm breaking
down the shape. Visually, I see that the hair is going away from the face. There's another area that's a
little more wavier and then the side of the hair closer to the ears are very, very short. You don't always have to put all that detail into the hair. I'm just trying to mimic that just a little bit here to
show you this example. Next up, we're going to talk more about different hairstyles.
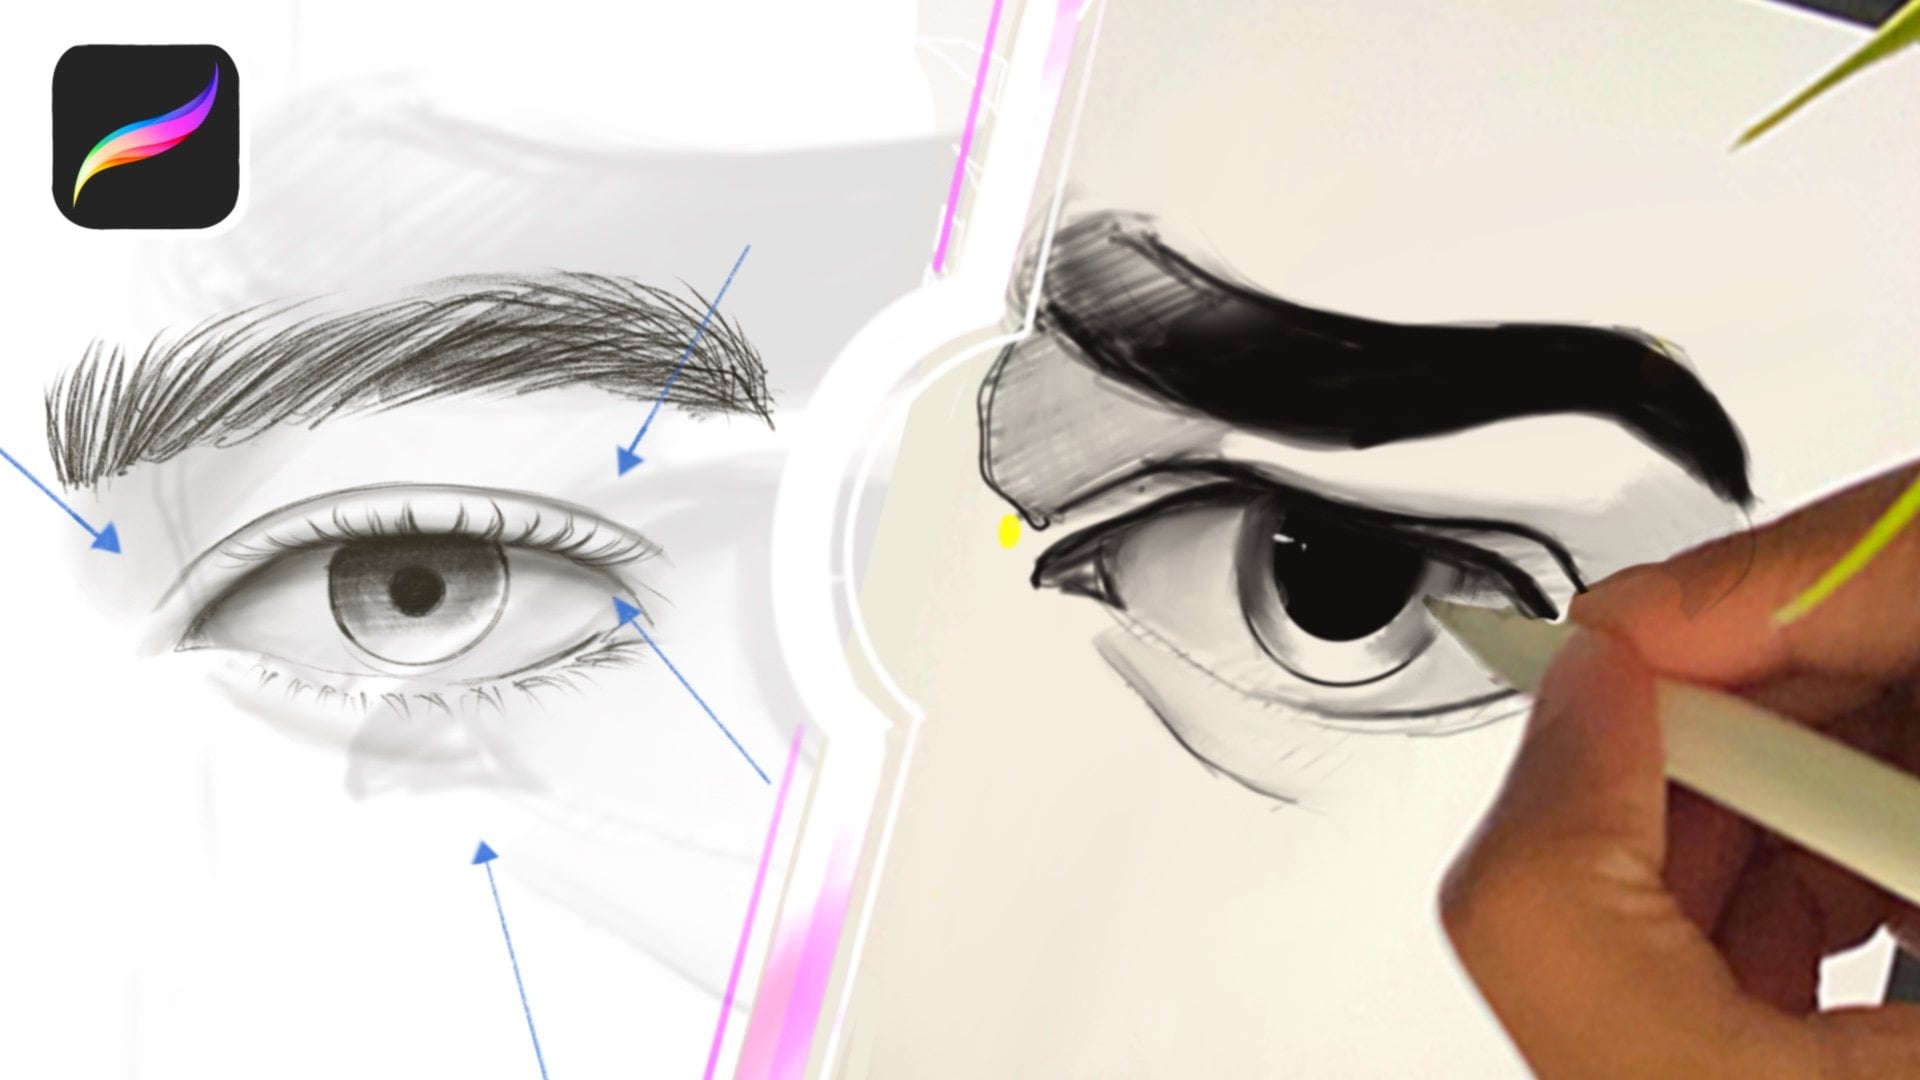
6. Outline and Shading Practice : So we're going to start with a simple art style
for this hairstyle. This hairstyle, you might
see in Korean shows, and this hairstyle is
very much very wavy, has to be drawn in a way that you can tell that
it's very, very fluffy. I want to note that the hairline is going to be a straight
hairline for this hairstyle, even though you can't
really see most of it. This hairstyle is going to have bangs just above the eyebrows. You have the base
drawing underneath, you can tell how high
the hair is that way, when you sketch with
a different color or even a different
type of brush, you can tell if you have your proportions
correct for your hair. I'm noting the
directions as well. Now we're going to move on
to the shading practice. As you shade, you can decide
what you want to do if you want to do vertical hatching
or any style of hatching. Right here, we're
going to be showing you vertical hatching. And then I just decided that vertical hatching would make more sense for this
type of hairstyle. I'm not leaving out any
parts for the highlight. I'm just just straight sketch. I also wanted to show
you another option you can do for a
style like this. You can also use the
assalTol to select the hair like I'm doing here and then
just use color drop. You just use a solid color. That way you can see
just a solid form of the hair without any details. You can add flyaways
around the hair. Basically, you're just
doing a silhouette. So make it look a
little better. I
7. Hair Drawing Demo: This is going to be a
lesson on using references. I started off with a reference
at a different angle, then you see my sketch. I'm going to start off
with broad shapes. I'm looking at the
reference and trying to envision how the hair would
look from the front view. Now I'm using thick lines to get the overall
shape of the hair. I'm still making sure that it looks similar to the reference, but I'm using bigger shapes
that will resemble the hair. This as a study practice because sometimes you might
not get to find a reference that is
exactly the same angle as you're trying to
draw your portrait. You want to be able to visualize how certain hairs will look from different angles. Since I blocked off it
with bigger shapes, I'm using a finer
brush right now, which is the HB brush. That will help me to
get finer details. I'm trying to envision
how each hair section will flow and using
the pencil brush, I'm making sure that the curls are working to keep the visual
weight of the hair. As you sketch, it's important to remember that you're just
trying to get an overall shape, not too many details, but using lines to
make sure you have the direction of the
hair mapped out. Right now I also like to do overall shape with darker lines. That way you can get the
overall shape of the hair. I just love the contrast
between the finer lines of the hair strands and the overall shape of the
hair using a darker pencil. As you can see, certain shape of the hair is a little
different from the reference, but it's similar enough
where I can see that the hairstyle I wanted to
achieve has been done. I'm not using the reference
as a shading guide either. I'm just mapping in the general shading It's important to do this on different layers as well so you don't get mixed up. Now, I'm erasing the
base sketch a bit so you can see that the
hair doesn't look flat. This hair right now
looks like it has some volume and that's
what we wanted to achieve. You can see the curl pattern. You can also see that the hair is a little more wavy as well. Now onto the second reference. This is a short dread
look and I'm not mimicking or exactly referencing
the exact hairstyle. In drawing dread hairstyles, you just want to do a few
scribbles here and there, general guide of what I would
want the hair to look like. You don't want anything
you're drawing bigger shapes, so you don't need to do anything too detailed or
get lost in that. You just want the
overall shape of the hair to look like dreads. Certain dreads are going to
be in different directions. So as long as you
get that shape, you're good to go. Next up.
8. Additional HairStyle Practice: Welcome to Additional
hairstyle Practice. In this section, I'm just going to be showing you a
couple of hairstyles and showing you the outline
next to the shading practice. You can also do
these shadings if it is easier for you to
just practice this way. I'm just using hatching, shading with a pencil brush
in Procrite these are just simple easy exercises
you can try out and practice with these
different hairstyles. I hope these are
helpful for you. And let's get into
final thoughts.
9. Final Thoughts: Thank you for taking the
time to take this class. This class is about drawing male hairstyles
and simple steps. You can also find
that I have class on woman hairstyle on
my Skillshare page. It will also be very helpful
if you leave a review of the class so other students can find
in the review section. You can follow me on YouTube at Elegy Sketches and
my designs to art. You follow me on Instagram
at Paper Arts Pencil and at Design to art. Thank you again and
see you next time.
 Lakena G., Digital/Traditional Artist