Transcripts
1. Introduction: Hi. Art can be a wonderful way, not just to relax and express ourselves, but also to express our feelings to people we care about. If we take the time to sit down and sketch and with a color postcards with a subject that is meaningful for our family or friends. They will understand that we really care about them. In this class, we are sketching together too. But one is for a friend of mine that I haven't seen in a long time. And this she will understand the said. We haven't talked for a long time, but I still think about June. And I would love to have a cup of interview and meet some, have these flowers for me and leave these for my son who was wearing college. And he misses our dog so much. They love each other a lot. So I know that when the finds these needs mailbox, it will be very happy. Hi, I'm Elizabeth than Italian water color up isotactic later in life. And I persuaded that Talent is Overrated. You just need a bit of talent. But what comes more discussion and practice. That's why these quick sketches are so important for us. Because although we have very busy lives, we can always squeezing a quick sketch. These sketches will not take you a long time, especially this one is flowers. And in this one, I'll show you a technique that is amazing for results, very easy and very weak. And with the sketch, you will learn how to paint a dog of any rate, just change the years. That technique is always the same. So we will learn plenty of nutrients to these new class of mine. But above all, you will have a lot of fun. I hope you join me in this class and you are excited as me to paint along these huge water polo Pascal's.
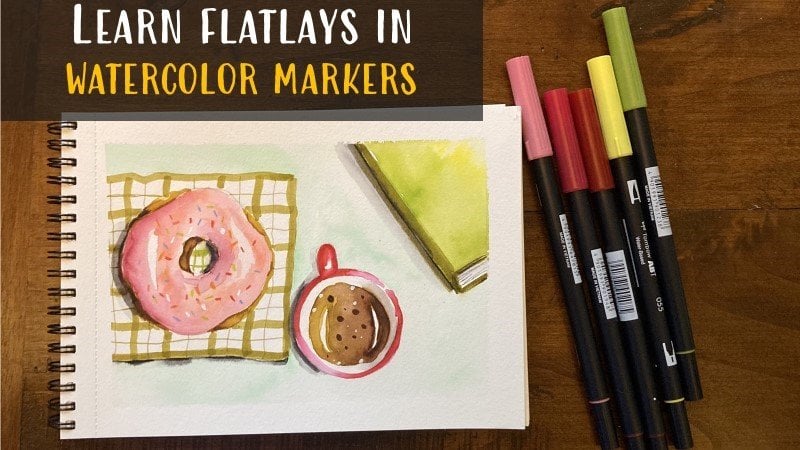
2. Materials you will need: The most important piece of supply is paper. It must say what the color paper, and also it's important that it is 300 GSM sides sake paper. It's not important that it is a 100 percent cotton paper because we will not be using a lot of water. But so I recommend is the Fabriano watercolor postcards. They are really good quality. They have 25% cotton, so they take quarters. Plus she went to format these ADL to be sent in the poster. And on the backup. They are ready-made to be sent, to be filled in and to be sent some watercolor paper, a postcard of the few we shift that we need to sketch. We need a pencil, HB pencil, and eraser, because we will be erasing the pencil lines. Append. I use these uni-ball I micron pen. The most important thing, use what you want is append, but make sure it is waterproof. Make a little test on a piece of scrap paper. If it is not waterproof, it will be a disaster because once we apply whatever color you will be mismatching or over, then we need a small spray bottle, optional, useful. So you can spray your painted to reactivated. You need some watercolor paints for planes or you can use if you don't have anything else you need to buy. You can buy these small set, what the polar set of Winsor and Newton, It's called Cotman. It's very affordable and the quality is really good and the colors are good enough for our projects today, I will be using my own palette. I will be using one pilot for the dog that has a lot of earthy colors. And this palette is my favorite palette, but I will also be using a new palette. For me buying watercolor supplies is better than buying shoes or purses or close, my always preferred to buy new art supplies. These are tubes, watercolor tubes, if I have squeezed in a travel set and colors from Paul Rubens and very, very vibrant and very affordable as well. Another brand that I could recommend to you is White Nights. Of course, you can use any other professional brands like Winsor, a new journal, Daniel's means, or all the other professional brands. Or if you have a tome and other, some other paint, use what you have and it will be fine because it's just a quick sketch. Then will we need them? Watercolor brushes? I recommend a larger one, immediate one, and the final one for details. Kitchen, paper, towel or paper towel like these to absorb excess water in plot our brushes. So it's useful for water control. Then we need for final touches a white gel pen. I always use these Jelly Roll pen, but I will leave a list of all the watercolor supplies in the resources section, of course cell then we need to jugs of water. I always have to. I have one for clean water on one for dirty water when you rinse your brushes. And then you take clean water to dilute your painted so you don't pollute your painting. This is very important than the next supply. That is piece of supply that is very important, is your passion and your balance. Okay, I'll see you in the next lesson.
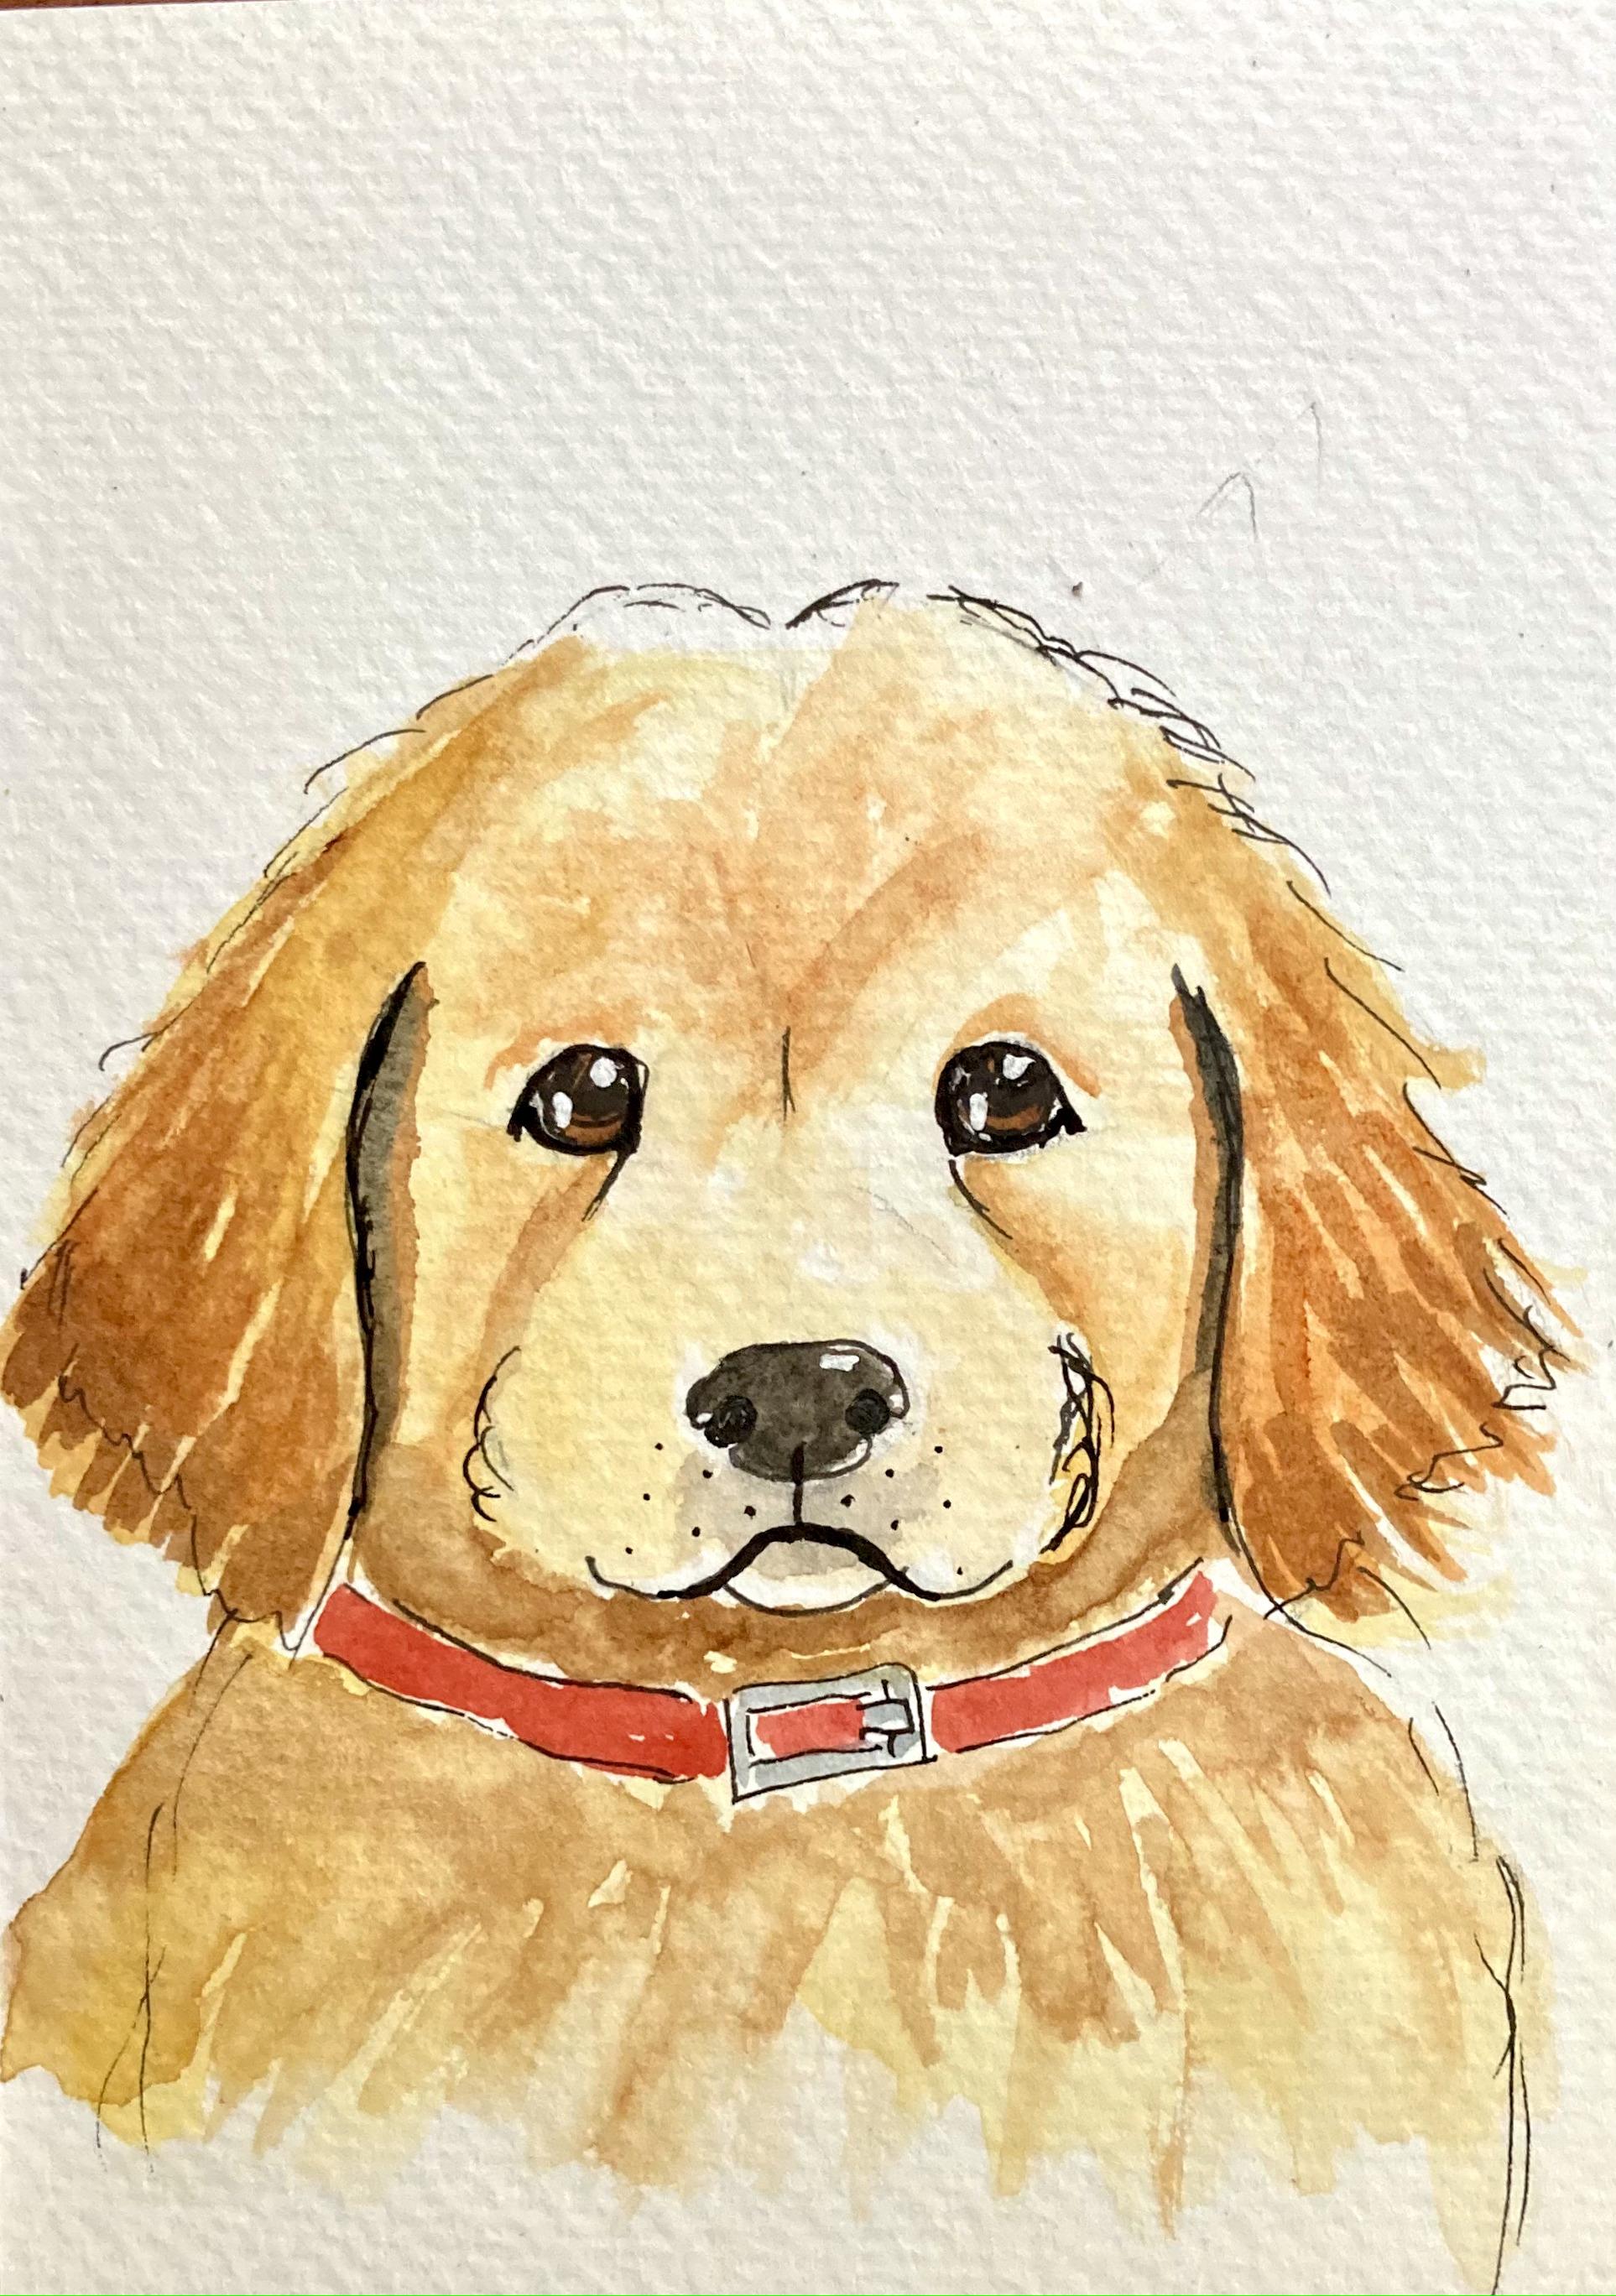
3. Dog Postcard : We start sketching our pat. Dry part. B is easy. If you want to change breed, you just change the ears. I'm sketching our dog for our son. So it's a golden retriever. So first of all, I will sketch a perfect circle with a glass that I have at home. Now, I divide this in for slightly. Looking at downwards like this. You see, you can also turn it slightly like if you do a line like this, you will have a dog that is just tilting his two. We will do its strike is easier. Then we make another circle here. Please do very light lines because you have to erase them. I'm not doing them live because I want you to see them in camera. And then we put an oval in the middle. Okay. This is the basis of any dog, then you change the years and you have a different proof. But I will put my golden retriever. Then we have two circles here For his eyes. Now we have to change these normal stress. Leto. We add no stress. Okay. Suffer his little mouth would put two shapes like this. And then slightly larger than the round two lines for the muscles, the eyes, we have a drop shape like this. And then forum. We just put two straight lines like these. They start from, let's say, above the eyes. And then here you have a triangle shape. Triangle shape. Easiest the basis of our literal chain chain. You can always adjust this when you outline it with Ben. Okay. Now it's time to take our band and we refine the sketch. I will like to start with the eyes. I put two straight lines here, symmetrical. And then our drop. One, drop. We have a small corner here, and we also put our pupil here with a circle for highlights. You see when I include directly, okay, these are the eyes of our, its a dog. Then this would be psi. Then I draw two lines from the corner of the eye. One small line in the middle of his forehead, then sort of C-shape on top of the head. Then he will be very fluffy. You continue with very fluffy head. Just around the pencil lines. He's all fluffy. Remember? And here you have a straighter line. Here you have a straighter line. And then you have these little body fluffing. You have a gene. And also you can add if you like, a color. Here we have the backup. Very sketchy. And this is his sweet face. Now we wait just a minute for the ink to dry and we erase the pencil. We start with the underpainting. For a Golden Retriever. I will use my leaves, the many colors you see I have data from Daniel Smith, quinacridone gold by Sennelier raw sienna. Now I think this is from Winsor and Newton. Yellow curve from Sennelier. I prefer raw sienna, quinacridone gold, or even a Miata because they're more transparent and yellow ocher. But if you only have yellow ocher like you have these small brilliant set from Winsor and Newton. You can use diluted yellow curves. So we can start painting our dog. We start from background. The ground needs to give warmth or to his little face. And I will use for these raw sienna shouldn't heavy. You can use also Naples yellow, which is also a nice choice to give his warmed up. I will use raw sienna. Sienna is the scholar here. So I will spray, might follow to the activated. I will take a larger brush with a nice point, so I can also use it for details. And Let's go. This is yellow ocher, this is raw sienna. I can also mix these other colors to give some color variation. But now I only need to really do a background to give warmth to his hair. We start from the years. The muscle will be very light, so we tried to face is very scarce leaf almost live with white. I just learned to paint everywhere and you just really CAN some color. Stay away from borders if you prefer. You can also paint the color for a moment because it's very light. What we doing. Certainly very light background to give a homogeneous, sunny feeling to his sweet face. You can really stay away from borders. If you accidentally touch his nose, smells. I haven't erased this muscle. Careful. Now is still wet, but we can add some colors to his ears. His ears are the darkest point. So I will add some more of the same color, slightly more intense. This point to the here. The other areas that are darker into dogs, his detailed body. He also has some dark areas here and here. And also here's the total body. We have fluffiness. Here, shadow. I keep adding some a quick sketch. Remember, it's not very complicated. You just want to make someone think that we there for them and that we have taken the time. Now. I will take a smaller brush and we locked some Shanna. I can take punchy and then from my Winsor and Newton, some warmth, shadow like this. And the eyes. Also here on his forehead. Even have some, obviously here. Here. We blend them. We add some very light, very light color, and continue blending. The second layer. While we wait for the dog and for these first layer to dry, we can paint in brown, his eyes, and his nose. So for the eyes we take or any browser that you have on his nose. I take pure black or you can take. If you prefer, we can darken the nostrils. We are conducting the nostrils with ink starting to look like a real pop in. Now we even dark in here, there is a shadow here. So I will take my end. I will draw here the shadow between his face in the year and here two handles. So I wouldn't put some of these dark brown on the tip of this year's like this. It's not diluted, is not to dilute it. And then we'll continue with some burnt sienna towards okay. We've continue with some raw sienna. I will also put some shadow under his chin here. Sum. Remember to blend his hair. And I think we need to darken the shadow so we we take some gray. I use Payne's gray, you can use the same API or another layer of brown if you don't have it. So just here. Darker shade. Okay. Let's also put some dark and hair here. We can take this mixture that we have already used, sienna and burnt umber. Just remember, he's very fluffy. Cell puts a lot of hair here, I guess his tiny face somewhere around here. How is take some factor for below the color. And now some more golden, just to make him more like a happy color, the blonde, golden shade of these breeds of dogs. Here we need to plan the liter. Now starting to dry. We shouldn't touch it anymore. So I will paint his color. If you don't want to wait till it dries. You can use a hairdryer and speeds are drying. But I think it's already dry enough. And that will take some red and see whether I can use I can use some Alizarin crimson. From this sector. Though we've found a touch of yellow or these red cart noon to give it a light value. And we add a touch of yellow. And I have these nice, right? Or if you have thermal infrared, you can use that to directly. So now here we deleted patients. You need to you can leave some white spots. Now. We need to add a touch of black to his mouth. So we take some gray here and we add some dots here, and we add some brown. And then we blend this. Maybe needed a second layer. Okay, then what we can do, we can now add another highlight, two keys, eyes here and here. Then we need to darken. He's no strings. So I take my pen and I darken his nose streets. And I would also put the highlight on his nose just like this. And maybe we can put some gray on the back call Hub, these color. Take some gray. And the last thing to do, I need to add some free schools here, 123123123123. Okay. Let me see. Now that it is dry. You can have a last look at it and decide if you need to add some more details. And I will, I will actually dark in here the shadow to shadow by the years. And also I will make his little mouth slightly dark. Okay. Maybe the outline around the eyes.
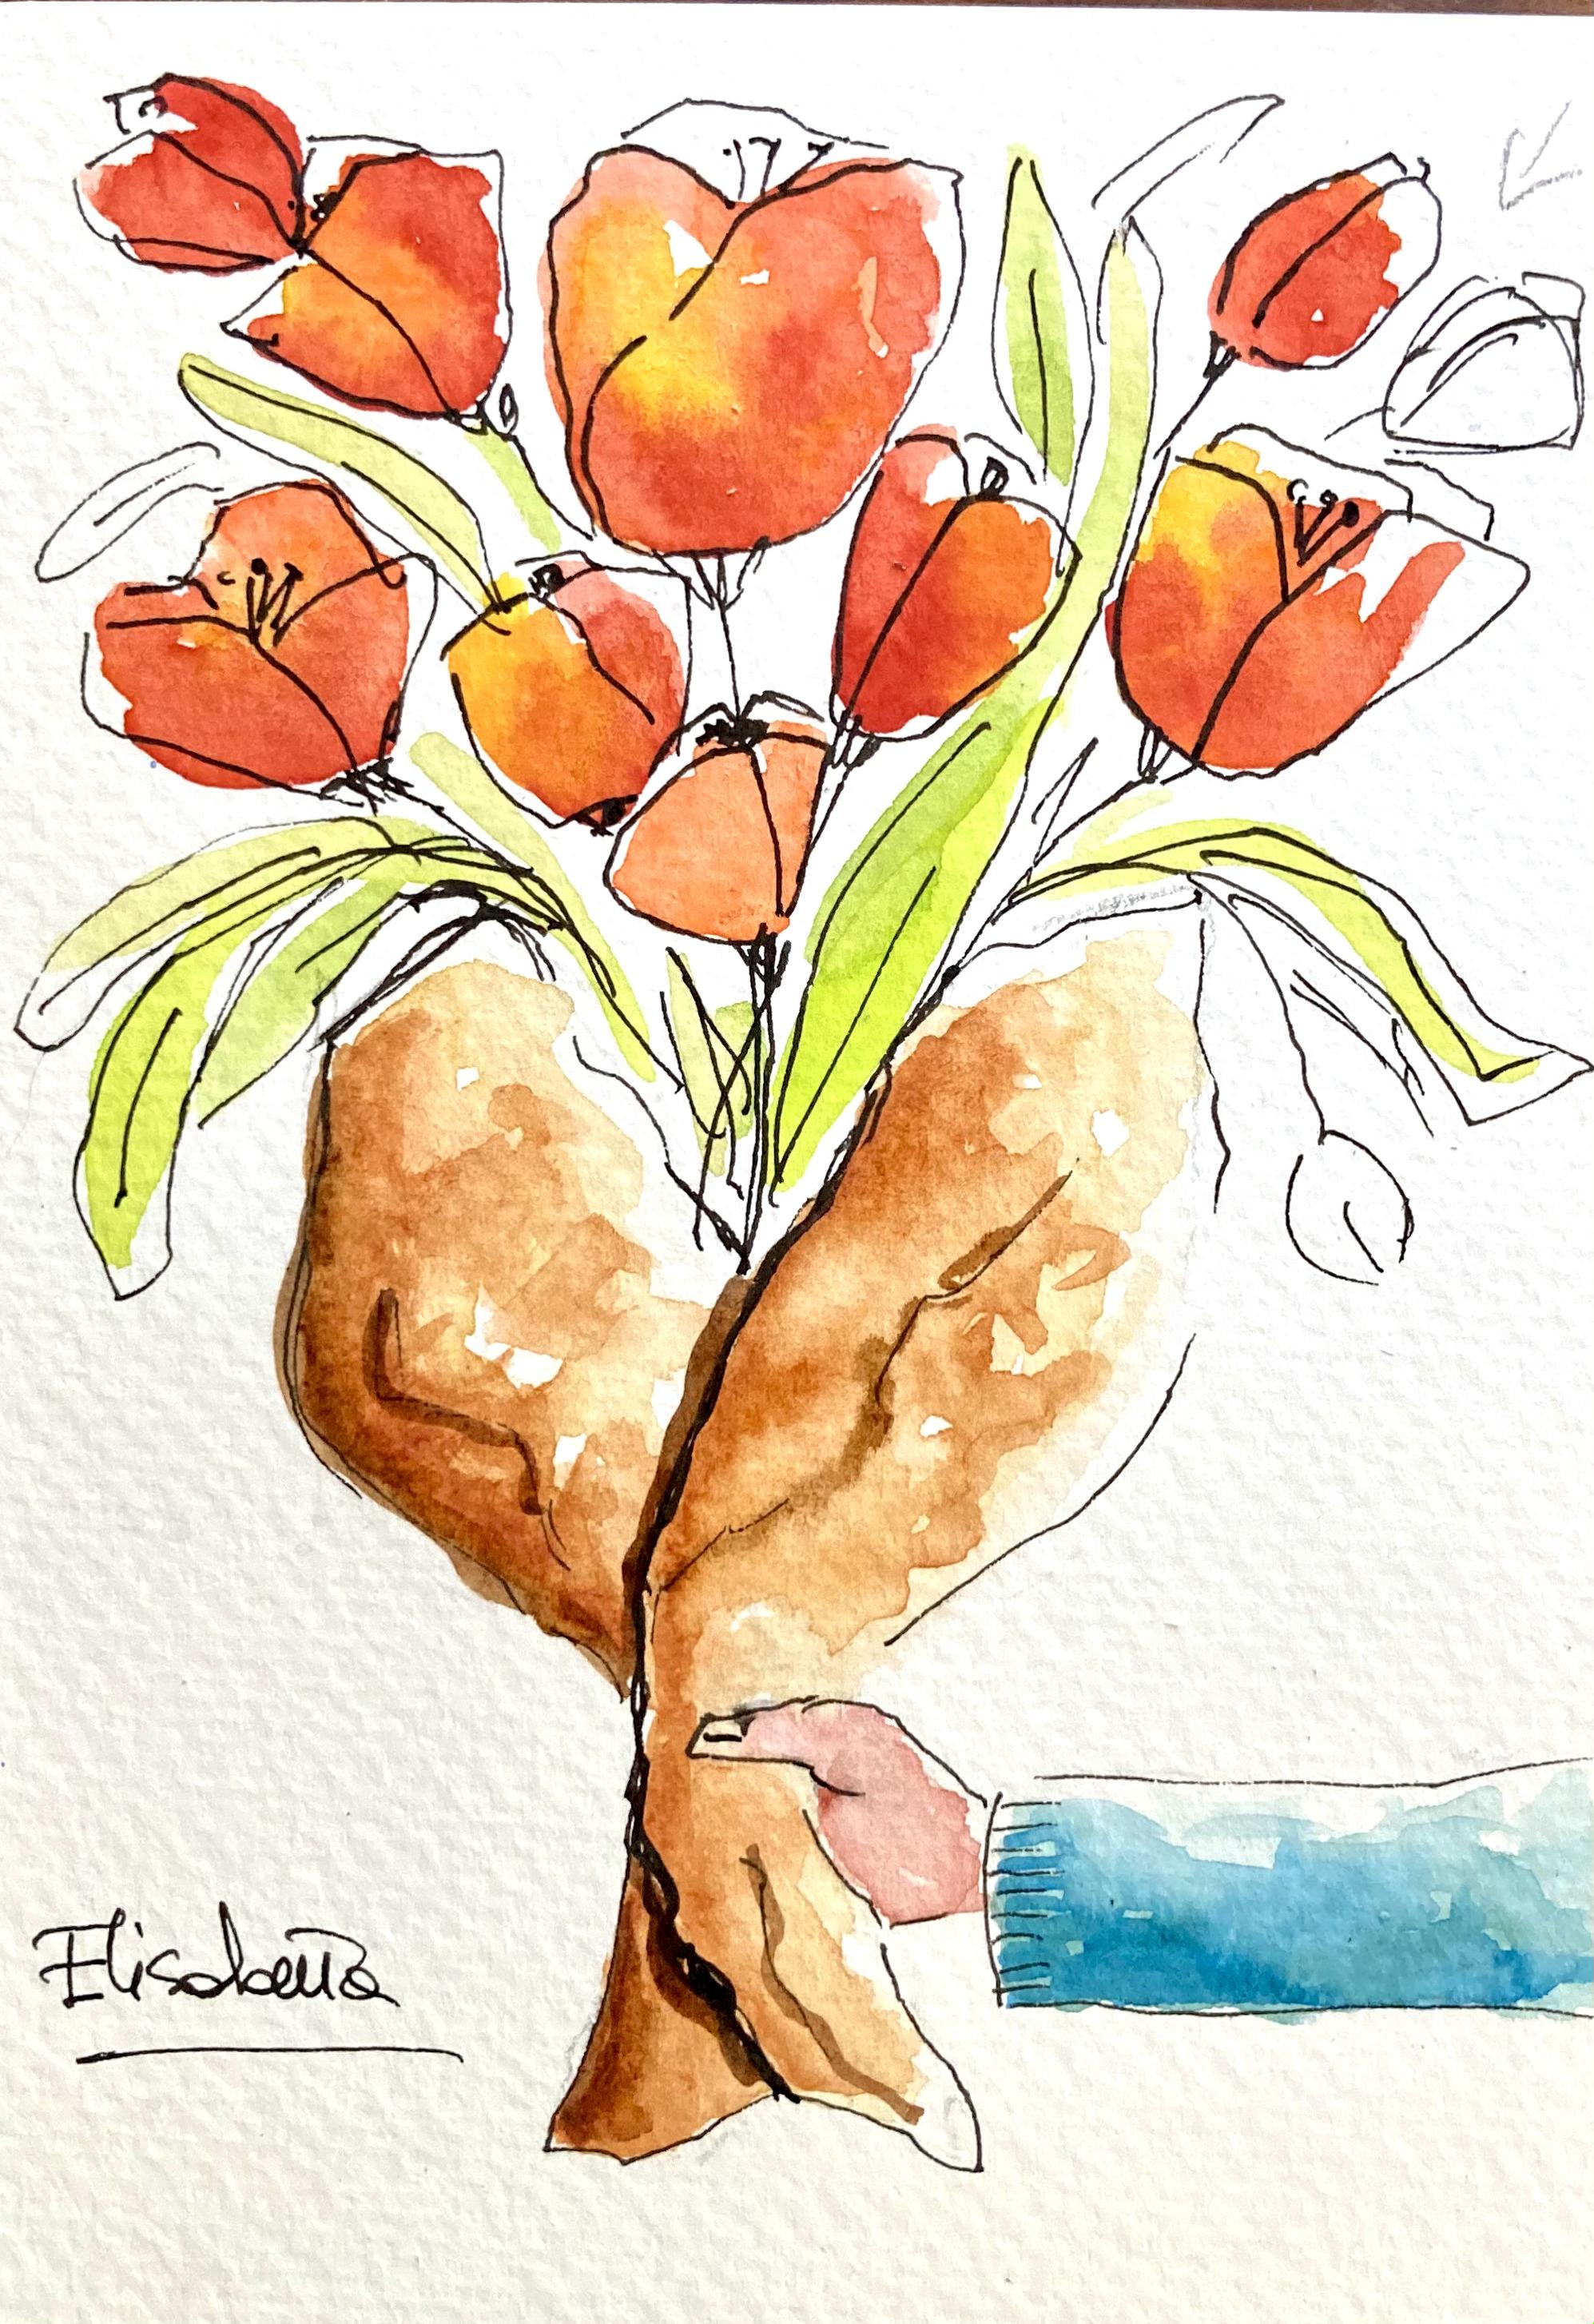
4. Loose Bouquet Postcard: Second postcards key is for a friend, a friend that I haven't heard from in a long time. And I really would like to say, although we haven't spoken in a while, I still think of you and you steal my dear friend. So I'm sending some flowers, sending some flowers. And this will be a very, very sketchy postcard. So we will first of all draw a drop and paper wrap for white flowers. Five-day some foreign do this lever. There is no detailed center. I might even keep these fingers, which complicate. And here I will not sketch the flowers, but this time it's a different thing. I will add later. So I will add ink now only for the wrapper. Very, very, very sketchy. Some paper increases and that's almost eat for the sketch. I sleep. Okay. Let's see. Now, before we can sell the PNC, we can, while we wait for the ink to dry, we can add flowers here. We will add two loops that are very easy, but we'll, we'll add some just a splash of colors. For this exercise. I will use another palette that I have. These one from Paul Rubens that had us look very, very vibrant greens and vibrant yellows and reds. So I will use some scarlet, some orange, some different yellows. Okay. Okay. So we sprays as usual my pain to reactivate it. I will take. I'm a brush that is neither too small nor too big. Medium brush like this. Eig a, like the color mix directly on paper. And we adjusted. However, they must be an uneven number, 12345678. So I need to add one. Let's put these beautiful orange. Okay. Now I've tried to erase the pencil lines. Okay, This PC, so eraser, I can take them away once it's dry, so don't worry. So we must decide light source. So I always, I'm very consistent. I always have light from the right-hand top. So I always start painting from the left-hand side and die Dann do cheat towards the light source. So I put an arrow for the light source here so I don't forget and keep consistent. For these, I will use some burnt amber from my Winsor and Newton Palette. Okay. To eat. And also some yellow ocher. I start with yellow ocher. Start from here. From this corner. I don't have to put it everywhere, just somewhere. Stay away. You can stay away from Borders, especially towards the light source. When Stanley Kubrick when standard idea noted that concern. So the hand, Okay, let's get straight. Is their paper is wet and we'll automatically disperse it by itself. Now, we will add some color for the sweater. Is the whole drawing easy, earthy colors. I would like something to balance, is warm feeling. So I think that I will take my brush some primary blue. Primary blue. I will put it here, so we'll mix it with green. And so it's a good idea to mix it with some previous scholars. So you tone down your color and you have a more organic value. So I will start from bottom because the bottom is away from the light. See what a nice teal color we we have. And we blend it towards light. Here we stay away from the border. Don't need to paint. Now. The hand, for the hand, we take some yellow ocher and we have used for the paper. And we are, we need to have a peachy, a peachy shade. So we add some Alizarin crimson, a touch of alizarin crimson like this. And we have our hand to make a congested with the paper. We can have even rosier. So this here also, you can have a darker in the bottom. And then we need to add some ink details to the and we need that for this to dry for a second layer. If you are in a hiring, of course, you can use a hairdryer. Okay, now we can add some leaves. For the leaves, I use my smaller brush and I will use some of these very vibrant, beautiful colors, beautiful greens by Paul Rubens. So we put some yellow green. You remember the elongated the leaves of tulips. Okay. Then we can also add some of that cash second layer on the paper, but take some burnt sienna. I went out some shadow here, here. And here, the second layer. Then I blended with your regular because paper is your regular hearing there. Also, I need to add some details, some penalty days to my hand. Maybe I can put here, you see? I snatched. No problem. Okay. Then we can darken the bottom part of our hand, the self. We take some Alizarin crimson and then we'll just hear, decrease the bottom. I will also put some color variation on my sweater like this. You see here it's the second layer. Add some darker shading here where papers overlap or we need to wait for these, these to be slightly, slightly drier. Lets add some details to the flowers. Now we should draw petals and stems. And we can go outside and see, can really go outside. You just withdraw to leap. Well, here we can put the stems. Then we can do the same with the leaves. Really, the ink doesn't have to complete the respect the water color but issued integrate it. You can also add pure ink leaves without color. Same for about here. We can also add fields without column. Here. We can darken this side of the paper because it's in shadow. Okay, here we are. And now we can add some shadow here where we have our, our paper overlap. Now here, we can add some shadow here. And the further and further rim here you can blend. Here you Libby, hard edge. And that's it. We've done. Of course, you can sign in with your name so that time. Hello. Okay.
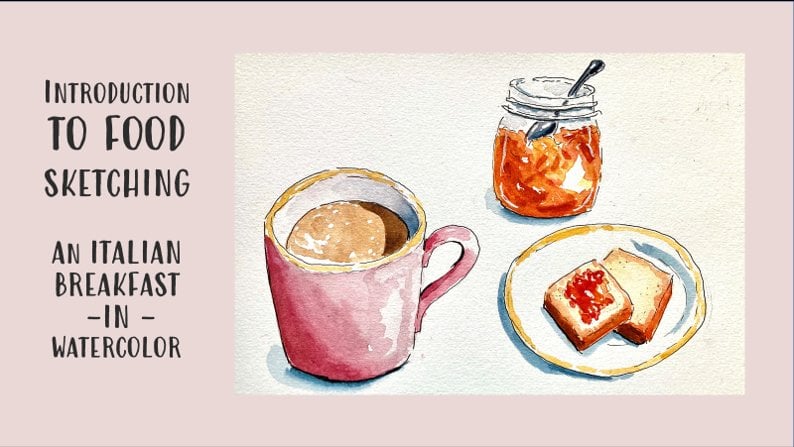
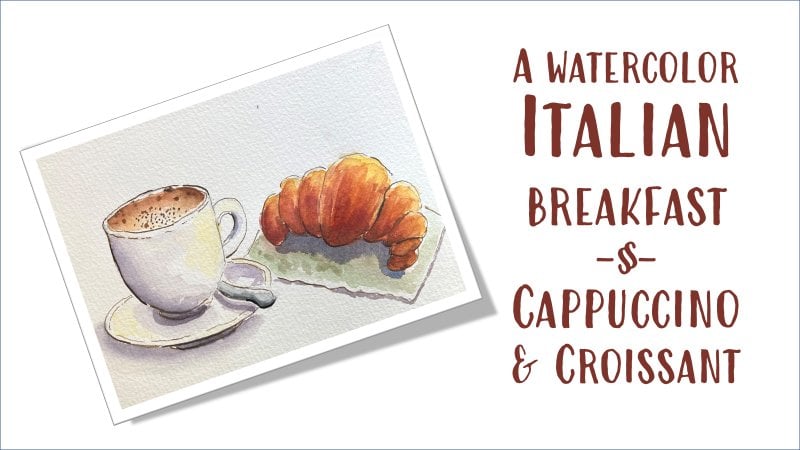
5. Final Thoughts: Congratulations. You have finished our two projects. And maybe you already have in mind a watercolor postcard to sketch for a frame or a member of your family. They are going to be happy about it, are going to love it. There are, I encourage you not only to upload your projects, they will have painted along, but would be really excited to see your own props, bets that you have thought about your frame. I have a third ripe, for instance. I might put it in future as a bonus lesson. We've that coffee cups because I am a coffee addict and they have a defendable with a coffee addict as well. So this is second, this is a way to stay. We haven't been involved molecule, we coffee lovers. So these also go quickly and maybe it will be the object of the next class. So for the moment being, please do not forget to follow me to upload your project. And if you post your projects on media, I went to Instagram. You can find me undermine AIM and Isabella pathway that you find authenticating under my profile. Some very happy that we are here together and assuming my next class. Ciao.
 Elisabetta Furcht, Anyone can paint!