Transcripts
1. Intro: Signing your artwork shouldn't
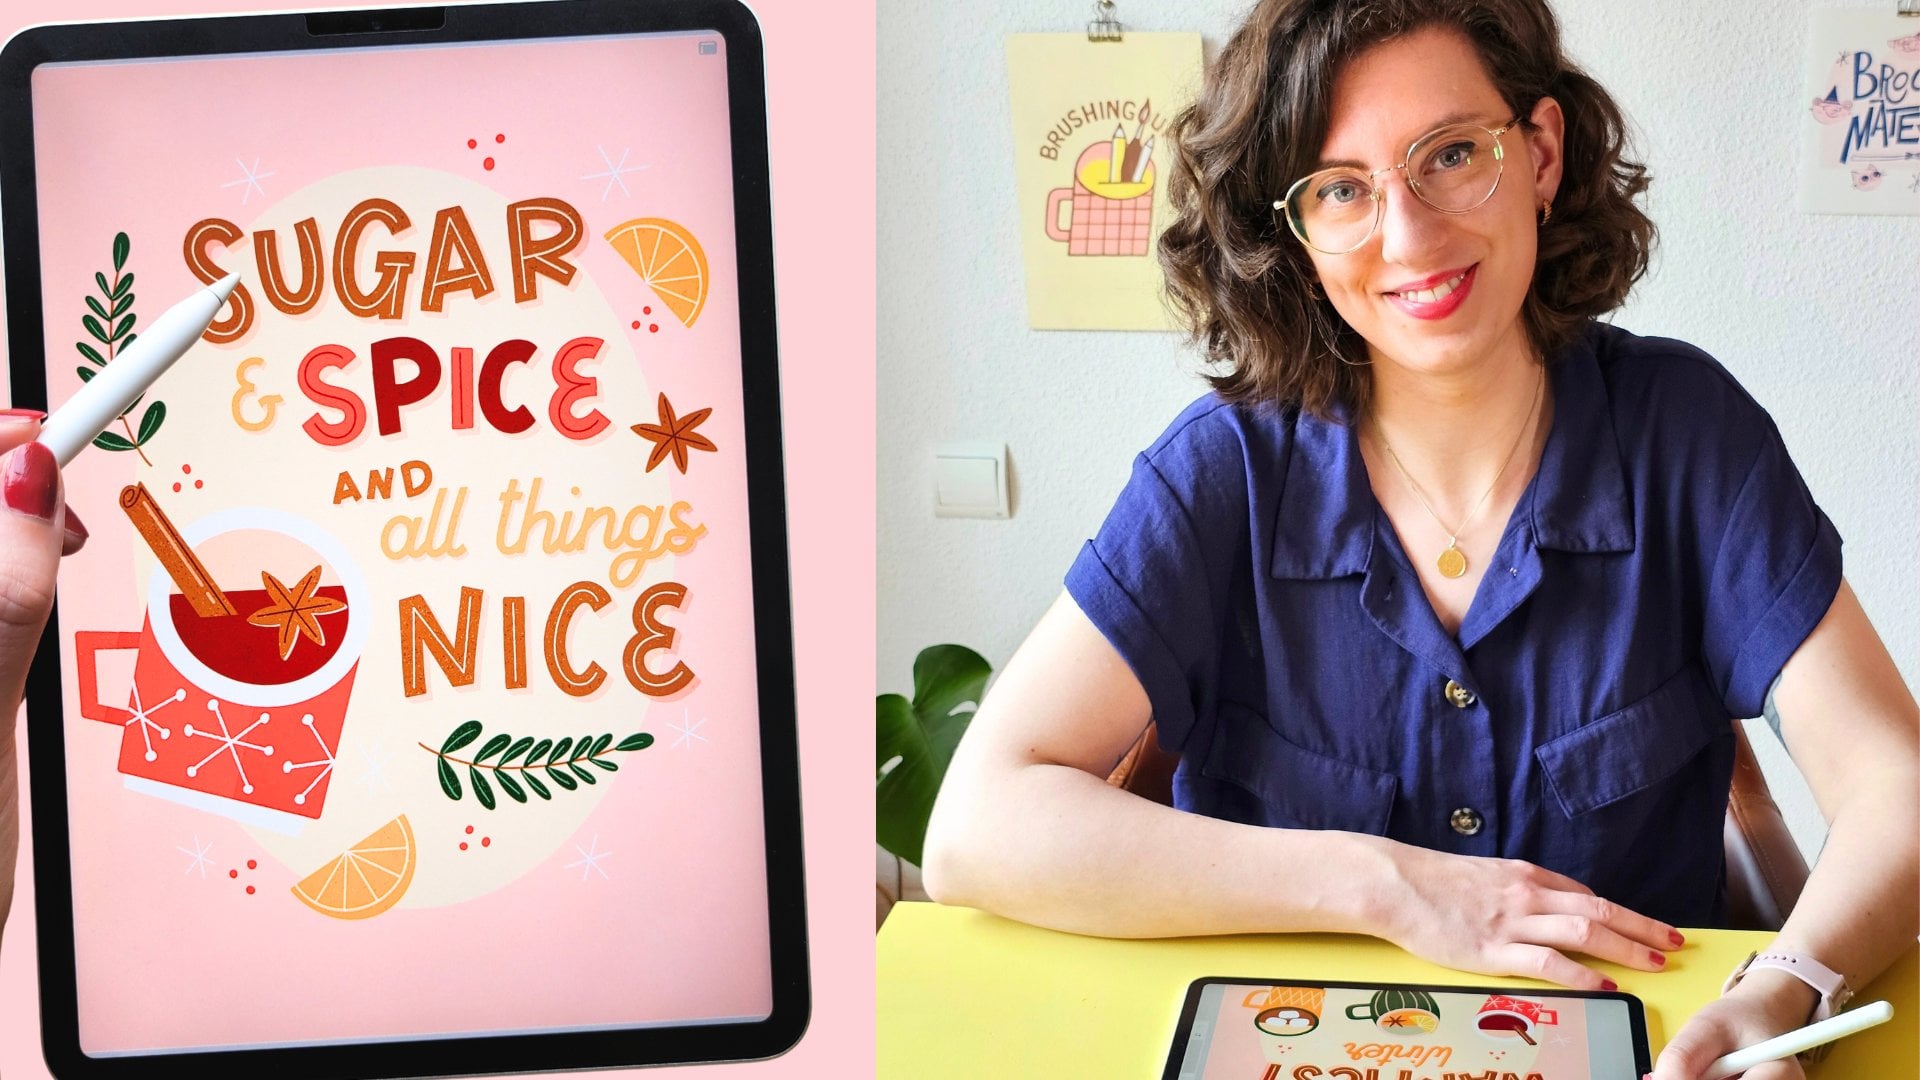
feel like an afterthought. It should feel like you and it's much more than just a name. Hi, my name is Claire. I'm an illustrator
and lettering artist. In this class, you'll
learn how to create your own custom signature
and branding Procreate. So you can sign your artwork quickly, consistently
and professionally. We're going to build
a simple system of stamp brushes to brand
and protect your artwork. This will help you
confidently sign your art, protect your artwork from
being reused without credit, and ensure people can always
trace your work back to you, whether you're a hobbyist
or a professional. We're going to create
a hand-drawn signature, a social media handle using the text
function in Procreate, a QR code linking to your
website or your social media, and lastly, a watermark pattern that you can use
on top of your designs. You'll also learn why each of these matters and
how to use them. You don't need to be a
professional illustrator to use a signature. Having these stamps ready and Procreate makes it much
easier to use them and give your art a polished
and personal touch without slowing down
your drawing process. By the end, you'll
have a set of ready to use brushes
that make signing, sharing, and protecting
your work much easier. The only thing you'll
need is your iPad and Procreate. Let's get started! :)
2. ☀️ Summer Giveaway ☀️: Hi, everyone. I'm
excited to share a creative summer challenge and giveaway I'm running this month. I'm giving away a few
special prizes this time. You can win 21 on one
illustration sessions with me, a one year Skillshare
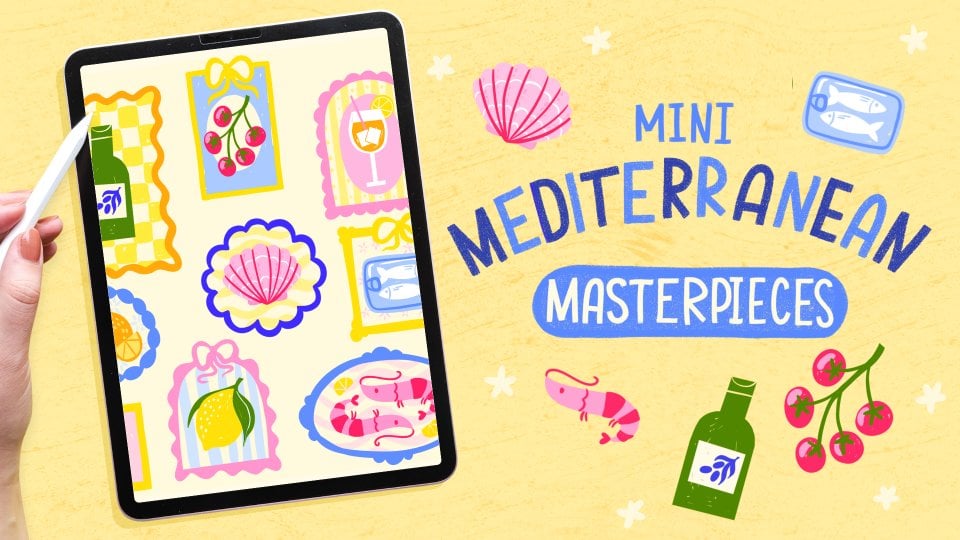
membership, and five Mediterranean
tool kits for Procreate. The best part is,
if you participate, you immediately get a little thank you gift for
Procreate as well. Here's how to enter.
It's super simple. Just watch any of my Skillshare
classes long or short, leave a review or upload
a student project. And lastly, don't
forget fill out the quick entry
form, and that's it. When you successfully
filled out the form, you'll receive my new
Mediterranean sandbket for Procreate with lots of cool brushes you can
use this summer, plus a special discount for a one on one session
with me on Skillshare. After you submit the form, you'll instantly get
access to the gift, so don't close the
page too quickly. If you want extra
chances to win, you can submit more than
one review or project, and each one counts
as another entry, simply fill out the form again. This challenge is open
until Friday 5 June, and I'll announce the
winners the following week in my newsletter
and on Skillshare. Make sure to follow me and
subscribe to my newsletter. If you're short on time, I've also got quick ten
minute classes, and to share your
student projects, you don't need to
finish an entire class. A sketch or a process shot is
good enough, and that's it. So remember to participate. You've got until 5 June. I would love to see
your work, and I hope you enjoy the
challenge. Good luck.
3. Signature Stamp Brush: Let's start with
making our signature. This one is actually
most important. If you're not going to use
any of the other ones, just make sure that you at least have this stamp
brush ready to use. This one is useful for signing
your work of any kind, really, and you can use this directly into
your illustrations. We're going to start with
making our signature. Then we're going to turn it into a stamp brush, and then lastly, I'll show you how to use this
inside your own artwork. We're going to start
with a canvas that's big enough to make our brushes. 3,000 by 3,000 pixels. And most importantly, your
canvas needs to be square. And then we're going
to turn on a guide, and I'm just using this to have some margins on the edges. And we're going to build our
signature inside of this. I like to use a brush
that has a little bit of texture in the inks tab. This go shack brush has
a little bit of texture, so that's what I'm going to use. Just pick one that you like. If you have a signature already, then make sure to copy it
here or write it down again. If you don't have anything yet, let's start with just writing down your full name or
your artistic name. Make sure when you start
writing to use only black. Then for your signature, you have a couple of options. As you can see in
these examples, you could write your full name. You could use a
script, for example, or you could abbreviate your name and make a
monogram like this. You can make
something that looks like a stamp, for example, like this and then just fill
that with your initials. You can also simply
write your name or make a diagonal to make sure that
you have a bit more space. That is completely up to you. I would say, most of
all, don't overthink it. Once you have your signature, that's what you'll stick to. I made this one once for my
name and just stuck to it. You could do
something like this, which is a mix of a script and then block letters, for example. It certainly doesn't
have to be perfect. It's your personal signature to pick something
that feels like you. I forgot to mention that even though we're making all
these brushes in black, obviously, you can use
them in different colors. That's simply how the shape
source of a brush is. It should always be black and white for the most contrast. And make sure that you use up the space that you
have in your canvas. When you're ready, go to the wrench icon and then
to add copy Canvas. Now we're ready to turn our
signature into a brush. Firstly, we're going to make
a new tab and this tab is going to consist of
our personal brushes. Name it something so
you can find it back signatures or your brand
stamps or something like that. Now we have our tab and
we're ready to create a new brush and then you can go straight
to the shape tab. Go to the top and then to edit because we're going to fill this shape with
our signature and then to import and paste. Now you have your signature
inside this shape. We're going to convert this
just double tap two fingers to invert the colors. If for some reason your
signature is not showing up, make sure to go
back, wrench icon, copy Canvas and try this again. Make sure that you're
in the shape tab and not in the grain tab. You need to make sure
that you fill in the signature in
the shape source. Now we're going to make a few
more adjustments to this. We're going to go to the
first tab stroke path and then change that
spacing to maximum. Because this is a stem brush
and not a regular brush, we don't really need to see how these shapes interact
with each other. We just need separate stamps. Then next up let's go to the Apple Pencil tab
and we want to turn off the opacity completely because we don't need different
opacities here. And then let's go to properties. Here in the brush behavior tab, you can change the
size of your brush. You can make this really big. You can still change
this actual size of your signature in the slider. This isn't really
that important. Just make sure it's
on a decent size. Then lastly, in preview, here we can see what
our brush is going to look like in
the brush library. We're going to toggle
on us stamp preview and that we can actually see our signature
in the preview. And that is our
signature stamp done. Now all that's left to do is to change the name of our brush. I just hold your finger
onto the brush and then this menu pops up and you
can rename your brush. Let's test it out on a new
layer, see how this looks. Perfect. As I mentioned
with this slider, you can still change the
size and the opacity. But if you're ever maybe
working on a really big size, maybe you're doing print
and you want to include your signature and the
size isn't big enough, you just go back
into that brush, just tap on that brush and change the size if you need to. What is really
handy here is when you want a consistent
size of your signature, you can bookmark that size. The way to do that is go to that size tap on the
slider and plus. Now you have this size saved, which is saved inside
the brush settings. You can do the same
thing with the opacity, for example, and
save that as well. Just keep in mind when you're working on maybe a
different canvas size, this is connected to your
brush and not to the canvas, the sizes will be different. Now that your signature
brush is done, let's see how you can use this. The easiest way to use it is by simply placing it somewhere to the left or right bottom
of your illustration. To use this, just make a new
layer on top of your design, go to your signature,
and then use a color that you already
have inside your design. You can, for example,
select the color that you're putting
it on underneath. Place it and then
change the scaling a bit and then select a
blending mode like multiply. Now you have a very
similar tone and it blends in nicely with the
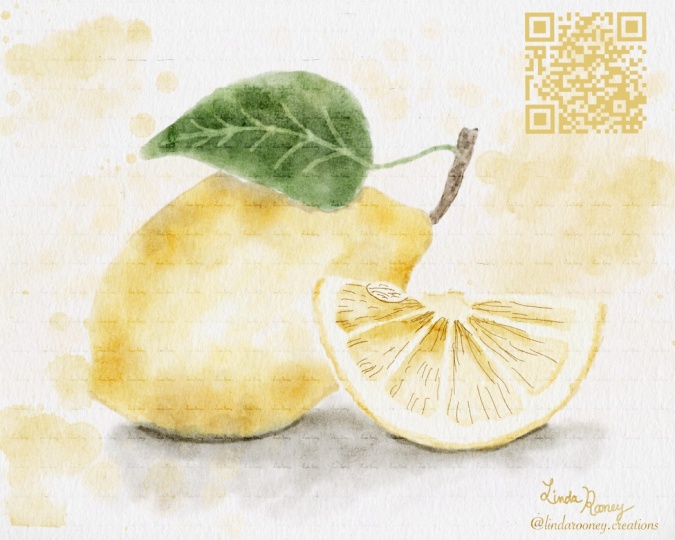
color of your design. Another way you can
use your signature is to make it really
prominent inside a design. This is something I did
that consists of lots of different shapes and I didn't really want to place it on
the side because I might want to turn this into
separate little pieces. An option here is
to place it very prominently inside those shapes. With the placement, just make it feel intentional and not
like an afterthought. You can place it
naturally at the bottom, left or right corner, but also along a
more natural edge. Just make sure to
not place it like that center because then it's going to just compete
with the focal point. You don't want your signature
to have too much focus. For your class project, I would love to see what your signature brush looks like now if you were able
to finish it properly, and you can share an
artwork that you've made with your
signature inside of it. In the next lesson,
we're going to make our social media handle.
4. Text Handle Brush: A signature looks great, but it's not always readable, and this is where
a handle comes in. This is searchable so people
can actually find you, and it's legible at small sizes, unlike a handwritten signature. It's also useful for
when you want to share your work on Instagram
or TikTok or Pinterest, for example, or when you want to share
client work online. Your signature is expressive, whereas your handle is
a bit more functional. For your handle, you
could, for example, use your portfolio,
your website, or social media handle. And you can write this out, but a really useful feature here is to use the text
function Procreate. This way, we can make sure that the handle is legible and clear. To use this, let's go
to the wrench icon, add, and then add text. I'm going to use my
Instagram handle. Then we can go to Edit Style and here you have a bunch
of different options. You can pick different fonts and then make adjustments
here as well. I'm changing this
to all capitals because I think that
looks a bit better. When you're ready, make sure to use the width of your canvas. Then we're going to turn
this into a brush again. Let's go to the wrench icon, add Copy Canvas, and then
let's go to our tab. Because we already have a
stamp brush ready to use here, we're actually just
going to swipe left on our existing signature
brush and then duplicate. Then open up that brush and
then go to the Shape tab, and we're going to again
change that shape here, go to edit import, and paste. That's it. Now you have your
handle as a stamp as well. We already made adjustments
in the last lesson here so we don't really need to change anything to the brush itself. In properties, you can change
the size if you need to. Lastly, in the preview tab, you can change what the
preview looks like. You might need to change
the size here a little bit. You can hold your brush to move it around and then rename it. Let's test it out. That's it. The way that you can use it is very similar to
your signature. For example, here,
in this piece, actually a bit more space to
put a social media handle. As I'm going to be
sharing this online, I would like to add my
handle to this piece. Add your handle to a new
layer and I'm changing the blending mode here to multiply so that it stands
out from the background. That's it. You can also use your handle in
combination with your signature. It really depends on what
you want to use it for. You can also integrate
it a bit more into your design to hide away
your handle or signature. You could, for example, add it like this inside a book. This is also really useful
to have on hand when you maybe want to
print something and you want to add your handle. Just make sure that
your handle is always legible and you
don't layer it too much. You just keep it
simple and make sure that you can read it properly. In the next lesson, we're
going to make our QR code.
5. QR Code Brush: Next up, we're going to
make our personal QR code. I think this is such an
underrated tool for illustrators. You could have
your personal code directly linked to
your portfolio, your socials, a shop, a newsletter, and much more. In this example, I
combine it together with a signature and
social media handle because I want to basically turn this design into a print. It's really useful, for
example, making posters, anything you're going to print because it makes your
artwork directly scannable and something that people could look
at immediately. This is a great way to
promote your work if you want to make any kind of
prints in Procreate directly, like greeting cards, posters, business cards, your
QR code is a must. Firstly, let me show
you how you can make your own QR code and
then we're going to turn it into a stamp brush. If you want to use
it, let's say, for your website
or your portfolio, go to your page and
then in Chrome, go to the Share button
and then view more. Here you'll find the
option to make a QR code. All browsers should have the
option to make a QR code. Now we can copy that code directly and we can paste it
into our Procreate Canvas. In this case, we don't
need any of the text, so I'm going to delete that. This is how you would make a QR code for your web
page or your portfolio. If you want to use
it for your socials, for example, for Instagram, this is really easy as well. Just make sure to
open your Instagram, share profile, and now you can save an image of your
Instagram in different colors. I'm just going to
use black because that's what we need
for our brush. Then simply add
photo and that's it. In this case, we only
want the QR code itself. I'm just isolating this
and deleting the rest. I'm going to use
the Instagram code and then make sure to blow it up to the size of your Canvas. I'm going to follow
the same steps again, go to the wrench
icon. Ad copy Canvas. Let's go to our tab
and we're simply going to duplicate one
of our other brushes. For example, the handle,
swipe to the left, duplicate tab, and then go directly to the shape source that we're
going to change here. Go to edit, import and paste. That's it. This is our QR code. Again, you might want to
go to the preview tab to change the size a little bit. And then lastly, let's
change the name. So it's just hold down on
your brush and then rename. Let's test it out. And
that's star QR code done. Something important
to keep in mind here is to always test your QR code. Just make sure to scan
it with your phone, see if it goes to
the right place. It has happened to me
before that I used a website that
generates QR codes and put this on business cards
that I printed and it turns out that QR code expired,
but it really shouldn't. Just make sure that you
use a direct source like your social media profile or a browser and it should
keep on working. Can make sure that it works
on a small size as well. So here are some little
business cards that I printed, and I made these directly
in Procreate using the QR code and the text tool for my
website and social media. Make sure to keep your
QR code small but scannable and place it somewhere in a corner
or near your signature, so it's clear where it goes. Make sure to use it in
high contrast as well just because scanning doesn't always work if the colors
are too similar. Lastly, of course,
make sure to test it before you export it to
see if it's not too small. Lastly, in the next lesson, we're going to make
our Watermark pattern.
6. Watermark Pattern Brush: The last brush we're
going to make in our set is a Watermark pattern. A Watermark is a faint mark or logo placed over your design, so your work is identifiable and it cannot be
copied as easily. Watermark is a bit more
subtle than a signature, but it definitely plays a part. I didn't use this
before, but recently, I actually had a design of
mine stolen by a company, a poster design that I had on my website without my knowledge. Moving forward, whenever
I share something new in my portfolio or on Pintrest, for example, I try to add a
watermark to it just in case. It's not a perfect solution, but at least it protects
your art a little bit, and it makes me at least feel a bit more control of
what I share online. Firstly, I'm going
to show you how to make this Watermark brush, which is actually
a pattern brush, and then I'm going
to show you how to use it on your designs. Instead of starting
from scratch, we're going to use
our signature, and we're going to use the selection tool to
make this a bit smaller. Now we have a bit more
white space around it, which is what we need to
repeat our signature. Let's go to the
wrench icon and copy Canvas because this brush is a little different
from the other ones, we're going to go to our set and create a new brush again. Instead of going
to the shape tab, we're going to go to grain
underneath the shape. The difference between the
shape and grain is that the shape source defines the outline or the
shape of your brush. The grain source
actually defines the texture applied
within that shape. This acts a little differently, and this is what we would
use to make a pattern, for example, edit,
import, and then paste. Just like before, we're
going to invert this, tap with two fingers and this is the
beginning of our brush. But we're going to make
a few more changes. Here you can see
that the grain is set automatically to moving, but we actually want to
change it to texturized. This makes the grain that
we just added static, so it doesn't move
when we use our brush. Here you can see, we can slowly see our
signature coming back, but we need to change
the scale a little bit. Let's bring down the scale. Now you can see our signature being repeated like a pattern. This is what we need
for our watermark. There are a couple of more options here
you can play with, you have depth and then the blending mode,
brightness and contrast. You can make adjustments
here if you need to. Then as always, we'll go to Apple pencil and I'm
turning off that opacity, so there's no changes in the pressure we put
on our Apple pencil. Then in properties,
you can just put this on a maximum size
and in preview, we can make changes to how we see the brush in the library. That's it. Let's rename
this brush lastly. And we'll test it
out on a new layer. Here you can see we basically
turned our signature into a pattern and now you can
use this as a watermark. By the way, before I show
you how to use this, now we have our four brushes. We put them in a set,
but let's say you left them somewhere else or you might not be
able to find them back. When you go to your
brush libraries and then just push
the menu down, you have a search function. Just look for your
brushes there and you'll be able to find
them back easily. For example, in this
illustration I did, I add a new layer on top, select black and the watermark. I'm just adding it on top and the scale like this is fine. Then change the blending
mode to overlay. Here you can see that it blends in with the colors
underneath, which is ideal. It's again, a bit more subtle, especially when we
lower the opacity. Here you can see what
that looks like. So the scale of your
watermark is going to depend a bit on the
size of your canvas. So here, for example, this is a template for a greeting card, and this is a pretty big size. So the watermark is
going to show up a bit smaller. But it's still fine. If you want to change
the size of this, we've seen with the brushes you can tap on a brush and just change the brush size in the
properties if you need to. And this is all of
our brushes done.
7. What's Next?: Your signature, handle, QR code, and watermark each have
a very different job. When you use them, you're
not just signing your work, you're making sure that
people can actually find you. You're also protecting
your artwork and you're telling yourself and the world
that your art is valuable. This is why I wanted
to share this class. When I started using my
signature everywhere, it gave me a boost of confidence because it somehow
felt more valuable. It also felt like
official way to finish an art piece when I was finished drawing and
it gave it a space. I really hope that it does
the same for you as well. Before you leave, please leave this class a review in
the reviews tab and share a screenshot of your brushes in the
projects and resources tab. You can also take an
existing artwork you made and add one of your
new stamp brushes to it. I can't wait to see
what you share with me and other students
in this class. I would also love
to see a process so you can share with
me on Instagram. For more updates, you
can follow me right here on Skillshare and subscribe
to my newsletter. I try to make regular classes
tutorials and give you Procreate freebies whenever
possible. See you soon! :)
 Claire Makes Things, Illustrator | Lettering Artist