Transcripts
1. Trailer: Hi, my name is Aga Kobylińska I am a Surface Pattern designer working freelance from mu home studio in Warsaw. During this'll class I would like to share with you a kind of shortcut technique to create seamless pattern designs in Photoshop. If you have created repeats in, let's say, a "traditional way", using this software, you have probably encountered a problem that, once your repeat, is ready. It sometimes doesn't look really well on the larger surface. In this cases you have to go back to your tile and do all the mess again, with no guarantee that this time the effect will be perfect. I like to see the effects of my work along the way. That's why I came up with a technique that focuses on the larger surface filled with your pattern so you have bigger control over it. Even if you still manipulate only one repeat tile. This technique is very simple, and it takes advantage of my favorite Smart Objects. It can be applied both by those of you who have never tried to use Photoshop for making patterns and for those who do it often. For my creative process, this technique works perfectly and saves me a lot of time. Join my class and check out if it will also work for you.
2. Introduction: Hi everyone! Welcome to the class. I'm Aga Kobylińska, and I'm so happy you have decided to join us. I hope that this course will inspire you to create patterns out of your illustrations or paintings and that it will help you to feel more confident in Adobe Photoshop for this purpose. The first thing I would like to talk about is what we will cover in this class. We'll start out by explaining how the repeats work and how you make them in Adobe Photoshop in a traditional way. This section is mainly for those of you who have never really tried to make pattern designs in Photoshop, as it really helps to understand how it works
before going into shortcuts. I will also talk about advantages and limitations of this technique and if you have already worked with repeats in Photoshop you can skip this part. Then we'll talk about my favorite technique of creating pattern designs in Photoshop that I call "inverse" technique. It's easy to handle, doesn't require too much of calculating and it enables you to see the whole pattern surface along the way. It takes a maximum advantage of Smart Objects so if you had seen my previous class, you know that I just love them. Finally, I will show you how to make half-drop repeat pattern designs
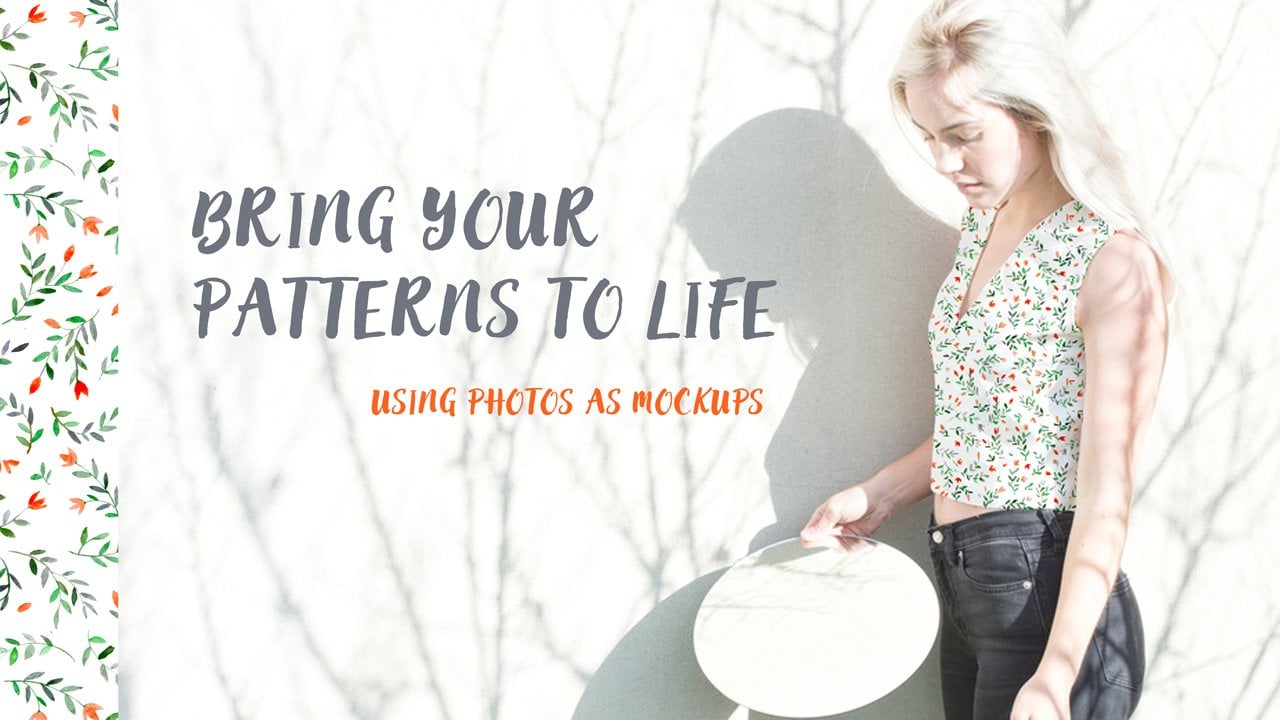
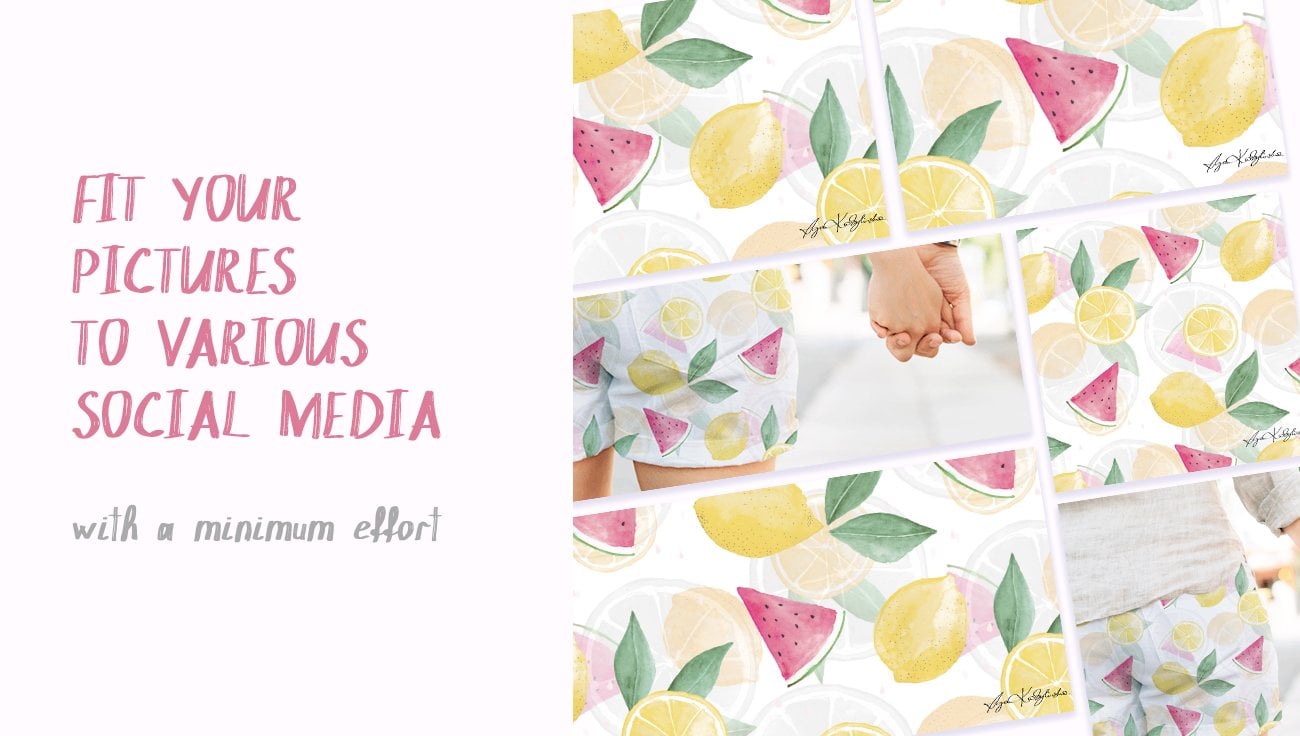
using both techniques. As a class project, I will ask you to create your own pattern design and share it on the web. For the presentation purposes, you can use a mockup picture
following instructions from my previous class. Okay, so let's get started.
3. Preparing Your Motifs: No matter which technique you will prefer later on, we will need a bunch of scant and cut out motifs
that we will compose into pattern. So, here are some fruits I have painted for the purpose of this class. I scanned them in 600 ppi as I like to have my images in high resolution. Now we'll cut them out to separate layers and turn into Smart Objects. At this stage, I'm doing it roughly without focusing too much on the edges of the fruits. Once your motif is selected, right click on it and choose layer via copy
and a new layer with your element up here. I would call this layer "watermelon" one. As you see I use lasso tool for making the selections but if you prefer, you can also use the pen tool. The essential issue here is not to cut out any part of our um, let say "hero fruit" so it's better to cut out the elements a few millimeters from their edges. Repeat this action for all your motifs, remembering to have a layer with all your illustrations selected because otherwise the program will shout that there is nothing in the layer. Okay, I will accelerate a little bit this cutting out in order not to bore you to much. Um, Okay, let's say we have all our fruits on the separate layers. Now, convert all the motives into Smart Objects. It's particularly important in case of traditional technique of designing patterns because if you make a copy of a Smart Object
and then make any modifications inside, it automatically changes all the copies. Here is the example. You see? There is a part of watermelon in this kiwi so I will go into the Smart Object, I will erase this part, and you see? There is no watermelon on any of those two kiwis here. This is also the reason why I like to work with Smart Objects because if you don't have to lose your time and energy now to precisely cut out the motifs that you will maybe not use in your final design. You can rework particular motifs once your repeat is done. Okay, so once we have our collection of Smart Objects, we can move to create a repeat tile.
4. Designing A Repeat Tile ("Traditional" Way): Now let's talk a while about repeats. I often call them repeat tiles because I like to imagine them as elements of a mosaic. If you take a close look at the fabrics or wallpapers in your house, you'll probably spot an element that repeats. It can have different sizes and shapes but the most common are a rectangle repeats. Here are some examples of my patterns with the repeats. If you design the repeat in, let's say traditional way you focus just on this element
and the rest follows. Here is a quick instruction how we do it. So create a new document. To make things easy, I suggest you to use the settings: Resolution: 300 ppi Size 3000 pixels It's about 10 inches square and 25 centimeters square. This will be your tile. Now move your fruit Smart Objects from the original document and place them around the tile. If you want to change the scale or the position of the object tape "CTR + T" and the controls appear. Don't be afraid of decreasing the size as the original illustration is inside the Smart Object stays untouched. So you don't lose the resolution. Try to arrange the elements quite evenly so the composition is pleasant to the eye. Remember that this is, um, tile that will lie next to the other so the elements that overlap the edges had to repeat on both sides. In order to do this, copy the layer with the overlapping element by holding out or just by using this copy button. In our case, this will be a watermelon. I used the shortcut "CTR + T" to open a transfer box at the top of the screen. As our watermelon needs to be repeated vertically, add the height of our tile to the "Y" value. This is the reason why we set our tile to 3000 pixels. It's just easier to count. Once you have a copy of your watermelon in a good place, link both the layers so if you want to move your element later on, you move them both. As you can see, our waterman overlaps also the right edge. This time, we'll have to copy it and move to the left, so the calculation will be a little bit harder because we need to subtract the width of our repeat from the "X" value. I will use the calculator for this purpose. I will repeat the process for the banana copying it vertically. You can already see that it overlaps the other one that is closer to the center of the repeat so I will move this one a little bit. I will repeat all the steps with the star fruit that needs to be copied horizontally and vertically. Now I will rearrange all the elements to fill the tile and if any fruit overlaps the edges, it's the time to repeat the process I had shown before. Once you are sure that all the elements overlapping the edges repeat on both sides, it's time to check your composition. To do so: go to "Edit", "Define pattern" and "Name your pattern". Open a new document and fill it with your pattern. Change the scale, so you see, more repeats on one surface, check if there are any errors in repeats on that you like the general look. I would like to fill this white areas here so I have to go back to my tile and put some elements in this areas. Once it's done, I have to define a pattern again. Let's check how it looks now. Okay, I'm quite happy with the composition, and this is the moment to refine particular elements, especially if you want to change the background color. This is why Smart Objects are so essential. You just go into your smart object by clicking twice on it and do all the necessary amendments. I will not go into details here, but I will show you on an example. I will refine the edges of my watermelon
by adding clipping mask and save. You immediately see the changes on all the elements but also on all its copies. You can do whatever you want, including the change of the element here. There will all change in your repeat tile, which saves you a lot of time. Congratulations! You have your repeat tile and now you can save your final pattern. Check again If everything is fine To delete the previous versions go into "Edit", "Presets", "Presets manager", "Pattern", mark the unwanted patterns and delete them. If you want to have a JPEG or TIFF to print it out, check your manufacturers guidelines and go to: "Save", "Save as". I will save it as JPEG. As you see this way of designing patterns is quite easy to understand and gives you quite a lot of control thanks to Smart Objects. However, if there is something wrong, you see it only after finishing the repeat, so it often requires several series od amendments. That's why I want to show you an "inverse" technique, so here we go.
5. Designing Patterns Easier and Faster!: So now it's time to go to the main subject of this class, which is a shortcut technique or "inverse" technique of creating repeat patterns. Here is how we use it. Create a new document. This time it should be quite big because it represents a surface containing several repeat tiles lying next to the other and this is exactly what we will do. I will make my document 30 inches square in 300 ppi this is 9000 pixels and about 76 centimeters. Now let's decide which will be the size of our repeat and make a square or a rectangle of this size. I will create a square off 3000 pixels In the properties box change the fill colour, to any colour just to see your square and make this, let's say black. Align your square to the left up corner of your document and I will include the size in the layer name and convert it to.... Yes, Smart Object! Copy the layer with the rectangle eight times and arrange them exactly next to the other. I think the fastest way to do so is to copy the layer by holding "ALT" and dragging it up in the layer panel and adding their width and height
in the "X" and or "Y" area inside the transfer box. (you open it by using shortcut "CTR + T") Do you already guessed where am I going? Yeah, this is our surface and the squares are our repeats. If you click twice on any of the squares, you enter a repeat tile So if you put there any of your fruits and save, you will see all the mosaic in the neighboring window. Let's take advantage of it to create a pattern. I will drag here all the fruits I prepared in the previous tutorial so they are already cut out and arrange them around the tile. Each time, you say If you're a Smart Object, you can see in the next window what's the overall result of your action. Yeah, it's that simple. The background colour here serves as your guide but you can turn it off in any moment. Ah, but don't delete this as It's a very useful element. What if you would like to put an element on the edge like here? Well, the easiest way is to enlarge the workspace of your Smart Object, while saving the proportions. The fastest way to do so is by using the crop tool. Drag your right button corner while holding "SHIFT" to maintain the proportions. Okay, I think this will be sufficient. As you see, all our mosaic has moved but the tiles hold tight and nicely lying next to each other. If I put a kiwi on this corner, well, let's check what will happen. As you see, the kiwi disappears behind our rectangle. But we only need to turn off its visibility and you can play around as much as you want. Once you're happy with your pattern surface save your PSD tile. I will call mine "inverse fruit mosaic" Now we need to get a single repeat that will be needed both for defining a pattern and for your fabric manufacturer. As we have noted before what is the size of our repeat we don't need to look for it anyway. And we will use the marquee tool to define a tile. Be sure that in the style box the fixed rate is checked and put your values there note the units. Once it's done, click on any place of your board excluding right bottom corner of course as there are some tiles missing there. you have repeat selected now choose the crop tool, type "ENTER" twice and you have your tile. I will save it as "fruit tile" and now we can define it as a pattern and save as JPEG or TIFF and that's it. Is there any hook? Well, actually the Smart Objects take up quite a lot of system memory so if you have any problem with your computer, I will recommend you to rasterize your fruits. This way, you will not have so much levels Let's say of Smart Objects. That should help. It, of course enforces you
to prepare your elements before starting your pattern but you may not have a choice if you're in lack of memory. Okay, so that's it. I hope you love this technique!
6. Designing a Half Drop Repeat: As we already know how to create basic repeats I have a little bonus for all of you who would also like to learn how the half drop repeats works. It's like the basic repeat except that design is repeated with half step vertically
as you move to the right. It often helps to make your repeat less obvious and it's easy to make even after your tile is finished. I will quickly show you how. If you have your repeat tile prepared in a traditional technique save a new document as a "fruit repeat half drop". If you don't remember what was the size of your tile, check it by going to: "Image", "Image size". Our tile is 3000 pixels so half of it will be 1500 pixels. This is the distance that our right edge motifs will have to move vertically. So select these motifs overlapping the right edge and delete them. And now select all the motifs that overlap left edge and copy them and click "CTR + T" uh, enter the value, um, increased by 3000 pixels wide and 1500 pixels height. Um, We will need to copy this three motifs again and move it up so we will have to subtract 3000 from the "Y" value. Now, change the arrangement of the elements from the tile center. If there is something that overlaps or there is something in the composition that you don't like and your half drop repeat is ready. For example, for the Spoonflower.com it will be okay. You can save this repeat as JPEG and put it on Spoonflower.com and check the half drop repeat there But in Adobe Photoshop the saving repeat won't work As this application supports only basic patterns. So instead, use the shortcut " CTR + ALT +SHIFT +E" which will create a new layer out of all visible layers. Now go to" "Image", "Canvas size" and enlarge the canvas 100% horizontally. Be sure that this icon this checked. Now copy your new layer by remembering to hold the appropriate distance. It made sound annoying but in fact it works quite fast. So now you have, uh, a tile that is half drop repeat tile but it's actually a basic repeat tile if you know what I mean. You can save it as pattern, You can define this as pattern in Photoshop and check out if everything works fine. I think the process is much faster with our "inverse" technique because once you have your document opened, (I mean this document where you have a lot, this big surface) select the middle vertical row of tiles, type "CTR + T" and add 1500 pixels into the "Y" axis area. As before, you can do any modifications while seeing the results on this fragment. So if there are any elements overlaping or if you don't like the composition, you can easily rearrange it any way you want. You can define a pattern as the basic repeat by using a marquee tool like I had shown in the previews tutorial. Now, repeat all the croping process and you can save your tile and define a pattern. Sounds good? Check it out by yourself! :)
7. Goodbye & Good Luck!: Okay, That's the end of the class. Thank you so much for joining us and I hope you will have a lot of fun creating patterns using new skills. Please don't forget to share your project in the Class Project section. I hope you will have a lot of fun while creating your fruit patterns using the new skills. If you hadn't done it yet, I invite you to join my previous class where I was showing how to present designs on mock ups See you next time :) Bye!
 Aga Kobylinska, Surface pattern designer