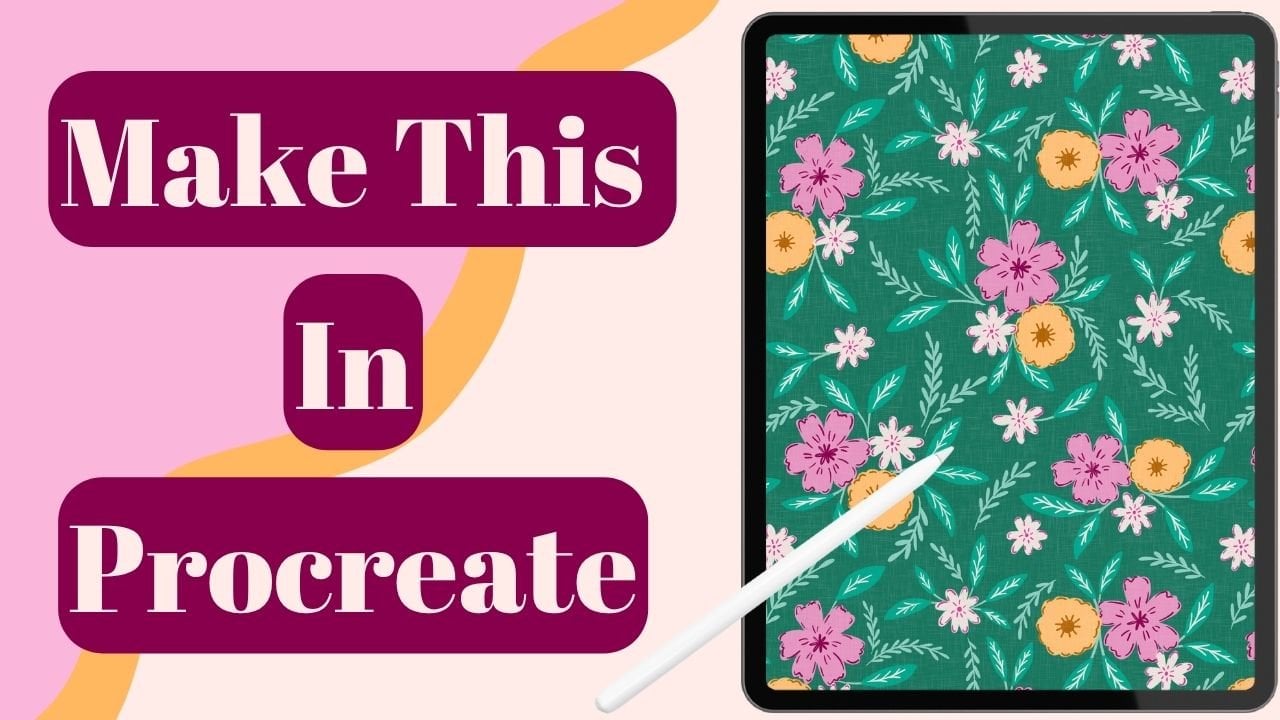
Create A Pattern Using The Circle Shape In Procreate
 Mrunmayee Das, Artist and Surface Designer
Watch this class and thousands more
Watch this class and thousands more
Lessons in This Class
-
-
1.
Class Intro & Project
1:28
-
2.
Create The Pattern & Test It
9:32
-
3.
Next Steps
0:24
-
-
- --
- Beginner level
- Intermediate level
- Advanced level
- All levels
Community Generated
The level is determined by a majority opinion of students who have reviewed this class. The teacher's recommendation is shown until at least 5 student responses are collected.
221
Students
8
Projects
About This Class
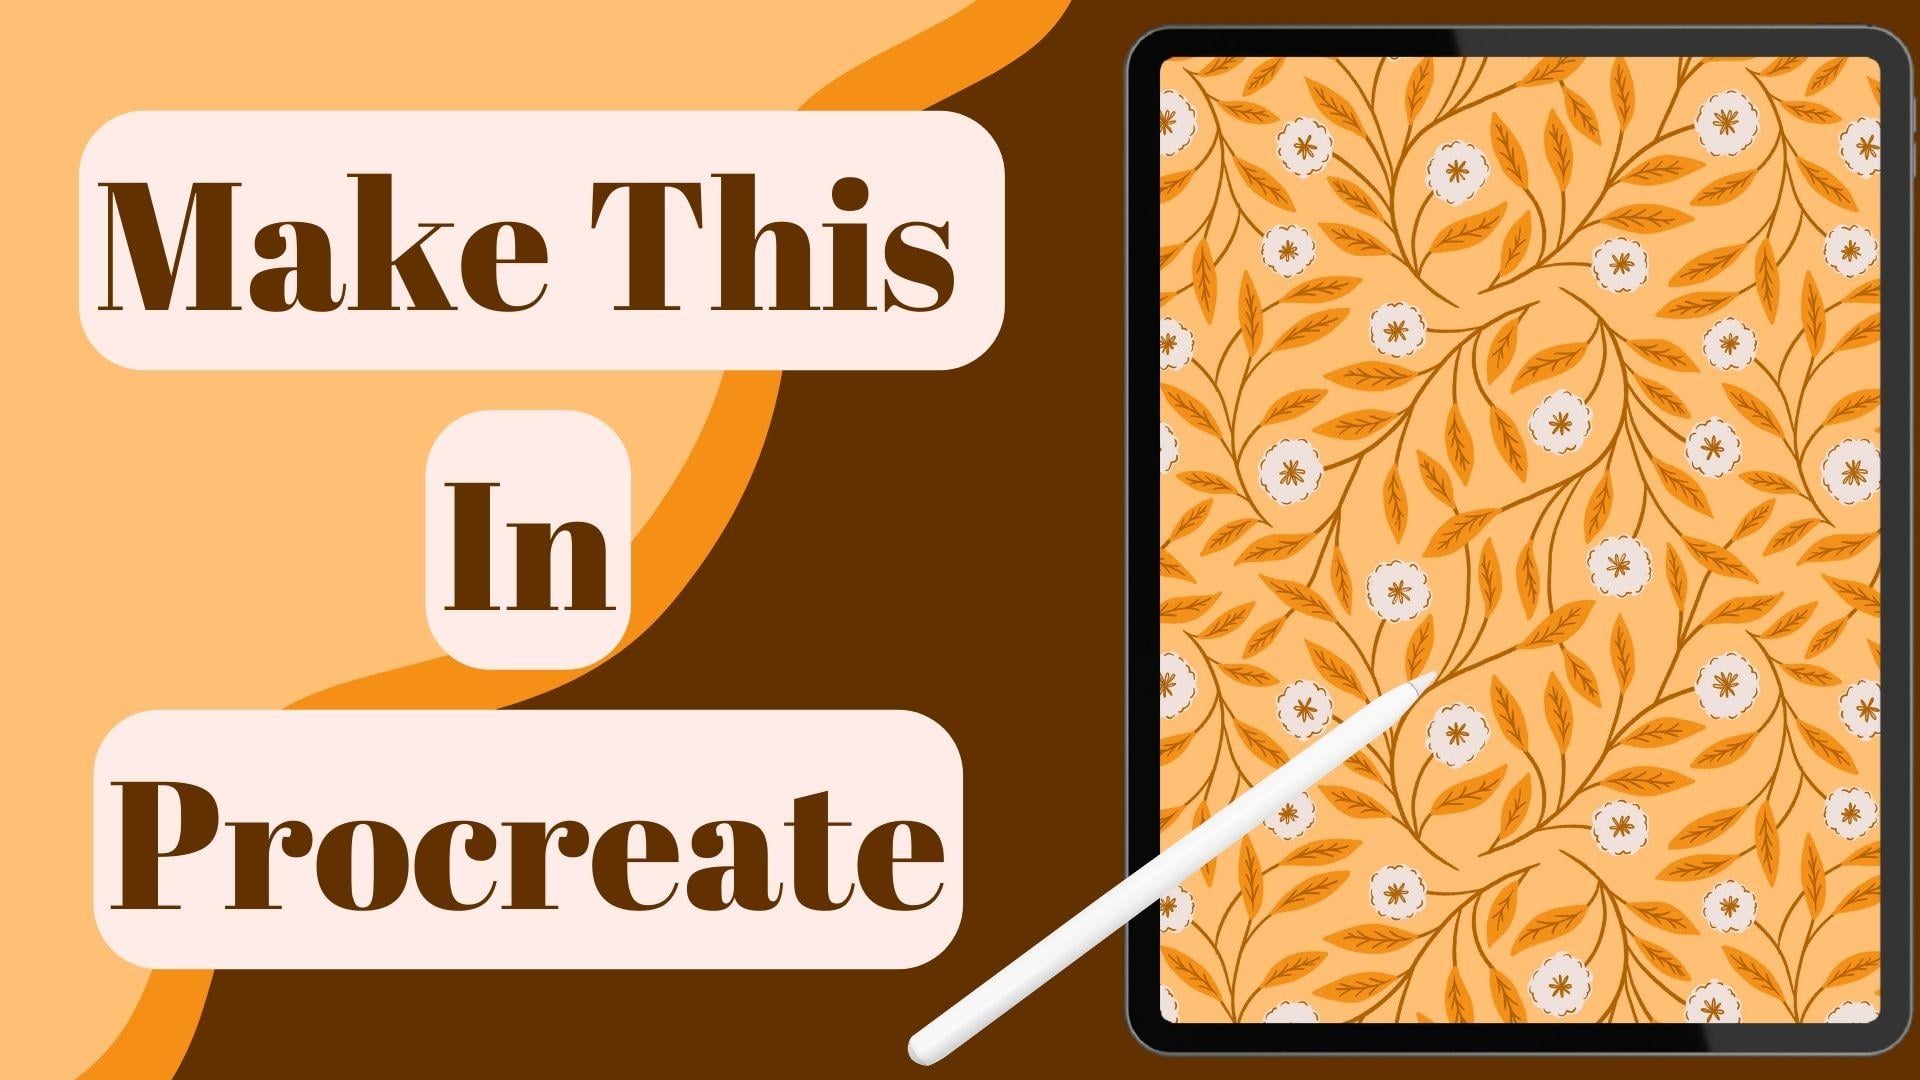
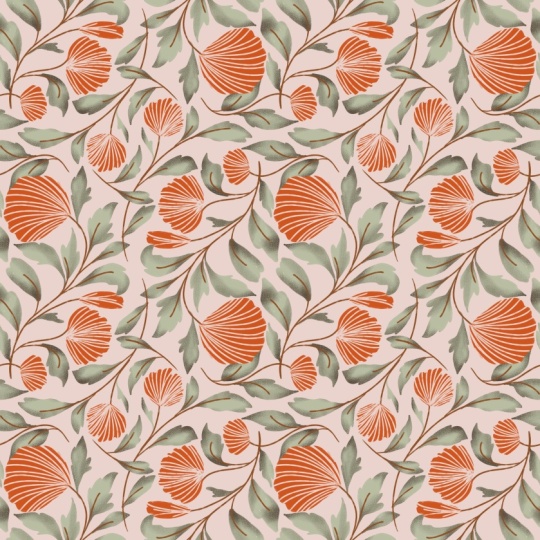
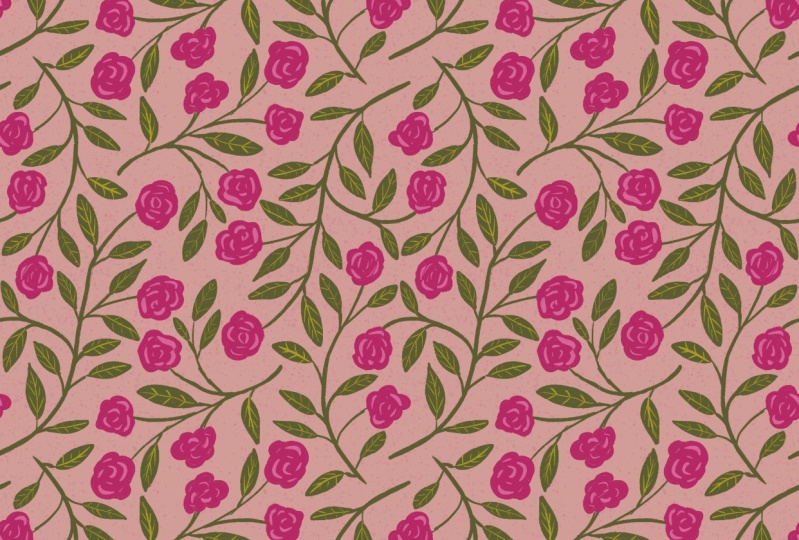
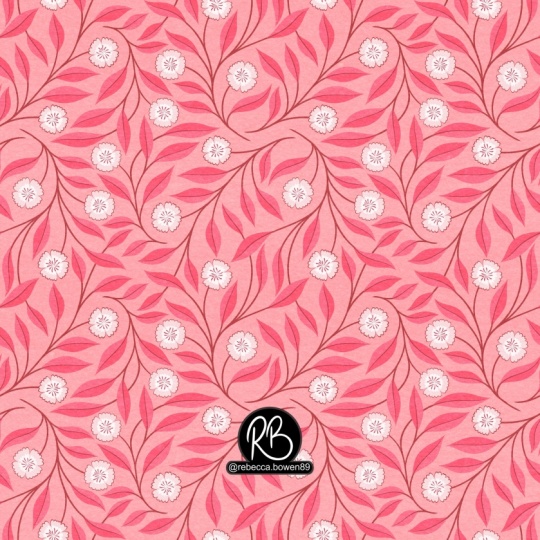
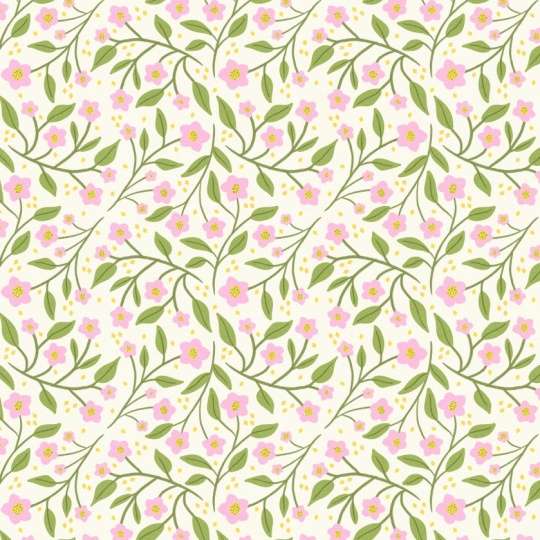
Have you ever wanted to create a pattern that looks intricate and professional, but is surprisingly simple to design? In this class, I’ll guide you step by step through creating a beautiful intertwined pattern in Procreate using just a circle layout and the symmetry tool.
We’ll start by setting up the layout, sketching the layout using the symmetry options in Procreate and then creating the pattern using the Pattern Creation Canvas.
By the end of this short class, you’ll have a completed seamless pattern that looks detailed and polished, ready to use on fabrics, wallpapers, or digital designs. Plus, you’ll have the confidence to create more geometric shape based layouts on your own.
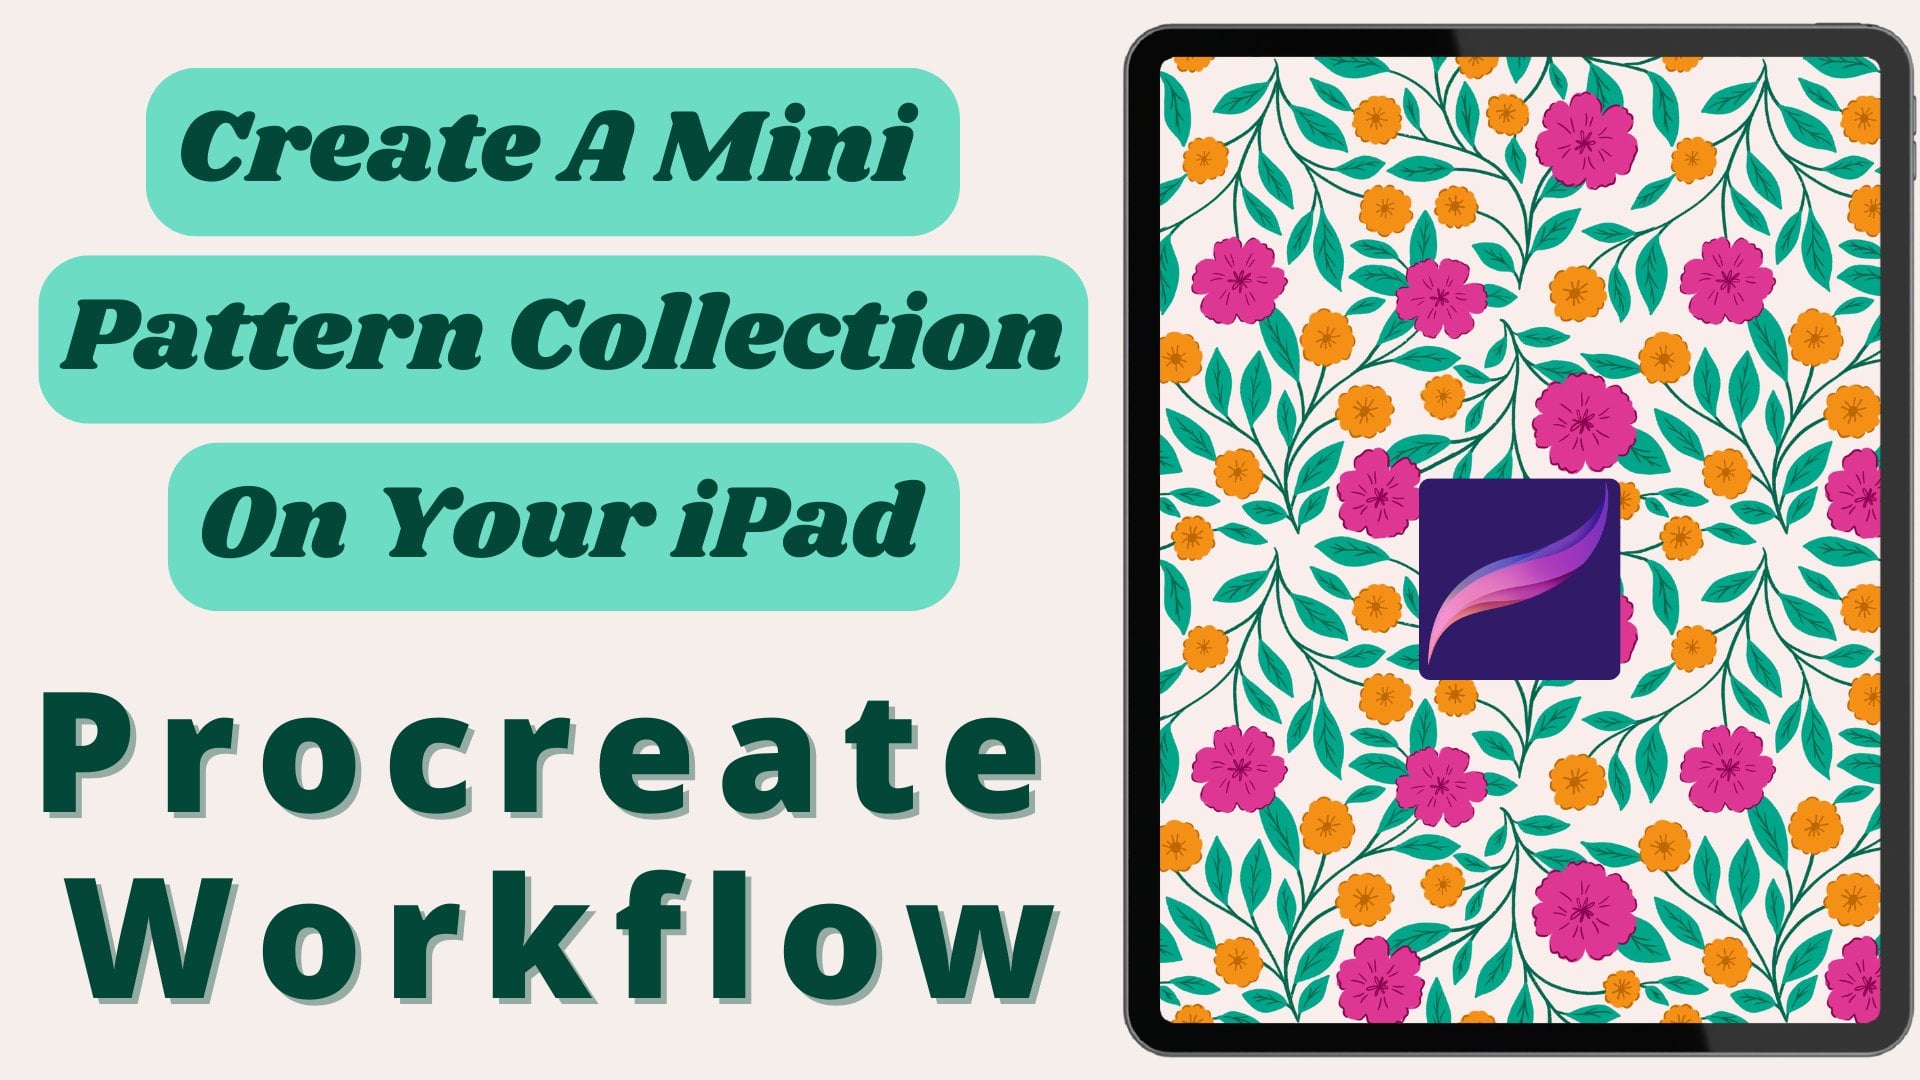
If you enjoyed learning how to create a mini pattern collection in my previous class, this one will feel like the perfect next step. While that class focused on building collections with grid, half-drop, and half-brick repeats, in this lesson we’ll dive into a fresh workflow where we'll design an intricate intertwined pattern using a simple circle layout and Procreate’s symmetry tool.
So grab your iPad and let's dive straight into it.

Hands-on Class Project
For the class project, you'll be creating and uploading a finished pattern using the circle shape as a layout in Procreate.
After creating your patterns, save it as a JPEG or PNG file. Then upload the file to the projects gallery.
You can download the free resources from the link provided in the projects and resources section if you want to use the template and colour palettes that I have provided or you can use your own palette and template.
Download the free pattern creation canvas and circle layout here.
Class Ratings
Why Join Skillshare?
Take award-winning Skillshare Original Classes
Each class has short lessons, hands-on projects
Your membership supports Skillshare teachers
Learn From Anywhere
Take classes on the go with the Skillshare app. Stream or download to watch on the plane, the subway, or wherever you learn best.