Transcripts
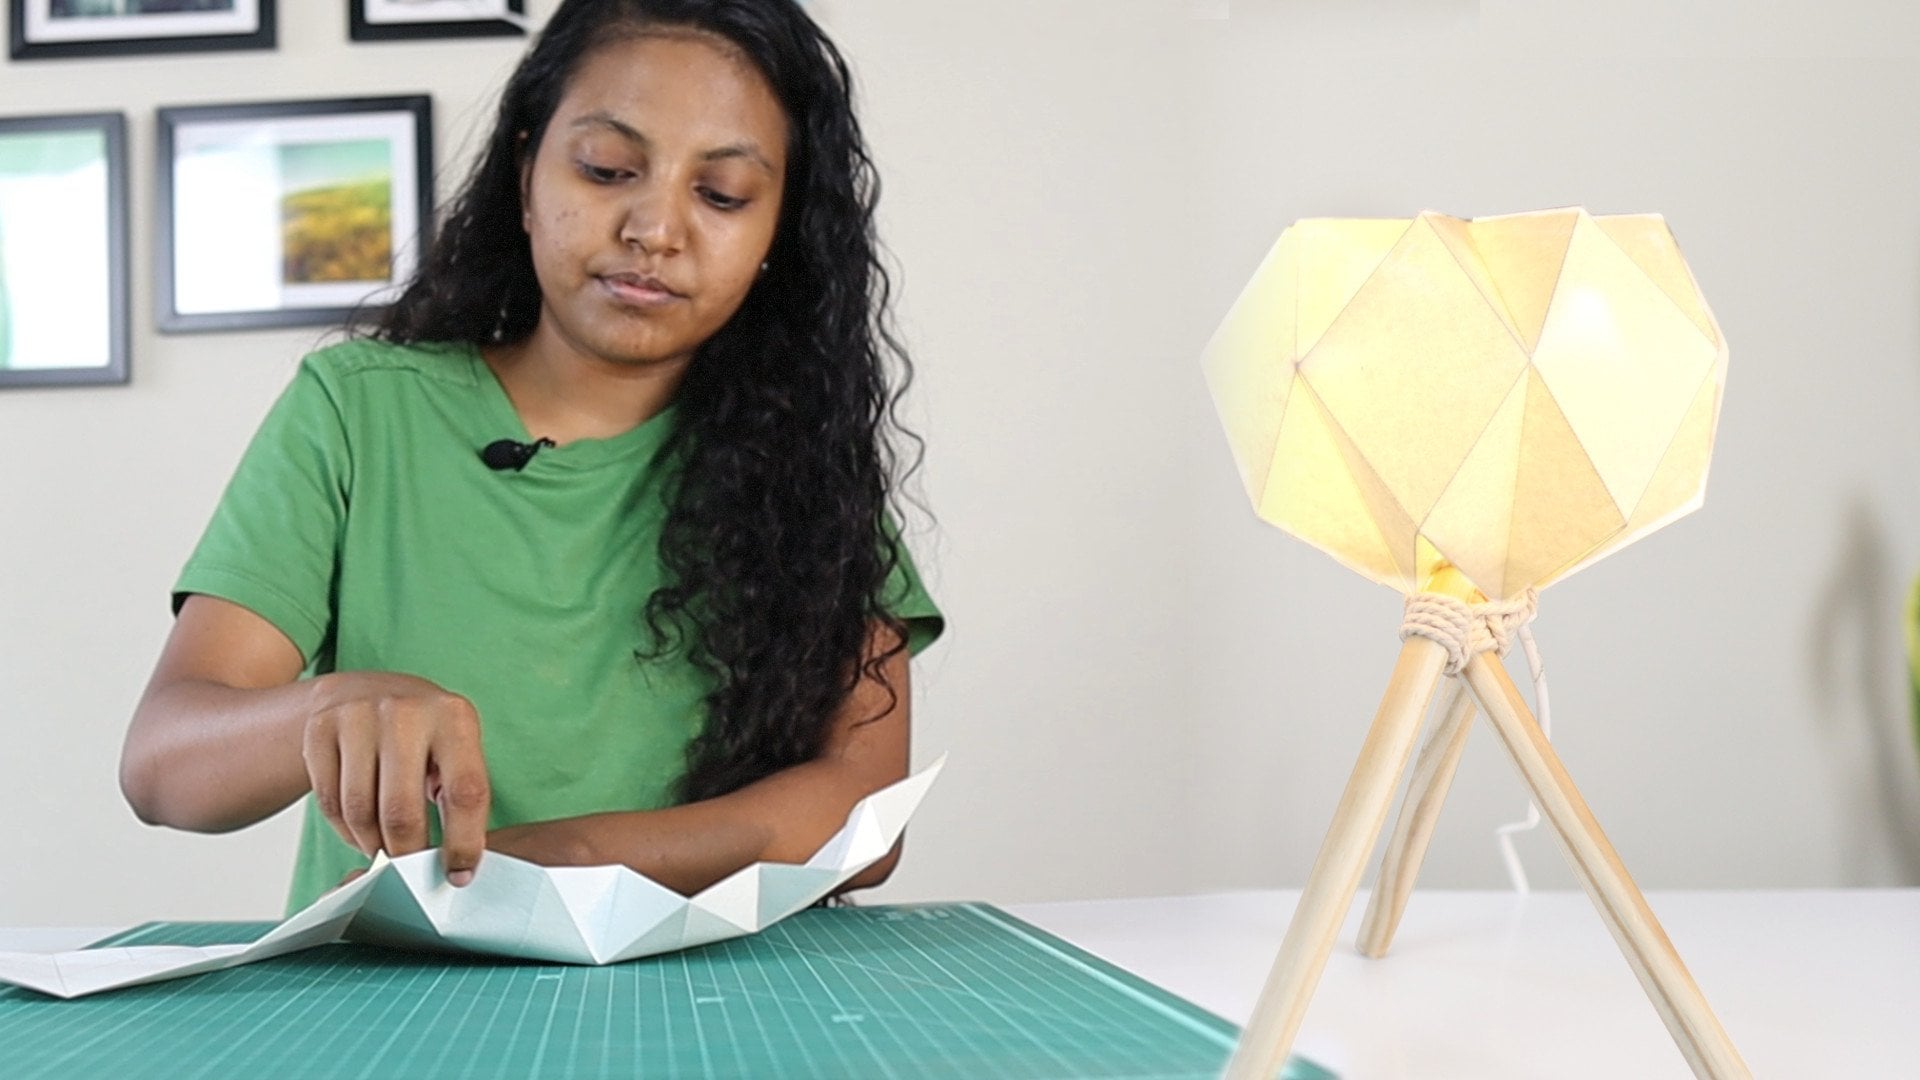
1. 01 introduction paper planter sleeve: Plants are a great addition to a home as spring color
and life to any space. But styling indoor plants can
be difficult and expensive. In this series of lessons, we will have a different
approach towards styling indoor plants with simple DI paper
folding techniques. Hi, I'm Claudia, a fashion and lifestyle
accessory designer from India. I have always been excited in using paper to generate
home decor solutions. Join me in this class
where I show you how to create paper planter sleeves that give your
planter a new look. We will be starting with
choosing the right paper, then prepare our pattern
with the supply template. We will then be moving on
to the best practices and techniques on scoring,
folding and glowing. This class ZM for
complete bigness. Hence, taking this class does not require any prior knowledge, such as paper folding. If you like doing
things yourself, then enroll now, and I have to see you in the class. Thank you.
2. 02 materials required : Material is required, Ruler, C ice cream stick, cutter, glue, some papers, cutting mat a medium
sized planter with dimensions one ten by one ten
millimeter will be ideal. Access to color
printer is advised.
3. 03 paper selection: In this lesson, we are
going to see what kind of paper we can use
for this project. With my experience
of handling paper, I have come to some conclusion with respect to the papers, thickness and the texture. For this project, we'll be using plain Mc finished
paper of one 30 GSM, 2150 GSM, which
will be very ideal. Anything under one 30 GSM
might be flimsy, like this. It's a 90 GSM paper
where it's very flimsy, and this is 70 GSM. It is also very flimsy. With respect to
the texture paper, it's ideally not to
use these kind of texture paper because
when you fold, the folds might
not be very crisp. It's better to go with a very plain paper with very
minimal grain structure. These kind of papers, you can readily source in
the market like chart paper, cartridge paper, and
also the recycled paper.
4. 04 preparing the template: In this lesson, we will be looking at how to
prepare the template. Please find the template with three different patterns and one plane template drawing that can be printed on any printed or colored
sheet as your preference. If you set the exercise files, you will see three patterns, one plane template,
and template rowing. For example, if you go
inside pattern two, there will be Part
A and Part B. I'll quickly go through
the guidelines on the template of part A. Here, if you see the red
line refers to the cut line, and the dash lines refer
to the score line, and gray area refers to the glue area where you
have to apply the glue. If you don't like pattern two, there are pattern one with a different texture and pattern three with the gradient texture. If you want your planter
sleeve to be on plain sheet, there is plain template where you can print this
your choice of paper. If you don't have
access to print, then there is a file
called template drawing where this file has all the dimensions required
to construct the template. Here, the blue lines are
the construction lines. This should be removed once
you construct the template. For the sake of convenience
and accessibility purpose, I will share the
template in two parts, namely Part A and Part B. So we have to take
them printed on A four sheet and low them together to get a required size. Now I have printed the templates in two
different A four sheets. This is part A and part B. Cut them along with
the red lines. Okay. So part is ready now. Similarly, I'll cut Part B also. You can cut the edges, trims using either with a
bruler and paper cutter, or you can directly
use cess for cutting. Now we have Part A
and Part B ready. Now, the first f is to glue them together like this to
get one single sheet. Then we can start with the rest. I'm going to glue them together. Here, there will be a
gray line where you can apply glue to
that line. Okay. Just overlap. And then glue them together. Leave for a couple of
minutes for trying. The next step is to fold the top and the bottom part and then glue that
on the other side. For that, before folding,
I'm going to crease it. Similarly, I'm doing it
for the bottom as well. Once you so I can fold it. Like this. This is our required pattern for us to make the
planter sleep. Now we have to glue this
bottom end and the top. Why we are doing
this is because to add to the bottom and the
top edge of the paper. In this way, we can make the planter sleep
to stay longer. So I'm going to glue this So it can slowly apply the
blue evenly throughout the column of this folded paper. M. One supplied fold and
then press it together, and then leave it for some time for the
glue to get tricked. Similar way, I'm going to do
it for the top hole as well. By spreading the glue, make sure it is very even that you'll get better results
once it is completed. Once you put the glue, after that with this scle tip, you can do this to make it spread evenly
throughout the surface. In this way, we can
spread the glue. Once it is done, fold it. Okay. So now we have the required
template and the size.
5. 05 what is scoring: In this lesson, we will be
seeing what is scoring. Scoring is a process
of making a grease on the paper to make the
folding process easy. Generally, this
grease is created using a thin but blend
object to compress the paper fiber in a
small area to create a deep in the paper where
it can easily fold. The main advantage
of scoring is to get a clean and
good looking bend. Although there are different
scoring tools available, any blend object can be a scoring tool to create
a score on the paper. However, the thickness
of the scoring tool will vary depending
upon the paper type. Scoring tool for this project, some suggestions are
ice cream stick. Or backside of the cutter or a metal rouler Different types of scoring tools will react differently on various
paper materials. Hence, we need to get some practice scores on
the same type of paper. This will help us to understand the
parameters like pressure up and the way the scoring
tool behaves on our paper. Or the material. Getting
some practice like this will help yield better results with our
plant to sleep project. Try scoring with different
tools that are accessible to you and make that as
scoring tool for this project. Okay.
6. 06 scoring the template: In this lesson, we will
start with the process of scoring the template
of a planter sleep. Now I'm going to
start it by using a ice cream steak as by scoring
tool and a metal roder. For the scoring process, you have to place a ruler
on the dashed lines, which is the guidelines are
marked in the pattern itself, and then hold it firmly
and start scoring. You have to make a crease
using the tool like this. Slowly create the score
for all the Tash lines. All right. Now we are with a pattern
with all these lines. The next step is folding them.
7. 07 folding the template: In this lesson, you will
see how to fold them. Along with the scdeline, we can start folding. Since you have scored already, folding them is very easy. Fold give a fold along
all the scode lines. In this way, it will
be very easy for us to form the structure and glue
them together the final step. With a very little pressure, you can do it in
different times. So if you do three or
two times, it will be. Okay. Once the diagonal
lines are folded, we can go to the small
here the top lines. These triangles are
made for the plates. Slowly fold them. This will
be difficult because we have added thickness to the top by folding
them in the top. So now we are done with
the folding process.
8. 08 glueing the template: In this lesson, we will be seeing how to glue
them together, and this is the
final most process. I hope you all are completed
with the folding process. Now we'll start with the gluing. For gluing, we will be
first gluing the side. That is the first step is
to glue along the sides. I'm going to apply the glue. There is a column and
it's mentioned blue area. Apply the glue along the glue area and make sure
you apply the glue evenly. I'm not applying too much glue
and also it's not to less. In this way, you can
use the no and make it spread evenly
along the surface. Once this is done, this is a clear glue applied. Now we can start
glowing together. Aign one tip the end and then slowly try
to align the pot. In this way, we can
seal them together at. Give a mild pressure on the surfaces together
to make the glues. You can allow it for some time, and still the glue is dry. Once this step is completed, we will be gluing
all the top corners, making a small plate
as marked here, and then glue them together. This is adding thickness
to the same planter see. We will come to this end later, which is glued now, which also has a corner here. This we will be doing at last. We'll start with this. This fold is like a pleat. It's just like a
triangular pleat. So we have to apply
glue over here and then just hold
it for some time. Very little blue is
enough for this. Once you apply glue, hold it for a while to
make it stay together. Then go to the next. This is the final last corner. So once everything is stayed, then we will make the folds and then make
the structure finish. Once everything is dried, we'll finish the entire plant leave by making all the
folds crisp and clean. These are glued now. Now slowly push all glued
in this edge inside. It will automatically form like this thickness and
everything will be proper. Now, if you see
here, these dots. The intersection points,
the folds are not crisp. What we will do, we'll
just slowly push them in, then make them crisp. Along the score line, already we have folded, but we can do it again. In this way, we can
finish the entire planter leave by giving them a
crisp and clean folds, and doing it very slowly. Just give some little
pressure over here. It will automatically fall. So now, a plants for
the pot size is ready.
9. 09 installing the planter sleeve: In this lesson, we will see how to install this
with the planter. Place the tray and then place the sleeve on
top of the tray. Now, slowly insert the planter.
10. 10 scoring best practices: Best practice for
scoring Always place the ruler away from the
line, the reference line, which you are about to score, and then place your scoring
tool and then draw a line. In this way, you can exactly get a score line on top
of the reference line.
11. 11 folding best practices: Best practice for folding. Once you fold them, once you fold it,
always make sure to give some pressure on
the fold like this. In this way, you get a
crisp and clean fold.
12. 12 glueing best practices: Best practice for gluing. While applying the glue, make sure to apply it
evenly in this Z pattern, the glue area
wherever you apply. Then using the scle of the glue bottle can do this
to evenly spread the glue. In this way, you
can evenly spread the glue and also
remove the xs glue.
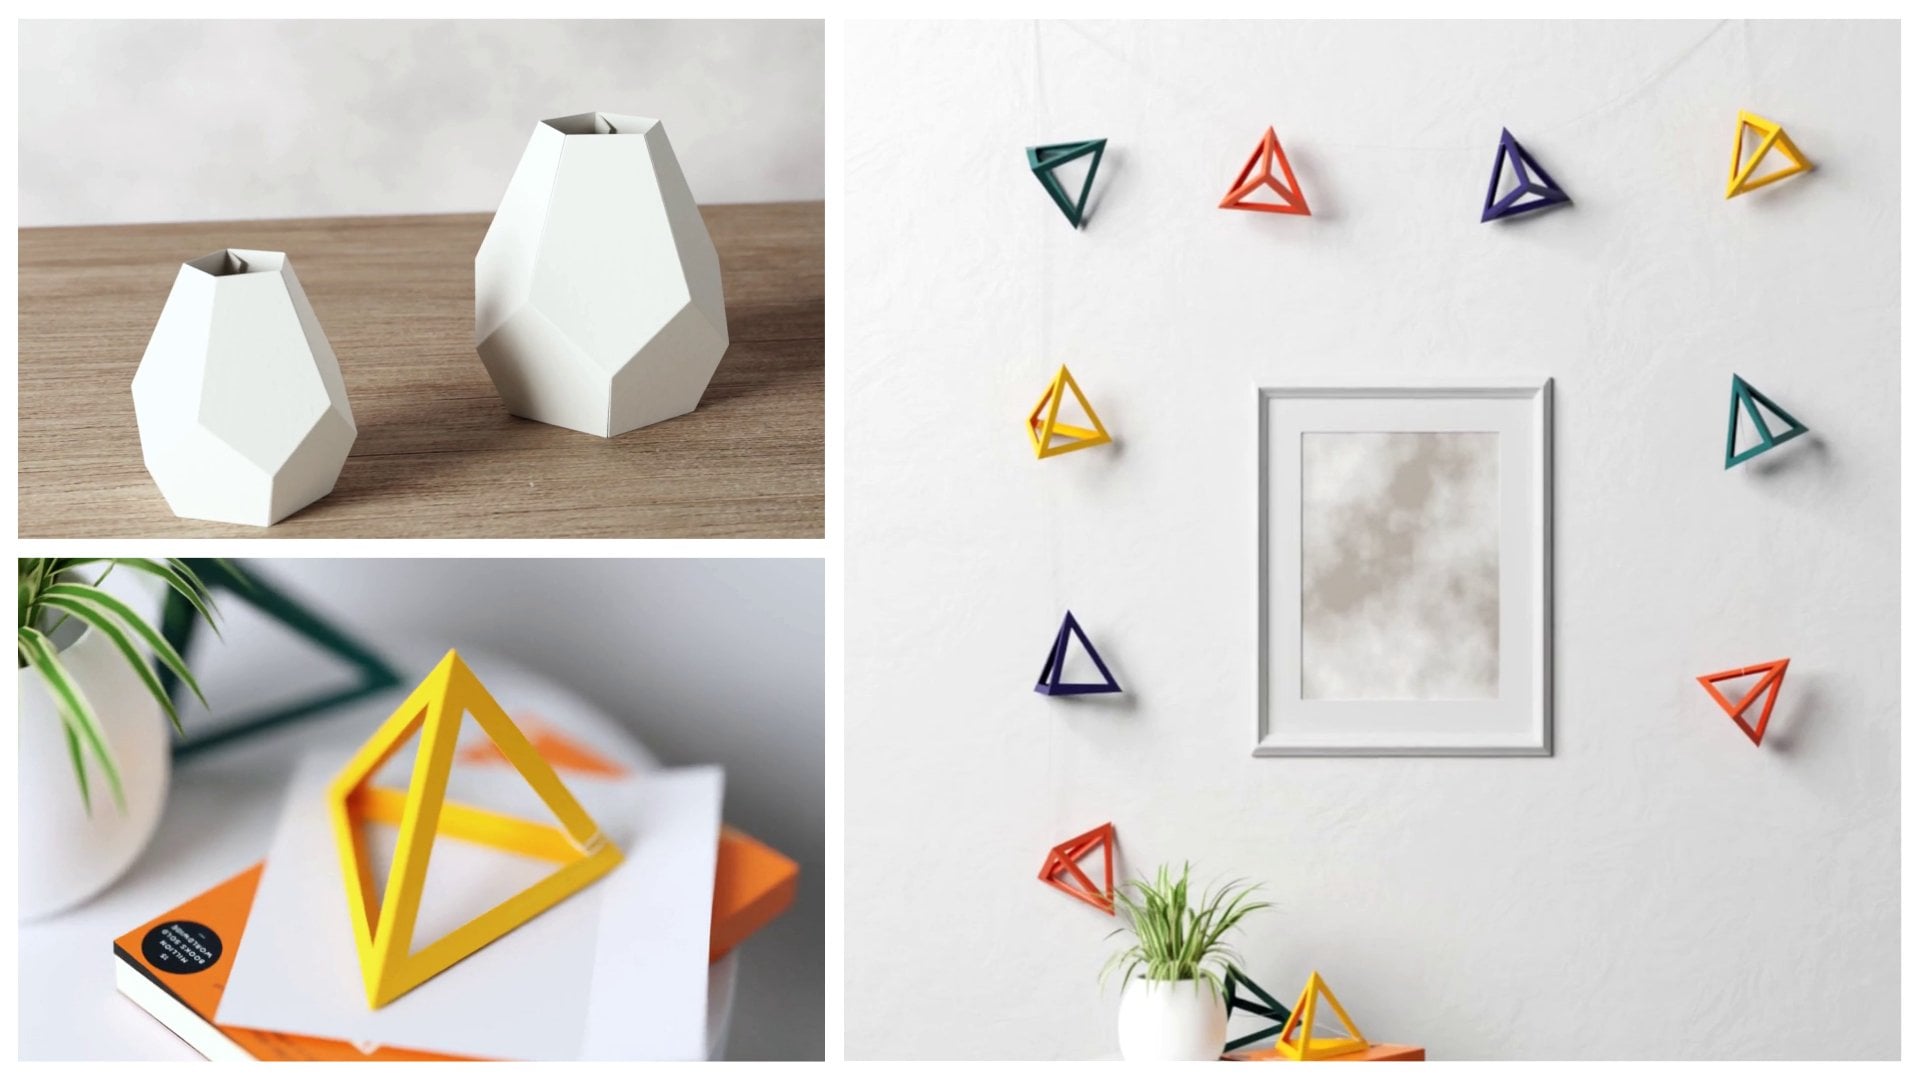
13. 13 conclusion: Paper planter sleeves can be a great home decor
product as they can easily bring colors and
different modes to the space. Other creative
directions that can be explored are
painting the sleeves to give a hand crafted look. Using paper opens up lots of
possibilities as paper is a very versatile and
cost effective material for home decor solution. Thank you for
enrolling my class. I hope you learned
and enjoyed making a planter sleep for your
planter using a paper. Please share a picture
if you have made one. Good bye for now, and I hope to see you soon in my
next class. Thank you.
 Cloudia David, Co-Founder | Entrepreneur | Designer