Transcripts
1. Introduction: Making geometric forms
out of paper can be an exciting way to add
decorations to our home. They form unique geometric
patterns that result in bold, modern and clean aesthetics. Hello everyone. I'm Claudia, a fashion and lifestyle accessory
designer from India. In this class, Let's explore 3D geometric forms out of paper. We will be making four
different forms inspired from basic geometric structures that fostered progress in levels
of learning and making. They can be used for
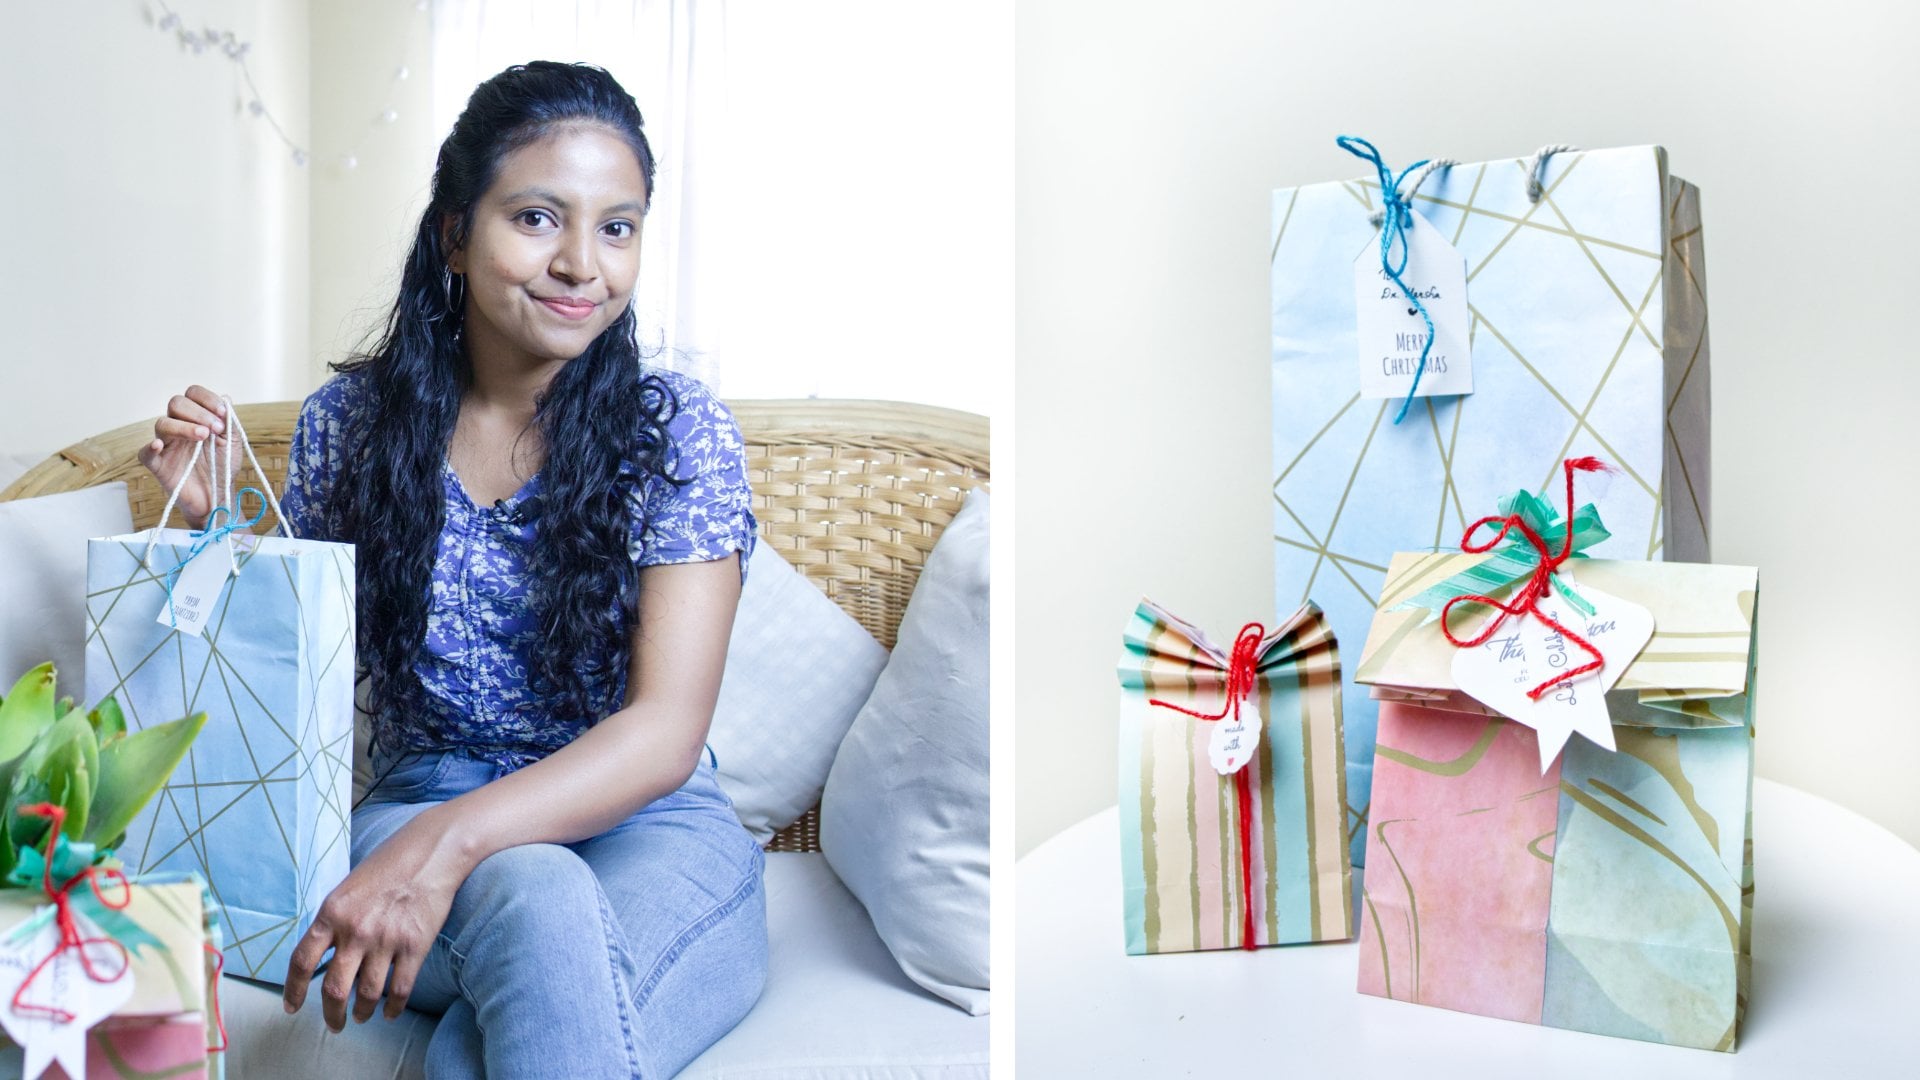
different purposes. That's a radius Home
Depot solution. They can be hung, a stimulus resulting in a cluster
of paper hangings, or they can be made into garlands to decorate
a small space. It is also possible to
use some of the forms as the desktop deco probe that can also function as
a t light holder, which can add warmth
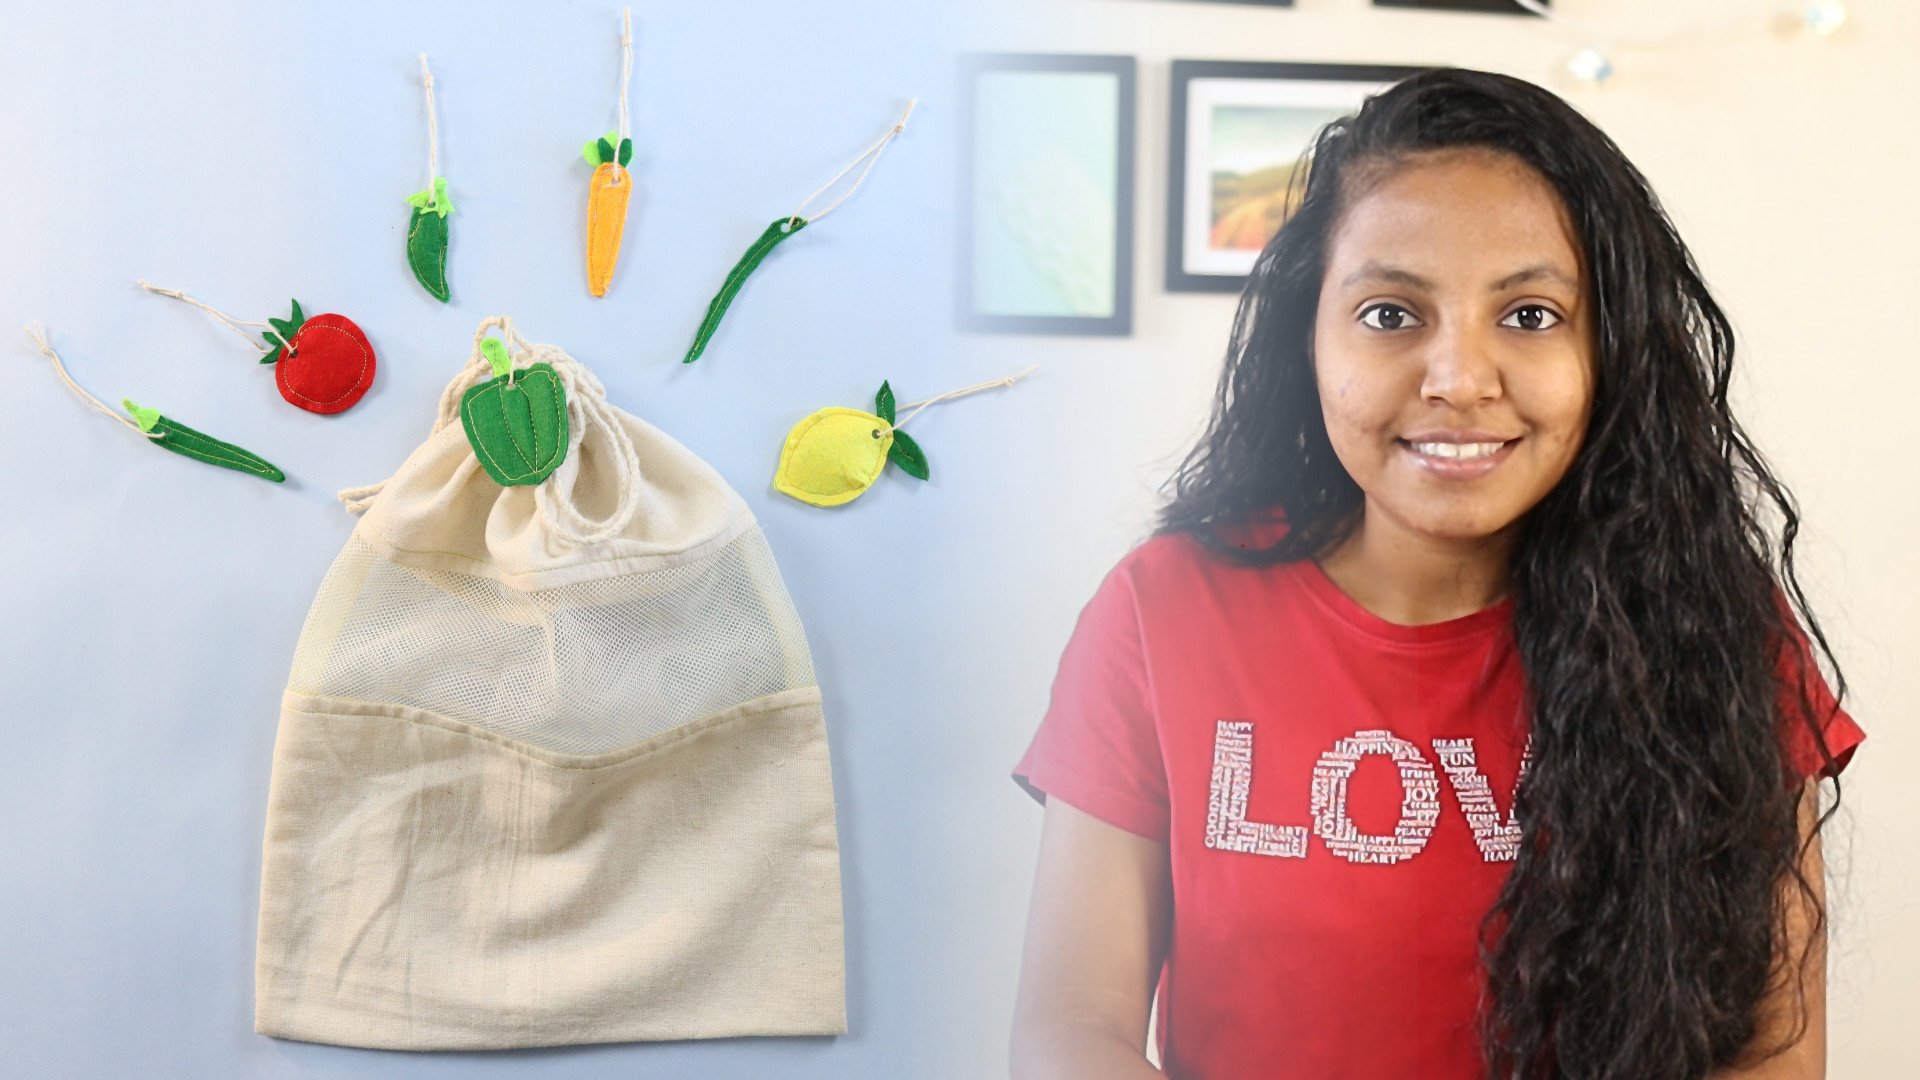
to your ambience. The highly
customizable nature of paper allows you to hand
paint your own colors, prints, or your own cutouts
to suit your style. These techniques can make your paper forms look
unique and highly personal. In this class, I will
guide you step-by-step for creating 3D
forms out of paper. I shared downloadable templates so you can get
started right away. Paper crafting can be a meditative experience as
the reputation to process enhances concentration
and helps you to unwind and completely
indulge in this activity. I'm here to share my experience,
tips, best-practices. So you can get most out
of this wonderful graph. Join now and
personalize your deco
2. Materials Required: The materials required
for this project, our ruler, scoring tools,
paper cutter, pen, knife, pencil, templates
printed on card, stock, sheet, glue, scissors,
quote-unquote, needed. And finally cutting mat.
3. Tips, Suggestions & Best Practices for Paper Crafting: In this video, let's
talk about some tips, suggestions, and best
practices for paper crafting. First, let's talk about
the taper selection. So in terms of papers selection, there are three aspects. Paperweight, paper
texture, and pepper type. In paperweight, the
best option will be to select a paperweight from 222300 GSM for any
decorative geometric fonts, anything 1-200 GSM
papers are the best to go to option for the
geometric forms with lights. So anything below 150
g is some, that is 80. It will be very flimsy. 150 to 200 or 300 years
since are the best options. If you are going for
the textured paper, make sure you go for
the final grades. If the grains are, the
texture is so rough, it will be very
difficult to fold. E.g. these two papers
are textured paper. One with marble effect, and the other is
just normal people. When you fold, go for this
raf, grind texture paper, the faults will be very broken and it
will be not crisper. And if you go for a textured paper which has
a finer grain like this, the folds will be
crisp and clean. Now, if we talk about
the paper types plane, what stopped people
are the best options. And even you can go with the printed paper that has
any district prints on it. And the next option would
be a hand printed paper. That can be a block printed
or a marbled effect paper. And in this case, you can even use plain paper
and hand paint by yourself. The next is the cutting. For cutting, generally we
use paper cutter and ruler, but in some cases it
is very advisable to use pen knife for
detailing and out. E.g. if you notice there are some sharp corners like this, the star and this triangle. In this case, it is very useful to use a pen
knife for cutting edge. If you see here, we can easily cut the corners using
the pen knife like this. And this will have
a nice precision. So it is advisable
to use pen knife for adding details like cutouts
in our 3D paper forms, cut lines are very
clean and sharp when we use pen knife
or a detailed life. So this putting
practice sheet is for tryout the cutting process on the cut lines and
practice for yourself. The next is scoring and folding. So if you've seen there are
different scoring tools available like this and
like a metallic head one. I don't advise to use
a metal scoring tool. It will give you a very
clean and crisp score lines. Generally, in our paper forms, the paper geometric forms
there are vertical lines, horizontal lines and diagonals, and a triangular ankle lines. So this sheet is to
practice all the vertical, horizontal, and
diagonal lines to get hand with this
coding process. I'd also scored the
important step to keep in mind is according
to the selection of paper, that is the paperweight
and paper texture, the scoring pressure differs. It is always advisable to score few reference on the paper
that you're going to select. E.g. if you're going
with a textured paper, make sure you take
a small piece paper of the texture paper
and try a few slides. When we talk about
the folding process. It is always advisable
when you score, that is, after you score a line, you fold the paper. Folded. Use some tools like this, a scoring tool to make the
full form like this so that you will get a clean
and crisp or fold like this. So the best practice
to fold is to use some scoring tools like
this and fold it like this. So this will give you a
clean and crisper line. So the next is the
gluing process. So when you select the glue, go for a clear dry glue, and also the blue bottle
with a smaller nozzle. So generally, in paper graphs we tend to work
with Athena flaps. So it is very useful when
you have a smaller nozzle. The next is the application of that is also very important. So when we apply glue, e.g. in this thin flat, we can, we have to apply the
glue evenly like this. Make sure the blue, light blue is not too
much or too less. So once this is done, let's use some best people
to spread the glue. In this way, we would get
an even layer of blue. If you notice, I'm applying
the blue wondering this gray area that
is deep blue area. Generally we tend to work with the flats while we
close the 3D form. So that's why this is given
as a gluing practice sheet. Now we saw all the processes
from cutting to glowing. In the next video, Let's get started
with the projects.
4. Understanding the Templates: In this video, let's discuss the templates that
I've shared with you. So for this particular project, I have shared four
different templates that forms for different
3D geometric forms. If you notice the template, the red line is the cut line, and blue dashed lines
are the scored lines. And gray area is the blue area. So the language of
the template is uniform for all
default templates. So if you're going
for a darker sheet, please stiffer the digital file when you make the cut
line and the score line. The paper selection in terms of color and Prince,
is up to you. You can select the
paper of your choice. In the next video, Let's get started with
making the geometric fonts.
5. Making a Hexagonal Ring: In this video,
let's learn how to make external ring out of paper. I have printed the
template on the sheet. We'll see when we
make paper 3D forms, we tend to make a larger units
that is about ten to 15. Utilizing the paper or the print area wisely
will reduce the wastage. So if you see here
in this template, I have placed two buttons
to get to errands. So let's get started
with the cutting. For cutting, we have to
cut on the red light. So I'm going to use a ruler and paper cutter to cut
only red light. So I'm aligning the
ruler to the light, making the cut gently. In this more details, we can go with a doula. Since the distance is less. Now let's separate it. So we have our template
cartoon the cut lines. Now, next step is to
go with this coding. So let's quickly
get started with this goring suffered scoring. Let's align the ruler
on the score line. And Lisa give even
pressure and scored. According to the
thickness of the paper. The pressure that you apply on the scoring
tool will differ. So in this case, you can even try
some score lines, the excess sheet, so that you can get some hand
over the scoring process. So before getting started
with this coding process, it is very important
to analyze and plan or scoring steps
that you are going to do. E.g. in this
particular template, if you see we have
all the lines, diagonal lines like
this on the corners and a center middle line
that is running across the template that
is all those coordinates. So in this case, what
we can do is we can first score on one knee
on the diagonal lines, that is the lines
on the corners. And then once it is done, we can go to this center
line that is needed, land lines, which
will form x again. In this way, we can analyze and planet scoring lines so that we can complete a particular
scoring project in a quick and easy way. So now let's get started
with the folding. Since we have already scored a falling process is very easy. We just have to mainly give some pressure and made
to this folding angle. Once it is done, just use the scoring tool to make
the food correspond. In this way, we can hold
on the corner lines first and the flaps as well. Now, let's target
this center line. So in this case we can just
give some pressure here like this because we don't want
the fall to be complete. So we just have to apply
some pressure holding the fingers on the edges
like this. That's it. In this way are shaped
with now fault. Now let's apply blue here, the blue area, and
stick them together. I'm going to apply
the glue, this flap. Since we have
practiced in applying the glute and the
flaps, It is very easy. We can now spread the globe even with the nozzle like this. In this case, because the
flap is very accessible. Now what we're going to do is we're going to
glue them together. So let's align the edges
and then fluid nicely. Once you glue, it is important to allow them to completely dry. So give some mild pressure
and allow it to dry. Now it is almost we
have come to the end. But now we feel start forming the form or
finalizing the folds. It will be very difficult because the blue is
not completely dry. So make sure you dry
them completely. Now it is striped. So let's form the shape. So now what I'm going to
do is I'm going to hold the corners and push
it inside like this. All the inner wall
of the excellent. I'm just pushing it inside to
follow the shape like this. So it is very easy
when you do it because it doesn't take
much effort and time. So now we have successfully
completed our XML tree form. Like this. So this, you can use it for
a hanging or it can be made into a dance
with multiple units. So now let's see how we can complete this
particular unit. That is how we can use
Kotlin code to handle. If you notice now, I have threaded
unneeded like this. And let's make a
note at the bottom, a simple node like this
and cut the edges. Now, let's use this needle. Gently poke a hole,
since it is paper, it is very easy for
us to book the whole. Then you can even go with it, the needle and thread, if you want the threads
to be invisible. Now, since we have put the note, it will stay here like this. Now, if you want to
add one more note, we can add it by
forming a loop like this and taking the
needle inside from inside out so that we can lock the 3D form impact on
that particular area. So now we have successfully
inserted or external form on the cotton, cotton. In this way, we can add more
units here to make a handy, or even we can multiply
this single unit. 23 columns are four columns
to add more aesthetic value.
6. Making a Faceted Cone: In this video, let's learn how to make a face at that code. I have taken the printout
of the template for faceted cone on a
textured paper. The similar way how we
did the excellent ring. But let's cut on the red line. So I haven't got all the
templates on the red line and kept so that it will
make the process easier. And also, you can
feel free to score on all the nasty blue lights
on all the templates so that we can quickly
learn to make the foods. So now, if you notice, I have printed the template on a marbled paper to add a
unique value to the form. First, we have this code on all the diverging
lines from the center. And then we can go with the diagonal lines
on the one side. And let's finally score on the diagonal lines
on the other side. So in this way, we can
quickly scored this template. I haven't scored this template already to make the
process easier. So now let's get started
with the folding process. So let's fool the flaps like
this on both the sides. So we are adding flaps on
both the sides just to avoid the raw edge of the paper. So in this way, Let's fold
on all the scored lines. It's just bend it a
little bit and then finalize using a scoring tool. This way, Let's open and fold
on all the scored lines. This would make the
process even more easier and quicker
so that we can finally glue and start
for the pasting process. Now if you notice, since we have already scored
on all these code lives, it is very easy for us
to just make the folds. Now, in this case, let's make the triangles, Let's fold on this center line. So we have to pull
all the center dots inside so that we will
form a shape like this. So let's fold it like this. Let's just press on the center line and
then folded like this. If you see this, how, if you notice it's
very easy and just giving pressure on this
center line like this. And it is forming beautifully. So it doesn't have
to be very closer. It can be just the start. And it is happening. Your different. Now, the next step is
to seem them together. That is seen, close
the scenes together, and then fold this final
triangle and complete the form. So let's quickly
apply glue here. And value apply glue. Make sure you apply
the glue evenly. So very important point to be kept in mind
when you work with people that you will get a very finished
product as a result. Now, let's fold them like
this and then seal them. Aligned both the
edges like this. Once it is aligned, we just have to paste it
and give it a little bit pressure on the paper surface so that it will paste quickly. And now let's allow
it to dry completely. Now let's make the final fold. That's it. Since here also we
have already scrolled. So it is not difficult
for us to make the fall in this way. Now we have completed this. So let's make the form
more, even more complete. Let's just push all
these center lines of the bottom triangles on site. We can attach a Kotlin
code inside this from inside and make a note
and make like a hanger. And convert them into a
hanging or even at angular. Depending upon the
requirement you have.
7. Making a Triangular Wireform: In this video, let's
learn how to make a triangular waveform
using paper. As we discussed earlier, I have cut on the cut lines
for this particular template, I have chosen red card
stock paper off to 20 GSM. We have four triangles. So if you want, we can just keep the first
triangle without cutting the inside face so that we can use them to place a t light. So I'm going to cut the inner triangles
which I have not cut. Let's use a pen knife
and quickly cut out the inner triangles. For this particular design, it is up to you to cut
out a triangular insert, or it can even be a
decorative pattern cutout. It is your choice to
make the decision. Since we are using
the pen knife, food is giving lots of
depression. While we cut. If you are a beginner, you can even use a
ruler to cut it out. So the best practice to keep in mind value cut is either to cut on the hotline or we
have to cut on the outside, the cut line so that we
can eliminate the traces of our cut line on
our final product. Now, I'm going to leave the
bottom so that we can place. So let's quickly scored. This is very simple. We just have to score the diagonal lines on
the one side first. And then we have to score on the diagonal lines in
this direction like this. And finally, we have to score
on the flats like this. I have already scored
this particular template. So let's get started
with the folding. First. Let's fold on the score lights on the
diagonal lines like this. And when you press
with the scoring tool, make sure you give a
gentle pressure value, press it like this to
form the crust portfolio. Because what happens when the, when you give add more pressure, there is a chance it might damage the texture of the paper. So always give a
gentle pressure value. Fold the paper. This way, you will get the best out of the folding process. So to practice folding process, you can practice on
Amy sheet of paper. So now we have to
apply glue here. And finally, in this flap. So we haven't folded this flap. So let's quickly folder. Once it is done, let's apply
glue on all the flaps. So make sure you apply. And good even spread layer
of glue on the flats. You can even go one
by one if you want. And value work with flu, always keep a waste lot to wipe your hands if you
have any excess glue. So now let's stick
them together. That's just a line, one edge. And then let's go with the next edge and then
be a continuity here. Let's hold the edge, the flap and keep it
inside. Like this. Give pressures evenly
on all the flaps so that it will
get glued easily. Now if you see this
area is getting low and if it does not glow, you can apply a view
on the gaps so that you can if you notice
any glue like this, any real like this, you can quickly apply a little loop without
touching the walls. And you can hold it together. Now if you notice we have
completed our triangular Y4. So we have also a biggest here. If you don't want a base, you can cut this
triangle out so that it will be like a complete
triangular waveform. But if you have a base, then you can feel free to keep any light like this and hand. So this would be a very
beautiful delight holder to the new Hangouts
or Bangladesh, or even you can turn this
into a garland by using this particular
triangular waveform as one unit and make a
beautiful garland.
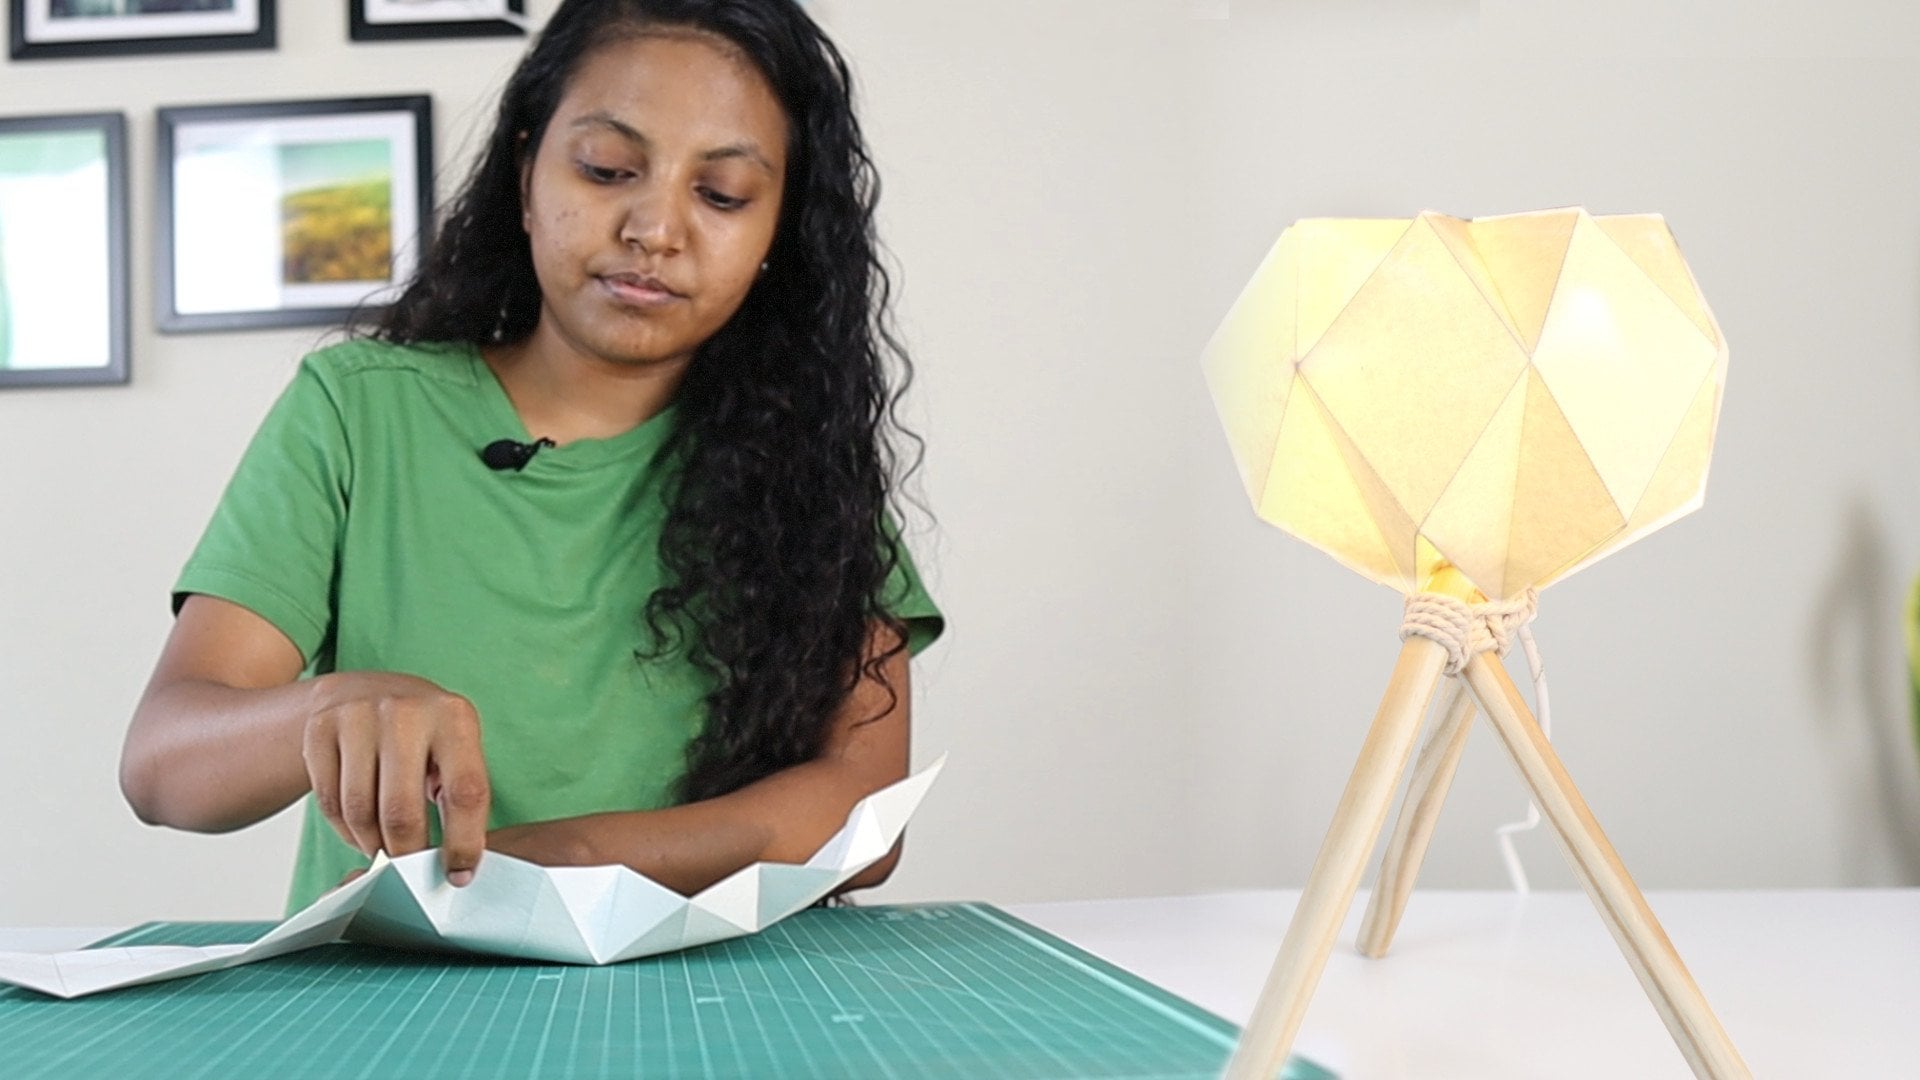
8. Making a Geometric Rock & Conclusion: In this video, let's learn
to make geometric growth. For this particular template, I have used 150 GSM
white card stock paper with a texture on it,
fine-grain paper. So let's cut on the red lights and then lead score on the
blue dashed lines. If you wrote this for this
particular template, we have, we can go with
this code in line, first on the vertical
lines on the top. And then we can score on the vertical lines
on the bottom. Then we can go on the
diagonal lines one-by-one, on and on the diagonal
lines in this way. And finally the zigzag lines and the triangular
diamond lights. I have scored them before. Now, let's quickly get started
with the folding process. So let's fold on all the lines, score lines just to
give a basic fold. And then finally, we can apply glue and complete the form. We can gently fall on all
these core lines like this. And if you'll
notice these lines, we have to fold it like this. For some score lines, we don't have to use
the scoring tool. And also for this
particular project, we have used the DSM of
the paper is one-fifth, so which is less so we don't
have to give much pressure. The foot lights to form. Let's do the same on
the bottom line also. So this is going to be a bleed
here, a triangular plate. Since we have already discussed
on the scoring exercise, we have a triangular form
to apply glue and score. Next, let's fold
only is exactly. We're just adding finalizing default on the scored lines so that many glue and form
the geometry go rock. It would be very easy for
us to just finish it. If you notice, since
we have the free tier, just have to fold it like this. This particular case,
you can even scoring tool to make default
sharp corners. So this particular project
has little tricky. But when we get hand remaking the pleats,
it is very easy. We just have to first fold
one part of the triangle and then keep the center inside and align it
to the diagonal line. And make that four lessons that we just have to
fold one triangle, one side of the triangle, and then align it to the other side and
folded the seminar, Let's do on the bottom. It's for one part of the
triangle til the center point. And then align it to
the next site so we can keep one finger on the
backside of the point, the center point to just adds gentle with it
while we make the food. That's why I'm making
the folds like this. For this particular project. The suggestion of the
paper is one-fifteenth because 50 DSM is because we are going to
use this assert table top. Also. We are going to use
this for holding delight. So in this way, we are adding one particular form paper
for two different functions. So now if you see we have folded all the leads and the flats and say for
this particular template, if you notice, we just have to apply glue on one
side of the triangle. That is one part here. Because anyway, it's going
to paste it like this. So let's quickly
apply glue here. And then we can
spread them evenly using the nozzle or you
can even use a vase. People who do this process. Now let's fit them together. Make sure all the flaps
are pasted together. You can wait till it based and we have to keep on
giving some pressure. It gets some Hold
on its surface. Let's quickly do that. So in the similar way, let's apply glue on the
board and close the message. Now, we have applied glue on all the plates on top
and bottom as well, and we have load them together and the blue
is completely dry. The next step is to
close the side seams. So let's apply glue. We have added this flap
like this on this side also because to avoid the
raw edge of the paper. So when you make an
informed using a cone or a cylinder or a
truncated first time, it is always advisable to add
up papers seem like this. That is a flap on both
the sides like this. Now we have
successfully completed this traumatic rock form. So this can just go on
tabletop as a prop. Or even we can use a delight. And you can use places on top, has a T light holder. So we have come to the end of the class and I hope you
have done something new. With this plain paper selected. You can feel free to hand-write them and give a
personal touch to this. And onto and dumps of cutouts. You can feel free to give your own cutouts to make
it unique and personal. I hope you have enjoyed the
class and I'd love to see what you have created and
personalized for yourself. So can you share your work on the project section and also leave your thoughts
on the review section. Back and cheers.
 Cloudia David, Co-Founder | Entrepreneur | Designer