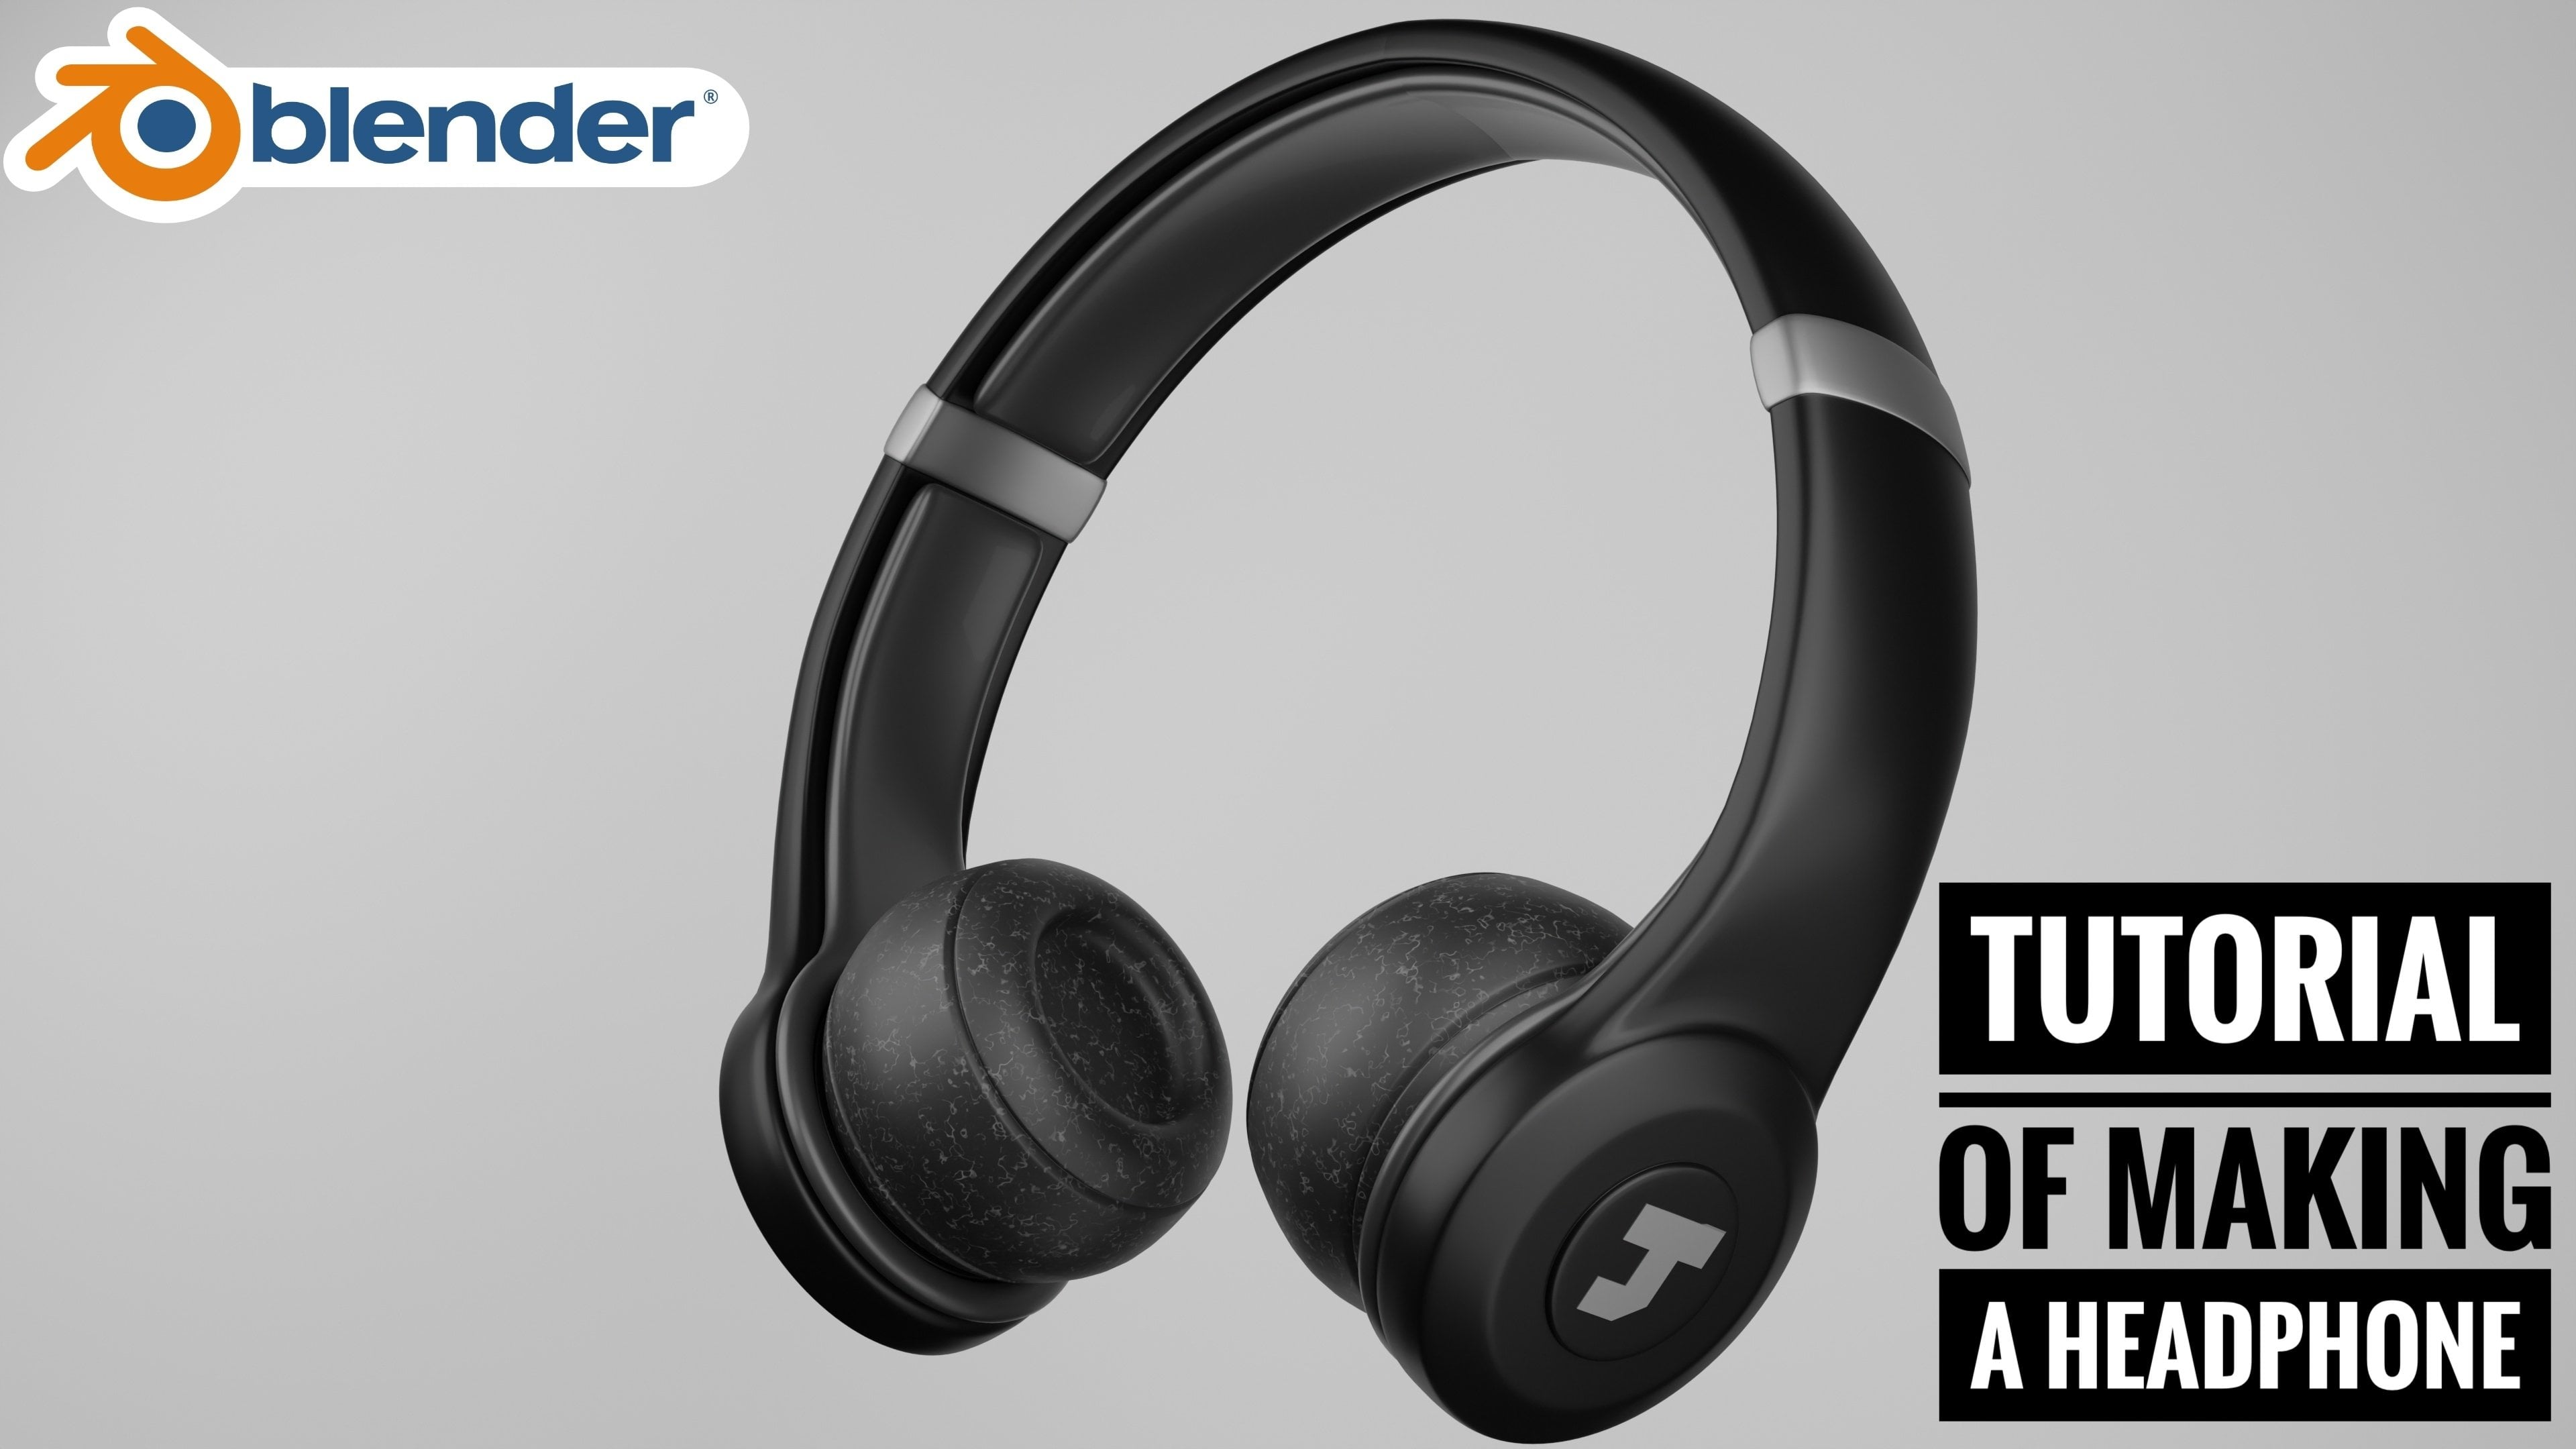
Transcripts
1. Introduction: Good morning. First of all, thank you so much for
choosing my course myself. Niki, I'm going to teach you
how to make up fine water. The video includes
modelling of divine bottle, unwrapping of the label, adding some material
and texturing. At the last, at some background lightings
and the rendering. Now you can move on to my
first video on modelling. I hope you like it.
2. Modeling: So take a cube and change it. Z dimension, 200 millimeter. Debts won't do meter. Drag it towards the right side. I'm seeing from the top view
skewed the size of the cube. This much shown in the video. Now I'm adding a
reference image. You're going to get
it from Google. By adding the reference
image. You can adjust it. Blender file so that
any problem comes on, your brand fiery crashes, that it can be easily recolored. Now you can adjust your image by rotating it towards the x, y, and z direction. Now you can adjust the
image by rotating it towards the y direction
and the x direction. I'm rotating it towards
the x direction. It looks perfect now. You can just see it
from the top front and tied you scaling it. Now go into wireframe mode. Just decrease the
size of the image. It perfectly for
you to stick you. The only reason we'll add the cube was for the
height of the wine bottle. Glenn, the Hyades, a
district with the image. You can simply ridiculous. Now, my height is somehow
adjusted perfectly. You can do either way, but I think next, now grab the image and exhibit
towards the same direction. You're going to align
it with the y-axis. Now by adding a
circle from the mesh, scale it, and recreate
the size of the circle. I think Deb, you
can go into the, I didn't warn you to exclude
to a desired direction, but I think easier. You can scale it. Again. E X group would seize their direction
and just gave it. Follow the same steps. Again, decrease the size of
the circle by scaling it. And exclude towards
that direction. But I think easier
against scalar. You can repeat the process, reduced to the cap
of the bottle. This exclude or z direction by pressing and just scaling it by decreasing the
size of the circle. Now go into edit mode by pressing loop code,
by pressing control. Go to wireframe mode. You can see the image clearly based controller loop, good. For making the
bottom of the line, you'll do select the
head of the wine bottle, looked at the whole
one now, excluded. After excluding it. Who can just go into
different view like this. You will do again, excluded to a deduction against scale it. Now we're going to exclude
it good desired direction. Just repeat the process. As I'm showing the object mode. Select the wine bottle and
right-click and shoot smooth. The surface of the
model becomes smooth. Smooth the surface of
the model you are to add the modifier we just call
subdivision surface modified. By adding this modify, your edges of the bottle
will get smoother. To change the view port
two to node two also do. So by selecting the wine
bottle and by pressing tab, you can go into edit mode. And they seduction
module to face. Look perfect. Now, some finishing the Yoda again go into edit
mode. By pressing on. Do you have to add some ducats? By adding some loop cuts you can use on finishing to the water. Again, going to the step, already more, you're
depressed step. Then by getting controller will add a look good to the
bottom of the water. Please dilute good on the
bottom end of the bottle. The breed of the model
becomes somehow bigger. Perfect now, by going into edge mode in the Edit menu
to select the edge at the bottom of the water
and scale it a little bit. Give some finishing touches
to the end of the bottle. By going into object mode,
go to add or modify. It is called solidify modifier. Modifier will increase the
thickness of the bottle. Just did and said
the thickness levels to 0.07. That's perfect. By pressing Tab to
go into edit mode. And yoga, add some loop cuts
by briefing controller. Like this. To adjust it towards the edge of the bottle that it will became
sharp and smooth. Now, yield to apply the solidify modifier,
which we are centered. You can just apply it by
going into a fist and blacks. Again, going into the
Edit mode to add some. Look good by pressing
Control. And blessed. I am blessing. Again by
pressing gondola. Look good. This will make our wine
bottle smooth and sharp. Again, we are to go to
the edit mode by pressing Tab and select the edge. We're able to
decrease the width of the bottle by scaling it, by pressing S. We able
to hide the image. You can simply hide the
image by pressing edge, or you can just simply hide
it by pressing the button. Now we're making
cap of the bottle by getting is he Linda and decrease the
size of the cylinder. Grab this move towards that direction by briefings
easier and against kids. To adjust the size of this.
As part of the bottle. Briefings, naan bread
button, a $100. You can see the size
of the cylinder. Easily. Grab it again
towards this direction. Now you have to apply. She had smooth and for
this shape is what I do. Go into normals and auto smooth. Night. Now again, going
into the Edit menu, you'll do select the add mode, select the top edge. And by pressing Control B, you can add a bevel modifier and scroll the button as many as
you want to add the bevel. This look perfect and
against me, shade smooth. Now we'll delete our
reference image, which we have highlighted. Now we're able to decrease
the size of the mortal. Mortal. You put all this
and scale it to one. Scale the auto size of
the bottle. Like this. Now we're able to make the
label of the bottom step and go into edit mode
by pressing Control-A. Some looped good. Where do
you want to place the label? Yeah. No, it's a good one
face select mode. You are loosely let this area, where do you want
to apply the label? So now you're good
press Shift D to duplicate the object
and go to selection. This will shepherd it. Labeled object. Scale it once. This now Rio to make tea top sticker of the image which we
seen in the photo. Friends humid. So by going into ear mold and face select
mode in the Edit mode, Let's hold the optic
like this and scale it. And then the speed
and tempted by selection and rename it to top. Now we'll do more of a political motivation
or the origin position. By pressing Shift and
more cultural origin. The origin. Now you have
to adjust his top sticker. Grabbing it towards
prefect data. Modeling is completed.
Now, in the next video, we will learn about how
to unwrap deliverable.
3. How To Do UV Unwrapping Of A Label: In this video, I will show you how to unwrap a label image. So far, select the label
and go into shading menu. Then add a new material. Then by pressing Add button and by entering image texture, you would replace it like this. Open the image. You can take whatever the image
you want to select. I am digging and basic label
image of a line water. Now we want to match the
color to the base color. That image will be
added to the label. It will take some couple
of seconds to add damage. Now images edit. By pressing tab, you
can go into edit mode. By pressing a. You can see like
all these B2 ui and smart UV project so that
your image will be UNDRIP. Now, you can go into
the UV editing mode. Because of all immediate, not perfectly UNDRIP to go into the material view so that we can see the
labeled limit clearly. You have to select one phase in DUE editing and then select
all the phase and right-click and follow execute code that it will unwrap the
image, properly. Adjust it by scaling it and grabbing towards the
x and y direction. Can scale it like this. Now under being is
perfectly done. In the next video, iraq about the material and texture
of divine mortar. Now, again, we have to go into layout mode and select
the cap of the bottle, go into shading mode, add a new material, and repeat the process. We're able to add a mid texture. So go into Add button, search the image texture, and place it
somewhere over here. Or you can just grab the image
from this left direction. You could drag the image. So I would material audience. I'm dragging it and
you place it like this to match the colors
to the base color. Wood material is now added to change the
color space to row. Like this. Mapping is done. So
in the next video, we will see about D, material and texture of the wine bottle.
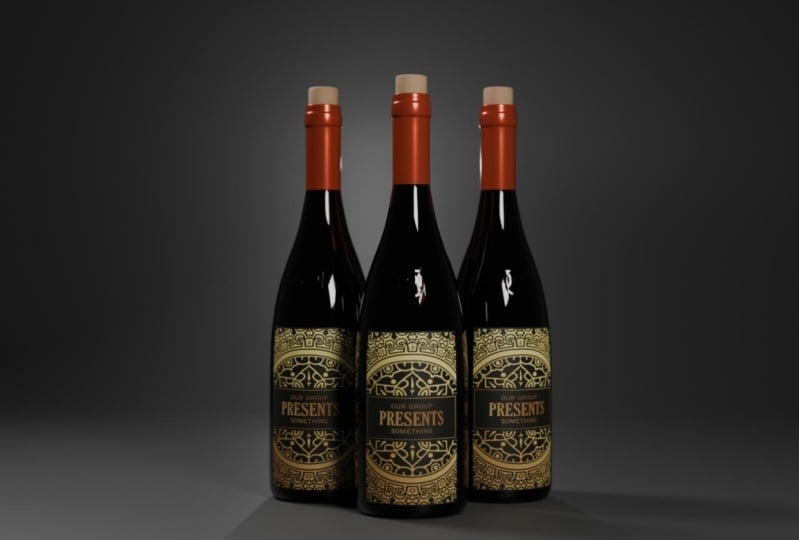
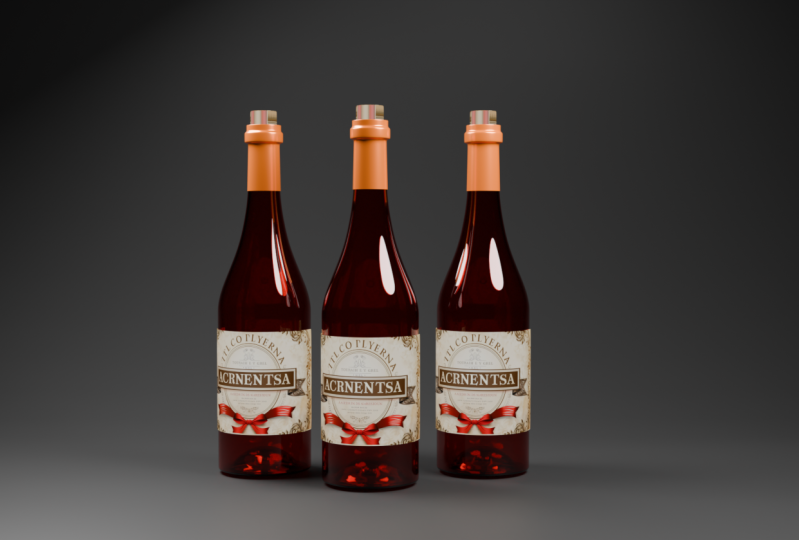
4. Adding Material And Texturing: In this video, we'll
apply the material. So select these ticker sticker
and go into shading menu. You can add a new material. Might material is
already selected new and set it to orange color. You can set whichever
color you want to select. I'm setting it to the orange. Just getting this shape to the darker side
of the orange color. Now we'll begin some values. The metallic value to 0.518. Now Jane devalues
specular team to 0.3 to flip this and change the
roughness when you do 0.218. Now you can adjust the
base color as your wish. Now again, go to Layout mode. Now we have to apply some
material on the wine bottle. To select the wine bottle on the object mode and
again go to shading, add a new material. Clicking onto new option. Able to set the base
color of the wine bottle, cool the darker red color. Like this. For be
glass-like material. To set the roughness value to 0 and change the
transmission value to one. You can adjust the
base corner of the wine bottle is
the order wish. We're applying material index
sharing video is completed. In the next video we will talk about the background
and lighting.
5. Adding Background & Lighting And Rendering: In this video, we will add a background and some lighting. First, I'm adjusting
my wine bottle. Wine bottle is somewhere towards the downward direction.
So I'm adjusting. You can adjust it by grabbing
towards the z direction. Now it is perfectly adjusted. Now pressing Shift to
add up lean, mass. Scale it like this. Now you have to select the
plane and pressing the button, you can enter into edit mode and select the etiologic mode. Now you have to select the edge excluded towards that
direction by pressing easier. Like this. Now select
the under edge. By pressing Control V, you can eat a bagel. Bites coding the mouth button. You can add just the
segments of the bevel. This and right-click
it and shade smooth. You can scale the background. Now we're able to add
some light, redshifted. Go into the light an area light. Just delight by
grabbing it towards this direction, y direction. By pressing Shift, you
can duplicate delight. This and again grabbing
the y direction. Now we adjust the light. You can adjust it
wherever you want. You can just follow my steps. Indeed, light ship
to disk and check it to 1000 watts and increase
the size of the light. Now you are able to rotate delight and place it
on the wine bottle. Please. The reflection of the
light on the wine bottle. You can adjust the light. I'm selecting the size. You can set the exercise
group of 0.5 meters. And again set it to 1 thousand watt shape
of the die to Bisk. And again, repeat it, please
it on the wine bottle. Take this adjusting, it may
get to a desired detection. The camera, again by shifting
and adding the camera. You have to grab it towards
this direction first. Like this. Again, you'll do shifted towards
divided x direction. Like this. By clicking numbered fetal, you can see the view of the
camera. Bonus tip here. What the adjustment
of the camera. Just follow my steps. Push Global Edit, and
go to Preferences. Then go to the K-map and
search your navigation. You can set the
navigation to shift. As I adjusted. By pressing numbered 0, selecting the camera,
pressing Shift F, you can adjust the
camera with your key, the blue ESD from the keyboard. Looking at more accurate too, I'm duplicating my mind mortal. By pressing Shift D and grab
it towards the y direction. You can simply duplicate
the wine bottle. Again, grabbing towards
the y direction. You can adjust your wine bottle. Follow my steps. What I'm adjusting it by pressing G on the numpad. Breathing one on the
non-value can just go to File New and add just the image. By grabbing the X bigger trend. You get by rotating the
object or the wine bottle. You can seem bleed,
you adjust K labels. So far a better render view. I'm adding two cubes. Again, going into
object mode 50. You have to decrease
the size of the queue. You can please
take you anywhere. But if you wanted to go with
my step, just follow me. So by pressing Shift B, you can duplicate tick, you place it like this. Now you have to grab it
to a desired direction. Pressing the numbered 0 view. You can see from
the camera angle. Indeed under settings here
to set the engine to cycle. Said the samples 800. You can apply some
materials on our cube. I'm giving it a dark gray color. Same thing you in a
plan D another cube. Now you can render the image. Going into render. Render image. It will take some time
to render your image. After the completion of
the rendering of image. My final outcome is
looking like this. You can see if you
like my renew, you can comment down below. If you want many more
tutorials of Blender basics, you can also comment
down it. Bye guys.
 Nityam Patel