Transcripts
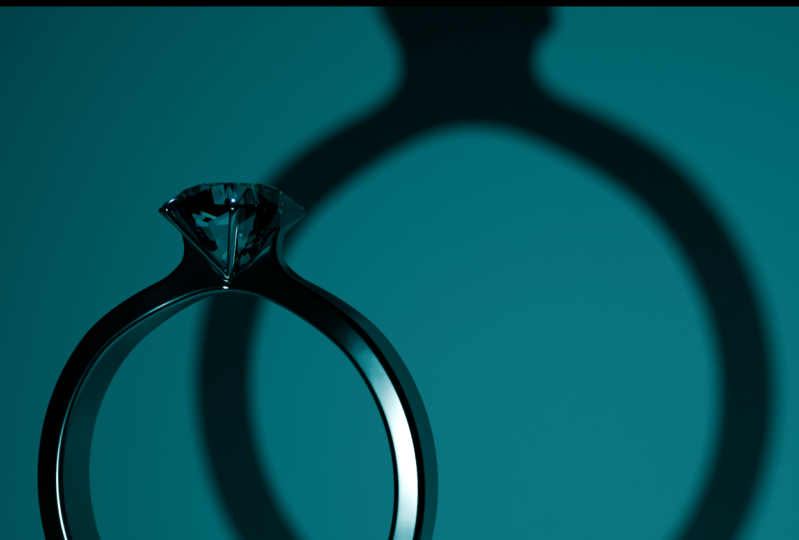
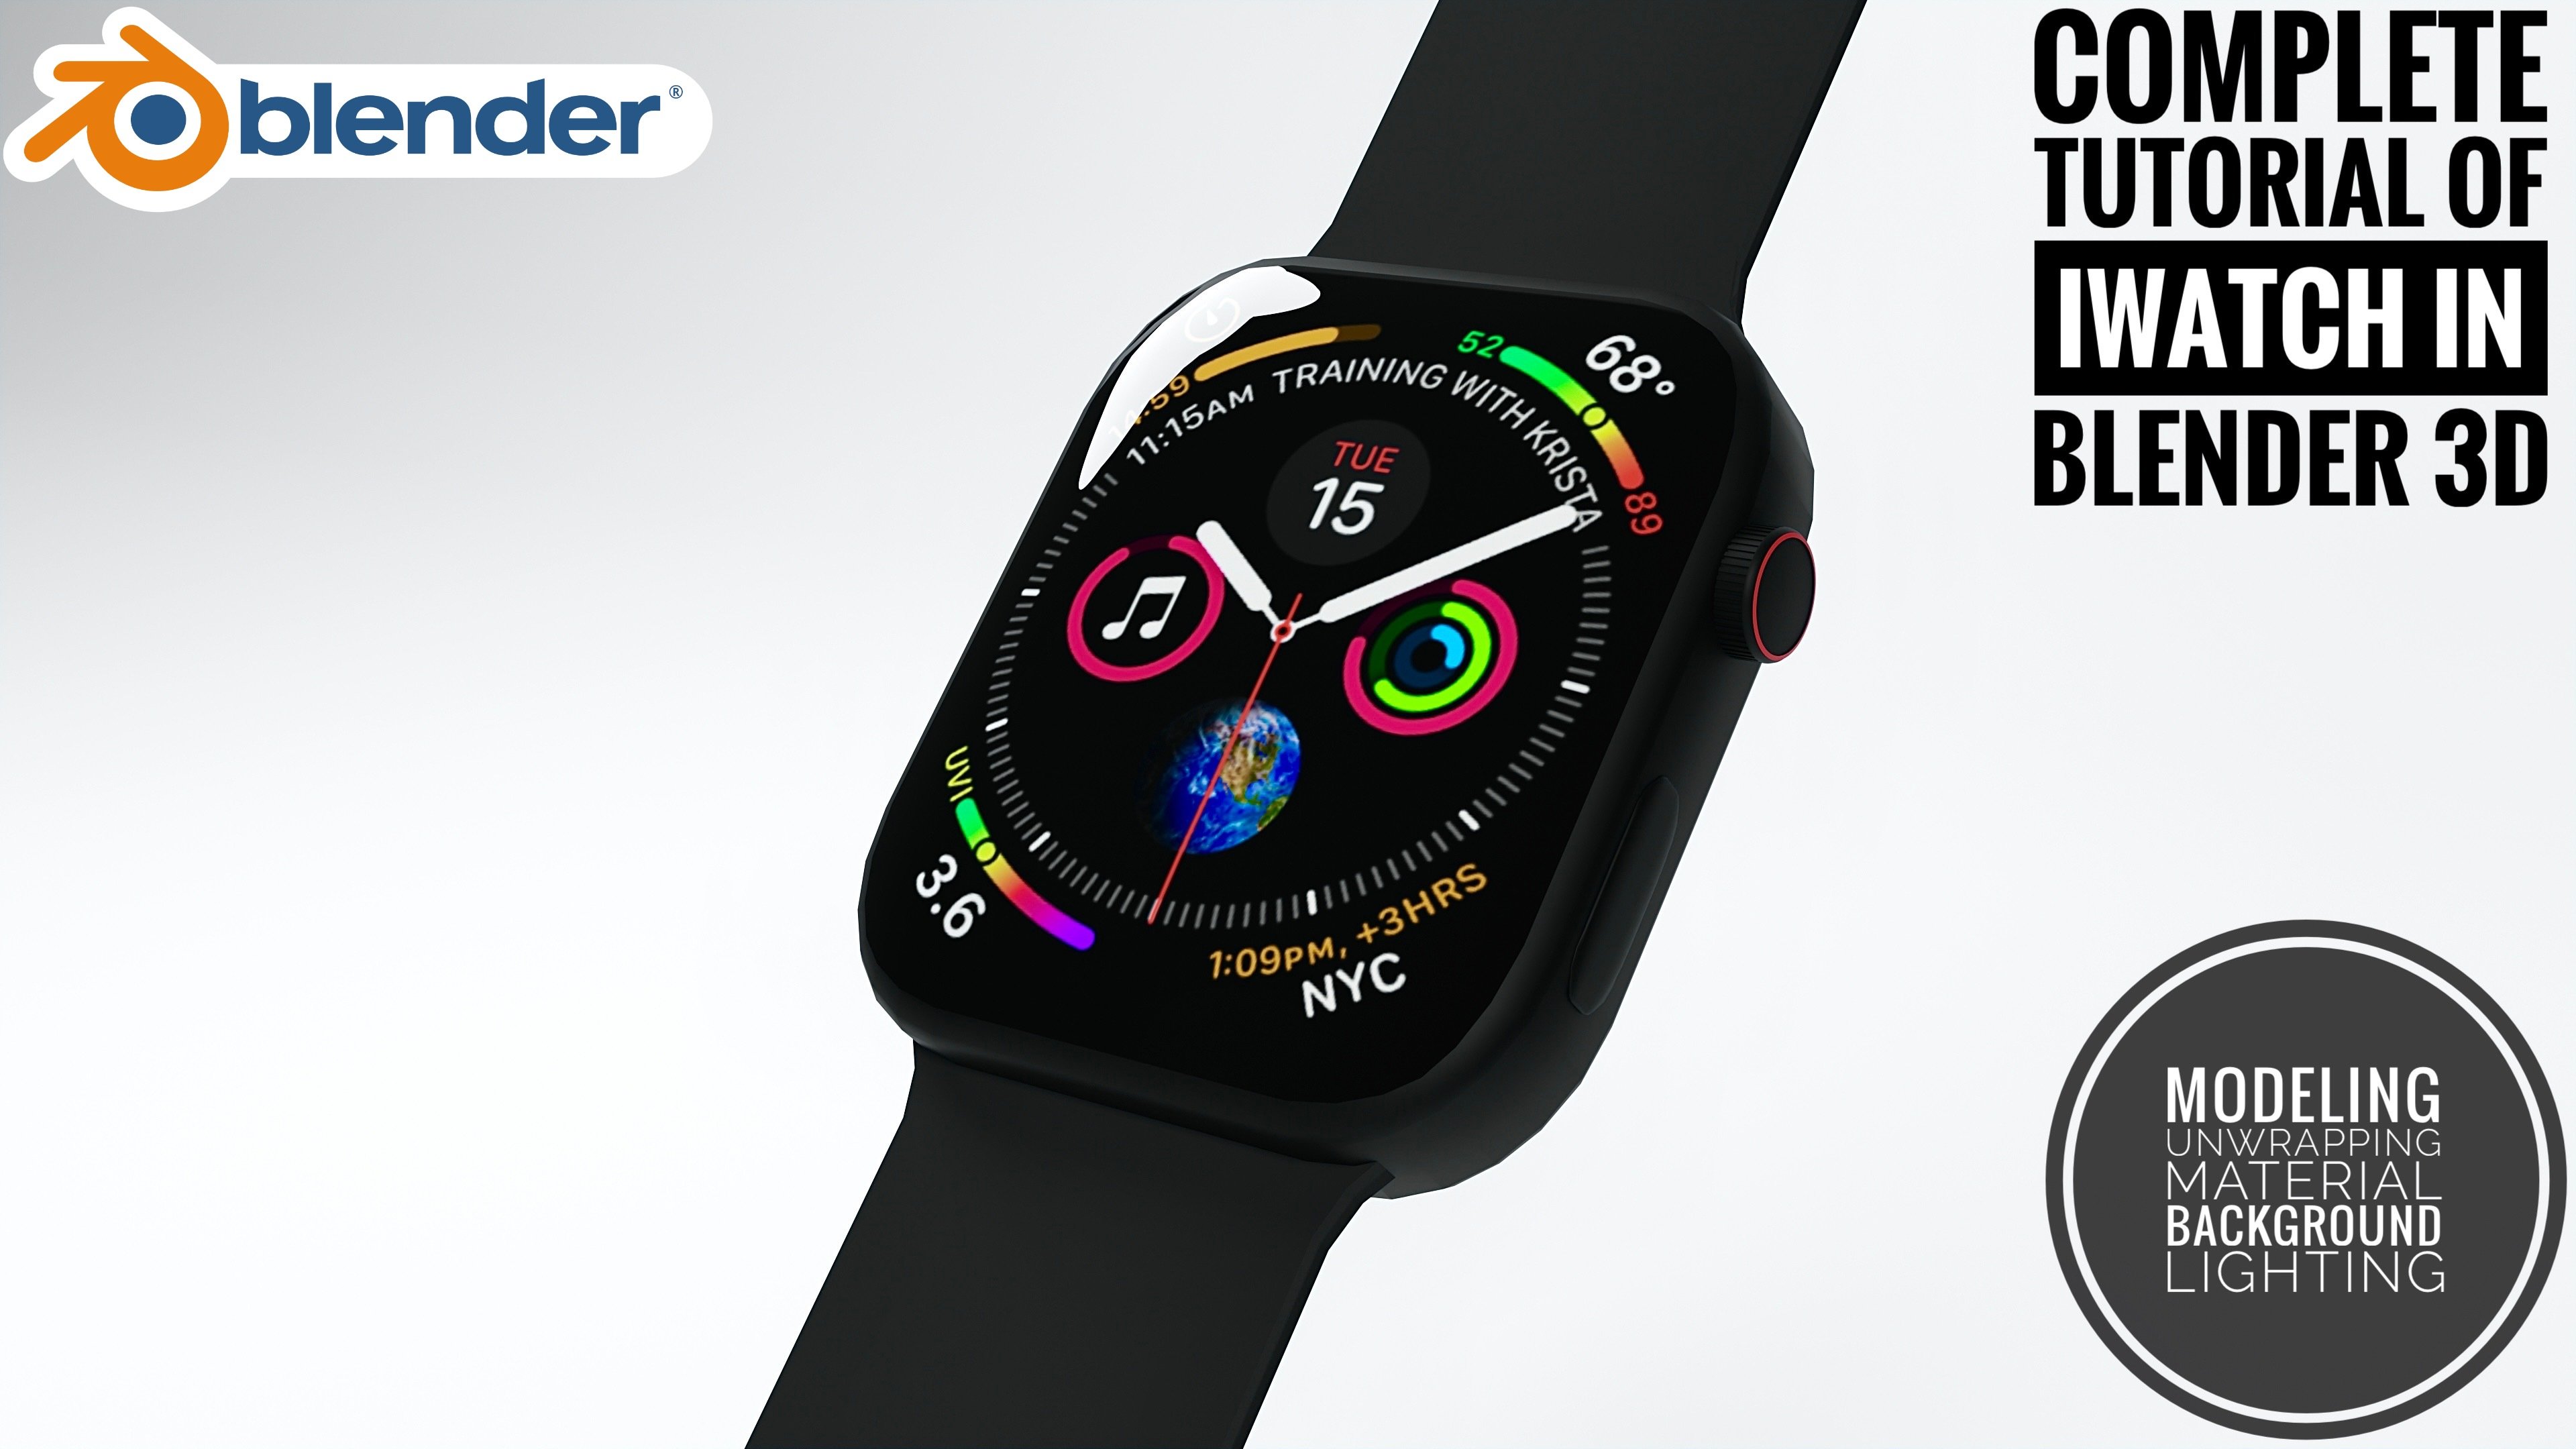
1. Introduction: Hey everyone and welcome to
our exciting new series. In this series, we
will diving deep into the world of jewelry,
design, and animation. Here the class is divided into the total five episode
in which we will unvel the creation of this amazing diamond ring with
three different animation. In the first episode, I will show you how to
make the diamond ring using the basic modeling
technique without any reference. In the second episode, we will add some
material to make it sparkle and also add the
background and lighting. Episode three, we will start
our first animation in which the diamond will come down from the top and
join to the ring. In the fourth episode, I will do the final
sort of the ring and give the camera an object
movement by using graph. In the fifth episode, I will do the animation
of two rings which are parallel rooted together
in all the animation. I also set up the lighting and I will set the resources
which I used. Let's get started with
the first episode, and I see you there.
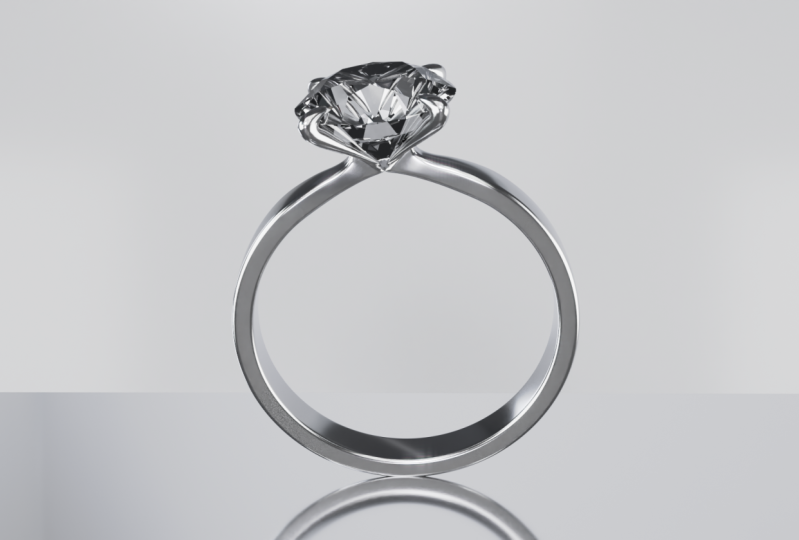
2. Modeling Of Diamond Ring: Hey everyone. Welcome to the first episode of modeling
of the diamond ring. In this episode, I'm
going to show you how you can create the model
of the diamond ring. For modeling of the ring shape, I'm adding a circle, So here is our circle. Now at the left corner, you can see the
add circle option where you can change
the vertices, the vertises, so
that the circle will be formed by using the
number of vertices. Here, our circle will be
made by 100 vertises. Here I rotate in y
direction by R, Y 90. Then I scale in size. Now I'm going to
the front view and delete the half circle
by pressing tab. I'm going to the edit mode and select the half of the Vertasis. And press X to delete Vertasis. The reason I made
half circle first and apply the meter modified
to get full ring. Now I'm extort in X
direction by pressing and X and give it to width about like this. Now
look at the image. Our upper part is
less than a half, so I'm going to the front view and select these two vertices. But here you can see that these two vertages
are not selected. So make sure you are turning
on the x ray mode so that all the hidden vertages behind the first one is
automatically selected. And after that, I delete
the vertages by pressing X. Here I've narrowed down some starting few vertices by turning on the
proportional editing object. And scale it so that those
vertices which are in the range of the circle are
also be scaled sequentially. So now I'm going to add some thickness by going
to front and select all. And then praise all and select extrude face
along, normal. If you directly
extrude by using E, you cannot get the perfect
align like this one. Here you can see
that our bottom part of the ring is perfectly
fitted on half, but at the upper part it
not fitted on the half. I select some interior part of the ring and grab to
complete the half. Here I decrease the proportional
editing object size by scrolling the mouse will and select
each vertises and grab it towards completing
the half circle, and then selecting
some outer vertices and grab it up for direction. It gets some unique design here I use the proposional
editing object and grab it to get the cove shape and
make sure you are turning on the x ray mode so that the vertices behind
it also be selected. Now it has taken the form
of cove from the above, but it looked like a very sharp. To smooth it out, I apply a bevel modifier that the property of the bevel
modifier is appear. Here we can change
the segment and amount value to get a
different type of smoothness. Here I slightly increase the amount value and also increase some segment
value to like six. And close to it at the
corner, it becomes smoother. And now I'm adding
another modifier which is a subdivision surface
so that it can be eliminate all the Sar pages here you can see that
the difference of after adding a subdivision surface
and set the viewpoint and render layer to two
after that place, right lick and select it smooth. Now our object is
totally smooth. Our half of the ring
part is almost ready. Now I'm adding a mirror modifier and select y axes instead of x. But you can see that at middle
it becomes a little gap. If I grab the ring, then the whole ring
can be followed. To solve this
problem, I'm adding a plane and rotate in by R, Y and 90 and grab it
behind the ring by G, x. I'm going to the front view. Select the ring and select the mirror object to the plane. Now if I grab the object, it can be go the opposite side. So basically we add a
plane for a support, but you can see that
the gap is still there. Here I select the
clipping option, and by using the plane support, I grab the ring to Y direction, or maybe the other
half of the ring. Both the ring are
very close to it, and by using the clipping
option, it can be merged. So you can see that the gap is eliminated and the
connection is very clean. But here just we add
a modifier not apply. If you grab the
object then it can be move opposite and cannot
ready for the animation. But I recommended you to
create the whole ring along with the material and
then apply the modifier. Here I'm adding a loop cut by using controller
at the middle of the circle and give some
thickness by scaling in size. But the first one is go upward. So I unselect these
first two vertices, it's looked like a slightly
thicker from the middle here, our modeling of the ring
is almost completed. But we can apply
the mirror modifier after the whole modeling and
the material is applied. Now we have to put the
diamond above the ring. I'm adding a diamond by
going to the Ad Mace, and in the diamond option, select the first
brilliant diamond. The diamond is up here and I'm grabbing in that direction
and place above it. If you don't have
a diamond option, then you can go to
the added preference. And in add ons such
extra and tick mark on the extra mas option that many more objects
or the mas along with the diamond disappear
back to the diamond. I'm going to the front view and decrease the scale size and perfectly placed on the ring and then going to the top view. And by turning on
the x ray mode, I'm grabbing in x direction
to place proper on the ring. Now over diamond is placed
center above the ring. Here you can see
that the yellow dot, which is the object
origin from where the graph scale and
rotation can be done. Here I change the
yellow dot position, I select the last one vertices, and by pressing Shift test, select cursor to selected. The cursor will come to the selected part
in the object mode, select set origin and
origin to three decursor, the position of the
yellow dot at the bottom. And you can adjust the
scale from the bottom so that you can adjust the size without
changing its place. And here I'm increase the
size by holding shift, it can be increased
the minor size. Now I'm hit the plane and select all and by
rotate in z direction, by R, z and 45 degree because the handle is almost the 45 to the ring. And I can easily made in the front view for
making the handle. I'm using a pen tool
as a reference here, I'm drawing the handle
shape manually, just as a reference. Here, it's not look perfect, but for reference, it's okay. For a reference, I'm
adding a cube and decrease the scale size and place at the top of the handle
for making the circular. I'm adding a subdivision
surface and increase the level to three to get
a perfect circle result. Here I'm rotating in such a way that it can be
extended in both ways. Now I'm turning
on the tremor and select these two vertices and
extend in this direction. It's the same way. Now I select these two opposite vertices
and extend on this way. I know it has not
taken shape yet, but by grabbing the vertices, I will give it shape. Here I select the
one vertices and grab it according to
a drawing shapes. The same way I
select the vertices one by one and then
give it to shape. Make sure you are in the front view and
turning on the Xray mode. If the Xtra mode is not turn on, then only the front vertiss
can change its shape, not the rear one because of, I mean, x direction view. Then the grabbing can be
only effect on the Y, Z direction, that the width of the handle cannot be changed. That's why I wrote
it in 45 degrees. If you can't feed the shape
by grabbing the vertiss, you can simply add some loop cut to get the perfect shape. Here I give the shape of
the handle manually because the draw line cannot be made proper for the inner vertices. I minor touch the diamond here. I almost made the
shape of the handle, but in the object mode I found out that it has the more
thickness at the middle. I changed it now from the side. I think it's perfect. Now
I'm going to the top. And to narrow down its tail, I turn on the proposal editing object and decrease the size. Now it's look perfect and
by scaling in x direction, you can adjust its width. I turn off the pentolcause, I no longer need it. Then by pressing rightly, I do the smooth. Now we have to make it three
sides as we did in object. To duplicate the other
side by mirror modifier. We have to do the same thing to complete another three parts. For the support,
I'm adding a plane, but here you can see
that the plane is not perfectly at the center, but we can change it later. First, I select the handle
and use the mirror modifier. And select the both X, X and y, but it can be opposite. I select the plane
to get the support. After that, I wrote it in 45 degree Because of the
plane is not at the center, it is not perfectly I grabbing in x and y direction
to match it proper. Whenever you satisfied
with your work, please do not forget to save
the file by using controls. After some changing
its position, reading of the
handle is completed. It's look good, but the mirror modifier
is still not a light. It has me chance to
lose their position, but we can fix it later. First thing I do is select all the part of the diamond
ring including the plane. And at the last I
select the outer ring, It can be selected
by yellow border and press control and select
object with keep transform. If I change the
position of the ring, the whole diamond
ring can be dejected. And it can be follow all
the things like rotate, scale and changing the position now back to its
place by rotate in z direction by R z -45 Here
our diamond rings look good, but the outer vertices of
the ring is slightly upper. I select those vertices and grab it down by turning on the
proportional editing object. I also adjust another
vertices around it properly. Here our modeling of
the ring is completed. If you're totally satisfied
with your project, then you can apply the modifier here. I simply applied it. Now, if you are unhide the plane which we
use as a support, it is now separated
from the ring portion, but all the animation I
will do in another file. So I will call him back
and let him be by using control Z so that if I want to change something,
I change it later. Here our modeling of the
diamond ring is completed. In the next video, I will do a material lighting,
so it's Lookal. Meet you in the next class.
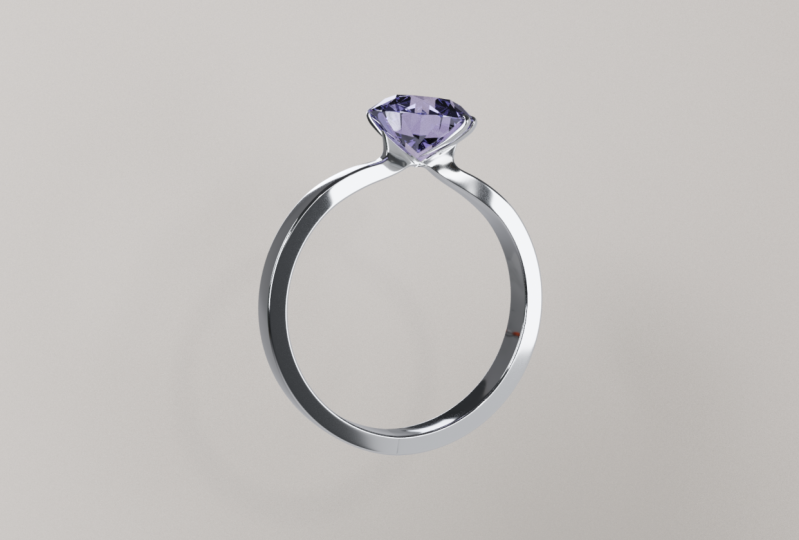
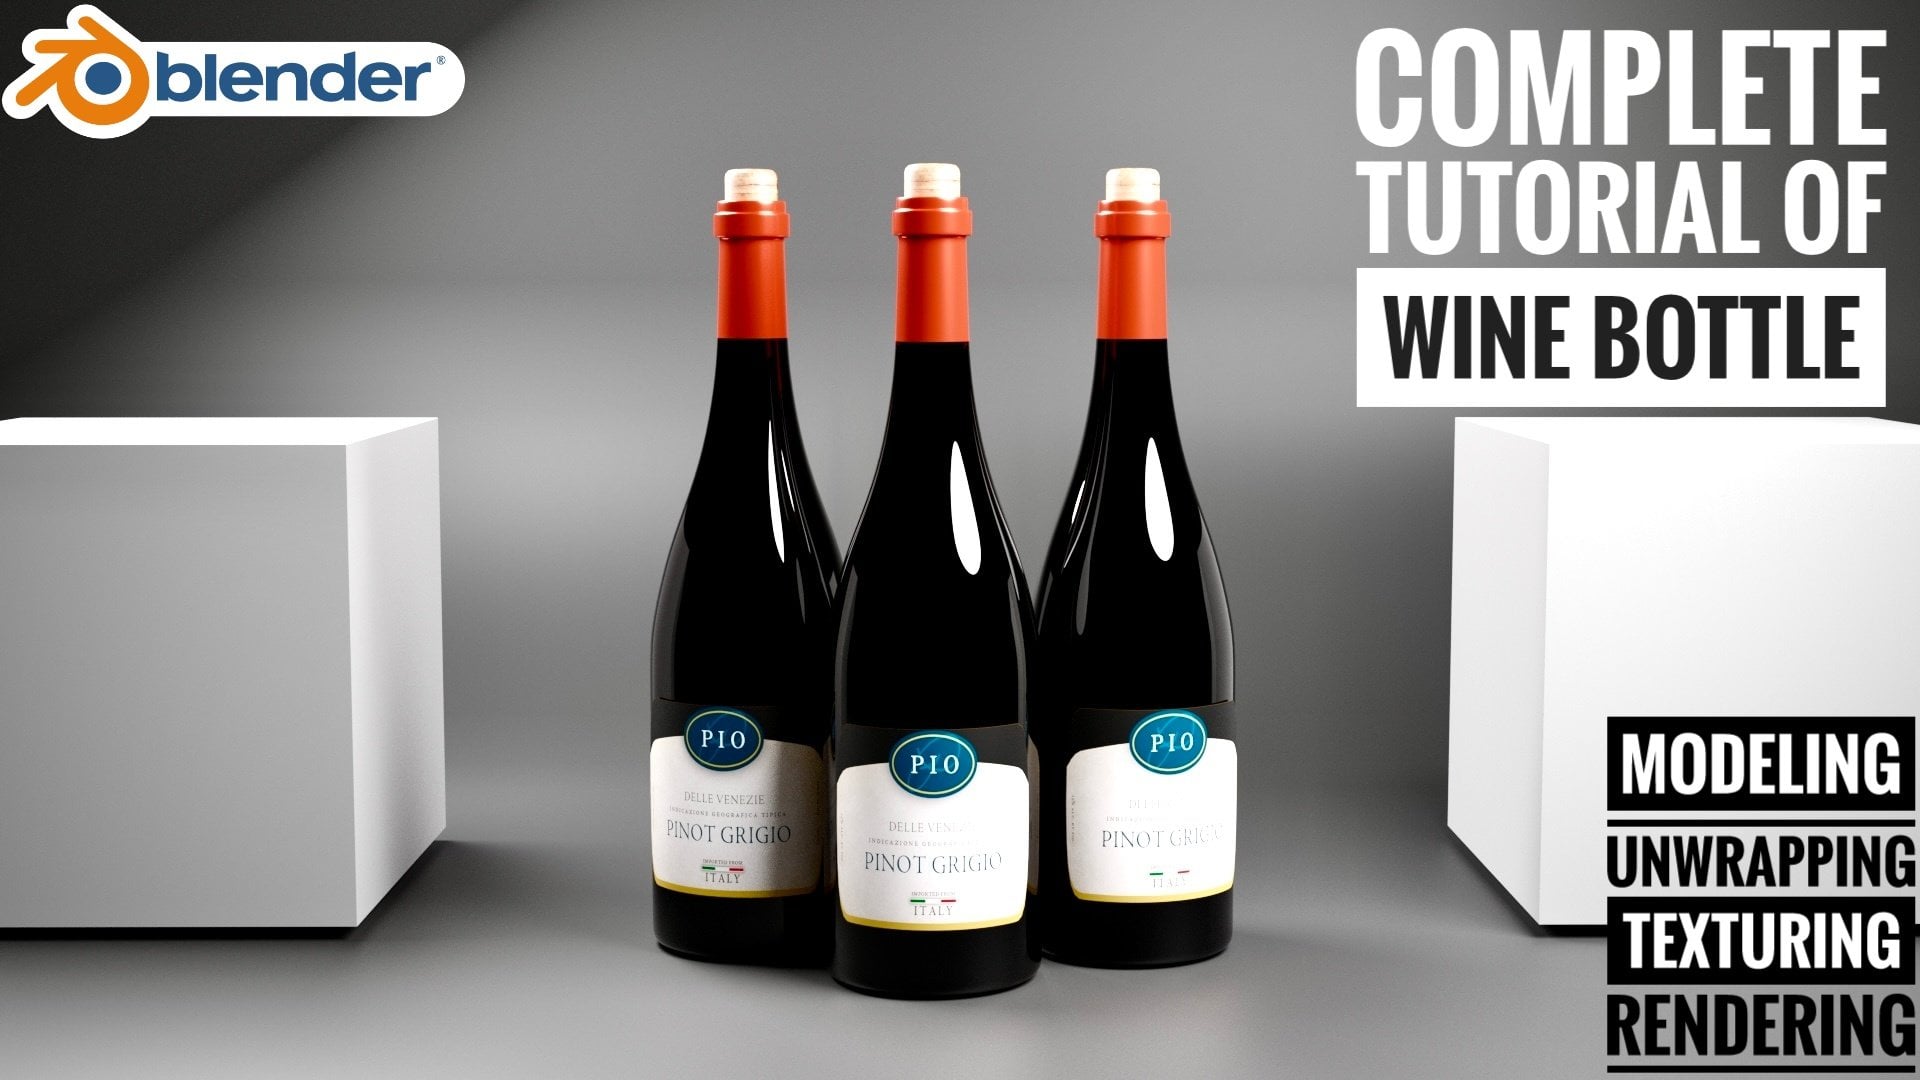
3. Elevating Diamond Rings with Materials, Background, Lighting: Hey everyone. In the second
episode I'm going to apply some material and add some
lighting and background here. I start with adding HDRI, so I go to the wall property and change the color to
environment texture, and then go to the render view. So before I apply the DRI, first I change the
render engine to a cycle and now
apply the HDRI here. The DRI is provided into the project resources
so you can use it. Okay, Now DRI is apply here. I change some sample
in the Viewport to like 50 and then change
the device to GPU compute. If you don't have a
GPU in your device, then you can simply use the
CPU I back to the layout, and now I'm simply
add a plane for a background and rotate
the plane in Dixon by R, Y and 90 and placing behind the ring and
increase the scale size, it covered the whole area
or the background here. Our background is placed
now for lighting, I'm adding a two plane
for the side lighting. Here I rotate in x dijection by Rx 90 and place right
side to the ring. And here I slightly rotate
a plane towards the ring. Here we can use the
plane as the light. I'm going to the shading view, but here we are
in Material View. I chain the render view and then select the plane and
add a new material. And for making the light, I simply delete
the principal SDF. And by pressing shift, I'm adding a new node
which is emission node. And connect the emission to
material output surface. And you can see that
the increase of the strain can increase
the light power. Here the emission node
is used for adding a emit light with containing the color
and strength value. Here I'm increase the
size of the plane so that it creates a
good source of light. Now I'm increasing
the power value. By increasing in strength value, I set the value to
ten by the way, you can also change the color. Now I'm applying a
material to the ring. I select the ring and
select the new material. Here the principal
BSDF is up here. And here I increase the
metallic value to one. It can become the metal and
decrease the roughness value, it becomes the full deflectible. But here I slightly increase the roughness value so that it becomes the tiny blurry for
the deflection of light. Here I increase the
specular value, select the specular and
increase the R value to one. Also slightly increase
the anisotropic and the rotation value. And here in emison value 21 and bring down the
color to like a plaque. Now the body of the ring part is look like a made in steel. But you can see that the
white reflect is too much, which is the reflexion of
behind the plane. Look at this. If I change the color,
the reflexion will also change to eliminating
the reflexion of plane. Here I select the plane and
go to the object property. In the visibility, I
uncheck the glossy effect. You can see that the
background plane of the light is
totally eliminating. And the ring is look
like a steel ring. Now, after giving the material, I select the ring and then
change the name of the ring. Here I give the same
material to the handle. I select the handle and
directly select the steel ring, it becomes the copy
of the material. Now select the diamond and
give the new material. But for the diamond, I don't
need the principal BSDF. I delete it, and I'm
adding a glass SDF. And connect the SDF
to the surface, it becomes the glass
of the material. But here I change the IR value. Ir means the index
of reflection. If you set R value to one, then all the light passes through a straight,
like a transparent. But if you increase the R value, then it can become
the more reflectible. Here all three model of
the material is applied. Now I set up the light, so I duplicate the light and
placed opposite of the first one so that the source of the light can come
from both lights. And for the front light, I'm adding a Da light and placed in front of the object and rotate towards the ring. And just is position proper. But in the next
episode I will change the light property and position according
to the animation. For now in the data property, I increase the power value
to like 500 or even more like 1,000 Here the effect of front light
will be less cost. Our object is too much big. Now we complete the set up of the lighting and
apply the material, we are ready to animation. In the next video, I will do the animation in which the
diamond joined to the ring. Meet you in the next class.
4. Creating The Opening Scene of Animation for a Diamond Ring: Hey everyone, welcome to the third episode of
Diamond Ring animation. In this part, I'm
going to animate a diamond in which the diamond will come
down from the top, along with the circular rotation and get a tail to the ring. So here I set all the name for easy identification and I will do the animation in
another copied file. So for the body of the ring, I simply applied the mirror
modifier because now I don't want to change anything but its original file,
it kept separately. Here you can see that there is another file in which
I will do animation. Start with the animation first, I simply delete the plane
behind the ring because I don't need anymore and our ring does not
rest on the plane. But here there is another
plane for the handle, which I will not delete because I'm going to
give it safe key. With the use of shape key, we can open the handle for animation for the front
view of the handle. I rotate the ring to
45 degrees so that I can easily change or edit
the handle for the safe key. So for add the safe key, I select the handle and
go to the data property. Here you can see the
section of shape key. Click on plus icon to add
Basic and press another time. Then it will add
the first safe key. Before I use, I will explain
the basics of safe key. Suppose it is the
handle of the ring. When you add a basic key, the blender will
remember the safe as original set value to zero, and after that add a key one. By selecting the key one, you can change the
different shape. In the added mode here, the value of this different
shape is one. And that's it. By changing value zero to one, it can be animated and you can simply change the shape
by adjusting the value. Now back to the animation. By selecting the key one, I'm going to the addit
mode and simply change the shape of the handle by not applying the
mirror modifier. All the change I do
in the one handle, it can be same effect
on all of the handle. And after going to
the object mode, I can simply change the
shape by changing the value. If I applied the
mirror modifier, then I would have changed
the handle shape four times. Obviously, the result is not the same in all
the four times. That's why I didn't
delete the plane of the handle by little adjustment. I have changed the
shape of the handle and I think it is ready
for the animation. Now, after changing the
shape of the handle, I simply back to rotate the
ring to its original place. Now onto the animation simply. First I'm adding
a camera and here our camera is appear by
placing Numped zero. I'm in the camera view by
pressing shift ten til I can move the camera by using Ls
and D. By using Ls and D, you can go forward backward, left side, and right side. By using Q and D, you can go downward and upward. Here I pull up the time bar. And if I hit the space, then the time bar
is start moving. Here I change the end
frame to 100 or 110. My animation start frame
one to 110 for animation. First I go to the frame one and adjust the
camera movement. Here I'm adjusting camera in
such a way that the camera can capture the diamond which
is fall from top to bottom. After set the position
of the camera, I praise and select a
location and rotation. At frame one, the
camera location and rotation can be saved. Now I'm going to
the last frame at 01:10 and adjust the camera view where the animation can be end. Here I bring down the
camera to like half of the ring and place
right side close to it so it's look like a camera
can watching the ring from the right side at the last frame after the
exjusting the camera. I simply praise I again and set the location
and rotation. Now if you hit the space burden, the camera can start moving from our first position
to last position, around 50 frames A. Here I notice a camera position
is too much at left area. I adjust it and give another key frame for the
animation, the camera movement. I think it is good. At the last frame, the camera can go outside the background. I simply increase the scale size so that it can cover
the whole area. And now it is perfect. Okay, so our camera movement is complete for the animation. So now I have to animate the diamond here
at the 70 frame, I want to diamond
at this location. So first I give the key frame, and then I go to the first frame and pull the diamond upwards. And then give the key frame
from frame one to frame 70. The diamond will come
down from above. Then I pull the bar
from the side here. I'm going to the Item menu, in which I give the circular
rotation on its axis. Here I only want to
rotate on Jed axis, That's why I pull up this bar. First I change the
value of j axis to like 3,000 and then give the key frame from
frame one to frame 70, it's rotate 300 degree to
zero degree on its own axis. And here I want to speed
like fast to slow. Here what I do at frame 30, I give the key frame
and drag to 15 frames. Whatever happens in frame one to 30 will happen
in 1215 frame. Basically, it's become fast, and by pressing on the timeline, I select the linear, it gives the constant movement. Like one to 15 is much
fast and then slow. But at starting the rotation
of diamond is too much, I change the value, look at it. At the 15 frame, the value is around 202. At the first frame,
I set the value more than 202 and less than 300, and I selected 250 and
give the key frame. I think it is perfect
for the anime. Here our movement of diamond
is also be completed. Now onto the handle. Here I select the handle
and I have to give the animation like it will
remain open and close. When the diamond comes here, diamond arrives at 70 frames. At the 70 frame, the value is one, and I use the key frame
around 90 or maybe 85 frame, I close the handle, I select the zero and
give the key frame here. I select the key frame at
70 and grab to like a 65. So that it would
appear that as soon as the diamonds arrive it
will begin to close. Now I think it's look fine. Now here I'm open the render
view and let's check again. Okay, so now it's perfect
and make sure you are in the cycle engine and
the device is P. The camera diamond and
handle movements is now completed and only thing remains to do is setting up some
lights and background. Here I give some little
adjustment of the light and also change the color and some property
of the background. Here I darken the color, pat, and change some property
like a specular value. Here I bring down the specular
value all the way zero. The reflection of the
light is very lace, but the reflection of the
light on the ring is too much. Here, I put little away from
the ring now that's fine. Now, by using the
composition tab here, I'm adding some sign. Around 100 frame, I
render the one image. I changed the render
sample to like a 200 in doubtful property. Make sure the file
format is PNG here, I'm going to the render
and render image. It takes some time to
render the image out. After the render, I
simply minimize it. And going to the
render in view here you can see a rendered
image from the left corner. I'm going to add a
vertical splint. And in the right window I change the render view to compositor, not go to the deeply. Here I select the
use node option, the two nodes is appear
and make gap between them. And here I'm adding a node
which is a glare node. Here you can see that
it get a much sinar. I mess with some value. If you hold a cursor on
the particular value, then you can see that, a little info about that. Here I start with the
decreasing the F value. Here the Fed value is, factor out the streak and mess with some other value
until it's look fine. I recommended you to not
copy the actual value. Just try your own here. At the last, I'm going to the layout view
and simply change the color management value to get the different result here, the color management
value can be effect on the whole scene. I slightly changed
the values here I change the exposure and
gamma value and also tick mark on the use Cove option and mess with some value
now I think it's look fine and we
are almost done for the first animation
for render result, I check the sample value to 200 and check on
the nose option in the render view and in the output property there is my default camera resolution. And here I set the 20 FP. If you change the 60 FPS, then it gets much
smoother and much faster. But I set to default like a 24, and I think it is okay. If you want another FPS, then you can simply change it. After that, verify your frame
range from start to end. In the output, I simply select the folder in which our
animation can be stored. I create a new folder and change the name
to animation one. You can do anywhere
you want to store it. After the setting of the name, I simply exhibit here you
can verify the file part. And in the file format I select the F M pec in the encoding, change the container
value to Mpeg four. Don't forget to
save the file now, before the render animation, make sure you are
in the layout view. Otherwise it will
render the twice at the last go to the render
and render animation. Now it takes much
time to render it because it renders
frame one to frame 70. Each of the frame after the render here is
my render result. I hope you like it. If it's the query, then you can comment down below. There is our first shot. In the next video, we will do the second shot
of the animation. Meet you in the next class.
5. The Diamond Ring Reveal Animation Scene Creation: Hey everyone, welcome to the
fourth episode of animation. In this episode, I'm going to give another sort of animation. And for another sort I
create another file. So in this animation
I need a ground. So first I'm adding a plane
and grab under the ring. And after the perfectly placing I'm increase
the scale size. So now it is appeared to be
as a ground in this file, I've already applied
the meter modifier to the ring and change
the object name. Now for the animation, I pull up the time line here. I need around 70 frame. I change the end frame to 70. Here I rotate the
ring in such a way that it's look like
slightly from the side. Here I create the
last in in which the diamond ring can be
revealed by simple rotation. From this position my
animation will be start. Now, main thing I'm for studying the camera by adding camera
and by pressing number zero, I go to the camera view
by using if ten tail. I can do simply
movement by using SND. First I set up the camera
to very close to the ring. Like this at the last show, the camera moving
away from the ring. Here I set up the camera
for the first frame, and after setting up the camera, I simply give the key
frame by using and then go to the last frame and give the last frame position. Here I am keeping a little
distance from the ring, and at the 70, I give you another
key frame and I also want a fast to slow
movement of the camera. I going to the half frame, like 35, and give
you the key frame. Now select the key frame of the 35 and grab to like a 15 frame. Here you can see that a camera can move fast and then slow. But because of the
timeline is basier, the movement is not uniform
according to the speed. By using the vertical split, I'm adding another window in
the left side of the window. I'm simply upon the
graph editor here. All the movement of the
camera we can see as a graph. You can see there
are so many lines I simply hide,
which I don't need. My camera movement is
only in X location. I only turn on the X
location for the animation. I have three key frames, and the three points are
in the graph 15-70 frames. I give the constant movement and set manually to its
linear movement. Suppose my graphs look like
this, with the three values, 015.70 0-15 The moment is fast, but because of it is basier, after that, the
movement is very slow, like a zero movement here, 15-70 I just simply create
a manually linear shape. From the starting
the camera moment, you start increasing
the speed because of bas Ier and then constant here, 15-70 I simply adjust the graph like a linear
so that after the 15, it becomes the
constant movement. Here also ajusts the
starting key frame. Don't directly copy it, just check how your
animation needs look. And if you do not satisfy, then aust until you want. Now check the camera moment. Yeah, I think it's
perfect. By the way. You can also change the position from the graph like this. Now, camera moment is increasing the speed and then constant
like a product reveal. Then the camera moment is
done now onto the ring. Here. I don't close the
graph window because I also used for the ring
at the frame one. I set the ring position like this and go
to the last frame, Rotate it here, I simply give the rotation in all of the
detection like x, y, z. After giving the position, I add another key frame, it get the normal rotation
as we did in camera. I give the key frame
at 35 and grab 215 and adjust the
movement in the graph. I open the graph but
it's look very complex. To avoid the confusion, I recommended you to hide the keyframe that
you don't need here. I want only z rotation. I only open the z
rotation and adjust the moment like as we did
in camera at the start, zero to 15 create the baser, and then for constant
movement create the linear. Here, I give the same
moment as I did in camera. It matched with the
camera so that it will be animate like it devel the
product for the last scene. Here I only want to animate
a ring and the camera. After the animate, I
simply join the area. And here you can see that our movement of
animation is fine. Now after the animation, we have to adjust the
lighting and background. So make sure the device is
chip and engine is cycle. Now I open the render view. Yeah, it's too much bright here, I little grab away from the ring and little
rotate to distract it. But it's too much bright. Now here I decrease the scale size and just
match with the scene. Another thing is if you select the plane and go to
the object property, make sure the
glossy is done off, otherwise it reflects the
much light on the ring. Here I place the
light again close to it at the corner part. The light is tiny, reflect, now I'm changed the material
of the plane of the ground. I go to the material and
add a new material here. I turn off the roughness
value to zero, Then the reflection is clear and increase the metallic value
to like half and more. It almost becomes the glass. Here you can see
that the white plane on the ground is
too much reflect, which is the HDRI
in the Ceding view, I can edit the property of HDRI. To do that, I change
the object to world. Here is my DRI property. Now I select the missed
texture and press control. Then you can see that
the two nodes appear, which is called the node
granular to enable it to go to the edit
reference addons, search node wranglar and
take mark on this option. By using the mapping node, we can change the
particular value to the particular axis. I simply change the value
of Z Xs to rotation. You can see that the
DRI is rotated in Z Xs. Here I rotate in such a way
that it clear the area, I think it's fine and there is no reflection of the R. Now
back to the layout, you, I select the floor and change some other property first to become a little
blurry to the floor. I simply slightly increase
the roughness value. It becomes a little blurry and also increase
the metallic value, it becomes the class type. After that, select
the background plane and also mess with
some property. First I bring down
specular value all the way down so that the light
reflection is very less. I match the color with the floor color and also use the Dropper
tool to mess the color. It is not necessary to give
the exactly the same color, but I simply just match it here I mess with some
metallic roughness, specular, and some
basic color value to get the perfect result. I also recommended you to mess with some all
the value like I do so that you also know which value
works in which way. After changing
some of the value, I think I find the
perfect matching result. I can't exactly copy
the material from the floor because our floor of the material is reflective. Without reflection, I have to match the color
with the floor. Now our moment of the animation and the lighting is perfect. I render the one image and add a glare node as I did
in the previous sort. I take the 200 sample and
the file formats pen G, and after that I render
the single image out. After render image, I simply minimize it and go
to the render view. And here I open another window by using a vertical splint. At the left window
is my render view. And I change the right
window to a compositor. As we did in the first shot, I select the used node
option and add a glare node. By placing it, add a glare and place
between the two of them. Now here I mess with some glare property like
decrease the fat value. And here I increase the color management value and also change the
threshold value. Here I reduce the sininess by changing the value of Clare. I adjust the value while looking the left
side of the window. After changing the value, I'm going to the layer, and here I change the color
management value. As I told you in the first sort, the color management value can be effect on whole scenery. I slightly increase or decrease the value to get
a perfect result. Here I also take mark on
the use Co option and mess with some value until I
find the based result. If you are satisfied
with your file, then don't forget to save the
file by using controllers. Now after changing the value, I simply set the render result. Here I said the old setting
which I already did in the first sort like 200 sample and default camera
dissolution 24 Ps. Here, check the
start and end frame 1270 and here is the main
point for the output setting. When you are
selecting the folder, I recommended you to
create a new folder, not the old one, in which you
kept the last tender clip. For the animation two, I create the new folder name, animation two and accept
the folder and change the file format is
FFmpec in the encoding, change the container
value to M pec four. After set up all the
settings simply go to the layout and then
go to the first frame. And then hit the render
and render animation. But here I noticed two things, the white shadow on the ring and the light reflection
on the diamond. Okay, so I check the
render view and yeah, there is too much white shadow. So what I do first
I select the floor and go to the object property
and draw on the glossiness. Okay, so it can be eliminate a little shadow in the material. I simply increase the
metallic value and yeah, there is much better. And here I simply increase the roughness value to
get the blurry reflexion. And here I set the
value to like 0.0 75. And I think it's perfect
compared to the first one. Another thing is the
much reflection on the ring or the diamond To
eliminate the reflection, first I check which light has more reflection
by hiding it. Here I found the area light. I unite this two side
light and everything. I will change in area light. By selecting the area light, I go to the data
property and uncheck the multiple importance
in the render property. Turn on the denoise
option as well so that it dinos the image and get
the result like render. And that's it, I
think it's perfect and every render setting
we already done before, I simply go to you view
and hit render animation. It will take some time to render the animation and here is
my final render result. I render this video
as a last clip. And if you do not satisfy
the result that you want, then simply mess with some value due to which you will also
get to learn something. If you face an inquiry, then you can comment it. In the last video,
I'm going to give you another sort in which the two
ring are rooted parallel, Meet you in the next class.
6. Creating A Symmetrical Spin Animation for a Diamond Ring: So hey everyone, welcome to the last episode of
Diamond Ring animation. In the last episode, I'm going to give my final sort in which the two ring
are parallel rotate. So I had a basic need
for the animation, which is the camera by
pressing num ped zero, I'm going to the camera view and by pressing shift ten tail, I can move the camera by
using ASN D. Here I'm setting a camera in such a
way that it can be a front view of
the diamond ring. Now I need another diamond ring, so I simply select all along with the plane and then
swiftly to duplicate it. And by right placing
it, default position here, or another ring which
is ring 0.01 is appear. Now I'm hiding the
plane in both the ring. Now if you select the
one ring and grab it, then you can see the
another ring behind it. I select the first ring and rotate in Y direction by R, Y. And just like this now, it's the same way. I
select another ring and rotate in also wide direction and place opposite
to the first one. With keeping this distance, I'm placing the two ring
parallel like this. And here I set the
position of the ring in this direction where
the rings animation is. Ends. After the parallel, I rotate the ring in
that direction around. I think 40 is enough. R, Z, and 40, it's the same way. I select another ring and simply rotate opposite R and -40 Here I take the end
frame to around 70. You can make as many
frames as you want. As I told you, this
is my end position. So I'm going to frame 70 at the end and
give the key frame. It will take around 30
frames to rotate it. I think at the Frame 40, I changed the rotation of
the both ring oppositely. Here I rotate the ring in that direction about
yeah, positive 40. And to give another
one opposite movement, select another ring and rotate
in -40 At the frame 40, I give you another key frame. Yeah, I think it's perfect. Now for the starting, I'm going to the frame one, select the first ring and
now rotate in where then? Yeah, I have to rotate
in left side around like a positive 30
R in positive 30. And same way select
another ring, and here I select
the negative 30. But I want to bring the ring
from outside the camera. Here I give some random rotation like in x direction, around -30 For another ring, I have to give also A -30 in X direction, because our rotation is opposite but the
movement is same. Then select the both ring and keep it slightly
out of the camera. By manually after placing
both ring outside. I select the both ring
and give the key frame. Now if I play the animation. Yeah, I think it's look fine. By the way. If you
want to change anything between the animation, go to that frame and change anything and then
give the key frame. Here I place both ring
almost parallel to each other and then after
selecting both ring, I give you the key frame so
that it's look, yeah, fine. Now, I have to
animate the camera as it were approaching
from the far first, keeping the camera
away from the ring. At the first frame, I
give the key frame, then go to the last frame and put the camera
close to the ring. After placing the camera, I give another key frame. Now if you're play
the animation. Yeah, I think it's
perfect, but it's bezier. I select the both key frame and praise and select
the linear now. It gives the constant movement. Now, time to set up the
lighting and background. I'm going to the
render view and yeah, as usual, too much, right? If you hide the
light one by one, then you can see that the area light can
be reflect too much. But here, I don't want to stop
the reflection altogether. Instead, I decrease
the scale size and placed very close to the ring and rotate towards the ring as you can see
the reflection on it. Yeah, I think it's
reflection is fine. And there is another reflection
of the side to plane. Select the right side of the plane and go to
the object property. And now in the visibility, if I turn the glossy, then it can be eliminate
the white side. But you can see that
the reflection on the above one diamond which
is of the area light. What I do, I go to the data property and here
I decrease the power. The reflexion is less but
not totally eliminate. I turn off the
multiple importance. It eliminates, but not totally because the light is too
much close to the ring. Here you can see that the white blurry shadow is still there. But it's fine for the
little reflexion. Now for the left
side of the plane, I adjust the size or
other property so that it cannot be get
over shadow or reflexion. But in this case I do
not turn off the glossy. Otherwise the reflexion is
totally off for the ring because we already turn off the reflexion from the
right side of the plane. Here. I simply change the
rotation and the scale size from the camera so that I can see the reflection
from the camera. I think I have to
decrease the power, but the plane is copy
of the material. Everything I change
in this plane will also be happened
in the other one. And to separate them, select the two number and then
change the property. Now the two plane of the
material is separated. Now I decrease the
strength value and check it, not the three. I think six, It is
still not perfect. I increase or decrease
the scale size and give some random rotation here. I think I have to
change the place of the plane slightly
from the front. And yeah, it's perfect. I change back the string
value to 104, much brighter. And you can also
change the color. If you want to give
some different light, then you can simply give it. But I change to white
our animation and the light can be done as we did in
previous two animation, adding a glare node here, I change the render
sample to like 200, and I render the
image at frame 70. After render the image, I minimize it and going
to the render view, I simply add a vertical split and at the right side window, open the compositor tab, select on used node option, and add a glare
node between them. It's the same way
I simply mess with some property so
it's looks shiny. First, I decrease the Fed
value and then increase the thresholde value and increase some color
management value. As I told you, do not
directly copy the value. Instead, try changing
the new value yourself so that
you have an idea. By changing which value,
what will happen. So that here I changing
the glare value, as usual, I change the color
management value to get better results by changing the exposure
and gamma value very slightly because it
affects the whole scene. By holding the shift
value I can slightly change the value
and as usual also tick mark on the use
co option and mess with some value whenever
you get the progress. Don't forget to save the
file by using controllers. And after changing and
setting up some value here, I simply change the
render setting. Here engine is cycle and here the camera Dissolution
is my default setting set to 24 Ps. And the main thing here I create a new folder here I recommended you to create a new folder
whenever you render the video after exhibit. Here, file format is FFmpec video and Indian encoding set
container to Mpeg four. Now everything is set up and we are ready for the animation. So I'm going to the Viewpod at the first frame and
tender the animation. If you find a problem,
then solve it. At around two to three frame, I find a very blurry
white shadow here. You can see that I
find this problem, but our background
has no glossy effect. Do some searching, I found a problem which is
the problem of DRI. Here. Our right side of the
DRI wall is too much white, that is the reflection
of the wall. What I do, I simply duplicate
the background plane and place it in such a way that the right
side of the ring is covered. Here I placing behind the light. And here I increase the
scale size too much. But since it is the
duplicate of the background, every change I do in the
right side of the wall, then it can affect the both of the background because it
is the copied material. Now if I press the two button, now it is separated here. I'm going to the object property and turn of the glossiness. Now our background is glossy. If I change the color, then it affects on the ring. Also here what I do, I simply increase
the metallic value and decrease the
roughness value. That effect is also
be reflected here. I change the color to totally white and
everything I change in metallic and roughness
value to match with the ring or I simply see
the value of the ring, roughness is 0.041 Now I
select the wall and set roughness to 0.041 Here I mess with some color
management value. After solve this problem, I'm going to the layout
and add the 200 sample. And then from the
frame one here, I simply render the
animation here. It takes some time
to render it out. Here is my render result. I hope you like it. If you face with the problem
while doing any project, mess with the possible
setting until it fixed. If you try this animation, then you can also applaud
in the class gallery. I would really happy to see it. If you face any query, then you can simply commend it. Meet you in the next class. Stay safe and stay healthy.
 Nityam Patel