Transcripts
1. Introduction: Hello. If you're watching this introduction, it means you want to create comics on the web. But just like me, you're impatient and you want to find ways to work on your creations faster and more efficiently. If that's the case, then this is the class for you. I'll be showing you five different ways to speed up your comic making process so that you don't keep us waiting to see your coast stories and art will be going over the following tools. Creating a template, vector layers, fast flattening, prospective ruler, and establishing a color palette. Now, I'll be sprinkling some other tips and tricks along the way. So make sure to watch every video for that. And at the end of the class LB asking you to share one of your completed comic book pages with us for the class project. That way, we can all appreciate the things that we have learned together. If this sounds like something you'd be interested in, then hop along to this class.
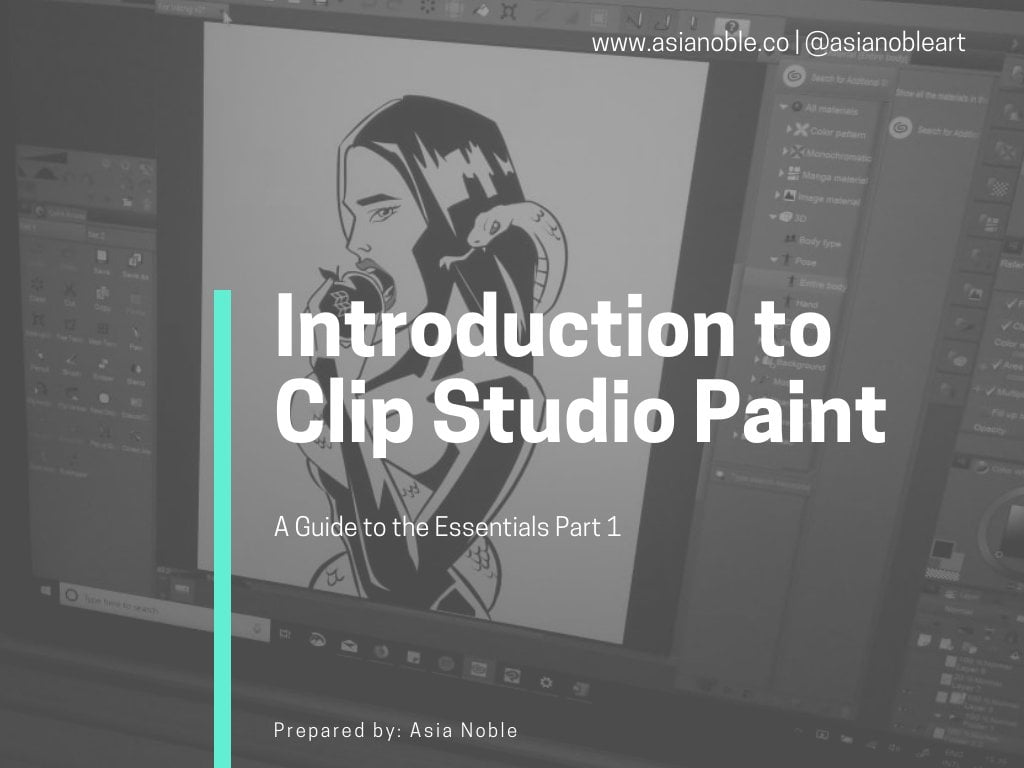
2. Templates: Well everyone, welcome to this class. I'm very excited to have you here. I'm very excited that you chose to take this class with me. And let's just hop right into learning some really cool things about speeding up our comic book making process. Now, the first and most important step for me to set myself up for success is creating a template. I, I believe I've gone over this in a previous class that I made for sculpture. But if you haven't seen that one, I think this is going to be useful as well. So we're over here on Clip studio paint in the paint feature, and we're going to create a new file so that one's pretty easy if you are used to using clips European. Do you know where to find this? You'll just go to File and then New. And I will like to mention that the updated version of RStudio Panes now gives you the option to use one of their predetermined templates for a web tunes. But I will not be using these measurements because I don't usually work in such long strips. So I'm just going to stick with what I know in this case and what I would recommend for you guys. And especially if you're just starting out, you don't necessarily need such a big canvas for your work. So the measurements are usually use our 800 for width. And this is as big as you can get on a web tunes because that's the limit that you have. Now In the Heights section, you do have a limit when you upload, but you can crop this afterwards. So I usually go for 4 thousand more or less. And that way I can draw several pages at once. So I will not keep my resolution to 350 because that's a bit too high and it's going to create a very heavy file. So I will seek with something like 300 or 250. So then I'm just gonna click OK and we're going to have our template. This is perfect. We have our template and now we can work on creating some folders that will serve for when we want to create several different and new pages. So simply go over here to your layers. And what I do is I always create a folder for where all of my information will go in case I come back to the project a month or two months later. And I don't, sometimes I forget what my font is or what kind of with amusing for the pixels in my brush. So this is very helpful for me. I just type this as NFO and I create a new layer. And in here, let's say I want to type my text for my comic with specific fonts and a specific size. So I'll just write down the font I am using. Comic, cartoon. And this is a big, too big. So I'll just stick with 16. No, that's still too big. Ok. Let's sick what 12? That's the font size that I'll be using. So I'm just going to write that down next to this. And now I'm also going to determine what kind of brush I want to use for all of my pages. In my case, I want to use a pen and I will just mark it as 6 size for my Jeevan. So I'll just write six points and that it's my g ten. Perfect. If there's any other specification you on margin here, this is a perfect place to do so because this is going to appear in all of your pages when you start in your template and that way you always keep things consistent. So for now I'll just keep it like that. You don't really need to know much more in that case because everybody's going to customize this info part as they wish. I'm also going to create a folder for all of my texts. So I will just write down text and this is where I'll bring in all of my texts for my speech bubbles. Then I'm going to create an additional folder for my speech bubbles. Then I also like to create an additional folder for my my frames. I like to call them frames. And this is just basically where I'll add all of my panels. So I like to have a specific folder and layer for those. Okay. And then I'm going to add in here, Inc., which is where I'm going to be thinking all of my comic. I'm going to create an additional layer for color, which is pretty self-explanatory. I'm just going to add all the color in here. And then I do like to create a separate folder for my background's going to call this backgrounds. And in here I'll add not only the inking backgrounds, but also the coloring for the background, so everything stays in one single place. And finally, I'll just create one more folder that's going to be cold drafts. Inside of drafts, I also like to add maybe reference photos that I'm going to need for the pages or anything like that. And that's basically what I do. I create all these folders so that whenever I open up a new comic book page with my template, everything is all set up for me and it's ready. And that way I speak that part of and I don't have to do this every single time that I create a new comic book page. So that is the template for you there. You don't have to stick to this exact template. But what I am recommending for you to do is simply to create one for yourself. And that's going to be very important if you want to have things stay consistent, which is always important. People want to expect the same thing over and over again when you're creating a comic. And this way you can make sure that that's what happens.
3. Vector Layers: Alright, so now we're in the vector layer section of this whole thing. And if you are not familiar with vector layers, I am going to blow your mind here for a second because vector layers are just one of the greatest things to ever exist in clip studio paint, specially when you're making comics and you don't want to spend hours inking your project. So let me go over what a vector layer is free you, basically, a vector layer in Cliff's studio paint is a layer that not only will help you keep all of your definition and pixels in high definition, even if you shrink it down or you expanded, its also going to help you manage your lines in a way that I personally wasn't used to doing before when I used to use Photoshop. So let me give you an example of what a vector layer does for you in regards to inking specifically. So let's assume you've already created your draft and you just want to ink over it. I'm going to be using my GPA for this vector layer. There's no problem with that. And I'm going to just trying wing a character really quickly here. So let's think about making a face and just giving it some hair. Maybe like this. And maybe you've IT IS. This is really quick, is for example. So don't judge my drawing skills in this birth specifically. Let's say this is the face that we want sitting. Now. Several issues here. Obviously, some of the lines intersect and it's such a pain to have to manually erase each line and sometimes you have to go over it several times. So what vector layers do for you is it takes that problem away. Basically, you will be able to erase all the intersecting lines and keep a very clean inking. Finalize work or a product. So the way to go about erasing intersecting lines of width, the vector layers is to go to the Eraser tool and use the vector Eraser. This is just gonna make things easier because if you use a different kind of eraser, sometimes it doesn't work as good. So let me just show you what I'm talking about. Every time you want to erase a line that's not supposed to be there that's intersecting with another one. You just have to click over it and it'll disappear. Here's a little one here. Let's say I don't want this one or that one or this. And now I don't even have to worry about them because they're gone. And I didn't even have to painstakingly erase little by little to make sure that it was properly erased. As you can see, I was able to line this freely quickly and even though it's not the best drawing in the world, I was, it was very easy for me to erase everything and to ink something that quickly. I'm going to do one more example just for you guys to see and just going to create a triangle. Again, going to show you how to erase these vector intersecting lines. And there we go. We have a triangle. And, you know, I didn't really make much of an effort to make it. But the way that I made it with a vector layer really helped quick make things more quick for me. So that is my tip for inking might Debussy's vector layers so that you can ink quickly and swiftly and not to worry about it at all. And this is basically that section. I just want to mention one more thing. If you want to keep using the vector layer and you're wondering if you can use a different brush. Let me show you, because you definitely can. Let's use a texture pen and intersect some lines. And now let's erase those with the effector eraser. And as you can see, you can do the same with any brush. It just is a matter of using a vector layer. One thing I want to mention as well before we go into the next section is that you cannot paint inside of vector layers. So keep that in mind for when you want to flood, do the flat coloring. If you're used to doing it all in one layer, this will not be possible with a vector layer. If you're happy with your vector layer and you're done with it, and maybe you want to be able to paint over it in the same layer. When you can do is simply go to your vector layer over here. And then you can simply Rasterize the layer so that now you can paint on the same layer, basically is what you can do if that's something that's really important to you. Alright, so now we're ready to go onto the next section.
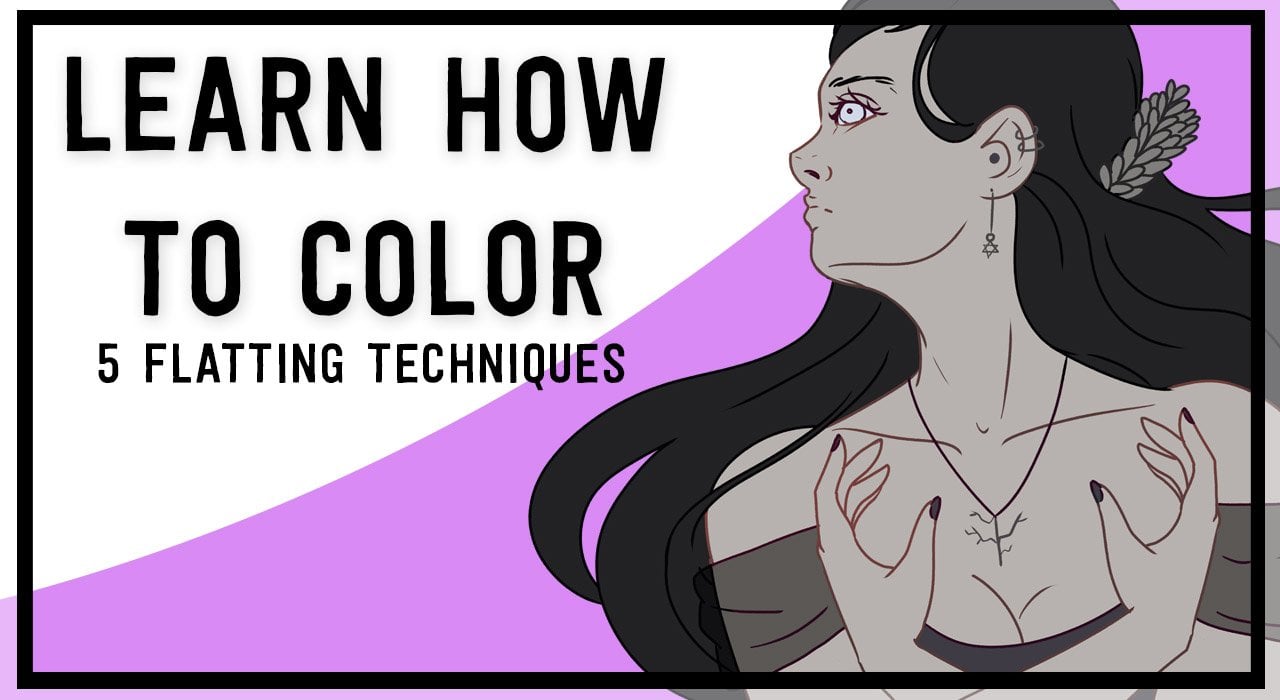
4. Coloring Fast: So now let's imagine you've your entire page and you're ready to paint over your ink. So what you wanna do in this part specifically is final way to color your page as fast as possible. In my experience, coloring is the part that takes the longest and it's the VD that for me is the most painful to be honest. So I am going to go over to my color folder that I created for my template. And one thing I will mention is some people will color in all of their flats in the same layer. This is just a personal preference and you can most definitely do that. But in my experience, it complicates things. Sometimes when I want to modify something about colors and I need them to be in separate layers. I want to show you how to do the quickest painting of your life. So basically when you have created your coloring layer, you want to make sure that when you're using your bucket tool, you click on referred to other layers. This will mean that no matter which layer you're on, the bucket tool is going to take into consideration the other layers. That way. Let's say you want to color this box right here. You're going to be able to do it even if you're not in the specific layer where this box is originally. So I'm just gonna color over there and as you can see, it colors it pretty well. There's no large amount of whitespace or anything that would make it look weird or colored poorly. And that really helps, you know, color things quickly. Let's say you want to color the hair of this lady right here. So you can just go over that and simply add some colors. And that's basically all you gotta do. And maybe you have parts where you can't actually Bucket tool. Maybe you want to color in the insights of her eyes. Well, for me, those parts, you can do those pretty quickly even if you're not using the bucket tool. Sometimes I use a marker pen and I just go over those areas and color them out. So that's one way to do flat colors. And one thing I will mention is that if you use a bucket tool like this, most of the times in a work pretty well for you. You won't have any issues or you don't really have to go over some parts to color improperly anything that wasn't called it properly. But sometimes when you have really angled lines, you will encounter some issues. For example, I'm zooming in here. As you can see, it's not as noticeable, but there is this area that has not been colored. And that's because we're using this tool and it's just a tool to color things fast, but obviously it can't be perfect. So one thing you can do instead of using the bucket tool if you're not fully convinced about it or you have a lots, lots of issues with this. You have a lot of really Angular aligns or things like that. And you can color or flatten the colors are just not flatten the colors, but do the flattening in a different way. So let's do that. We're going to erase this layer wanted to create, we're going to create a new layer. Another way you can color annual layers is using the magic wand. And in this particular case, you have the option to refer to the editing layer, but you don't wanna do that because you obviously don't want to color it in the same layer as your ink. So you want to select referred to all layers. And it'll do the same thing as the Bucket tool does, is just going to take into consideration everything else. So you're going to click in the area that you want to color, let's say the hair specifically. And as you can see, it's selected that whole area. And you could go over this and simply painted. But again, you might encounter the same issue that we encountered with the bucket tool, where there'll be a small area that's going to be white or not colored at all. So what you wanna do in this case is go over to expand selected area, which is right here. And choose the expansion with that will be tailored to your needs because we're all going to be using different widths for lines. So this number will vary from person to person. In my case, I will just keep it as two pixels for now for the purposes of this example. And now I'm going to paint inside of this. If you're using this technique, remember to revert back to refer only to editing layer or else it won't color everything that is, select it and it will only color in referring to the other layers, like it did before living of whitespace. So now you can see that it's colored. And if we zoom into this part, we don't have that same issue. What I did though is I did expand that maybe a little bit too much and there is a little bit of bleed here. But you'll just have to be adjusting as you go to see which number is the best one for you. So I'm going to undo this really quickly, going to raise it. And now I think you can have a better idea of how to do your flats. Just one more tip before we go. Let's say you've already flattened everything. Give me cyclists through referred to other layers. Would say you already flattened everything and maybe you did it all in the same layer. That's great. You can create a new layer and maybe you don't want to painstakingly color in all the shadows or lighting. So what you wanna do is create a new layer. Use the layer settings and clipped to the layer below, and choose a specific color that you like. Maybe something along this area of the color wheel. Maybe a little bit, particularly if you like cool shadows or maybe something warm like red. And what you wanna do with this layer is select the multiply. And now you can paint in shadows really quickly without having to color pick any color. And you can affect several different areas, not only the hair but also the face, things like that. If you wanna do the same thing for maybe adding some lighting, what you can do is if you've already created a clipping mass, all you gotta do is go to your original layer and add a new layer and it will automatically be clipped to your layer. So let's say we want to add some light through her hair to make it shiny. I recommend for you to use maybe hard light depending on your style. And now you have to choose a color that better suits the hair, say this one. And now you have some parts that are light and the parts that are dark and that way you can shade your flat colors pretty quickly. So I hope that was useful because coloring for me, the most painful thing about making comics. And now we're ready to go onto the next section.
5. Perspective Ruler: Alright, so now we're going to be talking about the prospective ruler. Have you ever felt like your backgrounds are not all that great? I know I've encountered that issue. I have lots of issues with perspective sometimes when I'm making comics and things can look a bit weird if I just try to wing it without creating any kind of perspective grid. Now, you don't want to painstakingly create your own perspective grid or look for one that maybe is not the right one for you on Google and you know, use it below your layers. So what you can do is something amazing that clip Studio offers for you. Basically to use a tool that they have. And it's the ruler tool that's already here. So this is the ruler tool. You can click on here. And you'll see that you have several different rulers that you can use. What we're going to be focusing on is a prospective ruler. Because that's what we want to be doing in this point when we're creating backgrounds. So let's say you want to create a background with one-point perspective. What you can do is click on the perspective rule and choose where you want your line to be. Let's imagine that we're doing a background inside of this frame with this panel. First you're going to grade your harass horizon line. And then you're going to create your point where everything will intersect. And now you've created a one-point perspective ruler that's going to help you create a background. As you can see here, when we created the prospective ruler, it appeared in a separate layer. Let's find, we don't really have to touch this layer now that it's created, we can go back to the background. And let's imagine obviously that we've created a trust, right, for our background. And now we're just going to focus on inking. So we're going to go over to this layer for the background and choose whichever one that you want to use. One thing that you can do here is also used a vector layer for this so that you're able to erase intersecting lines. That will be really helpful. So instead of using a regular layer, let's create a vector layer. Alright. You will see that when you create a prospective ruler, if you have all of these selected, your pen will automatically snap to the perspective of this ruler specifically. So let me show you. I'm just going to start drawing lines. And as you can see, they are automatically snapped to the perspective I created. And this is great because this, this allows me to just start drawing and creating my background with perspective without really having to think too much about the perspective itself, which is the most, the hardest part of this whole process. And I'm just doing a really quick background here. It's not perfect by any means, but it's just for you guys to see what you're able to do with this tool. And like I said, this is going to make things very easy for you guys. It's going to make the process really quick for you. And if you struggle with backgrounds, this is going to be extremely helpful. Let's say you're done, you know, doing all those straight lines that you wanted to do. But maybe now you want to add clouds to your background. You obviously want to select this part right here. Click on it so that it's no longer activated so that now you can just simply, we're just going to click all of everything. And now you can simply draw your clouds. And here maybe some birds, let's say you want to add those. I don't know, maybe you want to add a little football here or whatever you wish to add to your background. Or maybe you want to add a character here. You don't want to snap that character to the grid. So now you can do that. And remember we did do this in a vector layer. So now let's say you don't feel like using this line. You can erase it. You can erase this line, you can erase that one. And just for you guys to see better, I'm just going to hide the prospective ruler. And now you can see all of the things that you can't erase. If you did the background outside of the layer where you create it, your panel and your panelists, not a vector layer. You're not going to be able to erase this lines properly because they're going to be erased completely. Just keep that in mind. And maybe what you can do is just simply draw your lines so that you are able to erase whatever is outside of the panel. That's just something that you'll have to consider when you're making your backgrounds. But that is how you use a prospective ruler for making backgrounds more quickly and faster.
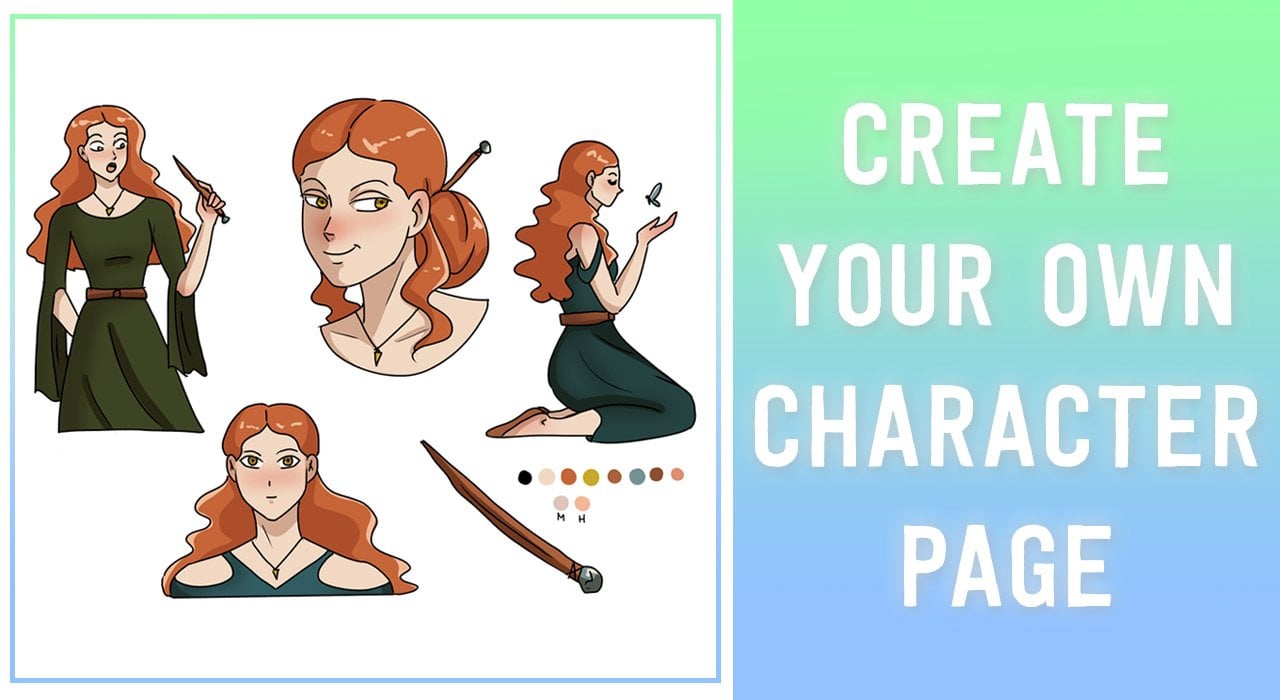
6. Color Palettes: All right, so we're nearing the end of the class. I'm going to be showing you a few more things. And specifically, we're going to be going over now is creating a color palette. I'm going to be making a different class for creating characters for your comics. But in this section right here, if you've already created a character, this is going to be very useful for you. Let's imagine this is my main character for my comic. Let's call her Sally. Let's imagine this character always has the same color. Now, I have already chosen this v, the hair color for her, and it's a color that I really like. So I want to be able to keep things consistent whenever I'm coloring her, every single time that I created a new page for my comic. So what you wanna do is establish a color palette so that everything stays consistent and that you don't have to be looking over a different file for the colors and color picking that file all the time. So as you can see right now, I'm using the color wheel, but there are several different options for how to use color inside of this section right here, we're going to be using is this section are here, which is all of the color palettes that you can use. And for you it's probably going to look like this at first because this is a standard color sets. But what you wanna do is go over to this part right here, Edit Colors set, and add a new setting. This will be your own setting, for your own comic, for your own characters. So let's just name this my comic colors. You're going to click OK. And as you can see, it'll bring up a ton of colors that are nonexistent. You can just simply erase those with the color option right here. Now that we've gotten rid of them, what we wanna do is, you know, like I said, establish your color palette. So if you're always going to be using the same color of red for the hair. You can simply go to the eyedropper tool, click on that color just to make sure that that color is selected. And now you can add that color to your color palette. So you're going to click here where it says add color. And now you always have that same red every time you want to use it. We're going to do the same with the skin and added to our color palette, and so on, so forth. Let's say you always use weight and then you can also out that one or black if you also use that one. And now you can always go back to your color palette or several color palettes of I for one have to write now this one and that one. And you can also simply create more and more as you're creating different characters or different Comics. And that way you can color things much, much more quickly.
7. Extras: So now we've arrived into the extras part of this class. This is just going to be really, really quick. A few things you can use to make things quicker for you when you're creating your comics is, for example, you can use the stamp tool that we have over here where you can use different effects, clothing, flowers, vegetation, artificial structures and things of that sort to aid you in maybe adding effects or, you know, making backgrounds or whatever you're gonna say you wanna do. So always keep in mind that you have this option. But say you made your background and maybe you want to add a wooden fence. You can add that now with this stem tool. You don't have to draw it. It's there right there for you to use. It's so quick. Maybe let's say you're making a detective comic and you can add one of these caution, keep out string ESA they use in the police, and several other things that you can use. Of course, there's barbed wire, there's, you know, cracks if you want to do that for the walls or something like that, maybe let's say you want to add something like braided rope to the clothing of one of your characters. You can always add that or maybe you want to use this as a braid For the hair, you can do that as well. They also have chains. Let's say you wanna do something like a rainbow. They also have that option. They have so many stems and consider paint, and I'm so happy that they have so many tools for things to be so much easier. I use this for example, for clouds. I know this is SoundCloud. Soundcloud, but I sometimes use this just for like adding some texture to some parts of my comic. And that really helps me specifically. And another thing that you have the option of using as an extra tip is when you open clip CDO paint, you'll see that you have several options here. I don't know if you guys have looked into this, but if you haven't, I definitely recommend for you to do this. You have the option of downloading assets, which is amazing because sometimes you just don't like making backgrounds or don't like drawing houses, or don't like, you know, figuring out poses maybe. So what you wanna do if you want to download some acids for yourself, is go to clip studio acids right here. And some of them will cost, but a lot of them are for free. And I say, you can definitely make use of the free ones. A lot of them are really great quality. As you can see here. There are several things like color sets. There are, you know, pencils or pens or brushes that you can download. There are backgrounds, clothing. So, so many thing, so, so many things. Let's say, for example, that you're looking for a building. So you can just type in building and let's see what comes up. There you go. There are several buildings here that you can use for your comics. Like you can see here. A lot of them costs. So you can definitely filter out the things that you're not interested in. So if you don't want to pay for any of them, you can simply go over to F3 here and the details to specify your search. And now you can download any of these for free. Maybe you need this like building hallway, or maybe you need this material right here. Maybe you want a street. Lets say I want this one right, the building drawing. So I just go and click over it. And now I can simply just download it and use it on my comic. So once a I've downloaded it, I can go back to this part right here from studio paint, worse just for painting. And the way to go about grabbing all of the assets that you've downloaded as you're going to click over here. And your materials, I downloaded this one and I put it in a folder called backgrounds. But most likely you'll see all of the assets you download it here and this folder that where it says download. But as you can see, I have this asset and now I can simply add that asset to this panel right here. It's going to be way bigger, of course then my file right now. But you can just resize it to whatever you need. And it's just a really easy way to add things that you might not want to be drawing on your comic yourself. And now I have a building on one of my panels for my background, which is really nice because I didn't have to make it and, you know, spend so much time making it. And well, that's basically all of it. Now that I've given you all of this tips, I'm really looking forward to seeing what you come up with for your class project. I really want to see one of your comic book pages and I want to see what you're able to create with the tips that I gave you today.
8. Class Project: Make sure to create your class project. I really want to see your guy says comics and I want everybody else to see them as well. So make sure to add that at the end of this class if you feel like it, and I'll be seeing you for my next class on skill usher, which will be how to keep your comic book characters consistent. So I hope I'll be seeing you very soon for that one as well.
 Ariann Aguilar, Art Director & Illustrator