Transcripts
1. 01 Introduction: Welcome to this class. In this class, I will
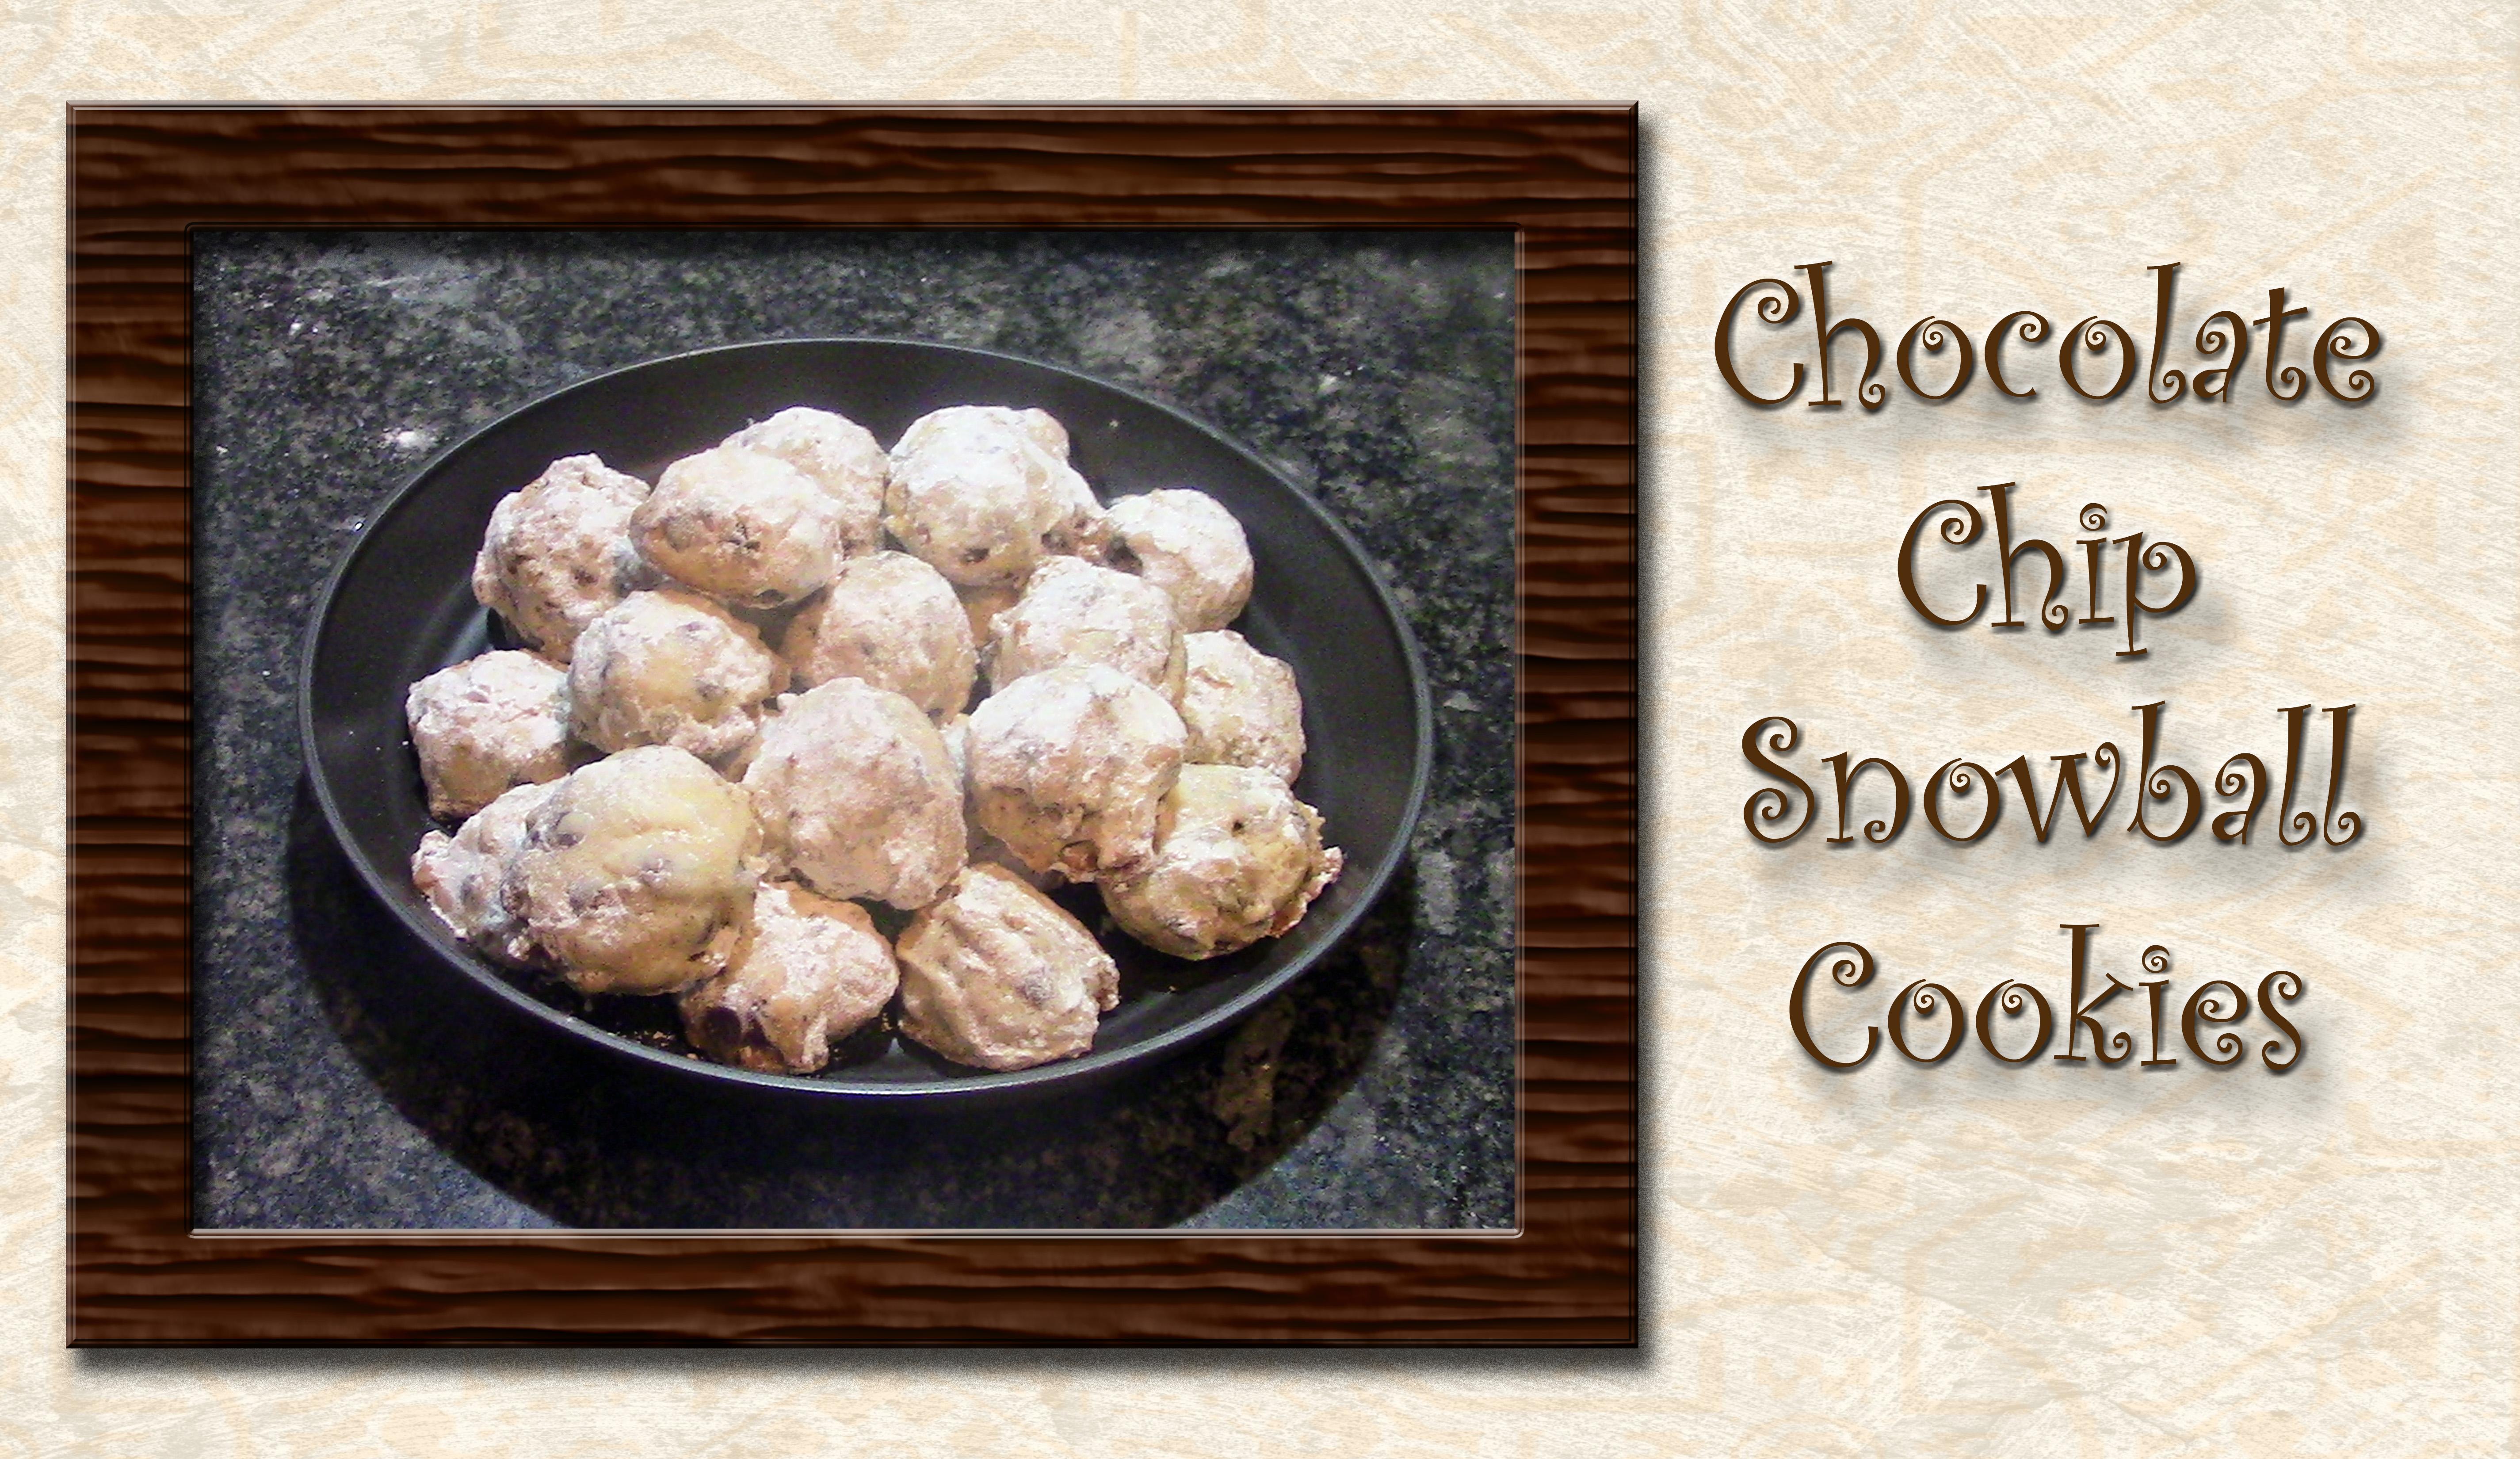
teach you how to make these chocolate snowballs. They're chocolate because they have chocolate chips in them. First, I will teach you
how to make the cookie. Do. Next, I will teach you how to prepare the
cookies for baking. Then I will teach you how to bake and slightly
cool the cookies. Finally, I will teach you how to roll them in powdered sugar. I am a self taught baker
and cake decorator. Many years ago I decided I wanted to open up
my own home bakery. But I didn't feel like my cake decorating skills
were at that level, that I could create cakes for special occasions
for people. So I watched some videos, read some books, took some
classes, and of course, did a lot of practice
until I felt like my cake decorating skills were at the same level as
my baking skills. I then opened up
my own home bakery and I had this business
for several years. Part of this business was going to farmers markets and festivals and providing desserts for special occasions beyond cakes. These snowball cookies
are great for festivals, farmers markets, and desserts
at special locasions. I had this business
for many years until my husband got a job offer in
a city across the country. We felt like this was
a good move for us, and so I closed my bakery and we moved
across the country. Now in the new city, I do not want to open
up another home bakery. But I still love baking, and as a retired teacher,
I love teaching. So I have decided to share my skills with you
on Skill share. I'm excited to teach you
the skills for this class. Let's move on to
lesson number one, Baking the cookie dough.
2. 02 Cookie Dough: We are ready to start making our chocolate snowball
cookie dough. I have already turned
the oven on to 350 and it is preheating so that
once the dough is made, we'll be able to cook
it in this large bowl. I want to add my butter, and you'll notice I've broken
it into smaller pieces. It will mix better. Next, I want to add
my 12 cup sugar. I also want to add my
12 teaspoon of salt. We're going to go ahead and
rip the salt and mix this up so it's light and
fluffy as you can see. When I scrape this
up from the edges, you can see it's
light and fluffy. Next we're going to add
our egg and our vanilla. And we just want to mix this up. Great to solve down. Now we're going to turn
this on a low speed and gradually fix in the follow. You'll see we're
starting to get to form. Okay, I want to
scrape the ball down. You see we have a
nice cookie dough and I just want to have it on the lower speed while I
gradually at my chocolate. And my chocolate, here is our cookie dough
ready to be formed and baked.
3. 03 Forming the Cookies: We're ready to form the
cookies and put them on the cookie sheet so
that we can bake them. Here is my cookie sheet. I'm going to put
this parchment paper onto the cookie sheets. Here is my cookie dough. I'm going to use this little scoop
because it's about 1 ". And I'm just going to scoop up some cookie dough and place
it on my cookie sheet. I'm just going to keep
doing that until I have my cookie sheet filled
with cookie dough. I am spacing them about an inch to an inch
and a half part. Keep filling your cookie
sheet until it's full. And then in our next lesson, we'll show you how to
cook them and cool them.
4. 04 Cooking and Cooling: I am done scooping the cookies, you can see my pan is full. I'm ready now to go place
this in the preheated oven. My oven has preheated to 350. As you can see, the rack
is in the center position. I'm going to place my cookies on that rack and then cook
these for 15 minutes. It says 15 to 20, but we want to check
it at 15 minutes, so we'll be back in 15 minutes to see if it's done cooking. Our 15 minutes of
baking is almost up. The timer is about
ready to go off. There's the timer. We're going to open
it up and look at it. Let me pull this so you can
see it is ready to come out. So we want to pull
this up out of the oven and we're going to let that cool for
two to 3 minutes.
5. 05 Finishing Touches: These have cold for
a couple of minutes, mainly We want them cool enough that we can pick
them up like that. But we don't want
them too cool because we're going to take
these and put them in the powdered sugar
and colt them before we put them on the cooling rack
to cool the rest of the way. We need it to be still warm enough that powdered
sugar will stick to it. You just want to get them all in the powdered sugar and then
let them cool completely. You want to work as
fast as you can, because you do want them
all to get dipped in the powdered sugar before they cool and the powdered sugar
doesn't stick to them. There we have the
first batch done, we're just going to
use the same pan and finish up the cookie dough.
6. 06 Final Thoughts: Thank you for taking this class. We had fun making our
chocolate snowball cookies, also called Mexican
Wedding cookies. These are called chocolate
snowball cookies because they have miniature
chocolate chips in them. We started out by learning
how to make the cookie dough. Once the cookie dough was made, we learned how to space them and put them on
the cookie sheet. We then bake them, let them cool just slightly, and then we rolled them
in the powdered sugar, put them on a cooling rack, and let them cool
the rest of the way. I hope these cookies turned out the way
you wanted them to. The, a recipe for these cookies is in the project section. Your project for this class
is to make these cookies. Please make sure to
take a picture and post it in the project section
and tell us how it went. I'm excited to hear from you. From my kitchen to your
kitchen. Happy baking.
 Nadine Thomas