Transcripts
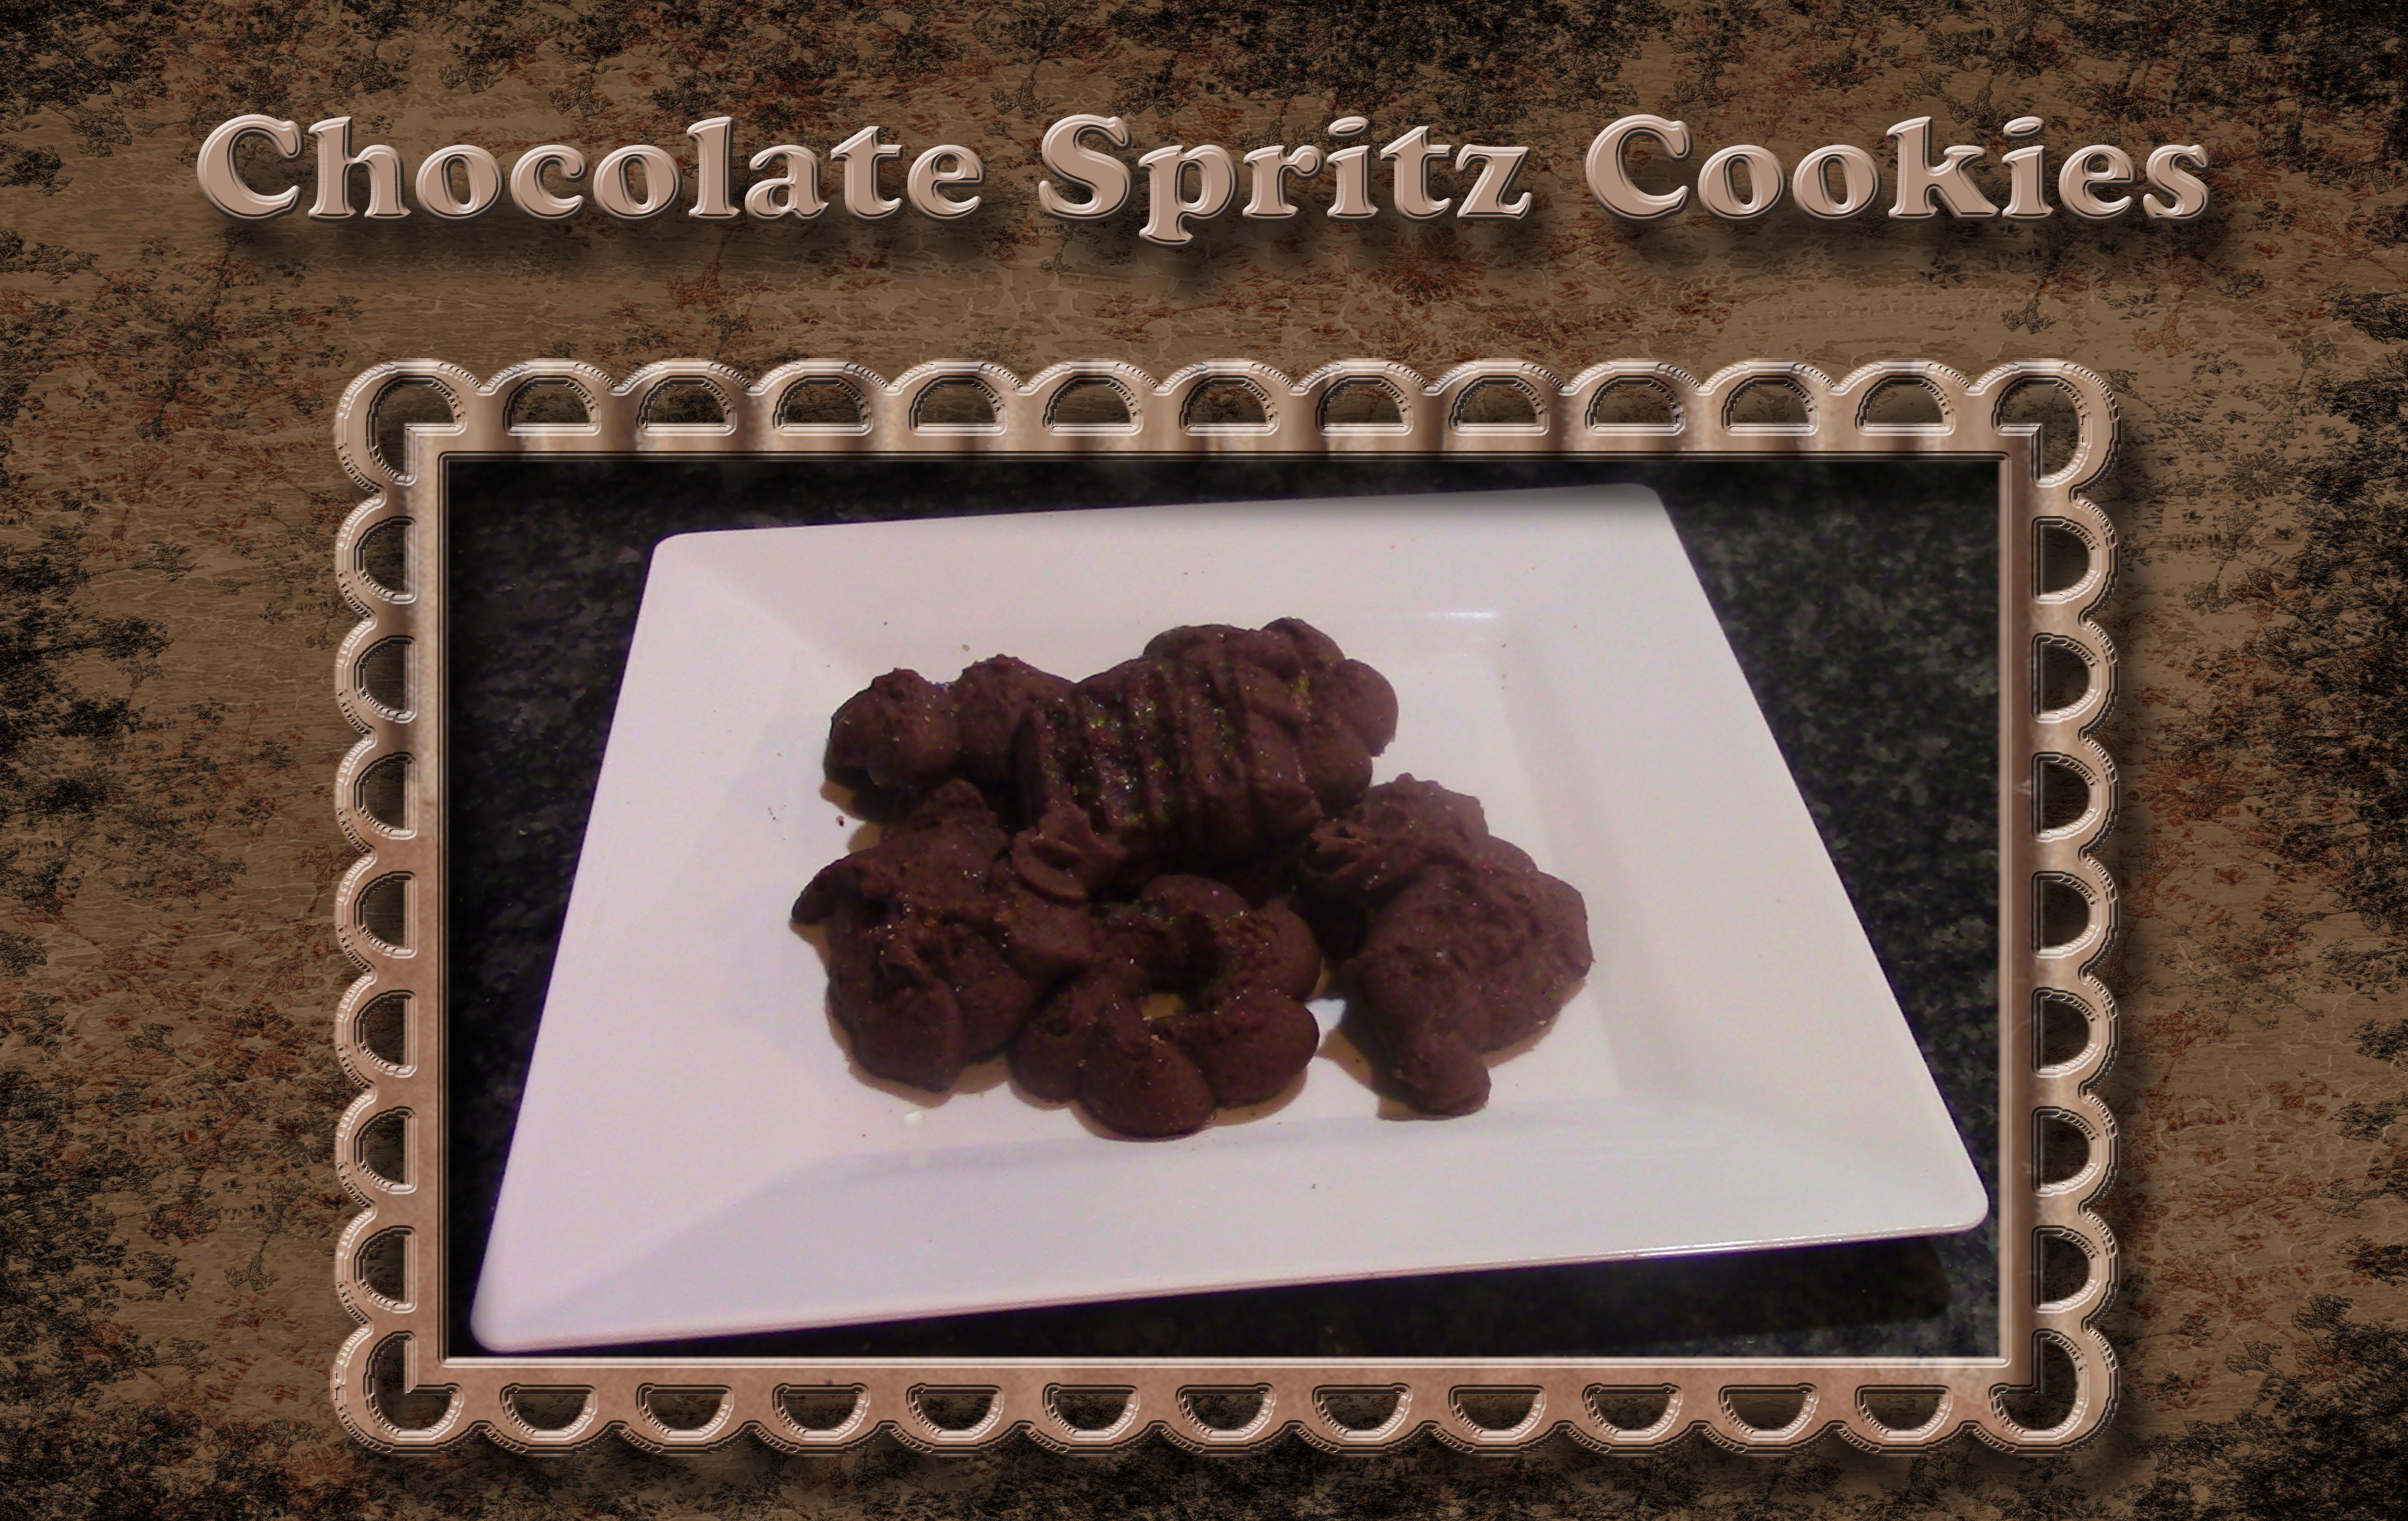
1. 01 Introduction: Welcome to this class. In this class, we will
learn how to make these chocolate sprints,
pressed cookies. First, I will teach you how
to make the cookie dough. Next, I will teach you how to use the cookie press
to form the cookies. Then I will teach
you how to sprinkle on the sugars or sprinkles. And finally, I will teach you how to bake and
cool the cookies. I am a self taught baker. Many years ago, I decided I wanted to open up
my own home bakery. Part of this business was to sell things at
farmer's markets, festivals, and
special occasions. These cookies were
excellent things to sell at the farmers markets
and special locasions. I had this business for
several years until my husband got a job offer across the country
in a new city. We felt like this
was a good move and so I closed my
business and we moved. Now here in the new city, I do not want to go through the steps to open up
another home bakery, but I still love baking, and as a retired teacher,
I enjoy teaching. So I have decided to share my skills with you
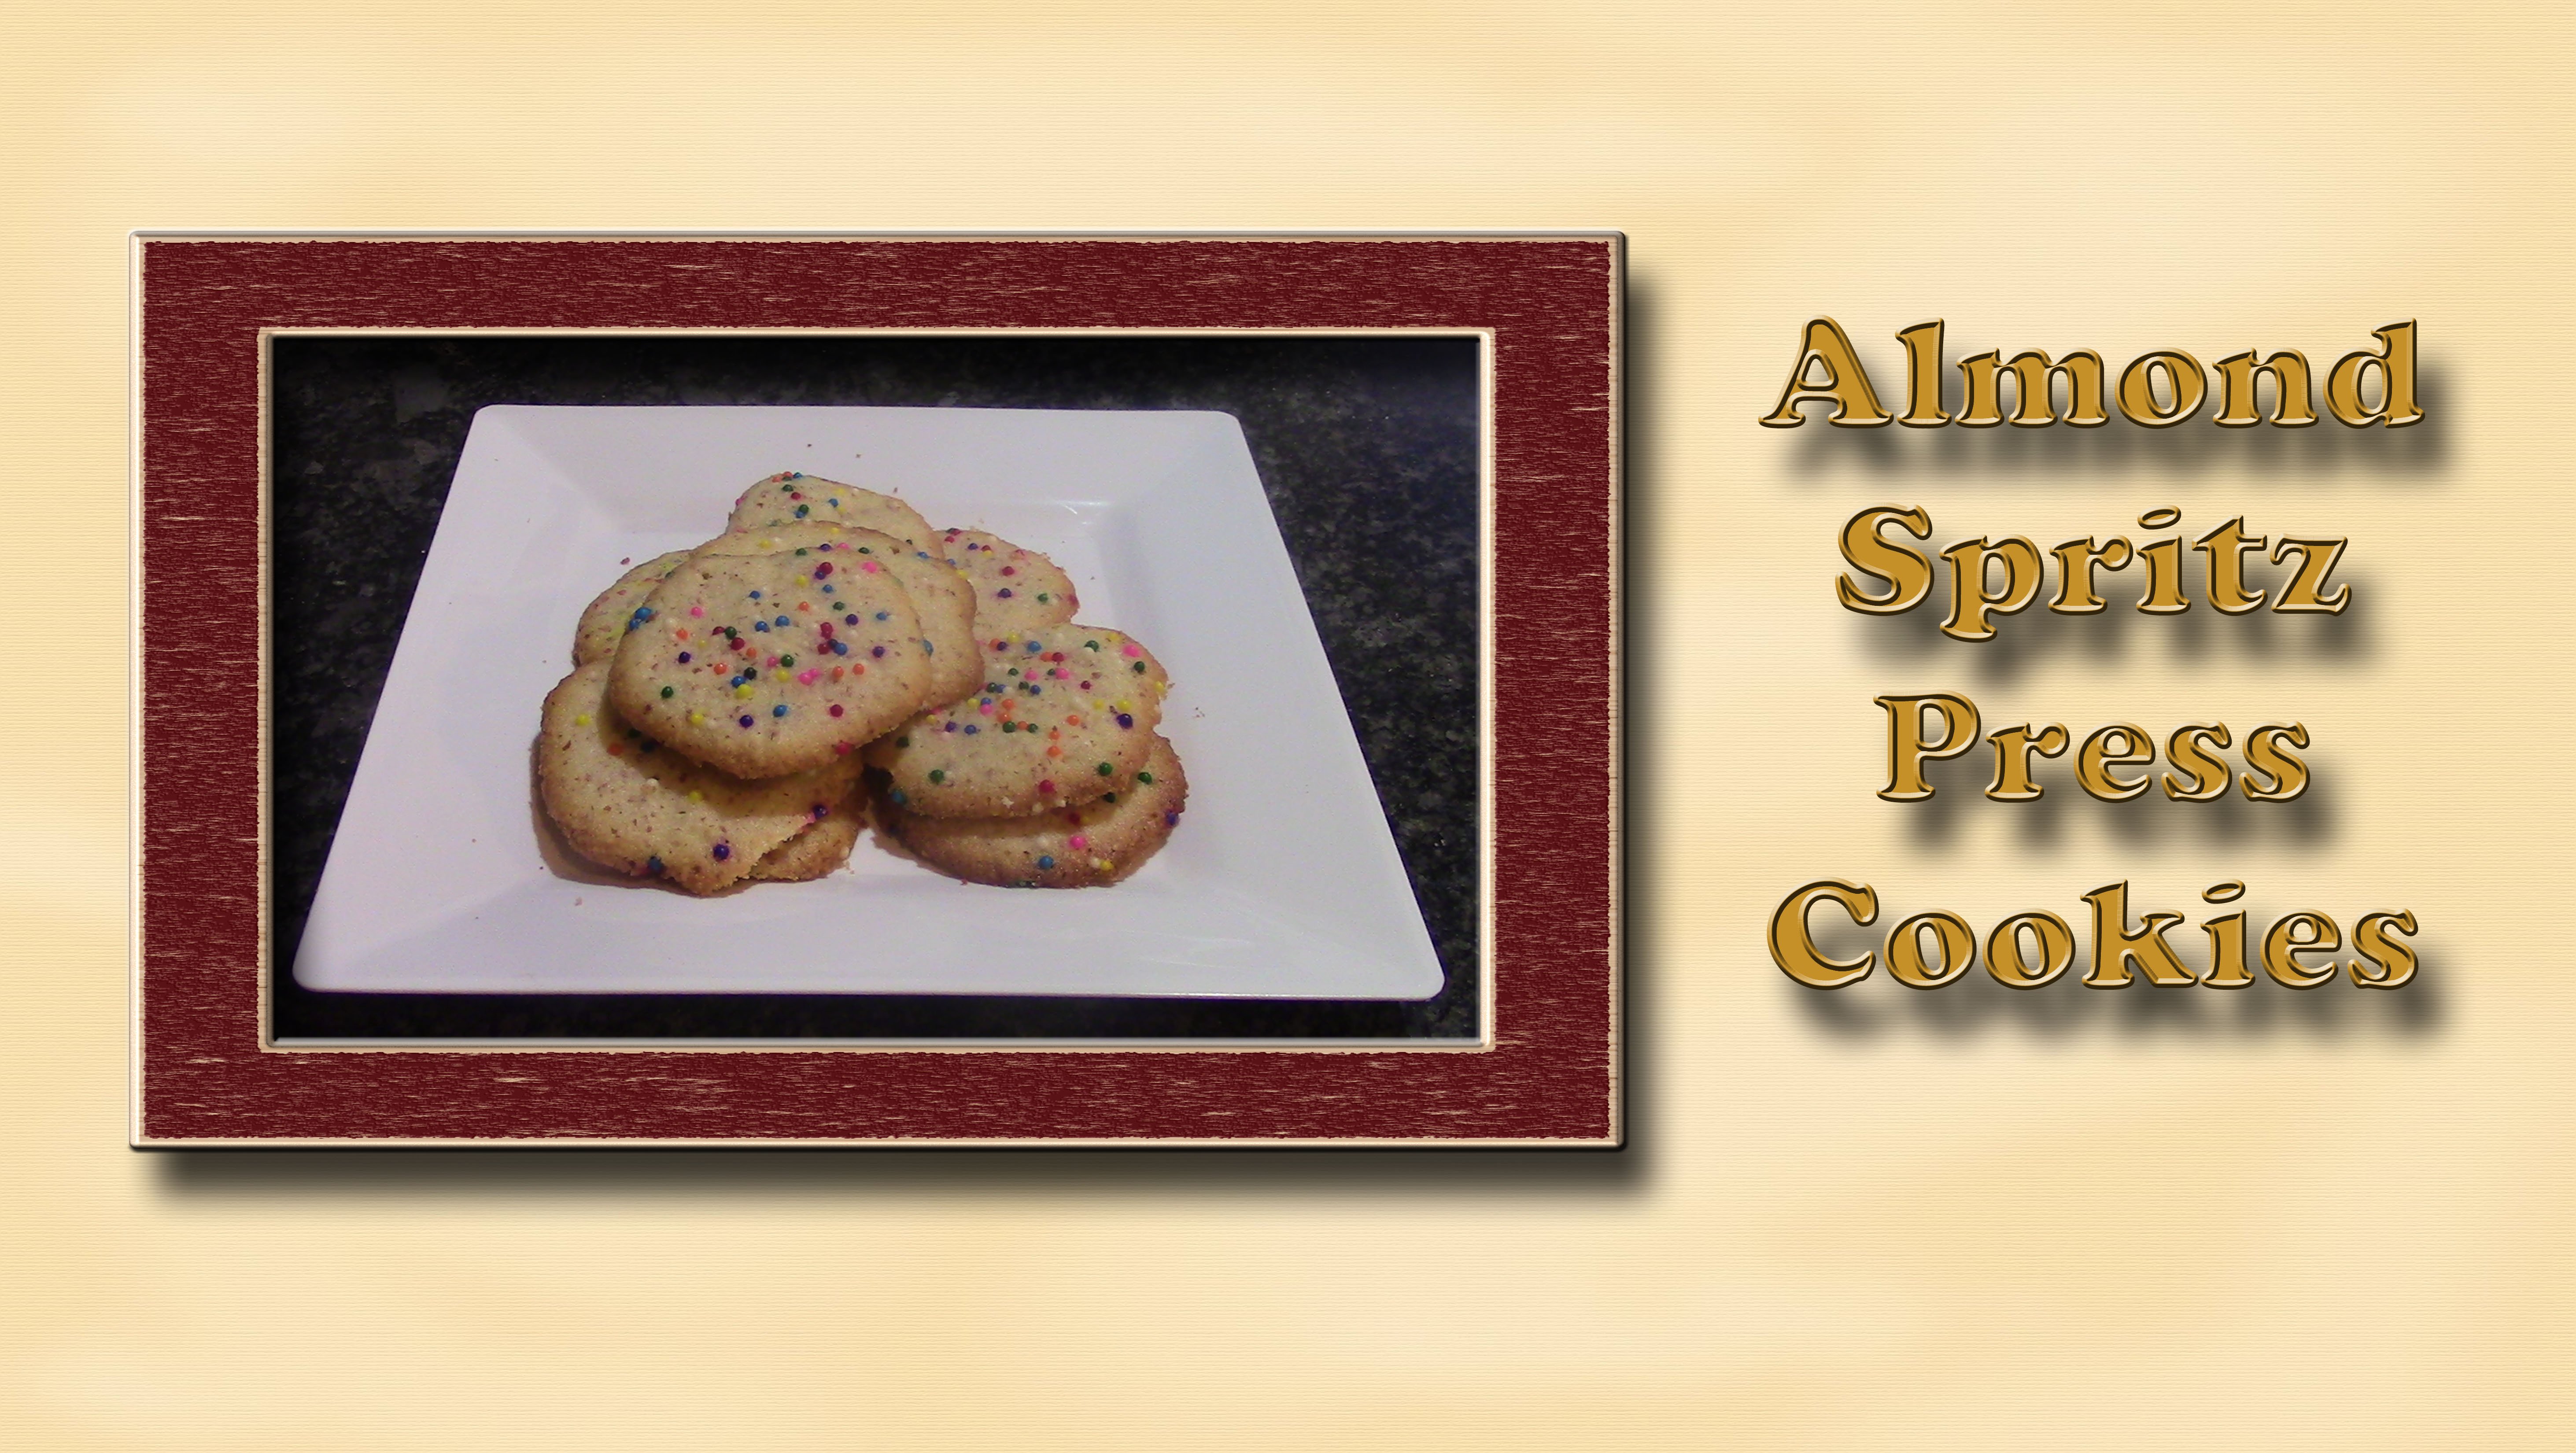
on skill share. This class is aimed at the baker that would like to
learn how to make a spritz pressed cookie that is just a little bit different
than the original almond one. I look forward to teaching
you the skills in this class. Let's move on to
lesson number one, making the cookie dough, k.
2. 02 Making the Dough: We are ready to make
the cookie dough for our chocolate sprits pressed
cookies to this bowl. I want to add my
one cup of butter, my 23 cup of sugar, my egg, and my vanilla. I'm just going to turn that on a slow speed until we get all that sugar mixed in
and the liquid mixed in. And then I'm going to set it up so that we can get this
to be light and fluffy. It'll take a few
minutes just keep it going and we'll be back
for the next part. Once. This is light and
fluffy as you can see, that's very light and fluffy. We're going to slide
that aside for a moment In this bowl, we're going to add
2.4 cups flour, 13 cup cocoa powder, and a two teaspoon of salt. And we want to just whisk this altogether.
It's all blended. We're now going to add this to the butter, and
I don't want all of it. I'm going to start
with just part of it and I'm going to start very slow so that that dry can get
mixed in with the butter. I'm going to add probably
about half of what's left, Mix that in, and let's add the rest
and mix that in. Okay. What I want to do now is I just want to scrape the bowl down and do a quick mix to
make sure I have it all there. You have your dough
while this is lifted up. I want to do that to get the excess dough
off of the beater. There may still be a
little bit on there, but it gets a lot of it
off and a lot easier to scrape the beater. There's our cookie dough ready to be pressed
into the cookies. In our next lesson, I will show you how to
press the cookies with the cookie press
and decorate them, getting them ready to be.
3. 03 Using the Cookie Press: We are ready to use the cookie press to get
our cookies ready to bake. I have my parts for
the cookie press. I want to start, I'm
going to actually make this cute little reindeer. I stick it in that end, and then I just screw that on. Then I'm going to place
this on there so that I can fill my press up
with my cookie dough. And I'm just going to very
carefully try to spoon it in. And get it to go
all the way down. I don't want too big of chunks because I want to
be able to push it down. As I get more in, I
can push it down more, this may end up being
enough for that one. Let's see, push it down in. If you look at it, you
can see it's full. If I look at the bottom, you can see cookies right
there at the bottom. Now, just going
to take my spoon, just push a little
bit more and try to get some of those
air bubbles out. I want my cookie press to be
all the way up at the top. Then I'm just going
to screw this on. Now, all we're going
to do is we put the cookie press on
the cookie sheet. I do a click, and I
should have a cookie. Looks like a ring
deal. Let's see if we can get the next one to
be a little bit better. I'm just going to keep going. I'm actually going to stop right there because I'm not sure I'm impressed with the
way that reindeer looks. I'm going to switch
the reindeer out for this one that's not
really any holiday. But hopefully it'll give
us a more defined cookie. It does seem to be giving
us a more defined cookie. I just keep going until my pans full and then we'll
be ready to decorate. Now, I'm just going to
sprinkle this multicolor decorating sugar
onto my cookies. I just get above the cookies
and do some sprinkle. Now this is ready
to go in the oven. I will continue
doing the cookies, getting ready to go in the oven. Our next lesson
is going to be on the baking and cooling
of the cookies.
4. 04 Baking and Cooling: We are ready to
bake our cookies, and I open the oven. You can see the rack is
in the middle position. I'm just going to do one
at a time because I'll be pressing the other ones is these bakes, I'm
going to put that in. I have set the timer
for 7 minutes. We'll be back in 7 minutes
to check on our cookies. Is about ready to go off. Let's look at the cookies
and see if they're ready. There's our timer. Let's pull the cookies out. As you can see, they're just browning on the edges and
they're looking more dry. We're going to
take those out and put other pan in and
cook it for 7 minutes. We're just going to take
our cookies and put them on the cooling rack
so that they can cool. They actually almost work just as easy to scoot
them off like this. Then once I get them
on the cooling rack, I can separate them. So now I can just go
and make sure they're separated so that they can cool. We're just going to leave
these here to cool, and when the other
ones get done, we'll also let them cool. And then we have our
chocolate pressed cookies.
5. 05 Final Thoughts: Thank you for taking this class. We had fun making our chocolate
spritz, pressed cookies. We first learned how to
make the cookie dough. Then we learned how to use the cookie press to
form our cookies. After the cookies were formed, we learned how to sprinkle the sugar or
sprinkles on them. We then baked our cookies, and then we let them cool for a minute on the cookie sheet, and then on a cooling rack. I hope your cookies turned out the way you wanted them to. Your project for this class
is to bake these cookies. The recipe is in the
project section. Please make sure to
post a picture of your cookies when you are done and let us
know how it went. I look forward to
hearing from you from my kitchen to your
kitchen. Happy baking.
 Nadine Thomas