Transcripts
1. 01 Introduction: Welcome to this class. In this class, I will
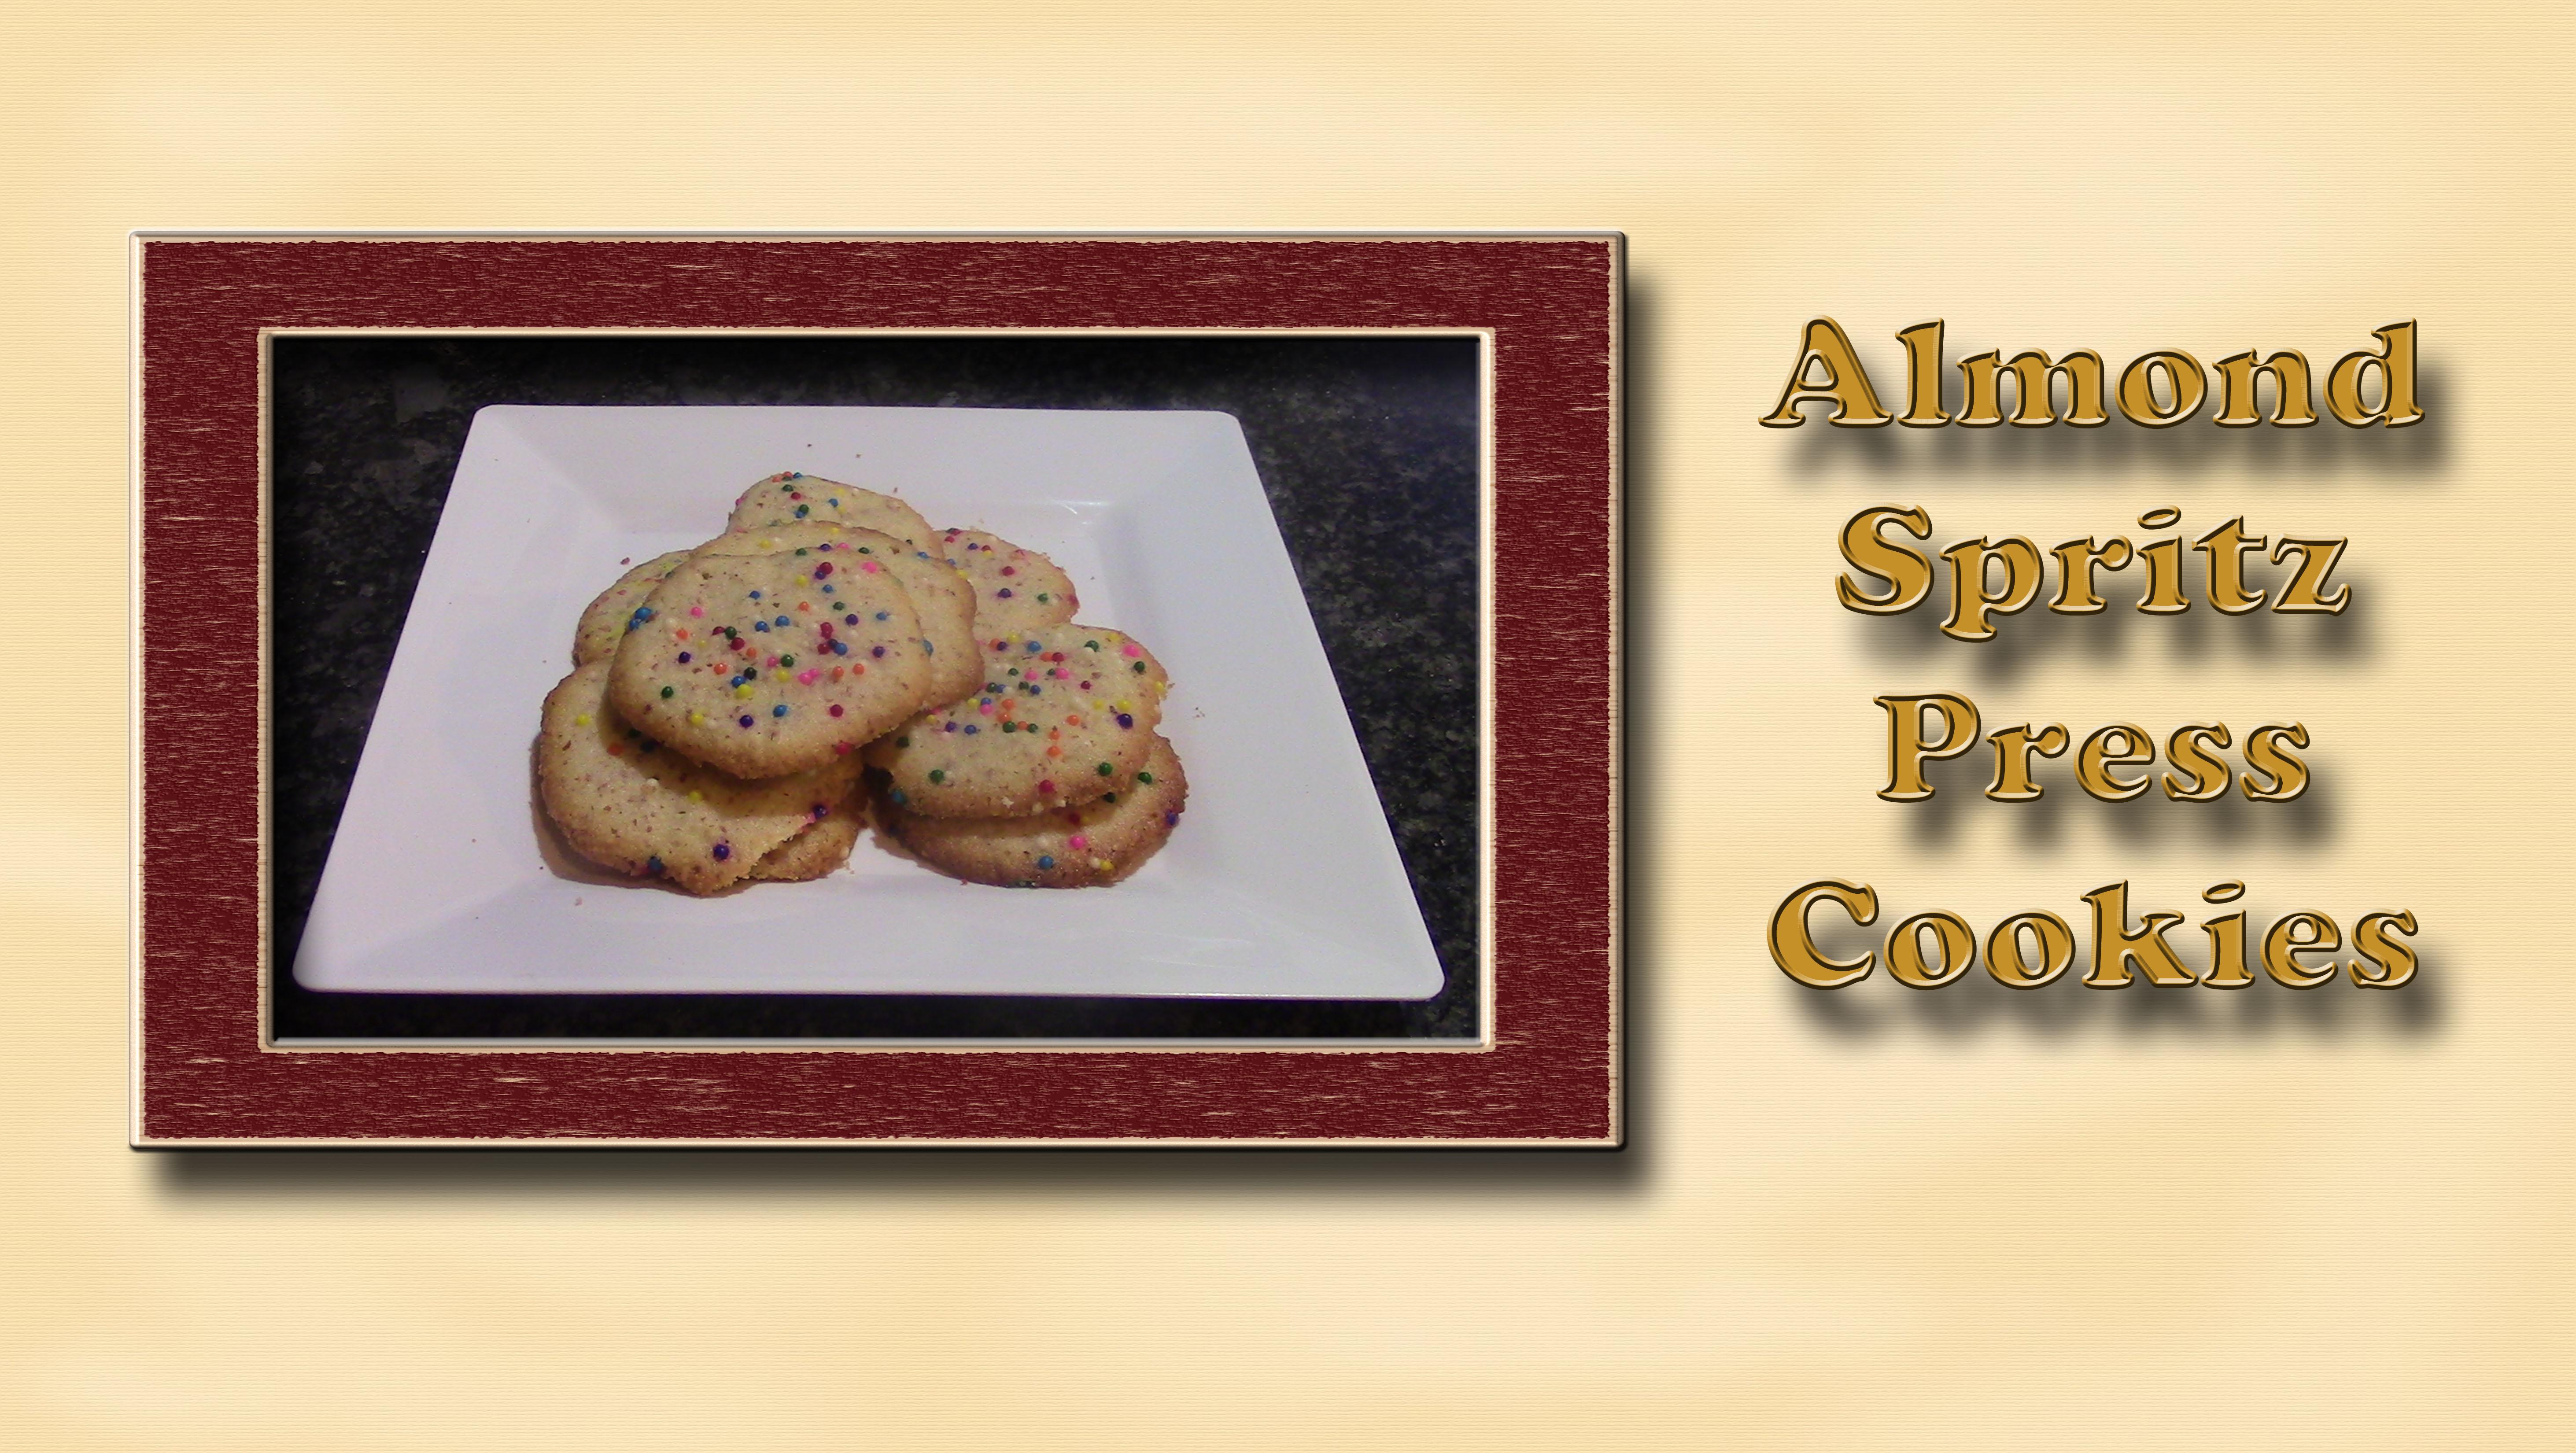
teach you how to make these almond
spritz cookies. First, I will teach you how
to make the cookie dough. Next, I will teach
you how to use the cookie press to
form the cookies. Then I will teach you how to sprinkle on the
sugars and sprinkles. Finally, I will teach you how to bake and cool the cookies. I am a self taught baker. Many years ago, I decided I wanted to open
up my own home bakery. Part of this bakery was
go into farmers markets, festivals and making treats
for special occasions. These cookies are excellent to sell at the festivals
and farmers markets. I had this business
for several years until my husband got a job
offer in a different city. We made the move, and
I closed my business. Now here in the new city, I do not want to open up
another home business. But I still love baking. And as a retired teacher,
I love teaching. So I have decided to share my skills with you
on skill share. This class is aimed at the baker that would
like to learn how to make the traditional
almond spritz cookie. I'm excited to teach you
the skills of this class. Let's move on to
Lesson number one. Making the cookie dough.
2. 02 Making the Dough: After all time. We are ready to start making our almond spritz
pressed cookies. Let me show you how
we make the dough. I want to add the butter
and sugar to the bulk. And I want to mix it. I want to start on
a very low speed while the butter gets broken up and the sugar gets mixed in. Once the sugar is pretty mixed
in, so it won't fly out. I'm going to change
it to medium speed, and I want to cream the butter. And that could be about two to 3 minutes to get it to that. Okay. You can see that looks
light and fluffy. Now, I want to scrape my bowl down before I add the
next ingredients. I'm going to add now the egg and my almond extract and that I want three quarters
of a teaspoon. So that's a half a teaspoon
and one quarter of teaspoon. I want to beat this
on a low speed, and I just want to mix it in. With the speed still low. I'm going to add the flour, my almond meal or almond
flour and my salts. We just want to get
them incorporated. Then we're going to turn it off and I want to scrape
this down again. This dough is now
ready to go into the cookie press and be
formed into our cookies.
3. 03 Using the Cookie Press: We're ready to put the cookie dough into
the cookie press. The cookie press is just the cylinder with
all the other parts. I'm going to take this
end and I'm going to put a snowflake stencil in there and then screw
it to one end. Then I want to take my
dough and put it in there. I wanted to go all the way
down. So I'm going to try. I'm using a small spoon
so I can get it to go inside and I can use a
spoon to push it down. You'll see I'm just
using my spoon. To push it down
before I add more. When I say small spoon, I'm just talking about
your regular teaspoon that comes with your place settings. When you make the dough, you're going to get more
than enough to feel this. You're going to feel
this more than once. Don't worry about trying
to cram it all in there. Now I'm going to screw. Let's get that lined up better. I want to screw that on, but doesn't screw
correctly, realign it. And there we have one that formed without me
pushing the dough. Let me scrape that off because I don't know if it's
in the right place. Now I'm going to take my cookie press and put
it on the cookie sheet, and I just go push down
once and I have my cookie. I just put the next
one right next to it, push down again, and
I have my cookie. I'm just going to
keep doing that. Till either the pan
is full or I run out of dough with
this particular load. I'm getting down to
the end of my dough. I'm going to quit there. You
notice that one actually has a hole in the middle because
I'm almost out of dough. For the snowflakes, I'm going to use these rainbow sprinkles. I just want to get
a up the cookie and sprinkle them with
these rainbow sprinkles. So is going to go on the
cookie sheet, and that's okay. As you can see, My cookie
sheet is not full. I'm going to slide this off to the side
for just a moment, before I fail my cookie press, I'm going to change this
stencil for a different one. I'm going to see how
our angel comes out. I have not used all
these stencils because these Christmas stencils
are new this year. Now, I also need to
unscrew my cookie press, pull that out and pull that up and then fill my cookie
press with more dough. With that field, I'm
just going to do the same that I did
with the first one. Make sure that's lined up. And then screw it on. Take that plastic
off from the bottom. Bring my kiki sheet back over. Put that right there. I don't know if it looks like an angel. That one looks more
like an angel. I got to take that one off. It looks more like the angel. Okay, the angel doesn't always come out
looking like an angel. Now, with the angel one, I'm going to use this
multi colored sugar to sprinkle on top. These are now ready
to go into the oven. In our next lesson, I will show you how to
bake and cool our cookies.
4. 04 Baking and Cooling: We are ready to
bake our cookies. Our oven has preheated
to 350 degrees. We will be cooking our
cookies 12-17 minutes. I will start checking
at 12 minutes, which I think will
be plenty of time. This is our oven. You'll notice that the rack is in the middle. We're just going to
place our cookies on that rack and set our
timer for 12 minutes. We'll be back in 12 minutes
when the timer goes off. Our oven is about ready to beep. So let's take a look and
see if they're done. There's our timer. Let's lift. Oh. As I said, I thought 12 minutes
was more than enough, and you can see those are
definitely overcooked. So for these ones that I put in, I'm going to take it down
to Actually 8 minutes, which is more what these
kind of cookies cook for and see what
that looks like. We will go ahead and put
these ones up to cool. Our timer is about ready to go off on our next
batch of cookies. We'll look at it and hopefully, it won't be overcooked, like the first batch, and then we'll still have
some good ones for eating. The dou for this, I was actually able
to fill my cookie press up three different times. So as the timer goes off lit, look at the second
batch of cookies. There is our timer. As I said, this was said for 8 minutes. And when you look at these, it's just starting to
brown on the edges, and that's what
we're looking for. So here's our kicks, we're just going to very
carefully take them off the pan. Now, as I look at these cookies, they didn't really hold their shape as well
as I wanted them to. It's hard to tell
what shape they are. So if I were to make them again, I would probably add just a bit more flour so
that they would be firmer and not spread as much
but keep their shape because that's what
happened as they spread and as they spread, they lost their shape. But they're still going to taste great and you're still
going to enjoy them. But if you want them
to have that shape, then you're going to want to
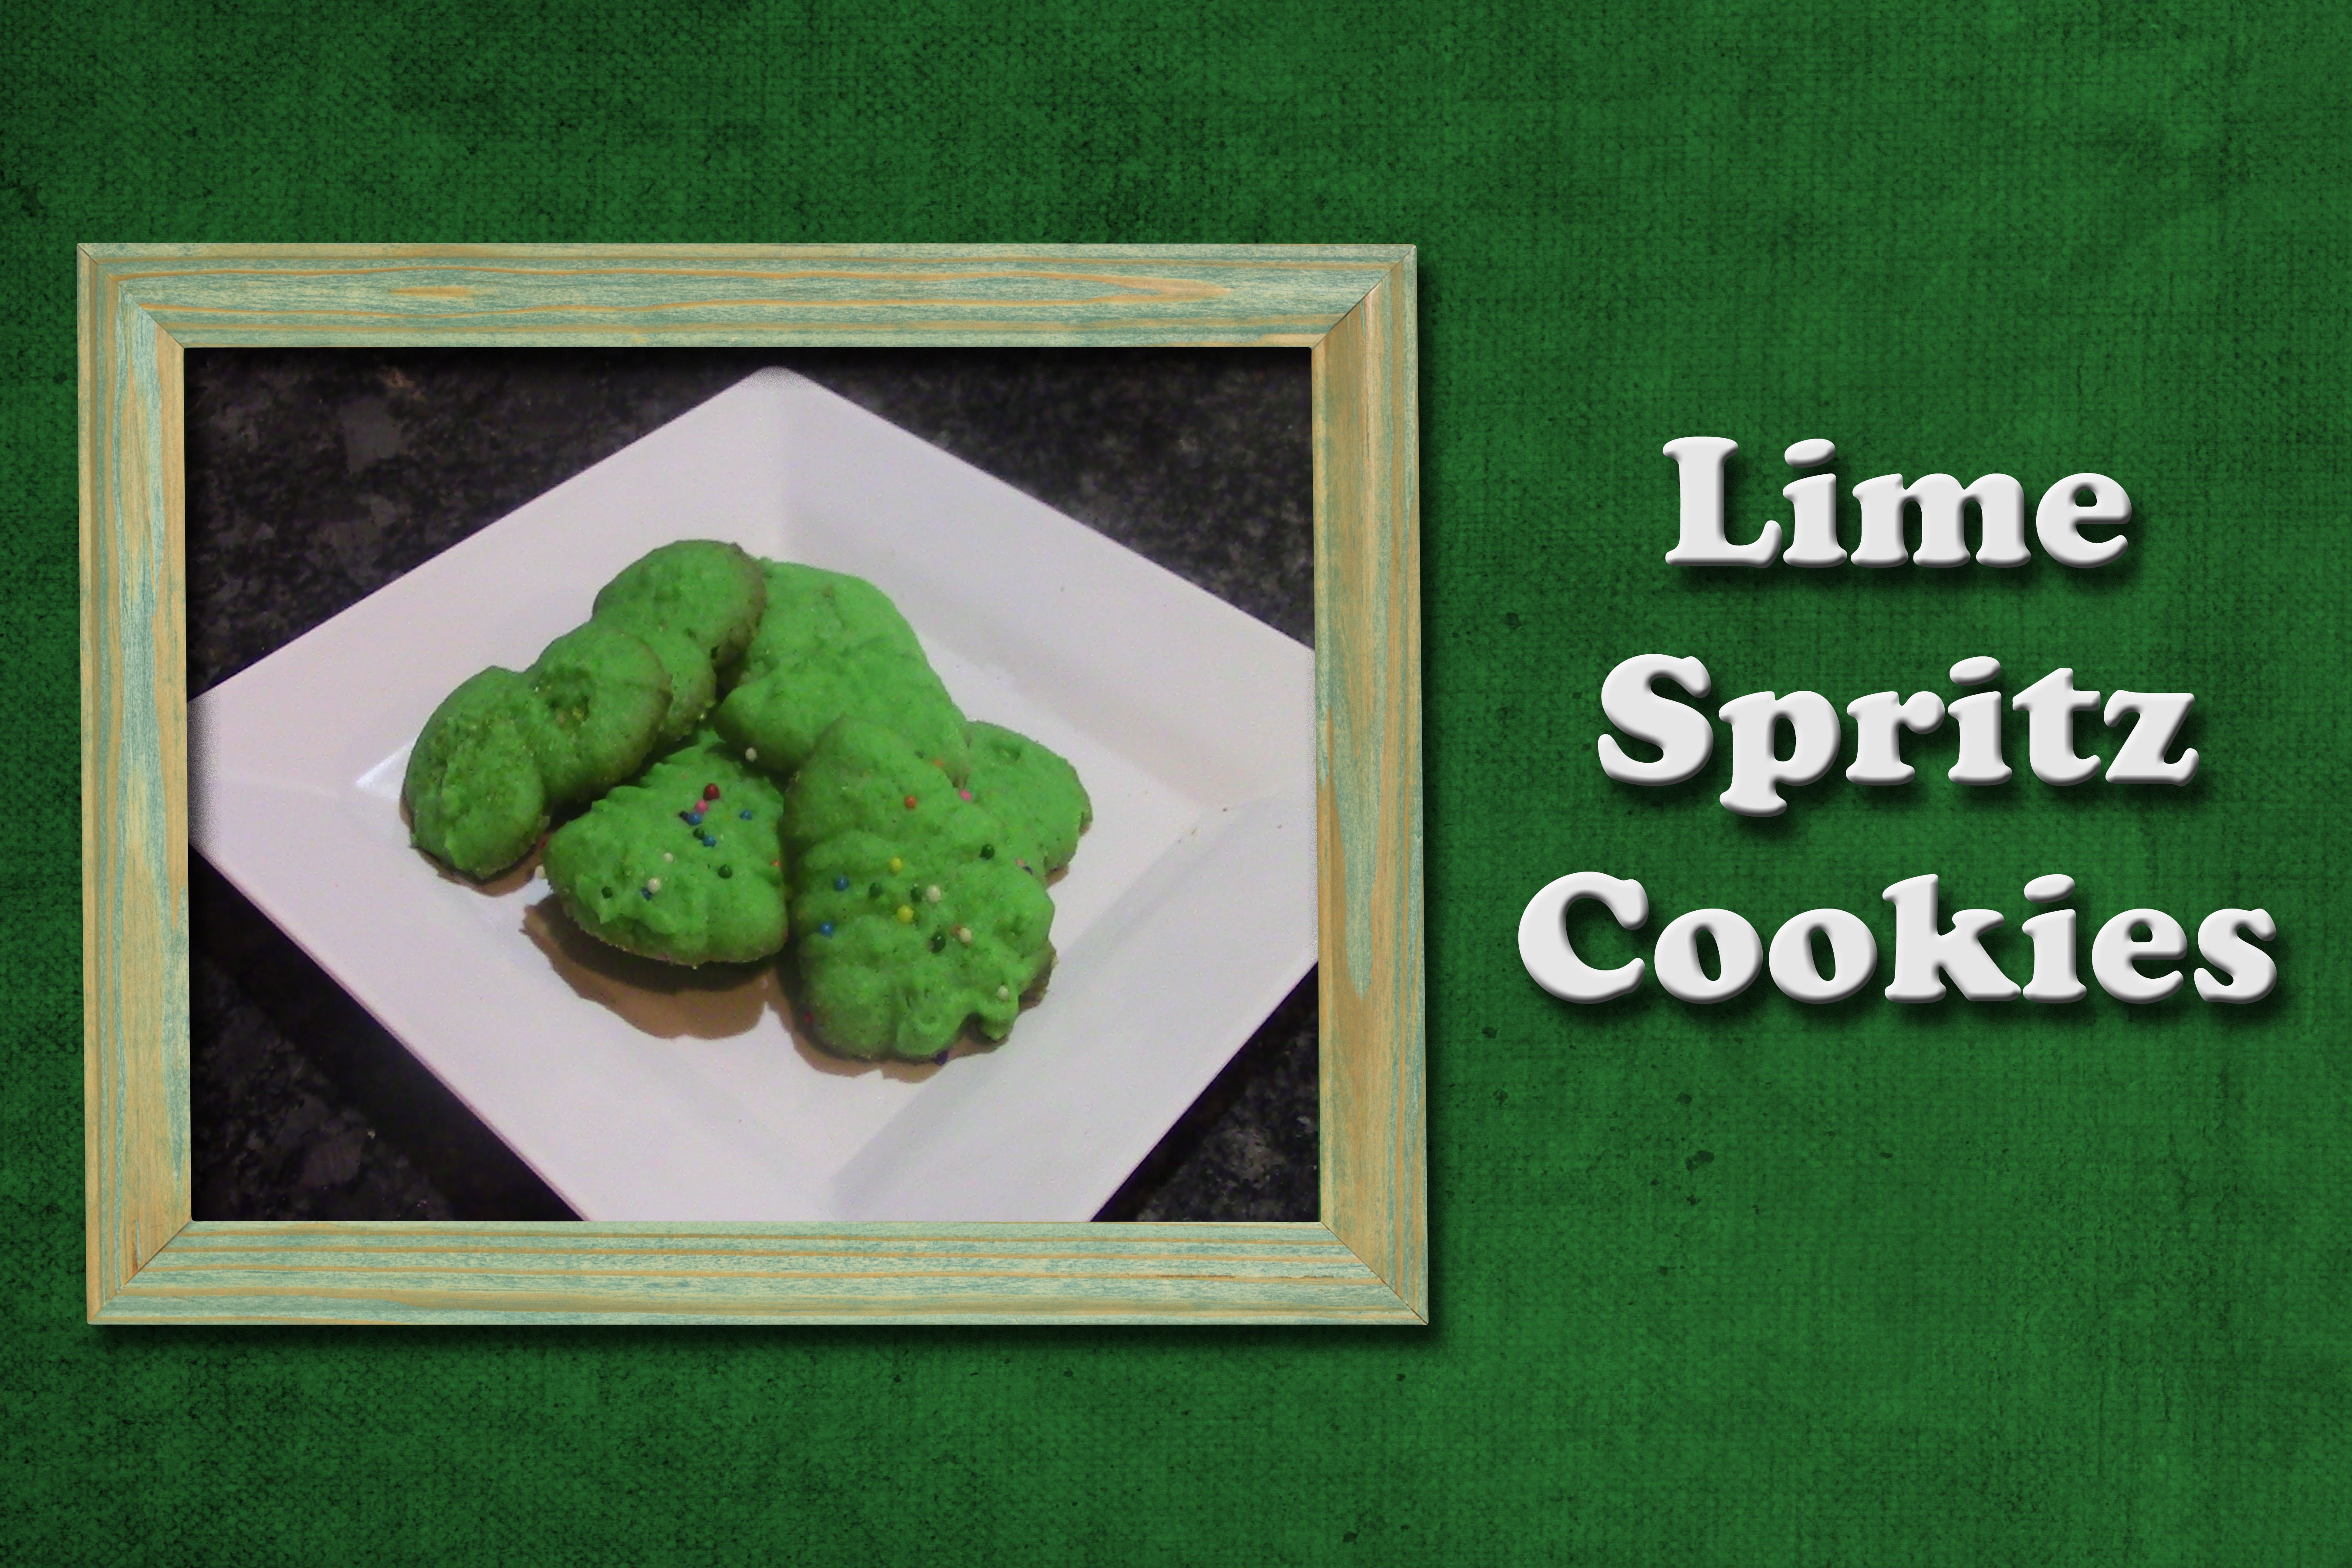
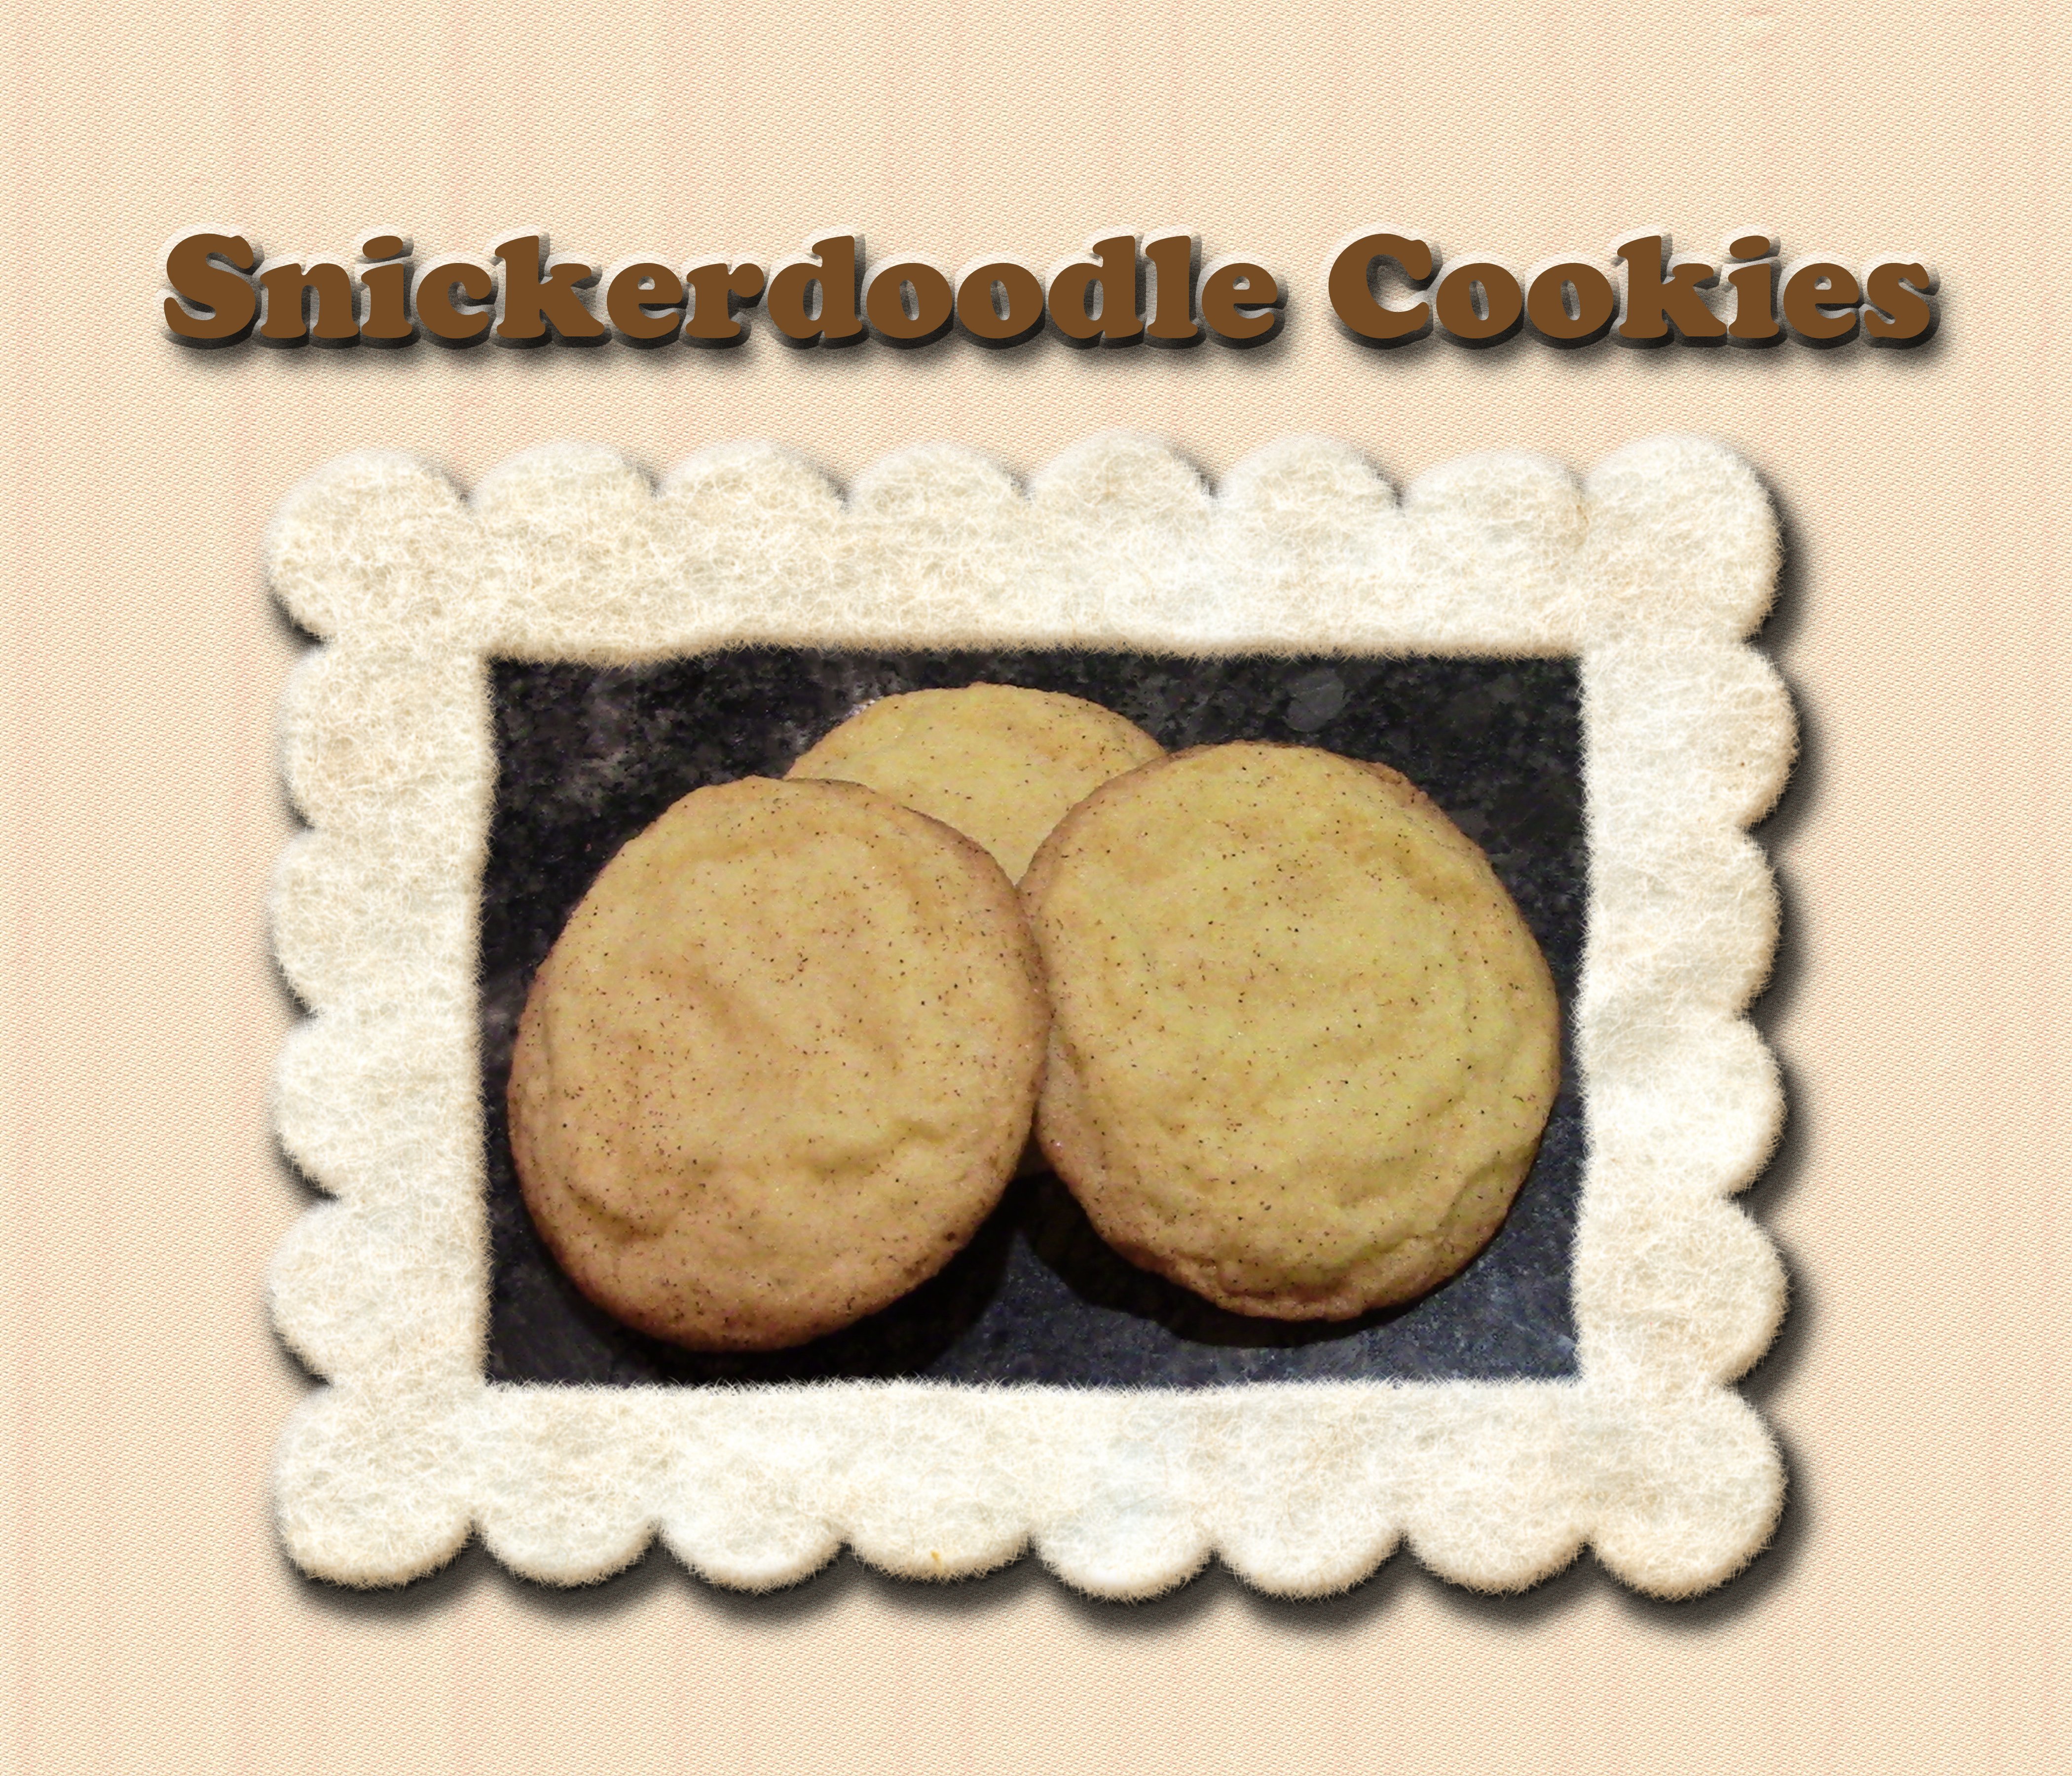
add a little bit more flour. If you look at my other recipes for sprich cookies,
which are other flavor, You'll see that those cookies
kept their shape better, and that's probably because the flower was more like the
ratio we wanted it to be. But even with that, these are going to be
really good to eat. Now, I just want to make
sure they're all turned over and spread out so
that they can cool. There you have your
almond spritz cookies.
5. 05 Final Thoughts: Now. Thank you for
taking this class. We had fun making our
almond spritz cookies. We first learned how to
make the cookie dough. We then formed the cookie and sprinkled the sugar
and sprinkles on top. We finished by baking our cookies and then
letting them cool. My cookies flattened out
more than they should have. So I would suggest that you put just a little bit
more flour like a half a cup into
your cookie recipe. And, of course,
as we were bacon, we discovered you only needed
about six to 7 minutes, not the 12 that the
recipe called for. So please cut down your
baking time so that you don't get cookies
that look like this. I hope your cookies turned out the way
you wanted them to. Your project for this class is to make these almond
spritz cookies. The recipe is in the
project section. Please make sure you upload a picture of your cookies
and let us know how it went. I look forward to hearing
from you from my kitchen to your kitchen, happy baking. S.
 Nadine Thomas