Transcripts
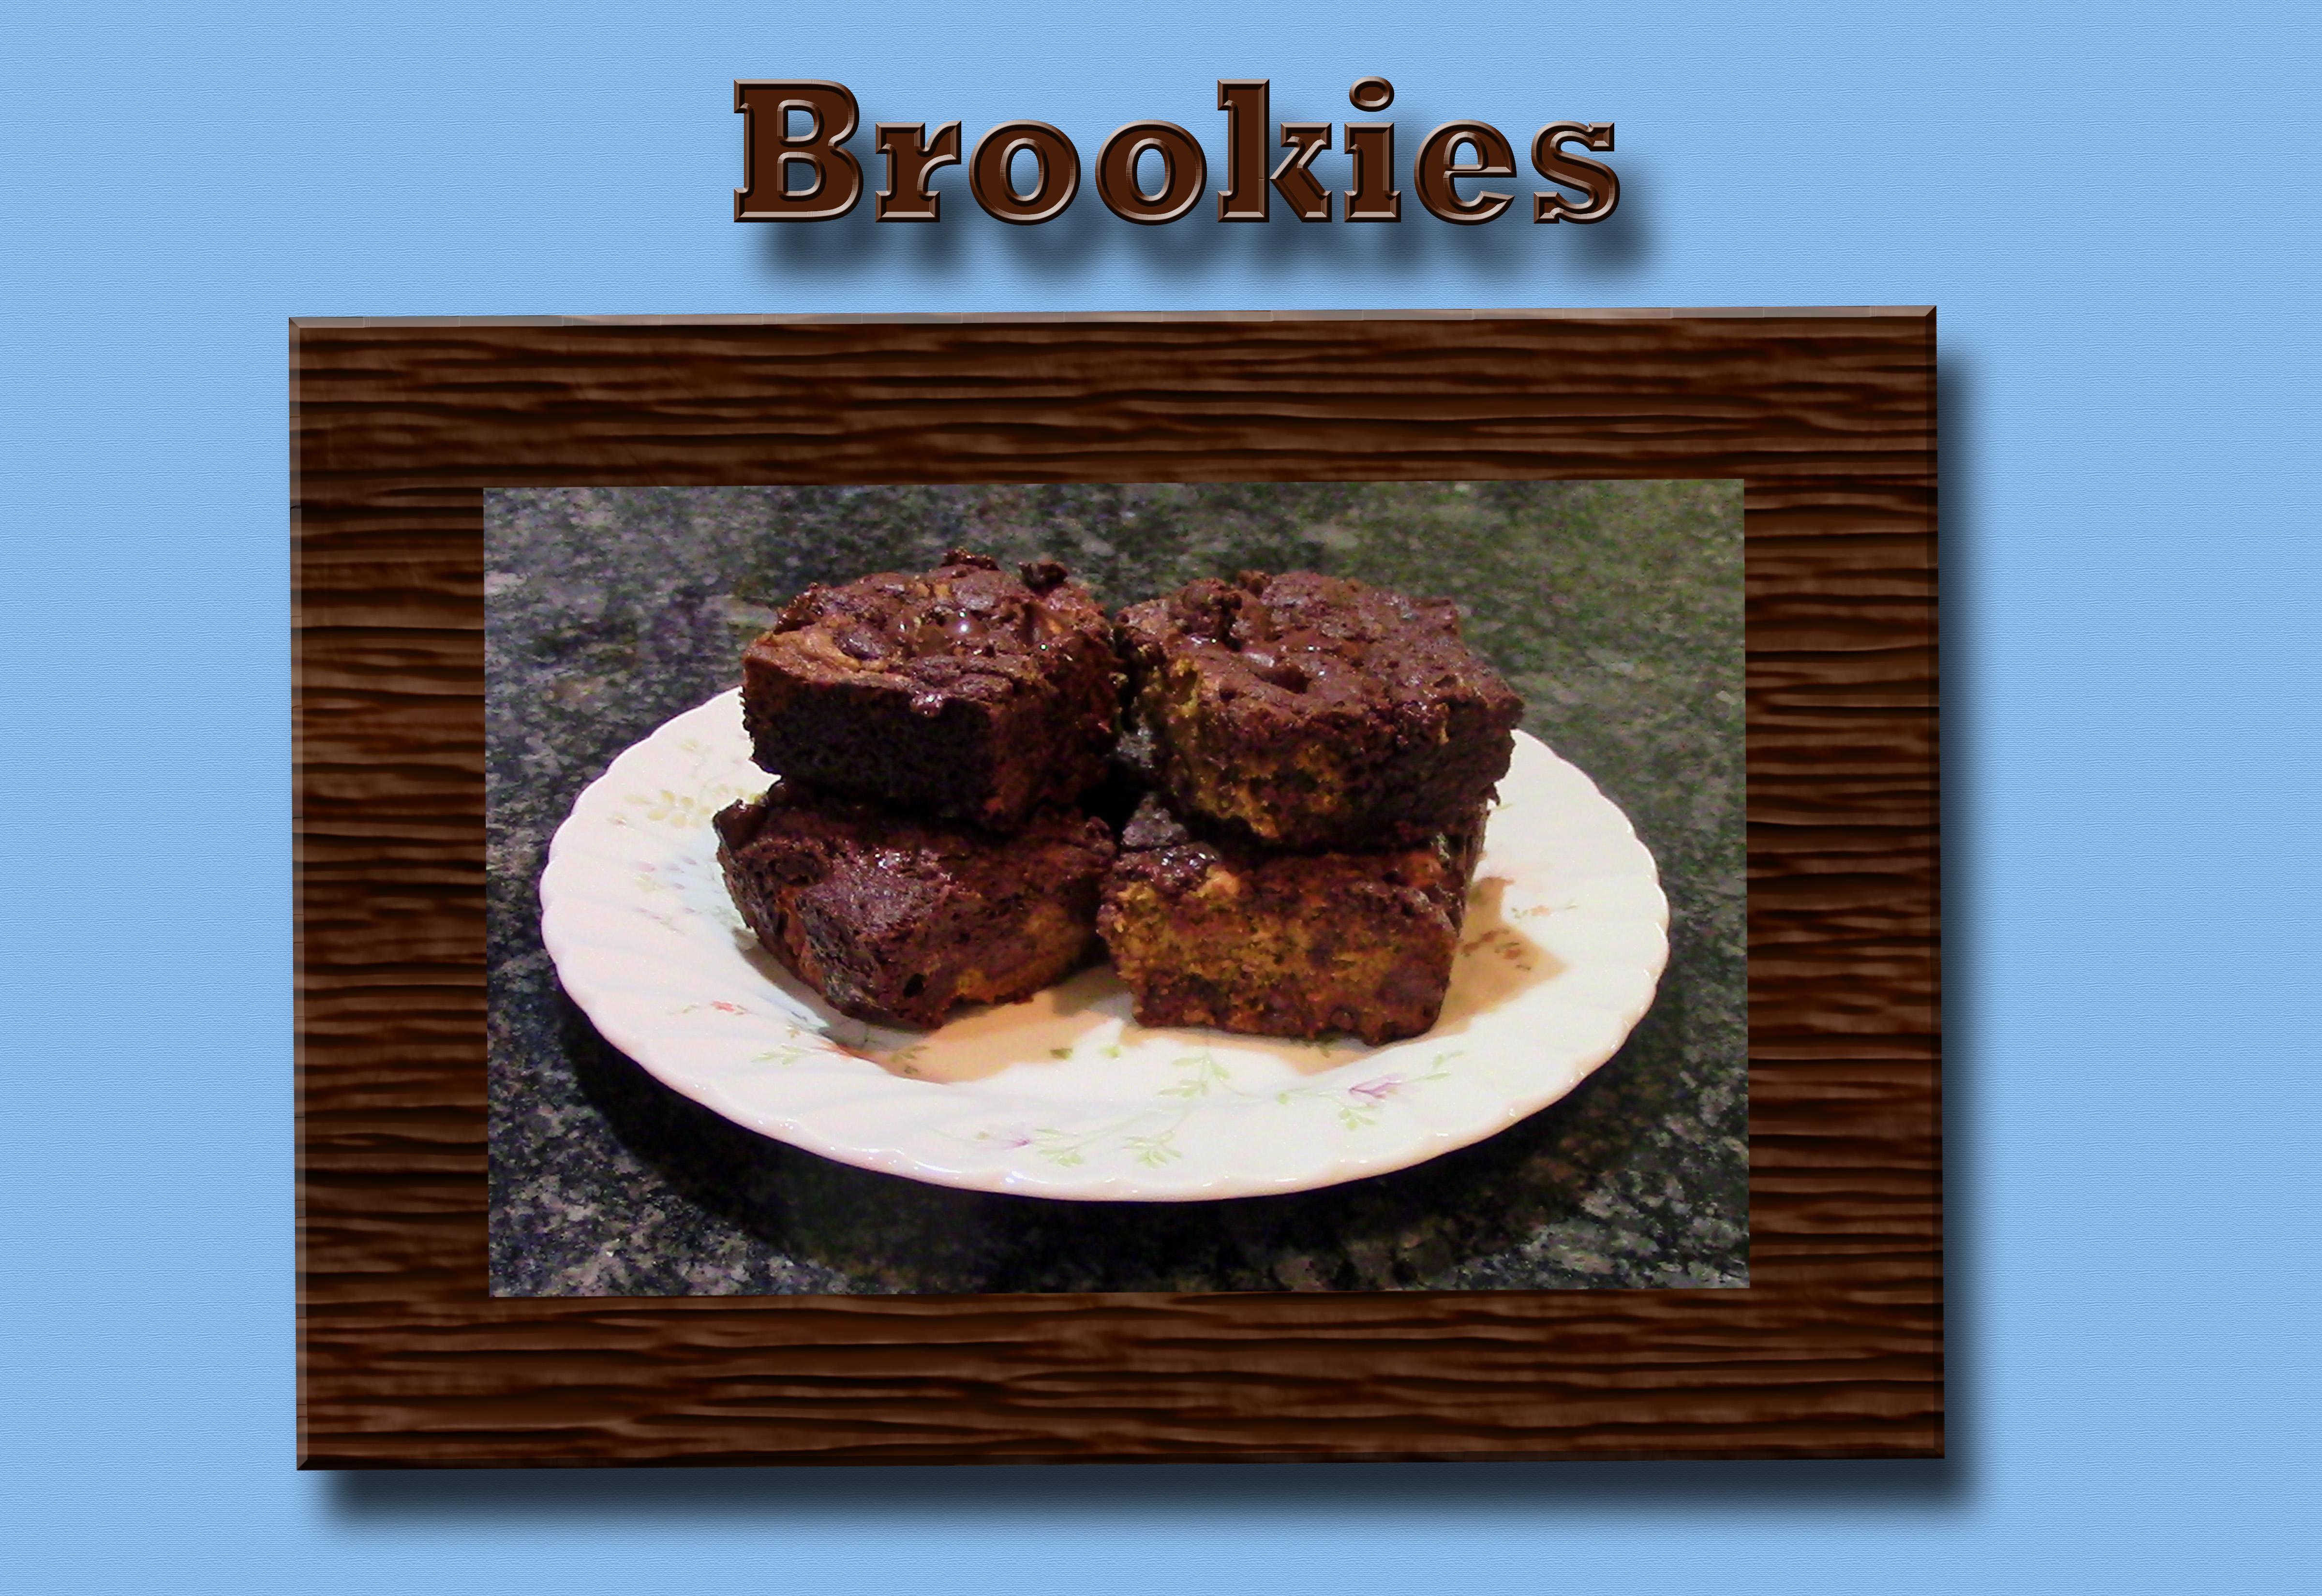
1. 01 Introduction: Thank you for taking this class. In this class, I
will teach you how to make a fuzzy belly and chewy chocolate chip all mashed together to
make up Brexit. You will be making
a separate data for the brownie and DOE for
the pizza, and then mashing. First, I will teach you
how to prepare the panel. Then I will teach you how
to make the brownie batter. I will teach you how to
make the cookie dough. Finally, I will teach you how to fill the pounds and fake that. I am a self taught. Many years ago, I decided that I wanted to open up
my own home baker, so that I could sell
cakes and other people. So I took some classes, watch some videos,
read a lot of books. And of course did a
lot of practice until both my baking and
decorated steals the level that I felt like I could deliver professional t-shirts
and kids too high, then opened up my own home. And I had this business
for several years. Part of this business
wants to go to farmers markets and festivals. These type of t-shirt sell. Really nice though. I had this business for
several years until my husband got a job offer at across the country
in New York City. So I closed down my page and
we moved across the country. Now here in New York City, I do not want the
steps to open up, but I still love. Thank you. Decorated. As a retired teacher. I enjoy teaching. So I have decided to
share my skills with you on this class. The baker, they would
like to learn how to make a mashup t-shirt that
is fun and delicious. I am excited to teach you
the skills in this class. Let's move on to
lesson number one. Preparing.
2. 02 Preparing The pan: We're ready to start making our cookies or our brownies
chocolate chip cookie mashup. We want to start by
preparing our Pam. I have this nine by 13 Pan Am. I just want to stress, especially besides the bottom, you get it too, but
it's not as crucial. I'm now going to
take this wax paper. I wanted to make sure it
is longer than the term. I'm going to tear it off. I then want to put this in the making sure it goes
all the way to the edges. And up the side. We're doing this because
when it's done baking, we're going to lift it out of the pan for cutting and pooling. And so we want to make sure
that this is over the edges. Tell that paradox because
it was ripped anyway. This is over the edges, so we can lift it out. The other thing I want to
do right now is I want to preheat the oven to 350 degrees.
3. 03 The Brownie Batter: In this PAM that is
turned to medium low, I want to melt the butter. And this is going
to take awhile to melt because of this medium law, I do like to keep the
butter somewhat moving because it does help
it melt faster. When it's touching the bottom. Instead of sitting in its own. You'll notice how fast that one-fourth cup of butter melts and compare
it to the half cup. That's because I'm
moving it in a minute. I will switch and start swirling the other one so we can
get it now too quickly. On this pretty much melt. It's not going to
stop moving this one. Now you'll notice that the half cup butter
is getting down there to both of
them are getting close to being
completely melted. With those pretty much melted, I'm now going to add
my chocolate broken into 1 oz increments. And I don't need to
stir this all the time, but I do want us to do it
occasionally to help get it. I'll let that sit
for a minute or so. Then I'll start again
and we'll continue doing it until it's
completely melted. Still have a little bit of
chocolate that's not melted. I just keep going
until all of them. It is almost all melted. Is just a little bit. I'm continuing to that
last little bit mounts. I want it totally
smooth and melted. Now you can see it is
totally smooth and melted. So now I'm going to put
my cocoa powder in. Risk that till it's
completely combined. Now that that's
completely combined, I'm going to turn the heat off. And this is going to sit for
5 min so that it can cool. Because when we add the eggs, we do not want them to cook. So we want this to crawl so that we can add
some more ingredients, so we'll be back
in five-minutes. This is cool, about
five-minutes. So now we're going to stir
in the sugar, vanilla. And The two weeks. Except insert altogether. Understood. Just tell it's all combined. We don't need to open
mics on brownies. Now, this bone has the flower
and the baking powder. We're going to dump
it in. With this. We're not going to really stir, we're just going to
fold them if we could go from the bottom to the top. So it's just a light folding
in to get everything. It'll take a few minutes. But at the same time, we
don't want to overstep. Skip that middle, combine. Want to make sure,
you know, flour. Doing streets to make
sure the smell flowers. There we have the
brand new mixture. Our next lesson we will be
making the cookie dough.
4. 04 The Cookie Dough: We are ready to start
making the cookie dough. My large mixing bowl. I'm going to combine the
butter and the sugars, the brown sugar and sugar. And I get abandoned on
immediate tell it's light. You can see that that
is light and fluffy. I'm going to erase this
back up so that I can add egg and the vanilla. And I'm going to mix this
just until it's combined. Scraped up, down. So I can make sure
it's combined well. The recipe says to whisk the flower and the salt
and baking soda together. But I'm just going to
put it all in this bowl. So here's the salt sprinkled it. Not one blob is the baking soda. Again, I sprinkled it
so it's not one blob. Here is the flower. And we want to beat this
just until it's incorporate. Started on the low speed
because of all that flower, we don't want it to wash up. To go up to reserve one-fourth
cup of this. But I'm going to
add it all because I like it really chocolaty. I have plenty of chocolate
chips for spring cleaning. This, I also just want to stir till the chocolate
chips are mixed, and here you have your chocolate
chip cookie dough. In our next lesson, we will combine the two dose and Bathers in char pan
and get it ready.
5. 05 Filling The Pan: We're ready now to put the dough in the
batter into the pan. Let me show you how we do this. I have my Pam and I have my cookie dough and
my brownie batter. So I'm just going to
put like little mounds of the cookie dough to do
it in a couple of spots. I've got the cookie. I do want it to be
kinda mashed down. Don't want it too high. I'll be able to tell
more once I get the brownies in fitness
been mashed down more. Now I'm going to take
the brownie batter just in-between where the cookies, we're just going to kind of now that I've
got everything in there. Just want to smooth
everything out, which is going to combine
the cookies more with fudge. And I want it all be
about the same level. So if I see areas like this, we'll have for the PAM, looks like it's more
than over here. I'm going to put some stuff. They're just spread this out. There's getting to be some
marbling here and that's okay. You want to make sure each
cookie for each Brookie, because it's a brown
and a cookie combined. Have both brownie
and cookie in it. Now that I think I have it
ready to close any gaps. Don't like where this
works. Papers go. Now I'm going to take these chips and I'm not
really measuring them out. I'm just sprinkle them on top. Maybe more than a fourth of cub. Maybe less. I don't know. I'll know when I
feel like I have it because I feel like
there's enough on top. This is now ready to
go into the oven. Our next lesson, we will
show you how to make it.
6. 06 Baking And Cooling: We're going to put
this in the oven on the middleman for 20 min. Just like that. Let
me set the timer. We'll be back in 20 min to show you what
we do at that point. That cookies have cooked for 20. We're now going to dot
all the way out to take this aluminum foil and
covered over the top. So we want to show to them, so I'm going to close the edge, but I'm going to leave
it on the sides where it put it back in the oven. And we're going to pick
it another ten to 15 min. I'm going to start at ten. There's the timer
because it 10 min. We're just going to pull
this out, uncover this. And we're going to
see if it's done. I'm going to put it in a
section that has the cookies. I pull it out, I
see lot of liquid. Try another section. Getting liquid when
the chips are, I'm gonna go ahead and I saw a little bit more
liquid than I wanted to see. So I'm gonna go ahead and
give it another five. They've cooked for
another 5 min. Ship it done. I'm gonna go ahead and just
poke a couple of times. And it comes out clean. We're now going to
take these out. And these will call
for an hour or so. We'll be back in an hour
after these are called. Rookies have cooled
for over an hour. We're now just going to lift them out of the pan like that. Then we want to peel
back the wax paper. With our wax paper peel back, we now want to just
kind of score. So make sure that we're
going to cut them evenly. So I'm not cutting through yet so that if I find I need to, I can change the scoring. And then this one, I'm going to score
the halfway points. Then halfway in-between. Now that I have that scored, I can go ahead and cut it. So I'm going to start by cutting
that halfway point down. I want to actually feel that it's got
all the way through. Then I'm gonna do the same. I'm doing the lungs sites first. I want to really feel that it's filling
all the way through. I'm going to cut
it on these ones. I scored it. Scored them. And then I'm just
ready to separate them and put them on a plate.
7. 07 Final Thoughts: Thank you for taking this class. Our chocolate chip,
chocolate brown mash. It called when we first learned
how to prepare the pan. Then we made the brownie batter. Next, we make the cookie dough
with both the battery in the domain within filter Pam alternating the
batter and dough. So that we had a mashup. We then smoothed out, which gave us more
of a chocolate, even up the cookie part. And then we baked it. After. We let it cool in the
pan and lifted it out, check the wax paper off and cut our bricks so that they
are ready to serve. I hope your receipt
mashup turned out the way your project for this class
is to make these fluxes. The recipe is in the
project section. Please post a picture of your finished product
and tell us how it went. I look forward to hearing from my kitchen to your kitchen.
 Nadine Thomas