Transcripts
1. Intro: Hi, I'm Daran, a
freelance designer and illustrator, Bazan Lesbon. I share your passion
for bringing characters to life
using P create. Filling a blank page with your illustrations
can be challenging. We all experience creative
blocks or moments of uncertainty about where
to begin from time to time. But don't worry,
you are not alone. In this class, I will walk you through how I use AI to help me overcome creative
blocks and create the word of your characters
in your illustrations. Will explore how
technology can inspire our imagination and enhance our creative journey.
But that's not all. We will dive into the
fundamental rules, basic of human anatomy, how to play with proportions, work on character
moments, and more. Overcoming the fear of
using colors will be easier as we learn about
different color harmonies, psychological effects of colors, worms and cool colors, as well as complimentary
or vagrant colors, darker or lighter shades. Colors will become
a fun elements once you master all the tips
and tricks in this class. The project that
will be created in this class is to fill
another blank page in our digital sketchbook with our unique character
in their daily life. You will get to experiment
with creating i catching compositions
even when practicing. During the class, I will be
using procreate on my iPad, but feel free to
use any drawing app that you are comfortable with. Whether you're a beginner
or an experienced artist, this class will provide you
with the tools and techniques need to bring your drawings
to life. Let's get started.
2. Class Journey: I'm true that you have chosen
to join me on this class. Your project for the
class is to create your own unique character and illustrating
their daily life. You will fill your
canvasses with drawings of your character
in various pauses, surrounded by their
favorite things. You will imagine and illustrate a whole scenario
for your character. In this system, we will cover the different steps that we will take throughout the class. First, we will begin by creating your characters word
using AI and GPT. We will learn how we can
utilize creativity for brainstorming ideas and
overcoming creative blocks. Together, we will generate different scenarios for your
characters illustrations, each featuring
different activities, elements, and details. From those scenarios, we will select three to four
activities to focus on and explore additional ideas to enrich the composition
of these scenarios. After completing
the initial concept brainstorming for
your character, we will dive into the
tio of human anatomy, focusing on the skeleton
proportions and moments. We will practice
drawing characters in different poses based
on reference photos, including standing positions, various sitting
positions, and more. We will also cover
how to capture your own reference photos and break them down to
effectively draw people. We will also explore
techniques for exaggerating your
characters proportions, creating sem realistic fun
and quicky illustrations. After working on our
figure drawing skills, we will move on to another fun part, which is composition. We will bring our
unique character to life by imagining them in different scenarios
and explore how to combine these scenarios
on a blank page. Using a college like approach, we will consider the
overall composition and practice different
arrangement techniques. We will also explore
ways to enhance your composition
by incorporating the environment and
other characters. In this stage, you will learn
how to choose colors and enrich your color composition
with patterns and textures. We will explore different
color pads and techniques to create vibrant and visually
appealing illustrations. One last time, we will focus on arrangement,
colors, textures, patterns, and more to create a cohesive and captivating
overall composition. Throughout the class, I
included various exercises, chee sheets, and resources to support your
learning journey. You can access them
in the project and resources section below. Now that we have a roadmap
for our class journey, it's time to dive in and
unleash our creativity. Get ready to develop
your illustration skills and fill many pages
in your procreate.
3. Brainstorming with AI: All right, we are
going to start by designing our characters word. As you know, our
project is to fill our blank pages
with illustrations, showcasing our character
in various activities, surrounded by their
favorite things. To kick start our imagination, we are going to
use AI technology. Cativity is an
excellent tool that can help us generate
ideas for our scene. If you find yourself in a
creative block, don't worry. Happens to everyone
from time to time. Instead of beating yourself up, let's turn to chat GVT for
some much needed inspiration. Let's practice together
how we can incorporate VT to brainstorm ideas
for our drawings. We're going to simply engage
in a conversation with it. You can ask for different illustration scenarios
based on your topic, or you can describe the scene you're trying to illustrate, and chat GVT can provide you
with additional elements, details, or perspective
to consider. The list goes on, so
let's write together. For a project, we are looking for different scenarios that our character is
going to engage in a daily life for
our illustration. For that, we can basically say, give me some ideas
for illustrations, evolving a character engaged
in daily activities. If you already have some
ideas in your mind, you can try more specific. Like you're already imagining a morning activity in a kitchen. You can adapt to your sentence. You can write give me five ideas for an illustration scene, evolving a character doing different activities
in the kitchen. It already generated very
cool ideas to start with, but you can still take
it to the next level and ask for suggestions to make
the scene more inviting. You can also ask about
the specific details. So you can How can I make
the kitchen scene inviting? This can even help you
explore other elements to add such as a pad or an interesting
view outside the window. If you can find what
you are looking for, you can go for more details. You can write
things like give me five elements I can add as decorations on the
kitchen counter. Every time you feel stuck, you can turn to hGBT for up. But if you are more interested in brainstorming on your own, you can start coming up
with ideas and then share your initial concept with
CheGBT and ask for feedback. It can provide
alternative perspectives or suggest improvements you
may not have considered. I know it's pretty fascinating, but I think it's important to remember VT is here to assest, and it's crucial to embrace your own creative
instincts as well. Use the suggestions, it provides
as a starting point and then add your personal touch to make the illustration
uniquely yours. Since everyone has an
access to AI at the moment, improving your
illustration style will make you stand
out from the rest. To wrap up this lesson, hit GVT and use its assistance to generate at least three
scenarios for your character. You can go as much as
detail as you would like. Then join me in the next lesson where I will show
you how I capture reference photos to use as an inspiration for
my characters. This process will
help you refine the proportions and movements
of your characters.
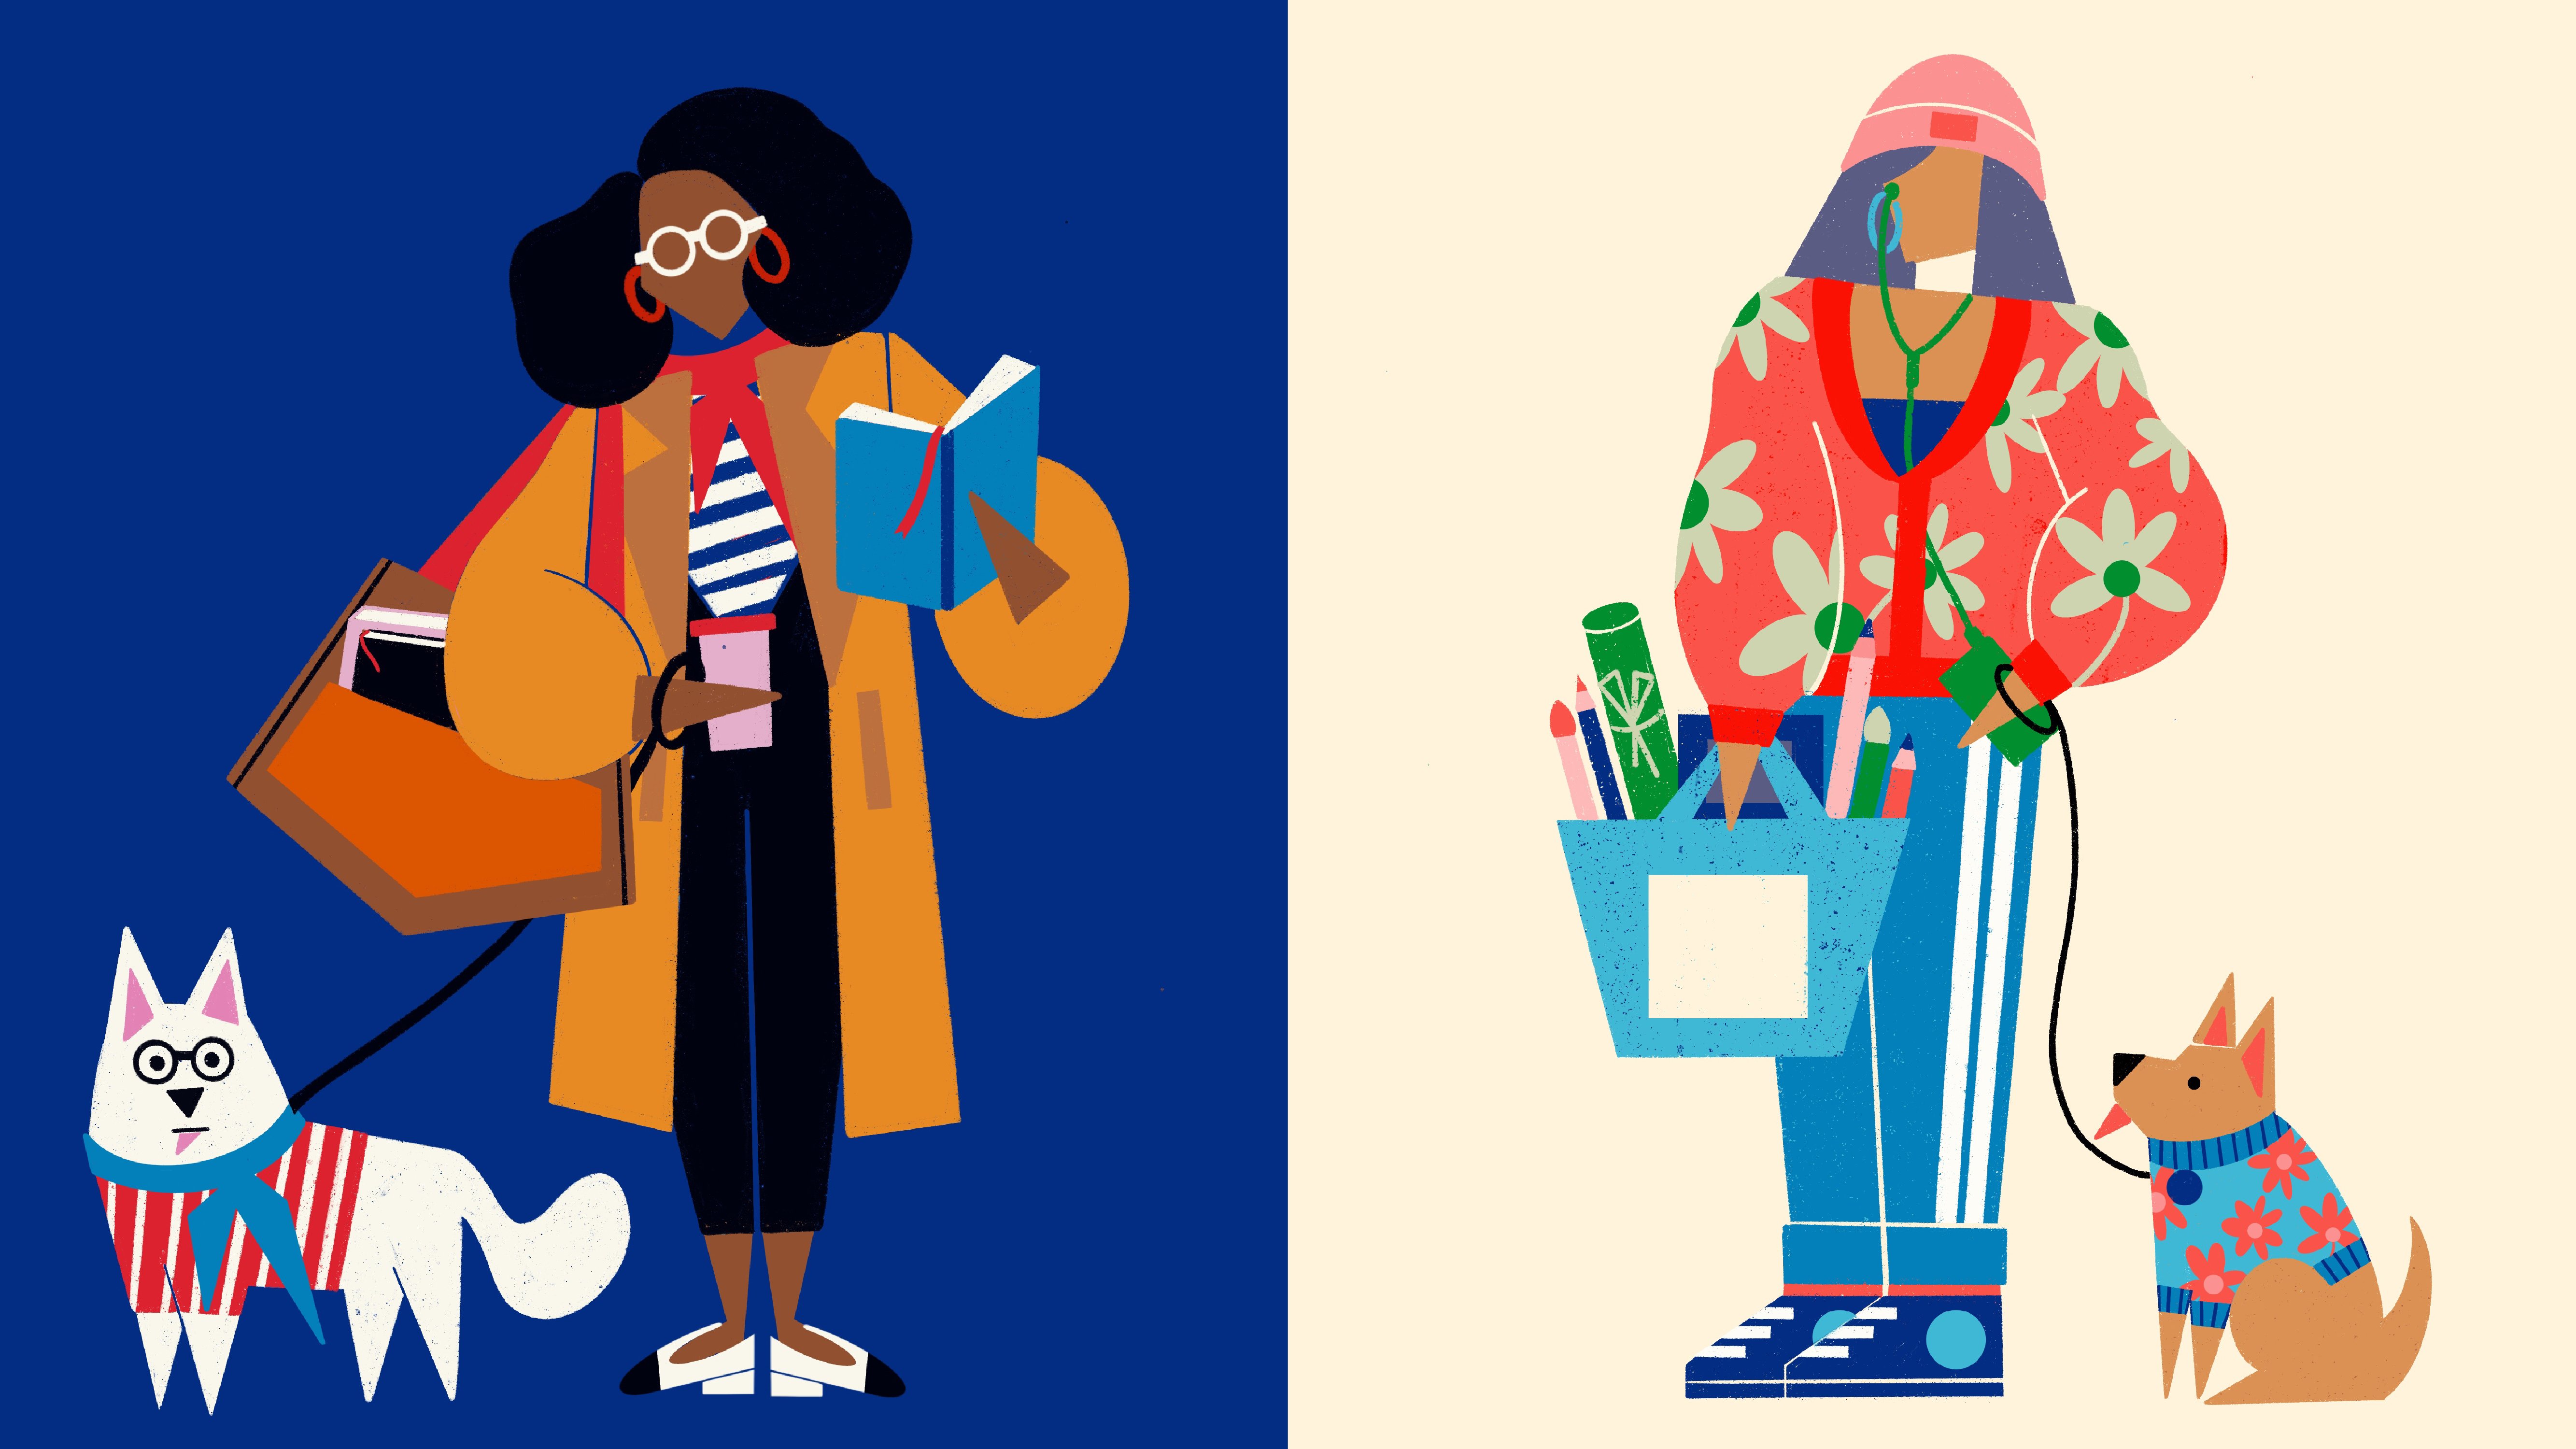
4. Capture Reference Photos: In this lesson, I will
share with you the tips and tricks of taking your own
reference photos for sketching. In your illustrations,
you might want to draw your characters doing
different activities, but you might still struggle to imagine them in different
pauses to draw. In that case, one
of the best ways is to take your own
reference photos. You can easily use
your phone to capture photos of yourself or others
in various activities. Having at least a loose
idea of your concept is important for you to know what poses you need to take photo of. Think about the story you want to create and
experiment with body positions to capture
different dynamic poses. You can try different angles and perspectives to add variety
to your reference photos. I suggest taking several
shots of each pose, capturing various
angles and variations. This will provide you with
a range of references to choose from when creating
your illustrations. Consider the composition
of your photos, frame your shots to leave
space for additional elements that can be added digitally during the illustration process. If you are unable to
take reference photos of exactly what you have in your
mind, use your imagination. Try to imagine how you can recreate this sense
with what you have. For example, if you imagine
yourself sitting in a park, feeding cute birds or cats, you can take your own
photo while staying on the ground in your
house or in your garden, pretending to feed
an imaginary animal. If you need to draw a character carrying grocery shopping, you can improvise
and use something else like a pillow
instead of the bags. Remember, it's always
about your imagination. Be creative and use whatever
you have around you to fake to pause and achieve your
dream sketching scenario. You can also zoom in to
capture specific details. For example, if you are
focusing on drawing hands, taking close up shots of your hand is probably
a good idea. Keep in mind that this is
just our starting point. We will experiment
with our sketching, work on reflecting our
style in later lessons. To wrap up this lesson, I want you to think about
the poses you need for the scenarios you choose for your character in
the earlier lesson. Think about the specific pross you need for each scenario. Then take your own
reference photos of yourself or someone
else you know. Aim to capture at least a few photos from
different angles. This will give you a
variety to choose from. Then join me in the next lesson where I will show you
how to break down reference images to capture the body proportion and the
pause of the character.
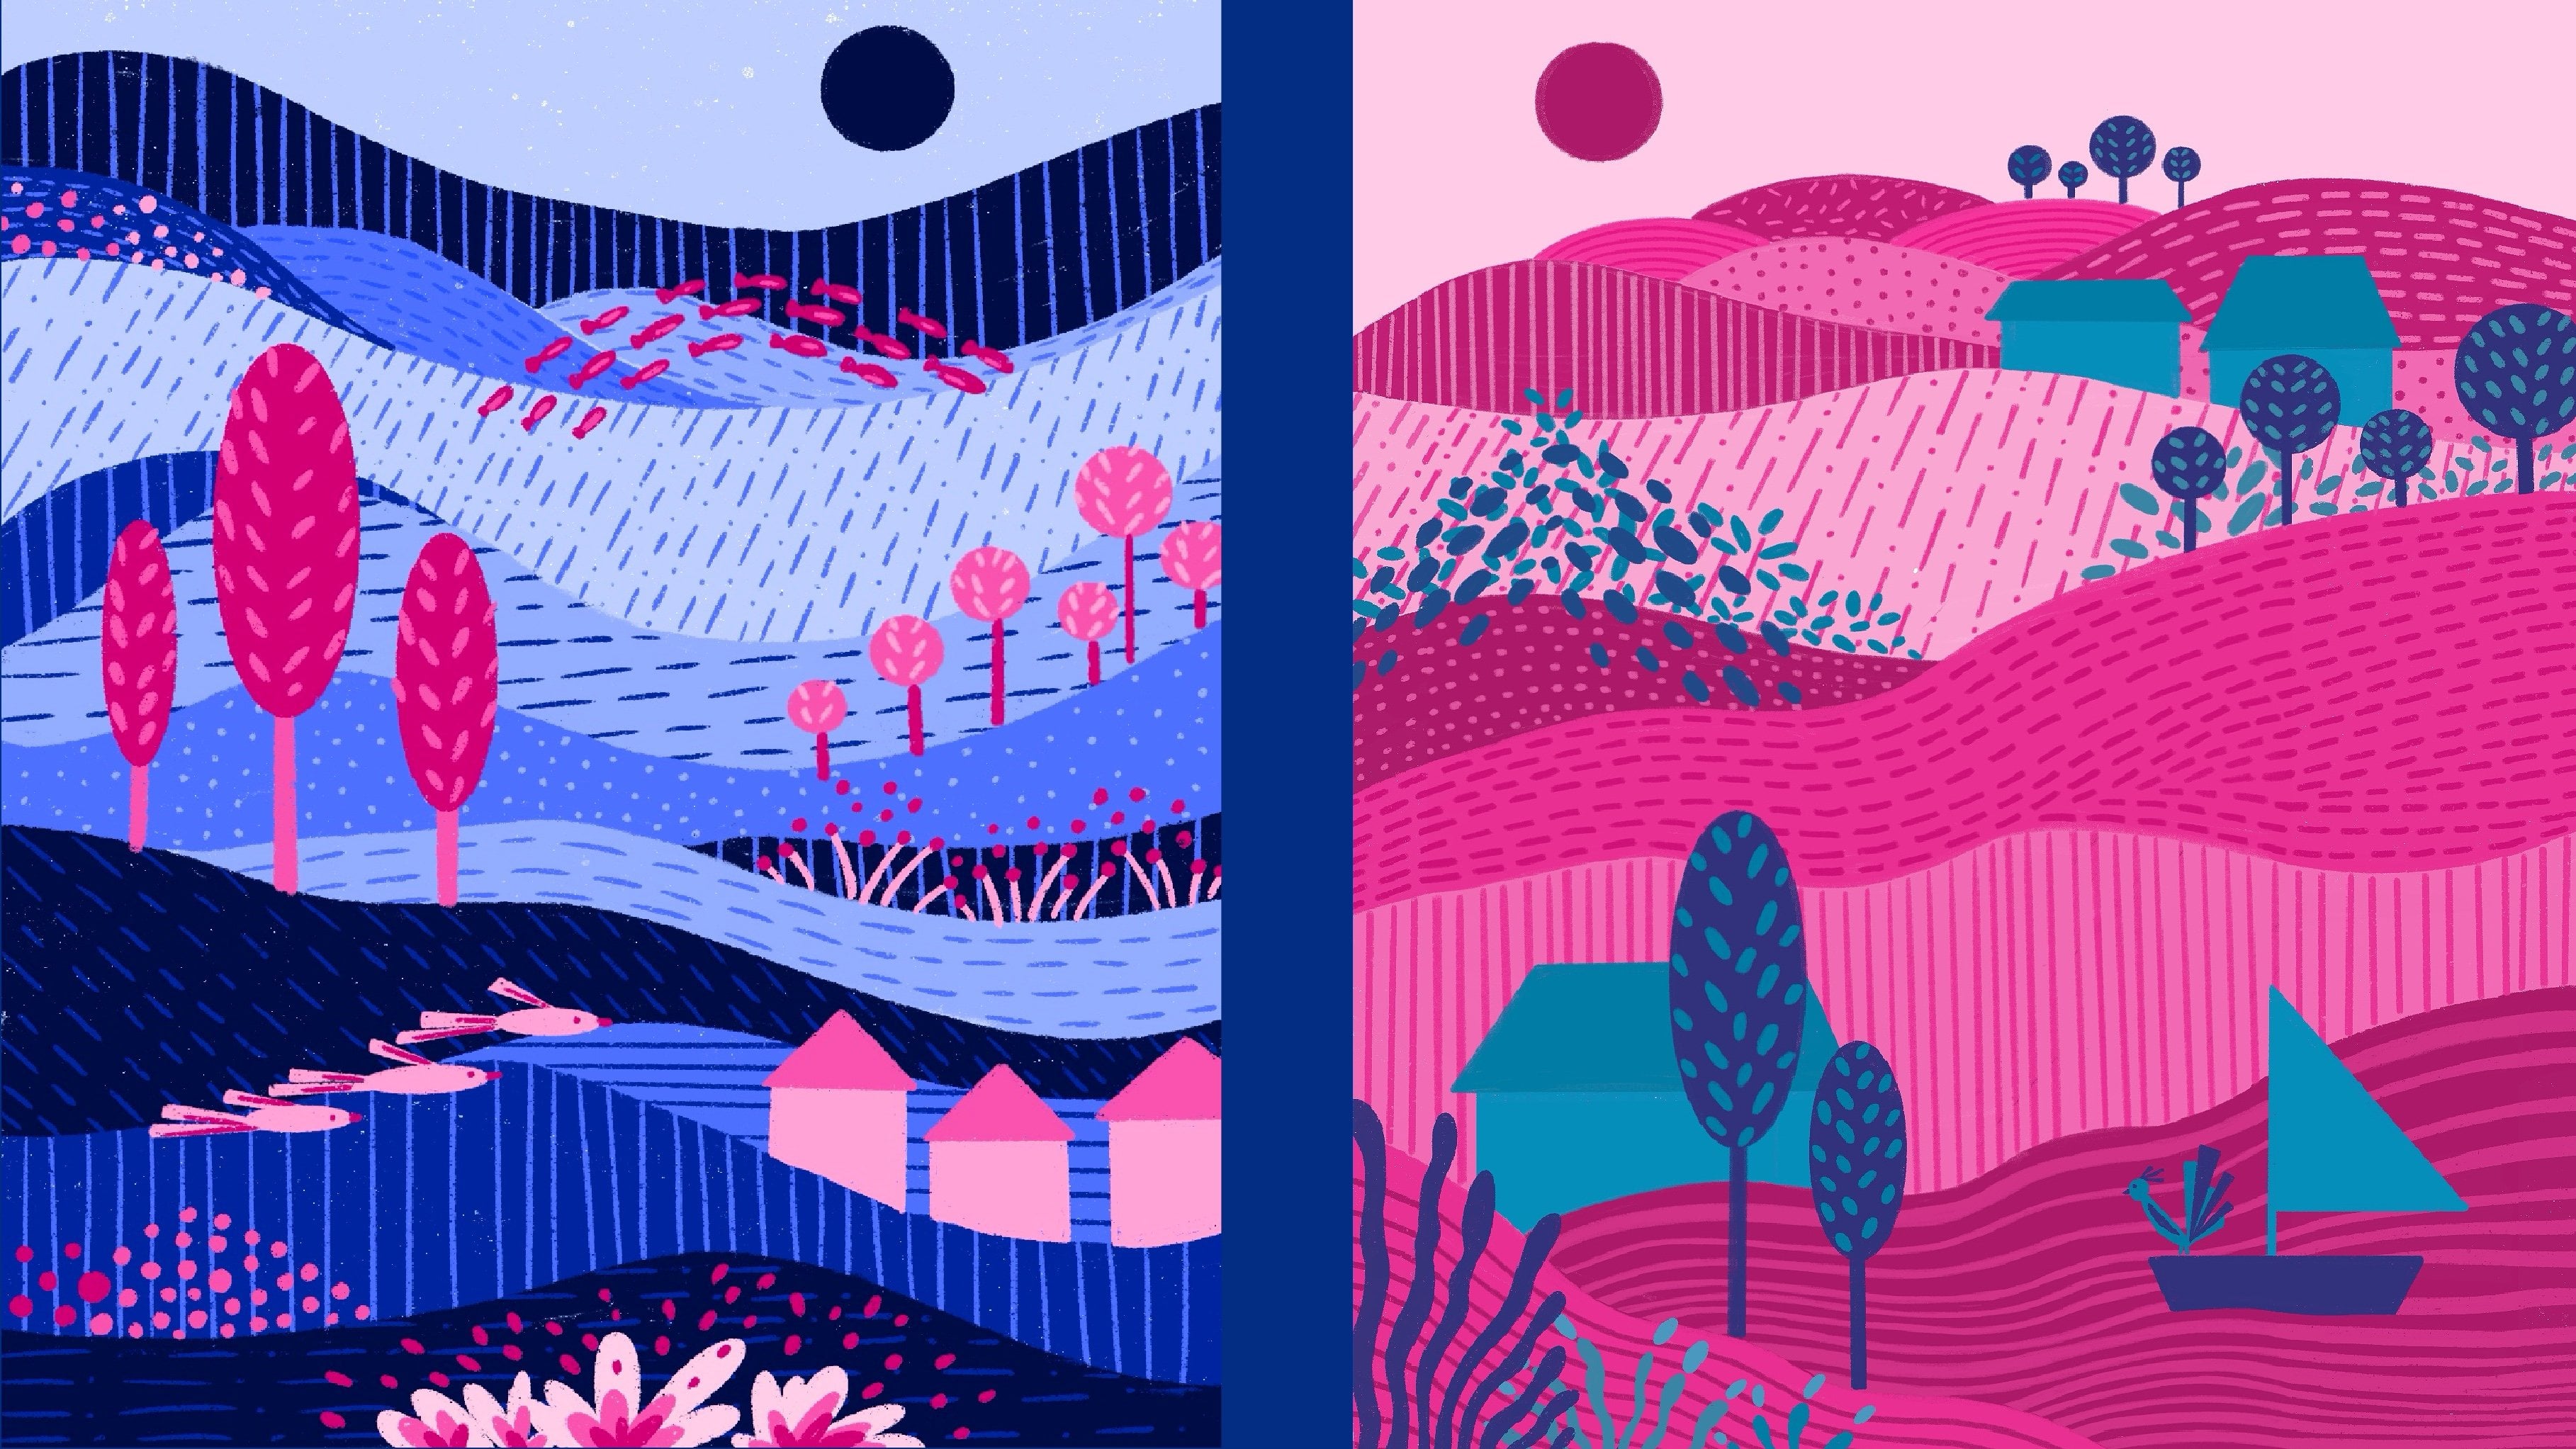
5. Break It Down: In this system,
we will practice, have to break down
reference images to draw our figures in
different poses. I prepare practice
sheets for you, which you can find
it in the project and Resources section below. I have prepared two different
practice sheets for you. One of them includes four
different stat positions. Together we will
practice this one. Our goal is to understand
the human anatomy and movements of the body using
basic lines as shapes. My practice sheet is on my coms. Let's practice
together to break down these reference images and
create our characters pauses. I want you to use
a light color or a vibrant color for
your brush to practice, since the reference
images are very colorful, I also want you to
work on a new layer. First, let's practice
the skeleton. We will try to understand its basic moments and
the character pause. We will use very basic lines. Begin with the legs,
and then the arms, just focusing on
capturing the movement of the limbs and figuring out the
skeleton of the character. Personally, I like
using a triangle for the torso and a
circle for the hips. Now let's identify the joints in this character and drove
circles to represent them. The knees, ankles, elbows,
wrists, and shoulders. Great our first
practice is done. I know it's very basic,
but it shows the moment. I want you to do the same for all the pauses with me
in this practice sheet. This will help us understand the very basic representation of the moment with just a few
lines, circles and triangles. Let's have a look without
the practice sheet behind. I know it's very basic, but it shows the moment. You completed the
first practice, let's take it one step further. Create another layer
for the second practice and turn off the layer
of our first practice, and choose another light
color for this run. In the second practice,
we will break down the reference photos into basic geometric shapes
instead of lines. We will use triangles, circles, and rectangles to represent
the legs, torso and arms. Breaking them down into the most basic shapes will
help simplify everything. I start with the legs. I just d throw a
triangle for the tie and another one for the
second part of the leg. Another one for the leg behind. I try to capture the form of the torso and I draw
a rectangle for it. You can use ellipses, rectangle, triangles to create those
shapes. Now the arms. See, it's not that difficult. We're already getting
used to the puzzes and the characters form is
starting to show itself. It's done. Continue using geometric shapes for the
other puzzles as well. Our second practice
is also done. Now let's move on to
the third practice. Create another
layer and turn off the second practice layer and
select a new light color. Okay. In this practice, I want you to outline
your character. You can use lots of
straight sharp lines like I personally do, but you can also use
more car lines in your. Car lines give a softer
and friendlier wipe compared to the straight lines. It's up to your style and
you want to create in your. You can always mix it up too. Okay, our first pause is
done. Join me a while. I will do the rest.
The ever practice, you will get more into the
pause of the character. As you can see, even though the pose may have looked
complicated at first, I hope it doesn't feel
that way anymore. Great, you completed three
different practices. Remember, you don't have to follow all these
steps every time. You can just jump straight into the last practice and still
draw the pose comfortably. If it's complicated for you, maybe it's better to start with the very basic
skeleton pose first. But believe me, you can
draw any pose by taking your own reference photos and breaking them down
into simple shapes. You can play around with
the arrangement and mix it up with your
imaginations as you go. Reference photos will help you place everything in
place in your drawing. To refer this lesson, I encourage you to go ahead and practice all the puzzles
in the practice sheets. Maybe go even further and start
practicing the puzzles of your own reference photos in the scenarios you created
in the earlier lesson. You can set a time for 1 minute and capture the
puz as best as you can. Now join me in the next
lesson where we will talk about the basics of mon
anatomy a bit more. Understand how the eight H
rule works in illustration and experiment with
the proportions of our characters to create
even more interesting los.
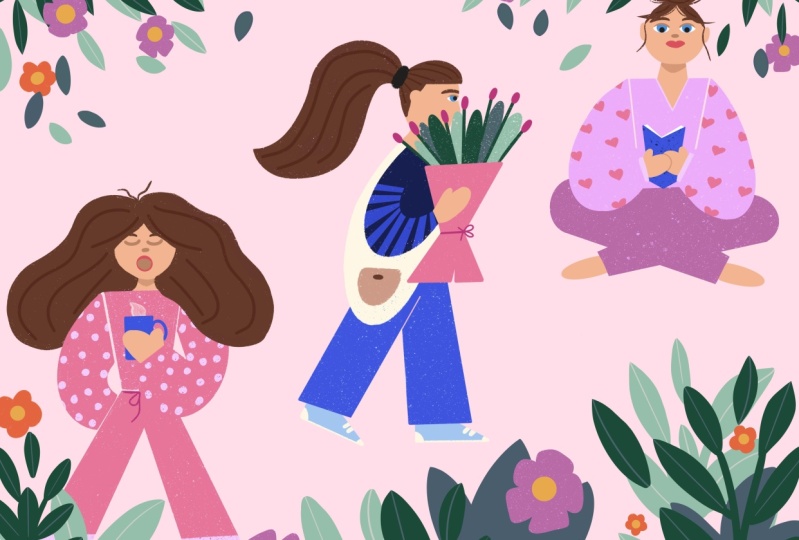
6. Play with Body Proportions: In this session, I'm
going to talk a little bit about the basics
of human anatomy, how the eight Has rule
works in illustration, and we are also going
to have some fun by playing with our
characters a bit more. We will create even
more interesting looks by experimenting with the
proportions of our characters. We can distort things and try less realistic and
more abstract looks. Let's start with the basics. There's a guideline in
illustration called the eight Hz rule
that can really make drawing figures
easier for you. According to this rule, and average human body
can be divided into eight equal parts with each part approximately
the size of the heat. So here I'm drawing nine lines with equal
distance from each other. The first part is for the head, so I draw an val for it. It says the scale for the
rest of the divisions. It's followed by the shoulders starting from the middle
of the second part. I plan to draw a
triangle for the body and the hips goes until
the fourth line here. Then I draw another val, this time vertical for the hips. This one is between the
third and fourth line. The legs goes until
the eight line, and the arms goes slightly
past the fourth line. For the joints, the
legs are just above line six and the shoulders
are above line two. This is basically how we
divide an average human body. Now let's try to draw a
figure using this guideline. Very basically, I draw my lines using the guideline
here, nothing fancy. I draw the pens.
Shoes, and the arms. Let's add some
hair to this body. As you can see,
it's pretty easy, but keep in mind that this
rule is a general guideline, and the proportions
may vary depending on the style or purpose
of the illustration. Let's take this round to the corner and see
what else we can do. I will create a new
layer for my character. Time, I want to go for a
shorter and wider upper body. I draw the arms as I like. No rules here. This is just a practice to go outside of our regular drawing
style and have some fun. At the end, this can add a new perspective to
our drawing styles. Perhaps this one
has a smaller head. I imagine bigger ties
and bigger feet. I want to make my
conva bigger because I want to experiment more
and draw more characters. For the third one, maybe
an even bigger torso, and a very small head
relative to her body. Maybe even smaller. I want to keep the same
chunkiness for the legs as well. And draw. Little feet, little hands, and a tiny head
with a huge body. I'm just letting my
imagination guide me. Let's create another
layer for another one. This time, I want
to change my style of it and go for
more curvy lines. I will basically draw an arc for the shoulders and another
one for the hips. Somehow I find myself enjoying drawing smaller heads
according to the body. Now let's draw the
legs end of it. I continue to experiment with
curve or straight lines, distorting some
elements of the body, making them bigger or smaller, and it becomes
really abstracted. Here are all my characters. I had quite some fun coming up with all these
quirky characters. Now that we learn
how to simplify body parts and think about
different proportions, you can experiment with
proportional variations and have some fun creating unique characters for
your illustrations. Remember, there are
no strict rules, embrace experimentation, and let your
imagination guide you. To wrap up this sisson, I want you to create your
own unique characters playing with body proportions. Now, join in the next sson variable mix everything we
learned so far and work on creating a few different
composition ideas for illustrations. S.
7. Play with Composition: We already learned about taking our own reference photos,
breaking them down, playing with our
character proportions and brainstorming a few scenarios
for our characters. Now we are ready to create
a whole page composition, giving glyphs into
our characters life. On my comas, I draw
three squares to practice coming up with three
different compositions. I want you to do the same. Draw three squares of the
same size on your comas. I'm starting with
the first square. Ional nucleer, using a
yellow sketching brush for my character sketch. I really enjoy
sketching with colors. I suggest you try sketching with colors to. It's
a lot more fun. For sketching, I like using
six feel brush in Procreate. We will planting step by step. We will also use very
basic lines and shapes to sketch without worrying
about clean lines. We will think through
our concept ideas and find ways to combine
them like a collage. For each composition,
we will draw three different
character puzzles with their surroundings. I find three characters to be a good number for square convas, not too overwhelming to plant, but it still allows
for diversity. Before starting,
you can refer back to the ideas you had for
your characters work. Here are my ideas for
each composition and I courage you to do the similar planning
before you begin. If you haven't planned
your scenarios yet, you can go back to the
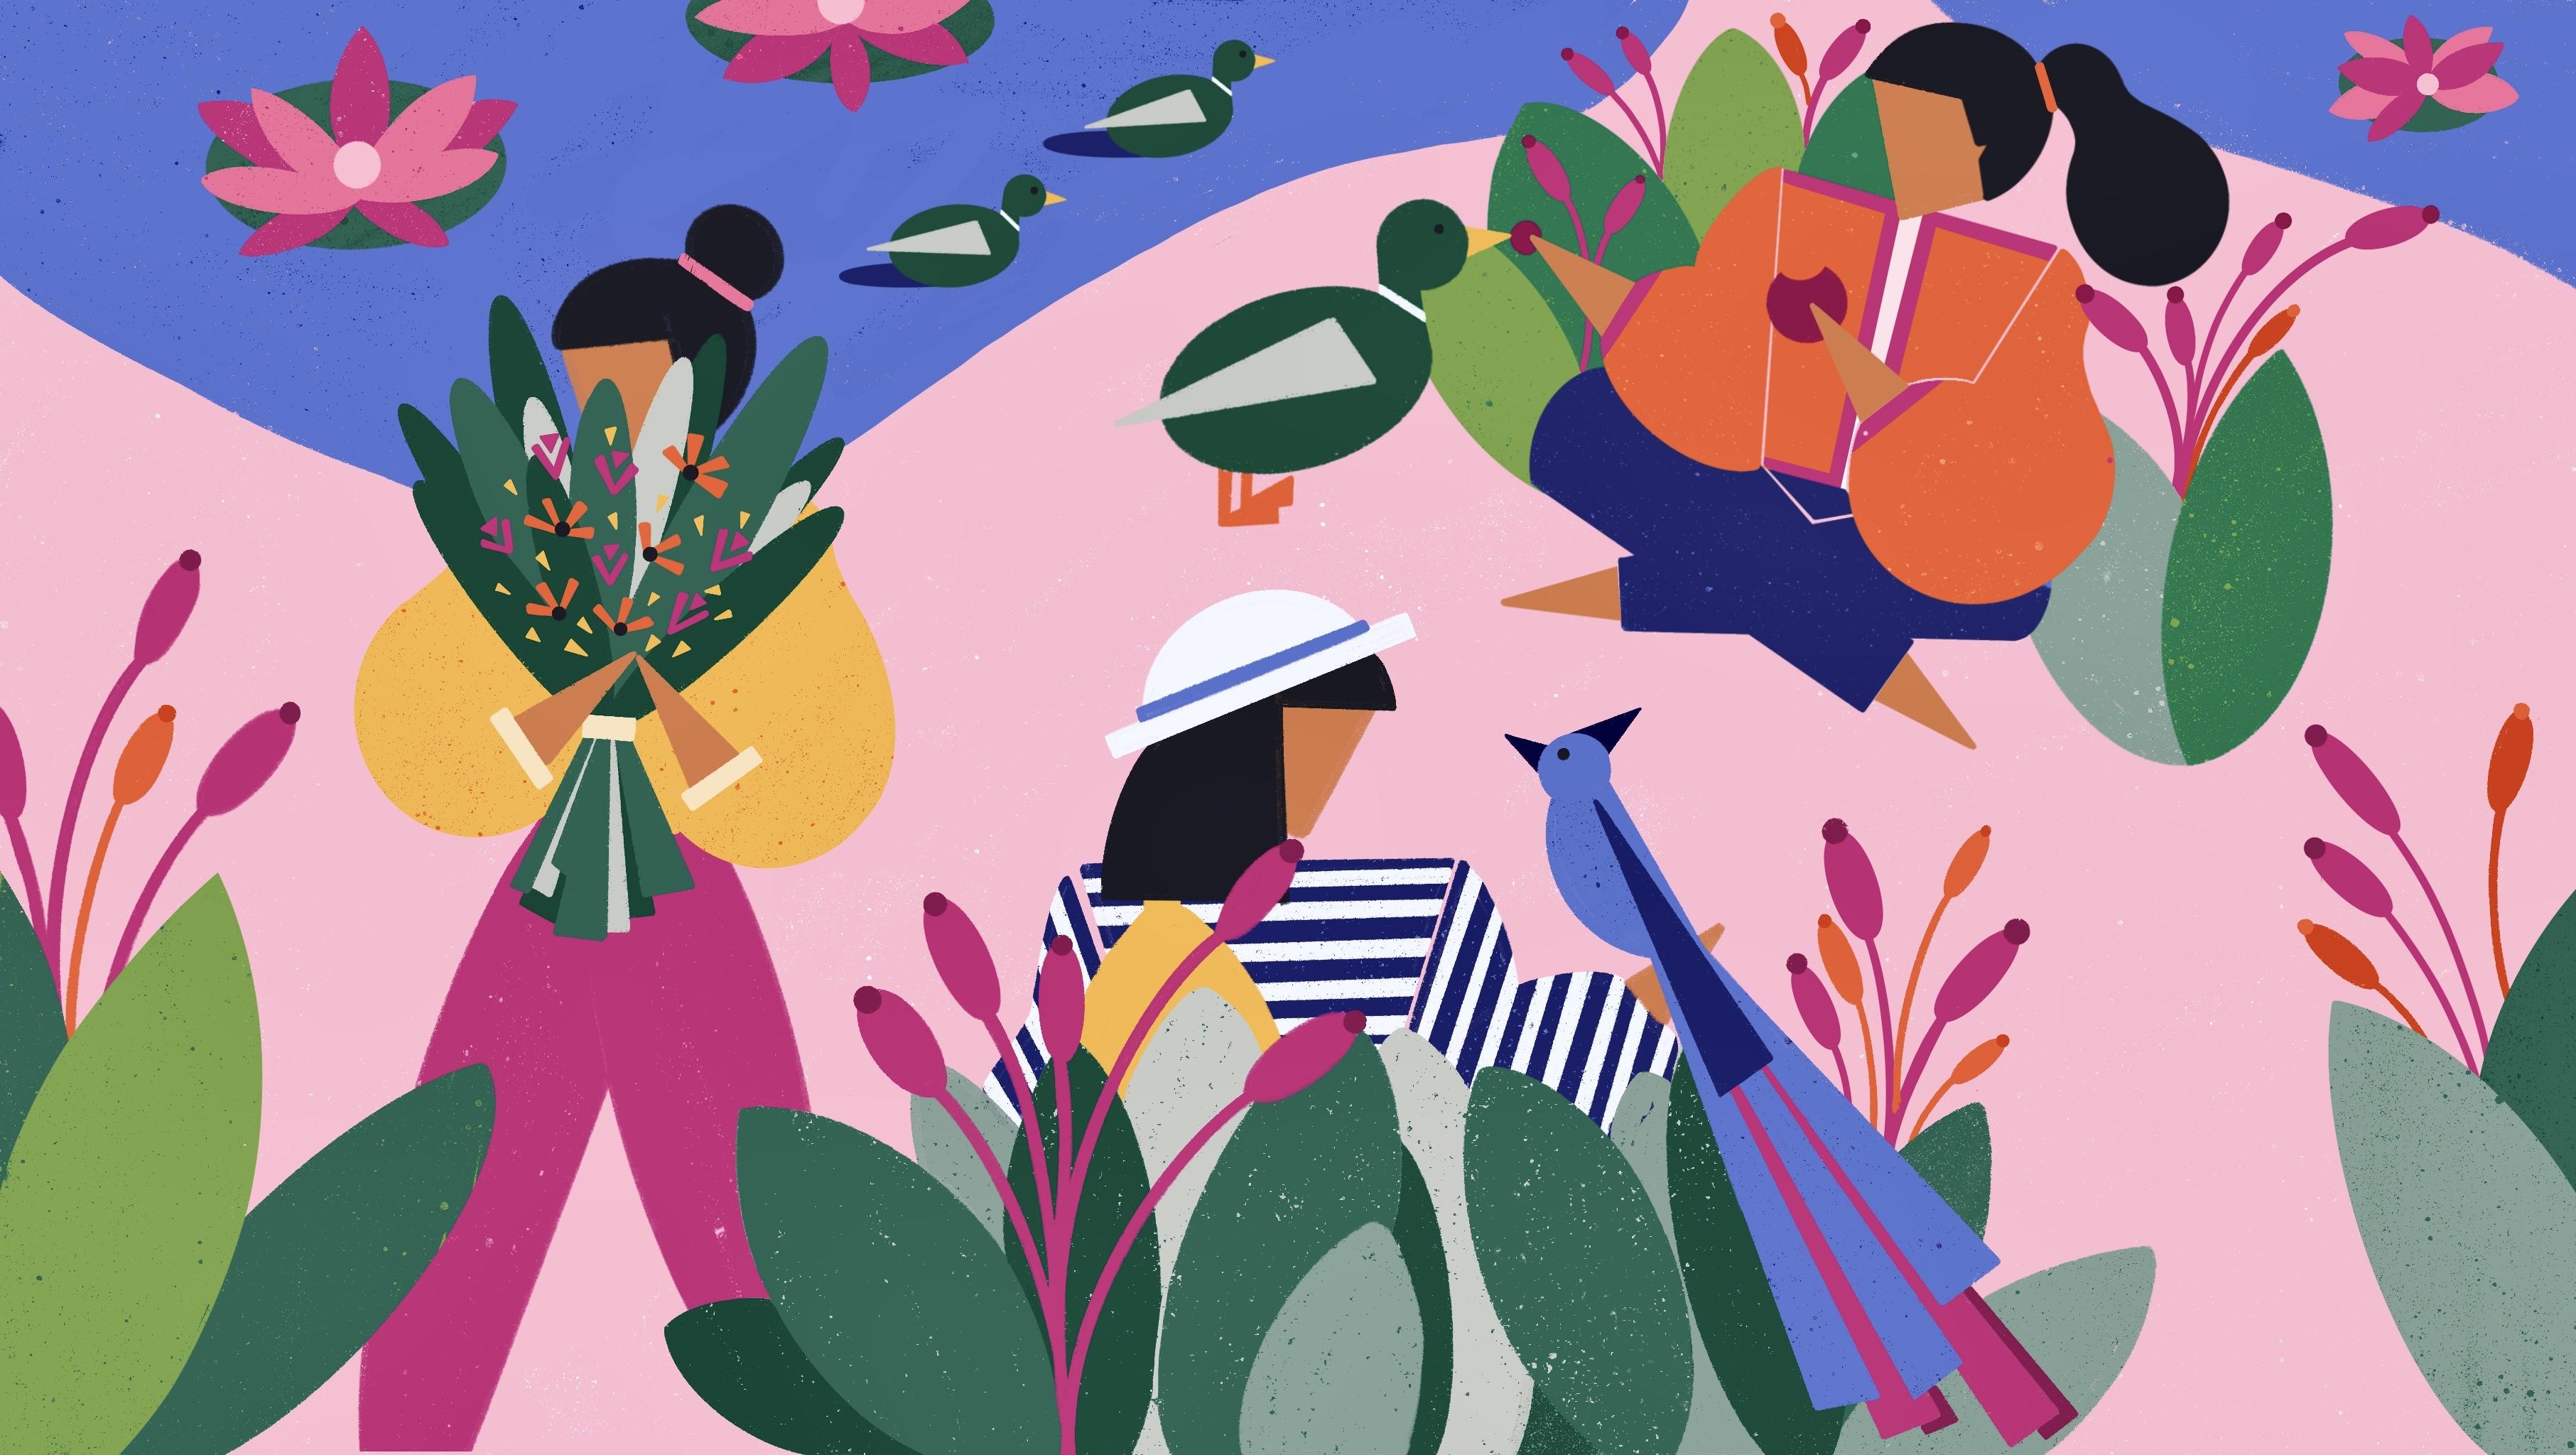
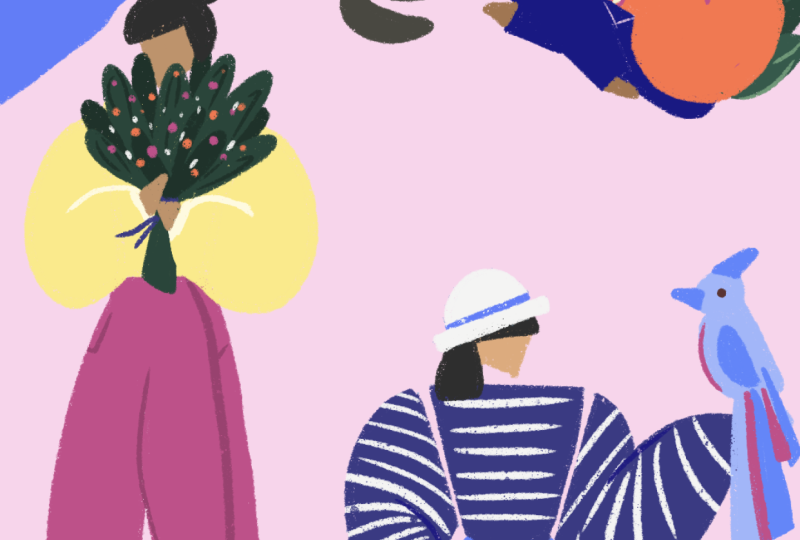
lesson tree to create one. For my first composition, I imagine a day in the
park and outdoor setting. First, I will draw boxes where I plan my characters
will be place. I'm thinking of having a character on the left
in a standing position, and I will draw a big
rectangle for that. It creates diversity
when you mix standing position
with sting position, half body position, or even
more vertical positions. Now for the right corner, I plan to have a
half body position, so I drove another
box for that one. The idea is to have
these scenarios blend together in some ways, so I intersect my
squares with each other. I want to add another stating
position in the top corner. Now that we roughly
position the characters. Let's move on and put our
actual figures in place. I create a new layer and pick another color for
character sketching. This time I will
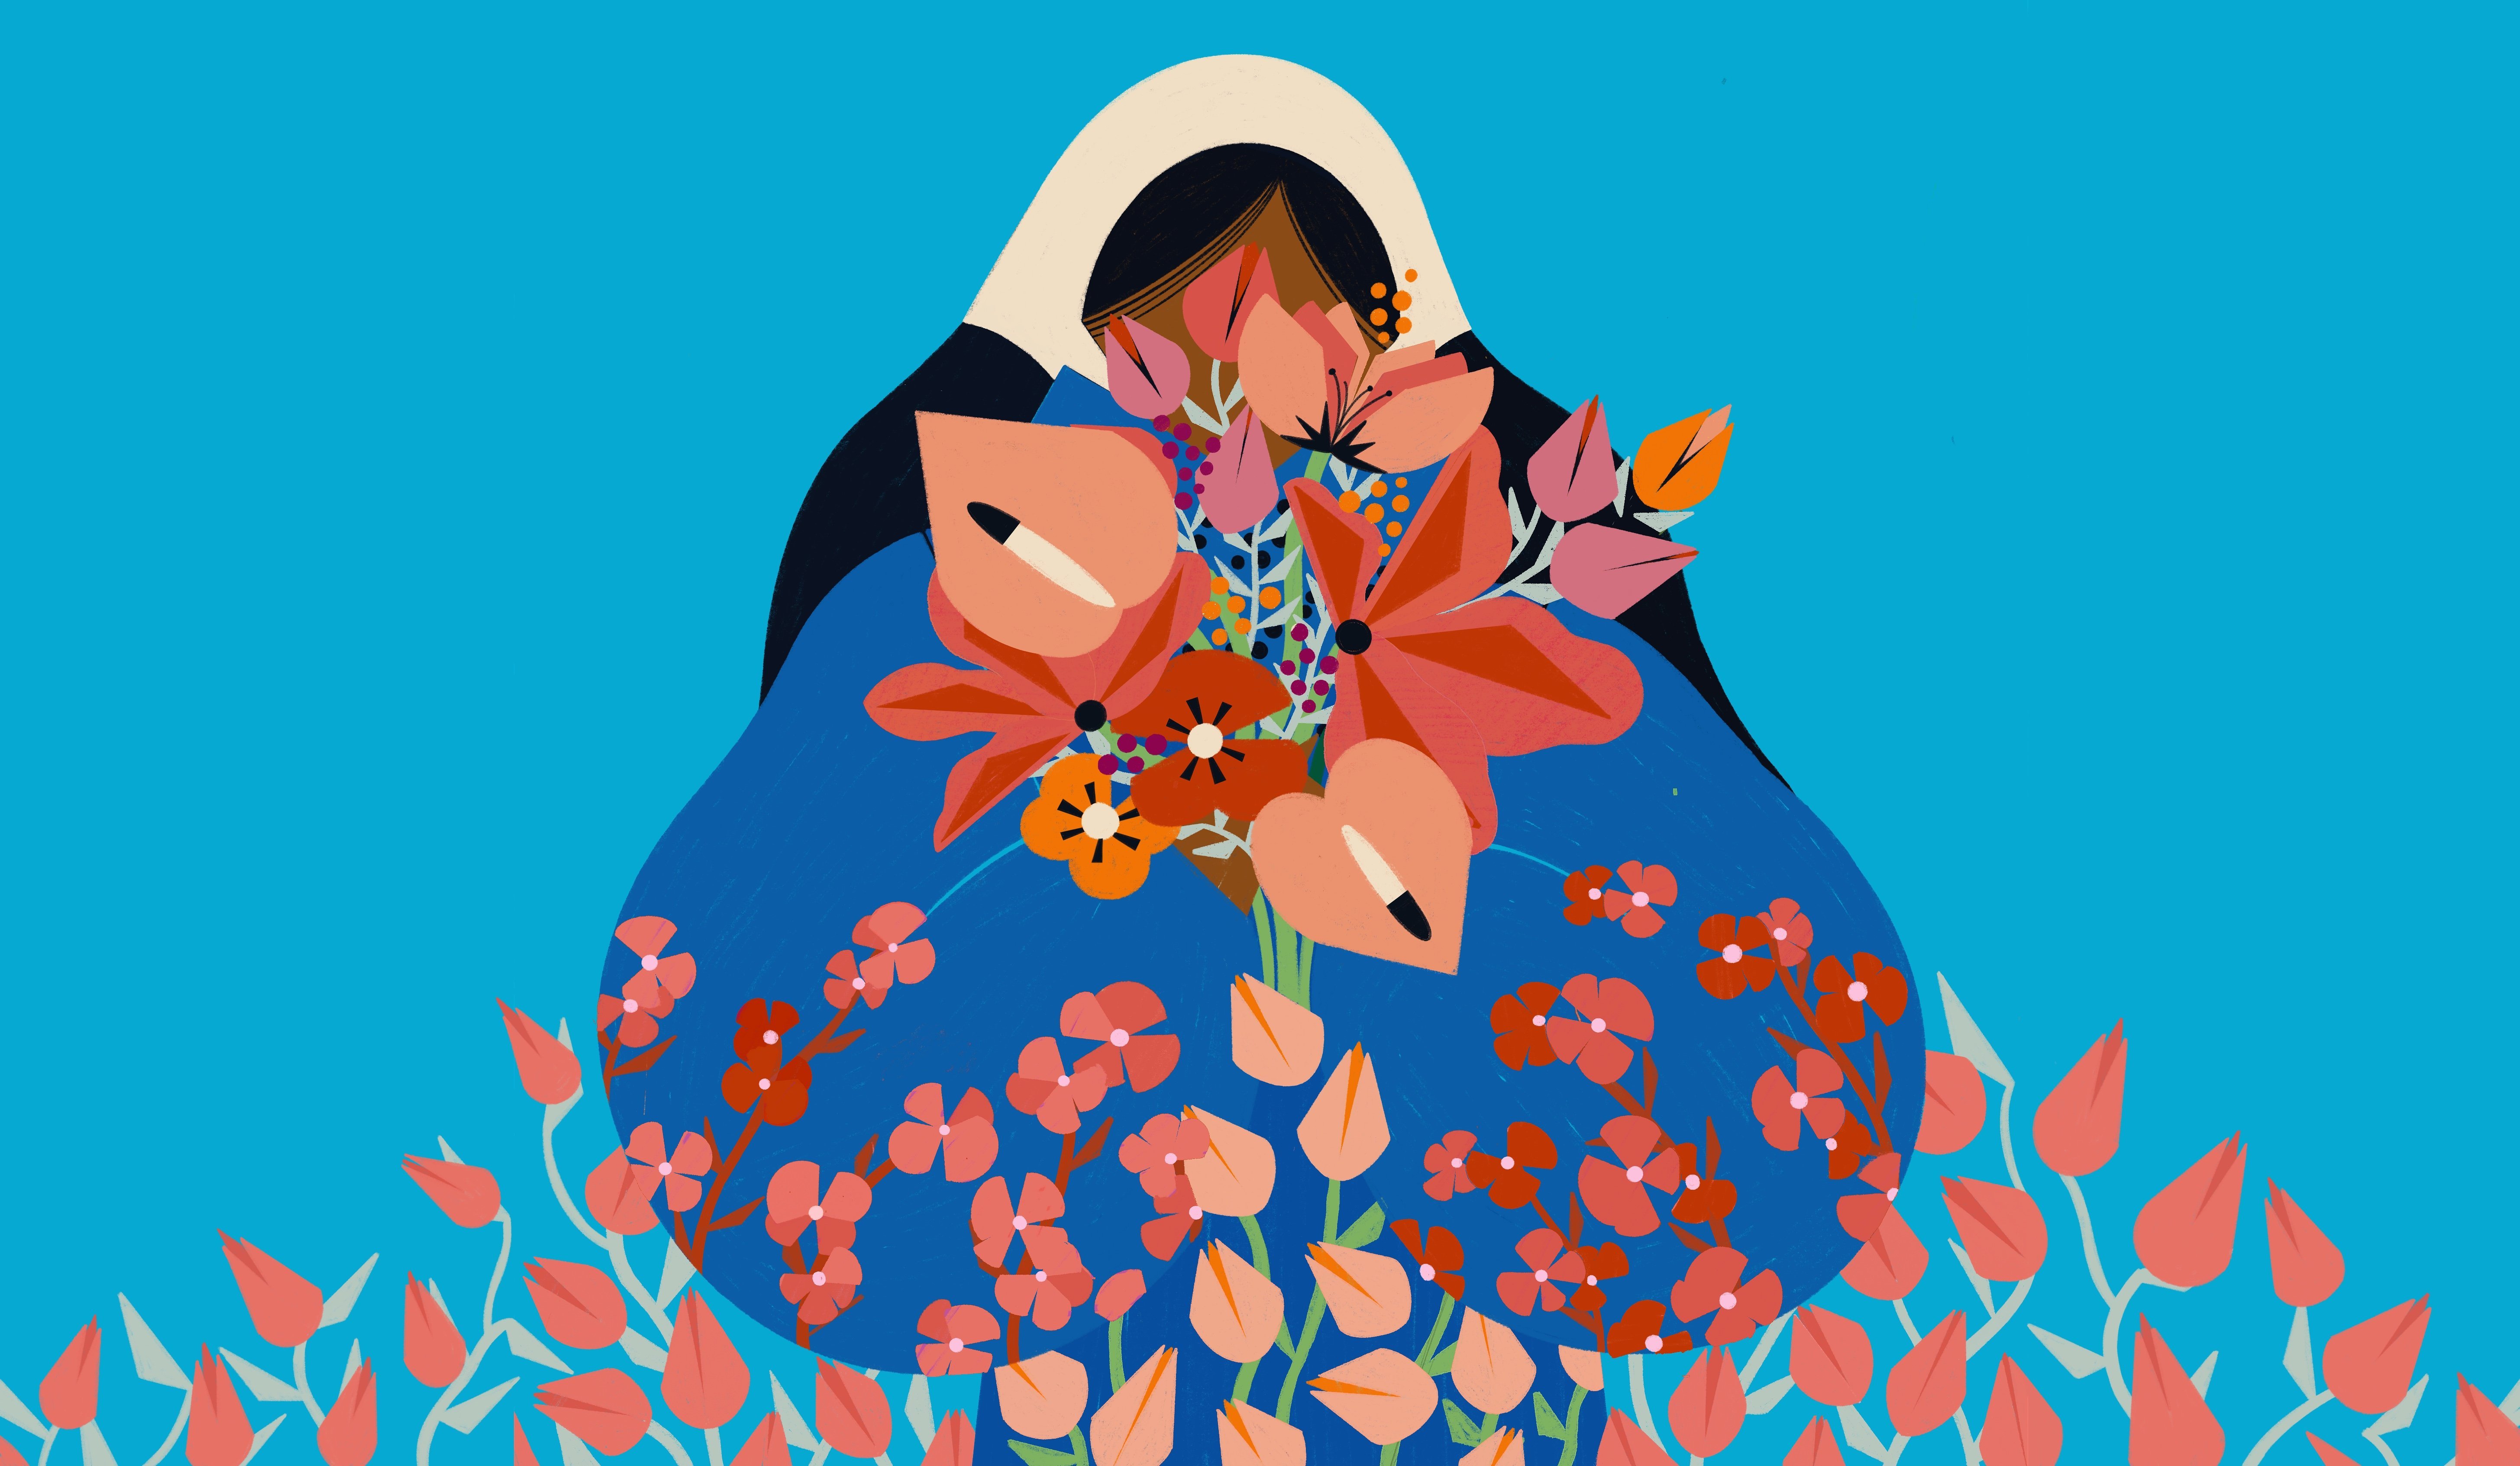
go with the red. I check my list and one of the figures is
carrying something. I imagine that she carries like a plant or flowers
while walking. Since we practice
drawing characters, I'm sure you will
be able to draw your characters
roughly very easily. If you have trouble,
you can always go back to the earlier lesson
for character drawing. So basically, I
start with the head, then drawing a triangle
for the body with very basic lines to
give a rough idea. As my first figure is supposed
to be holding something, I very roughly imagine that
and draw a ectangle for it, just as a placeholder for now. Let's move on to the
second character. The second character
is an a sting position as my scenario says, relaxing and feeding an animal. Very basically, I draw
a triangle for the hat. But you can also
try using circles. Then I sketch triangles
for the body. I like using H shape for
the cross legs as it helps a lot to sketch
them. Here comes the arms. My favorite park in
Lisbon is full of ducks, so I can easily imagine my character feeding a
duck with an apple maybe. I roughly sketch the dug too. Just some circles and lines
to imagine the scene. For the third character, I want to draw a character showing half of her body and maybe
holding a bird in her hand. I will use very basic lines and shapes for this sketch to. I like to try to draw my characters in different
angles as it gives a dynamic effect
to my composition and allows me to experiment
with different positions. In this case, I imagine this
character from my back view. All done. This is just a
rough sketch and I plan to spend around 5 minutes
on each composition. What is totally okay if you
go at your own pace here. Now let's try another one. I move on to my
second square here. I will try another composition. This time maybe a
standing position on the right side and
two other half body figures on the other side. I'm going to think about ways to connect them to each
other later on. I start with the standing
position character. My second character will
be holding a package. You can check the scenarios
you plan before you start, but don't forget, you can always change them up along the way. There's nothing strict here. I quickly draw a character in a standing position
holding a package. I don't know what's inside yet, but I imagine there
are some things in it. I also imagine her in the
kitchen behind a table. I draw a rectangle
for the table. There can be a few
things on the table, so I sketch some
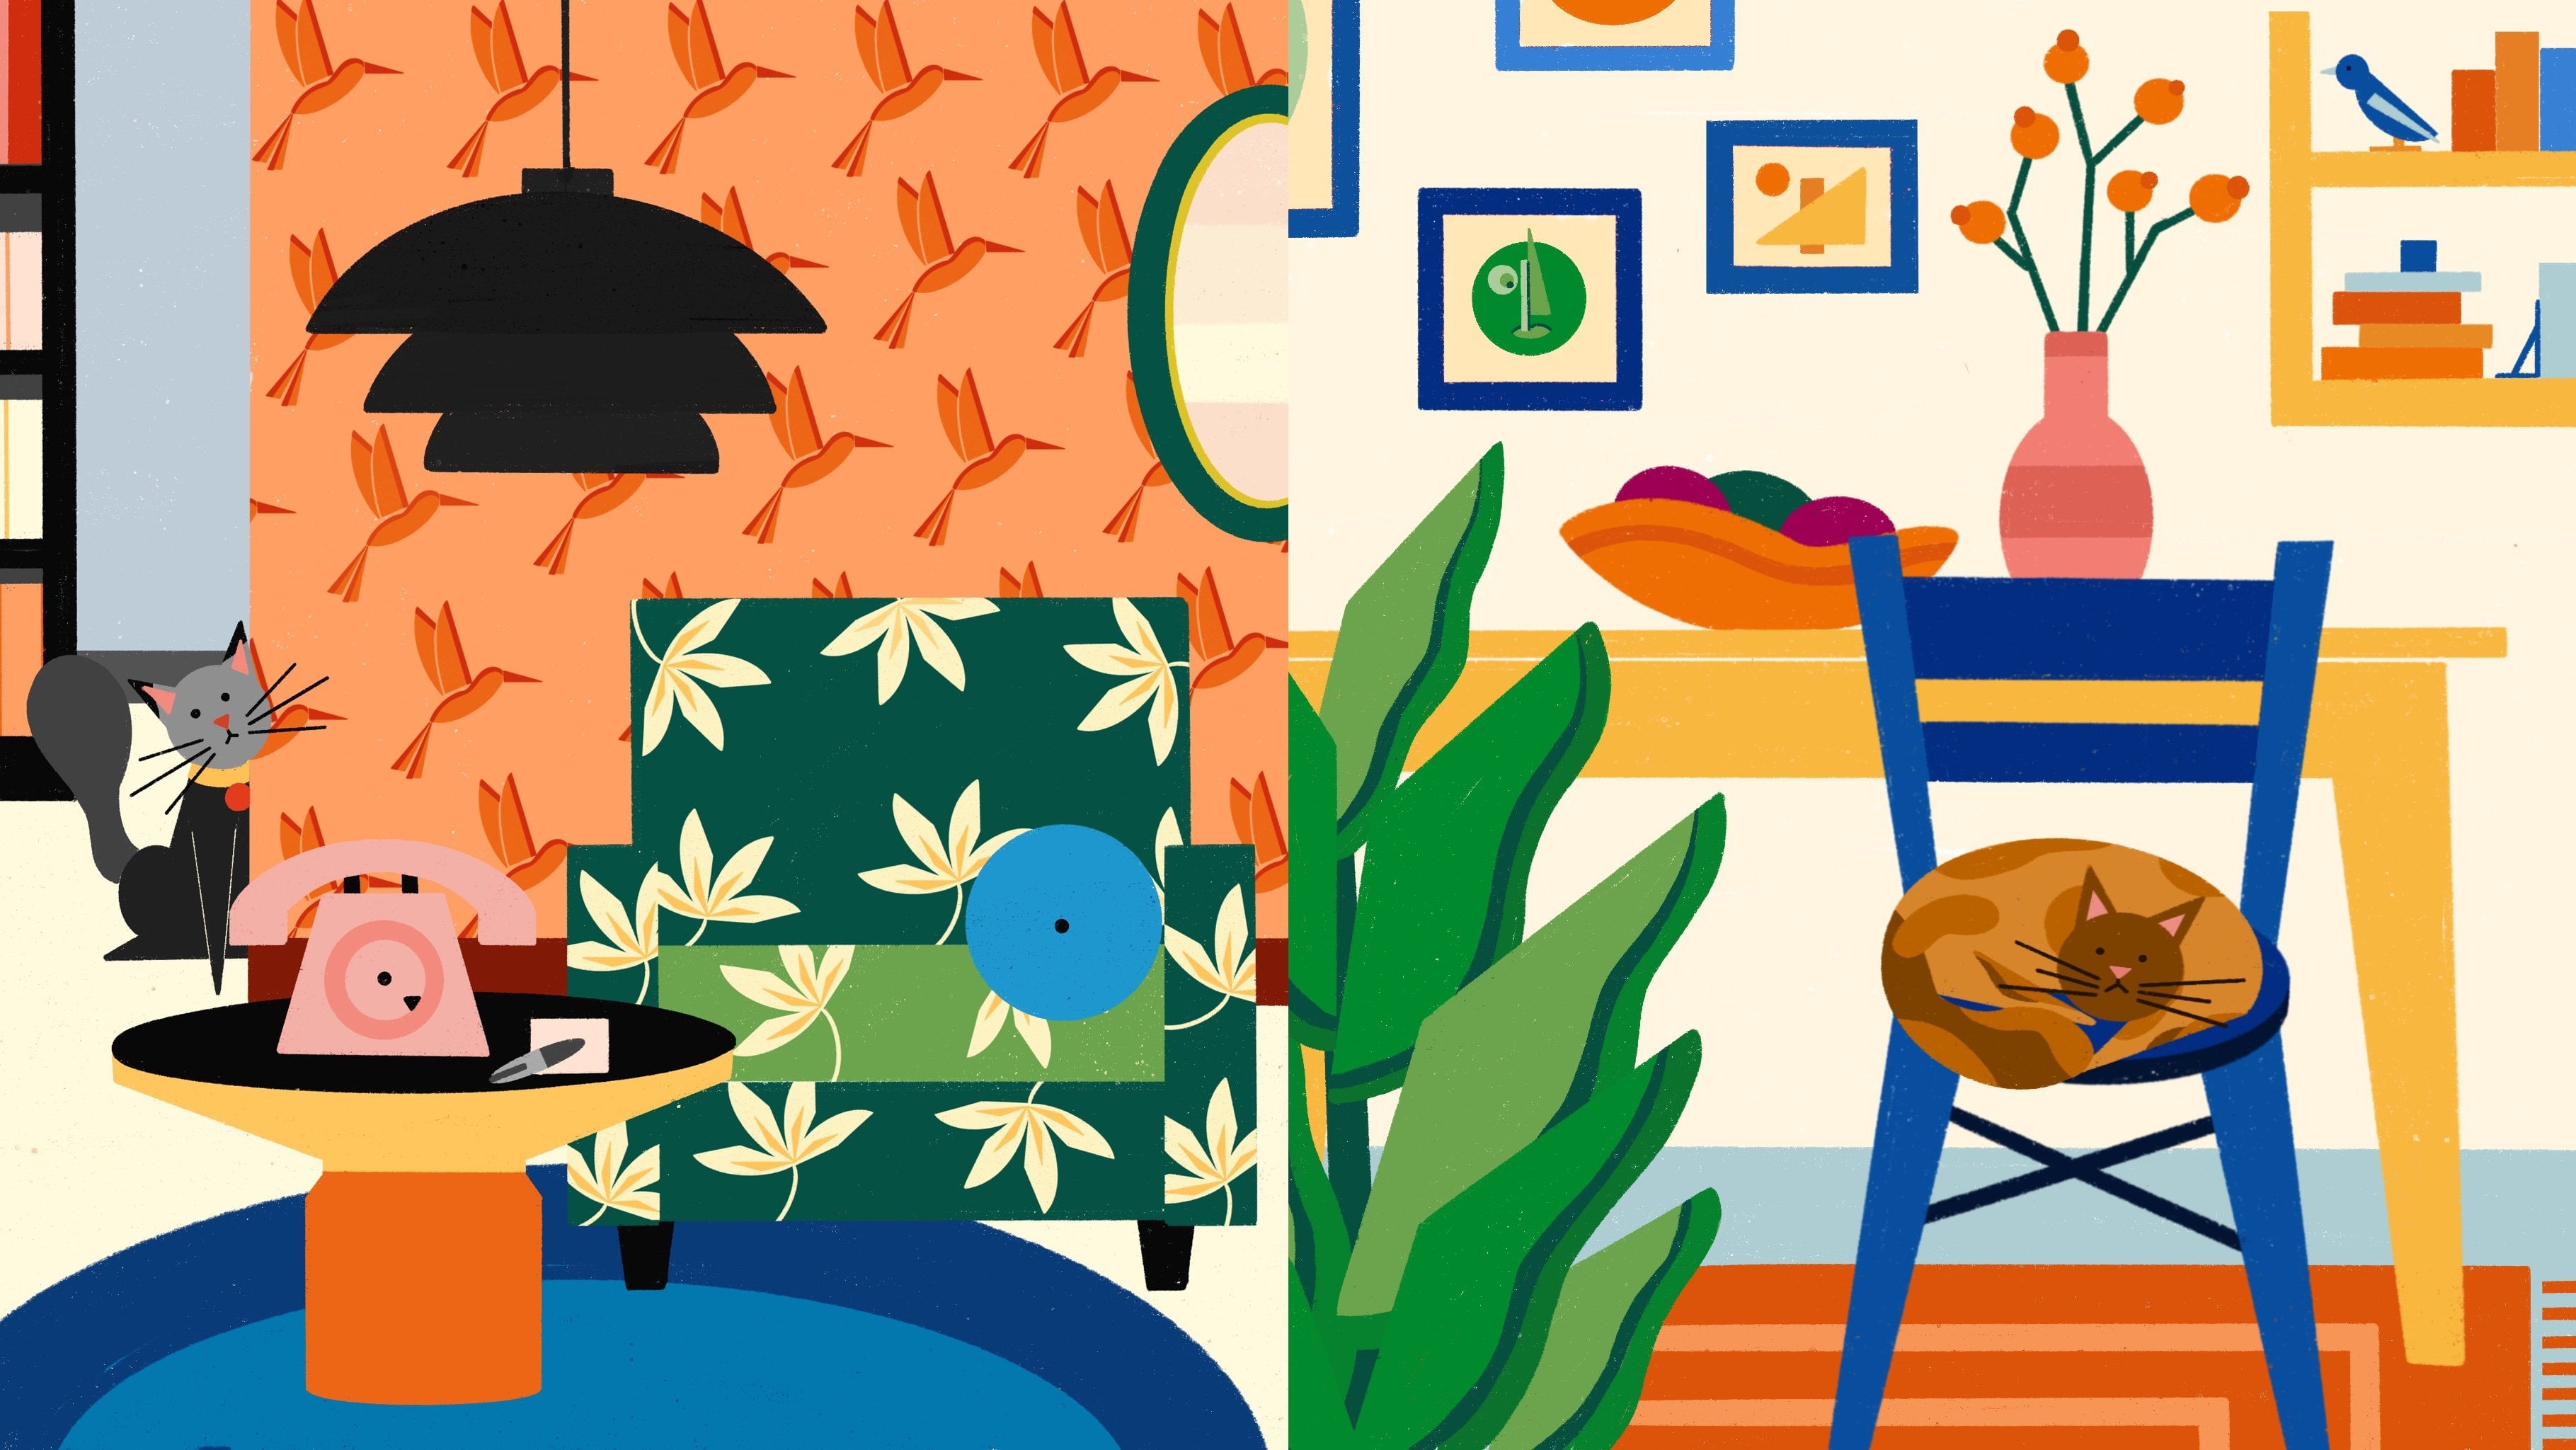
lines for those. By the way, I'm such a cat lady, so I easily imagine a
cat between my legs, waiting for something
to drop to it. I sketch the cat to, and again, very roughly, just some
circles and a few lines. I like the table concept. To complete my
composition as a whole, I want to draw a
table on the top two. This way, I can draw my
character having a drink. As you can see, I draw the characters very
basically here. You can even just use
lines as circles. That's totally okay to. You can add more detail later. Sticking with the cat concept, I imagine a cat sitting with me. I draw some circles and
some lines for the cat. To complete my composition, I draw my chart
character scenario, a character or holding a t. Another trick here
for your composition, it's always a good idea to
create a diversion in sizes. One character can be bigger
and another one is similar. You can try a close
up capture in one drawing. It can
be interesting. Let's try one more composition. I am on my art box. As always, I start with placing
my characters positions. Maybe one with vertical
position this time. It can be here on the top and two more figures
on the blow. I try to play with the
sizes they are going to take and how they try to
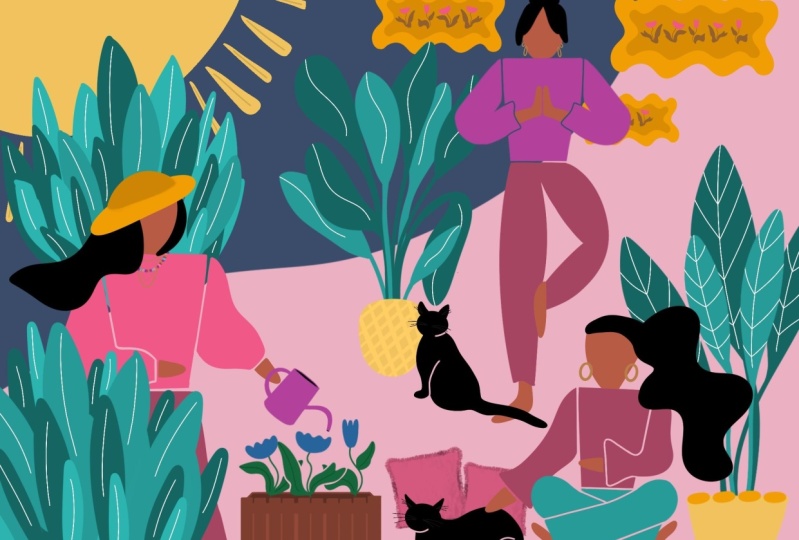
interact with each other. I want to try a casual
home composition here. I locate my list
to get inspired. On my list, there is a
character with Diogo pose, which can be interesting
for a vertical position. But I could easily
see switch for a character lying down on
the couch or the floor. It's your call, but I want
to continue with Diogo pose. I sketch very roughly, not worrying too much about
proportions or whether an arm is too long at this
stage of the process. If you are having a hard
time drawing the pose, you can always take your
own reference photo for it. I want to add a cat,
but try dogs birds or anything that comes to your mind as a second sole
in your drawing. For the second character, I want to draw a sitting pose for my reading a book scenario. I really encourage you to try different kinds of
poses all the time. You have to capture your own references
and break them down, so don't be afraid
to try new things. To the last one, you
might feel stuck on idea, since we draws many so far. In that case, you can
basically use the same idea, but change it up adult. For example, I like the
idea of holding my cat, so I want to give
that one another go. But let's spice it up adult. This time, let's try drawing
the character from the back, and maybe this time
the cat's face is. You can see it's
almost the same idea, but it creates a
totally different log. We try three different
compositions for our illustration, and I like all of them. For now, I only want to choose one of them
and work on it more. To rough up this lesson, I want you to roughly plan three different compositions and choose one to develop further. Use the activity ideas
you came up with from the brainstorming session with GBT in the earlier lessons. First plan out your
characters positions on your comas and then roughly
sketch your characters. Now, join in the next lesson where we are going
to enhance one of our compositions by adding more ideas to our illustration.
8. Upgrade your Composition: In this lesson, we will work on unaching our
compositions further. We will imagine the surroundings
of the characters and more elements and find ways to connect all these
scenarios together. To begin, I create another layer and pick a different color to see my progress by unaching the composition
with more elements. Let's start with the park scene. I begin by adding more
details to my character. Adding hair is an
easy starting point. I can also include an accessory. I will drove ahead and
then add the hair. I might change the
head style later. But for now, I will
stick with this one. I want to add more details
to the board as well. Since it's a part scene, I can easily incorporate
greenery into the composition. I want to draw large lays in front of the
characters as I enjoy adding elements
like big leaves to the foreground to give
the composition depth. I go into a lot more
in detail about composition styles in
my composition class. I highly recommend
checking that one out two. For the second character,
I also want to add some lays in connecting
the characters together. I want to draw the
second characters. I like the hair to
be up this time. I always aim for
diversity in everything. Even small differences can have a significant impact on
overall composition. I imagine her holding
some flowers, maybe she collected them
from somewhere in the park. Now I will move on to
the chart character, perhaps a pony sale
for her this time. I will add a few more details to the duck to bring my
characters to live. Drawing an apple for the duck, I can easily imagine this dug as a mom with her little
babies following her. I will draw a few
ducks behind her. I also try to
imagine her clothes. Maybe she is wearing a jacket. I want to add more greenery
to the scene to give a little dimension
to the character and connect all the
scenarios together. Maybe she has a bag
full of apples as she enjoys feeding animals
while she is there. Considering the ducks, it's easy to imagine a small
lag in the scene. I would like to add a few baby ducks swimming
in the background. You can always add
accessories like a bag, sun glasses, or an earring
as your characters outfit. But don't worry about drawing down perfectly at this stage. You can always use
chat GBT if you are having a hard time
coming up with ideas. Simply describe the scene
you're drawing and ask for suggestions on what
other elements to include. Now let's move on to
the second scene. I start by adding
hair to my character, which is always an
easy starting point. I feel like I can
place a big plan next to her to make
the scene look fuller. For the second character, a pony tail might suit her well. You can always draw more
items on the counter such as basket of full vegetables
and some food boxes. To make the cats come alive, I want to add scars and ice. Since this is a home scene, I will think about home accessories like
a clock on the wall, to add a home wipe. I want to add more details
to the table as well. Let's take a look at
the third character. As usual, I will adhere to the character and some
details to the cat. Maybe she has a wine bottle on the table and some frames
on the wall behind her. I think it looks pretty good. Let's move on to the
third composition. I might add a yoga mat or a carpet like aleman
for the yoga gar. I can also add big windows in the background that show
the trees and the garden. And some candles in front of her might go well
for this characters. I will also add like adding some details to their clothes. Maybe another carve here. And a cat behind the character. All these details help
us imagine the scene. We did a great job upgrading
all three compositions. Adding elements,
imagining the outfits, and the character
surroundings have reached the composition and
created connections between all the characters. To ref up this lesson, I want you to imagine your
characters in more detail, including their
hairstyle, outfit, and the elements in
their surroundings. Try to connect all
these character poses together and think of your
composition as a whole. Now, join me in the next lesson where we will move on
to the color phase. First, we will discuss how I approach choosing
colors when drawing, different color types and how to use them in
your illustration.
9. How to Approach Colors: Great. Now that we have our composition for
the illustration, it's time for another
fun part, adding color. In this lesson, I will show you how I think when
choosing colors. We will talk about
different color harmonies, the psychological
effects of colors, warm colors, cool colors, complimentary or vibrant colors, as well as darker
lighter shades. I will give you a
general idea of how to approach choosing colors
for your illustration. Let's explore various color
combinations together. I always begin by selecting the background color and then
work my way up from there. For this illustration,
I will start with a soft pink
as my base color. Pink is a warm color associated with energy,
excitement and warmth. So if you want to convey those
feelings in your drawing, you should use warm
colors like red, orange, yellow or pink in
your overall composition. But if you want to
create a calmness and relaxation in your drawing, the cool colors like blues, greens and purples
are your gott. Now let's create a new layer for the colors we want to add. For a soting background, you can complement it
with pastel shade to create a harmonious and
gentle color palette. For example, try adding
light mint green, lavender, or pale pitch. See all these colors
work well with soft ping as they share similar light
and suiting qualities. These are all analog colors and complimentary to soft ping. It creates a harmonious
color combination. You can try placing them on top of the pink or next
to it in the corner of your cavas to see how you like them before
painting large areas. Procreates color
charts are excellent to help you explore
different color combination. You can hit the color segment, choose harmony at the bottom, and see analogs complimentary
and other combinations of the color you selected. I encourage you to use it to your advantage as you
experiment with colors. All looks quite harmonious, but I usually add a few
more colors to enhance the diversity and visual
interests of my illustration. Whatever color you choose, you can add a slightly deeper
shades of these colors. Like I can choose a slightly
deeper shade of this pink that compliments the
soft pink background, like this one here. Or even darker tone
like this one. You can also experiment with darker or more vibrant oions for all the colors on
top and see how they interact with
your background color. A I can add a light folio that pairs
well with mint green. I think it might add a touch of freshness to the composition. For that, I just want to find a complimentary to for this
peach color with a little h. It's nice to see how all
these colors work together. I can also add a pale to add a soft glow to the certain
elements in my illustration. Just experiment with
different yellow tones to see which one
you like the most. A neutral color
like a soft gray is an always easy choice to
add your color composition. It can be used for accents or to balance out the
oral composition. Just check which tone you like and how it goes
with your colors. Another important take
that I should mention here is that I never use a full
black in my drawings. I offer darker grays insight. While creating a
harmonious color palette, you might also want some objects to stand out in
your illustration. This is where color
contrast comes into play. By choosing colors
that contrast with the background and
surrounding elements, you can draw attention
to specific objects. You can add one or two
vibrant bold colors that contrast with soft pastels. For example, I can choose a bright coral or deep tal
can make certain elements. Let's see how they
look with my colors. These are definitely stand
out alongside the others. Since your background color
pink is a warm color. You can create a great
contrast by using cool colors like blues or greens for the objects you
want to highlight. Another option is to increase the saturation of the colors for focal objects compared to the rest of the illustration. This will make them
more eye catching. You can always add light
and shadows with slightly different es to add some
dimension to the objects. I just go to adjustments and
play with colors a little. Experiment with colors, tray
them next to each other or on top of each other to
see how they work together. This was just a basics, but it's a good start
to understanding how to think when choosing colors
for your illustration. Now go to procreate select background color and play around with
color combinations or color doors based
on these steps and tricks without the pressure
of coloring and illustration. Now let's move on
to the next lesson where we will put this
theory into practice. We will do some
quick color blocking and experiment with
color combinations.
10. Color it: We learn how to think about choosing our colors in theory. Now it's time to put that
theory into practice as we work on our color blocking
for our illustration. Sometimes I do quick color
composition practices before deciding the final
colors of my drawing. I make my composition sketch smaller and create
another copy of it. Then I draw colors on
top of each other in my drawing to see which color composition works best for me. I don't worry about outlining my lines or perfect lines
during this process. You can find more
details about how I work on quick color experiments
in my earlier class. Go check it out if you
want to learn more. Today, we will focus on
a cleaner version of our color blocking.
Let's get started. I have my sketch on my commas, and I want you to lower the opposite of your
sketch layer around 10%. I already created a
color palette using the colors isolated in the
previous license practice. You just simply need to tap on the plus sign icon at the top. I. Then tap on your colors and then add them to the square
boxes on the color palette. Now I will create a new layer and place it under
my sketch layer. First, we will color
the background. We already decided
it will be pink, so I will drak and drop the
color onto my new layer. Then I will create another layer to continue adding my colors. Working on different layers, y coloring is much better as it allows you to
make changes easily. I will start coloring the
biggest pieces and my drawing. I want to start with the lives. I will pick one of
my green colors, outline the lives and
now fill in the color. I continue color blocking
the other lives. I think this green works really well with the
pink background. Next, I want to paint some of the layers in different
green colors. For that, I will
create a new layer. Quickly outlining and
then dropping my colors. Creating diversiten
colors is crucial, especially when I'm painting
plants and flowers. Maybe I will add another
dark green here. Now I will start coloring the character behind
the big leves. For that, I will
create another layer right on top of the
pink background layer. I feel like picking a blue color for the characters outfit. Let's give it a try. I can
always change it later. I think blue works well
with pink and green, so let's see how it looks. I quickly outline my
characters outfit, using my sketch as a reference, making cleaner lines
and fixing a few Ts. I will also make
some improvements as I color now. Let's
paint the face. I also encourage you to embrace diversity and use all skin
colors in your artwork. As you see, I create a new layer for each different
part I'm coloring. I want to go with black hair, and I will also decide
on the hair style. This way, I'm not just coloring. I'm also improving my
sketch in the process. Moving to the head, I will stick with the same
blue color for now, but I might change it later. It seems like a small detail
to finalize at the moment, so I will leave it as it is. To keep things organized, I will keep the characters
layers in the same group. I suggest you to do the same, especially when I'm working
with loss of layers. Now let's work on second
characters colors. I'm thinking of using a darker, more vibrant pink for the pants. I feel like it will compliment
the colors around it, especially the soft
pink and green. I want my characters
to stand out with vibrant colors that shine
in the composition, so I'm thinking I
allow for the top. The face and the hair. Now let's work on the
plant she carries. I believe a darker
tone green color will really pop against the
yellow and pink background. I don't stress myself to make
the plant a perfect shape. I let it flow and have fun
with this kind of practices. Remember to use different
green tones for variety. I will add some dark g rays
in the front and the back for that. All right. Now let's t the hands. The second character
is mostly done. Before moving on to
the third character, I want to color the leg behind. It's a big piece close
to my third character, so it's better to
color it first. I'm not liking it much. It's too dark and dominant and it's making my second
character head get lost. I think I will switch
to a lighter low. Moving on to the
third character. I want to pick
another bolt color, perhaps an orange
from my palette. We already tested the colors
in the earlier liston, so we know they will
all work well together. This is just to figure out
the color composition. Outlining the character
very quickly. The face. And the pens. For the pens, I will choose a dark blue
for a great contrast with the orange, using
complimentary colors. I will continue adding colors like the greenery behind her. I just want to ensure
each piece stands out why remaining
coherent with the others. Now that my characters are
almost coming together, I will work on the
similar elements, such as the duck family and
the flowers on the lake. I want to add vibrant
color flowers in front to create
more contrast. A darker pink similar to the one on the pens
should work well. I continue coloring other
elements in my drawing, making sure each one shines. I also want to change
the characters top color as it matches
the too closely. Maybe I can try a darker u for the top and a lighter
color for the head. For the bird, I want to
use a lighter like in the. It looks great. I also
like to add colors from larger pieces as details in different parts
of the illustration. For example, I will add pink and orange flowers
to the flower bouquet. To create depth in the elements, I play with darker
or lighter tones of the colors and I slightly
adjust the station. This helps me create
contrasts and add details to the
greenery and clothes. It's looking pretty good. It's not a final illustration, but it's quite enough for a drawing practice on
different characters for us. You can always take it
to the next level by adding more detail to the
coloring and patterns. To wrap up this lesson, I want you to work on your color composition for
your illustration. Ensure that your
character stand up rent colors while maintaining an overall cohesive composition. Try to improve your sketching, while working on your
color composition. Use different layers for
different elements and try to use each color in multiple
spots in your drawing. Now, join in the next lesson, where I will show you how to take things one step further.
11. Spice It Up: We made great progress
in our illustration. Now we just need
to do some cleanup and add the final
touches to the drawing, such as pattern and texture. Let's start with our
first character. First, I want to work on the leaves in front of my character. I planted some texture, so I go to my layers and
find the leaves layer. I tap on it and
enable a fog feature. This feature allows
me to really paint without worrying about
overliging my drawing. I want my leaves
to be dark green, but I also want lighter green to show through when
I add the texture. First, I repaint them to my base color, which
is light green. Next, I choose the texture brush I want to use from my brushes. I edit this brush that I created to the project
and resources folder, so feel free to use it as well. You can easily dvload and
import it to your procrate. Now with the darker green, I repaint the leaves
using my texture brush. For each liaf, I choose
two different green tones, one for the base color, and the other as the
original color of the leaf. I will do the same
with all the lives, ensuring I work on
diversity for the colors. I can also add some
patterns to the leves. I off for a single pattern like some basic straight
lines in the middle, but you can go for more
intricate details if you prefer. Moving on, I will
add some texture to her top using
the same method. I will also clean up my lines, making them more precise. To create the stripes
on her clothing, I will use the
clipping mask feature. I create a new layer on top of the clothing layer and enable
the clipping mask feature. This way, everything
I draw will be on another layer and will allow me making easy
changes when I need it. This time, I work more
precisely on my alliance. This is basically what I will do in the rest of my drawing, cleaning up my lines, adding texture,
redrawing some elements with more detail and
incorporating patterns. You can use patterns like
stripes, geometric shapes, dust or flowers, anything
that sparks your creativity. I prepare a few pattern ideas for you to use in your drawings. They will work great with
your characters clothing. The file is in the project
and resources folder. Go ahead and download and import them to your
Procreate file. To wrap up this lesson, do some cleanup in your drawing, add some texture to
certain elements by using Alphag and
clipping mass feature. Feel free to use pattern
examples I've prepared for you on your characters clothe or anywhere
else you would like. Now, join me in
the final lesson. I will share my final
oughts about the class.
12. Final Thoughts: Congratulations on completing this illustration class with me. I hope you enjoy creating
your own unique character and drawing your character in
various stated activities. Throughout the class,
we focus on developing your skills in
using AI technology to overcome creative blocks and brainstorm ideas to build
our characters word. You'll learn how to
draw your characters in different puzzles
by breaking down our own reference
images and most importantly feeling an empty as without feeling over them. You also learn an approach
to choose colors and how to use patterns and textures to
enhance your illustrations. During this class, I
provide you with exercises, cheer sheets, and valuable tips to support your
artistic journey. I encourage you to continue practicing and exploring
your own unique style. Embrace creativity,
experiment with new ideas, and always trust your
artistic instincts. To get the most
out of this class, I encourage you to engage with other students and the
community here on skill share. Invite your friends to take the class with you
and you can provide feedback on each
other's projects to help improve
each other's work. If you have any questions as you are going
through the class, please post them in the
discussion tab below. I'm always excited to
see your creations. Please remember to
share all the steps of your registrations and exercises in the project section below. You can also take me on
Instagram when you share your work because
I love showcasing my students projects there. I have six more classes on the platform and if
you enjoy this class, there's a good chance that
you would like them to. Go ahead and check them out. Remember, creating art is a
continuous learning process. Don't hesitate to revisit the techniques and concepts
we cover in this class. Thank you for taking
the class and I look forward to seeing
your future creations. I will greatly appreciate it if you could provide
maybe a review. Thank you and I hope to
see you in my next class.
 Ceren Dabag, Illustrator