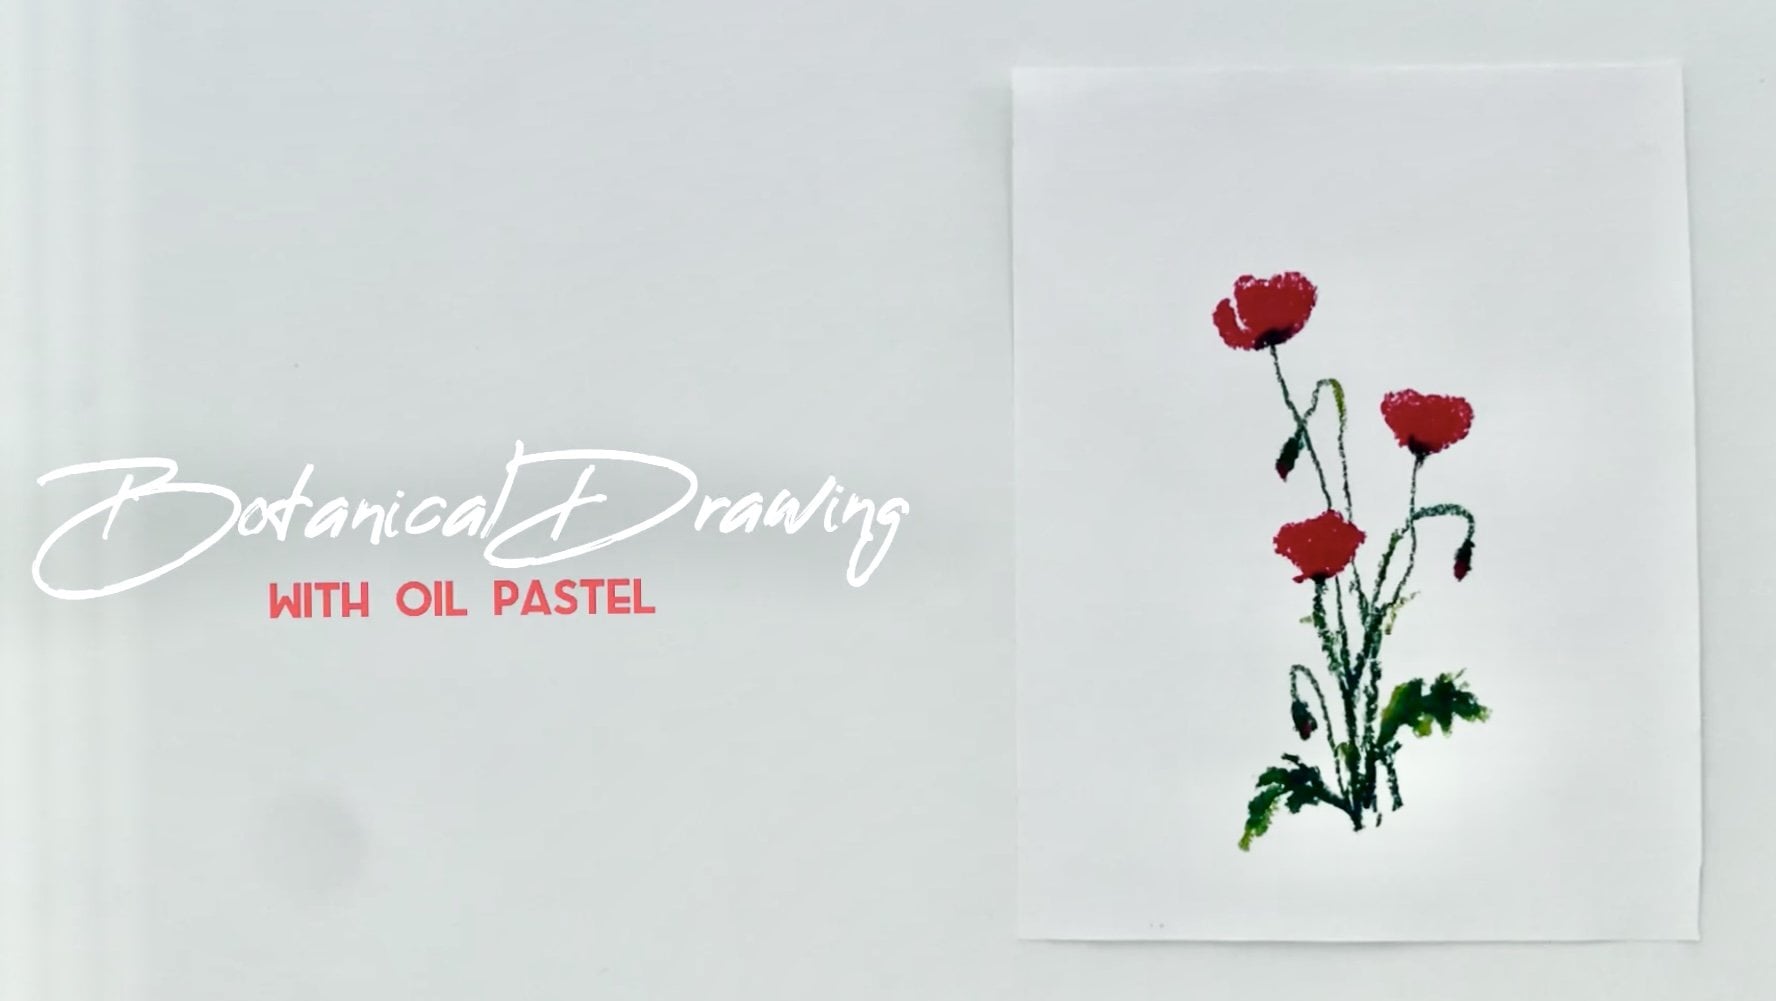
Botanical Drawing With Oil Pastels: Cornflowers
 Alina Harvi, Ukrainian Artist
Watch this class and thousands more
Watch this class and thousands more
Lessons in This Class
-
-
1.
Introduction
2:48
-
2.
Class Project
1:06
-
3.
Tools & Materials
1:20
-
4.
Drawing Cornflowers
6:00
-
5.
Final Thoughts
0:58
-
-
- --
- Beginner level
- Intermediate level
- Advanced level
- All levels
Community Generated
The level is determined by a majority opinion of students who have reviewed this class. The teacher's recommendation is shown until at least 5 student responses are collected.
218
Students
19
Projects
About This Class
Welcome to the course on botanical drawing with oil pastels!
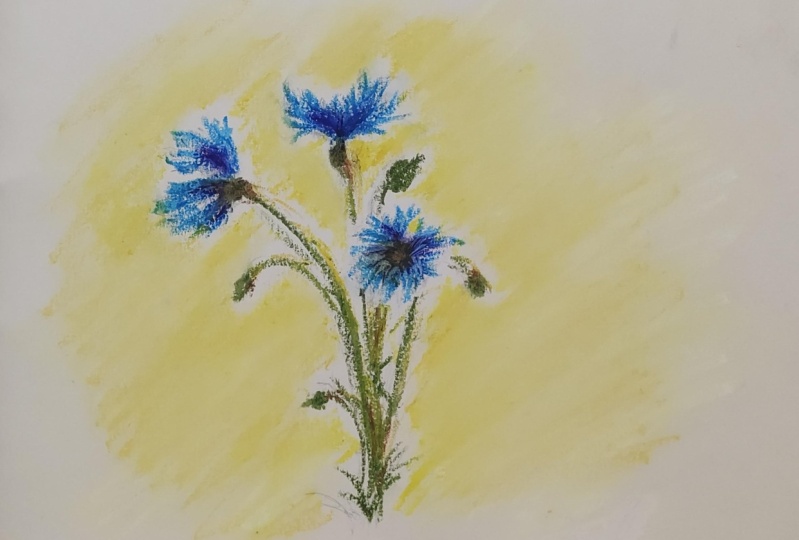
In this course, you will learn to merge the tenderness of the flowers and the naive, expressive nature of oil pastels into simple minimalistic drawings. This course will include several short classes, and every time together we will create a drawing of different flowers.

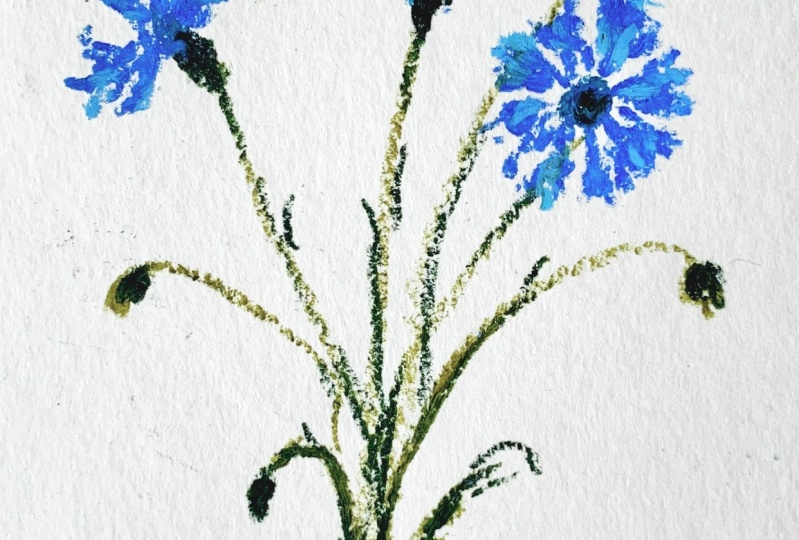
This is the third class of the Botanical Drawing course and we’ll continue by drawing blue cornflowers — popular and unusual wildflowers we all love
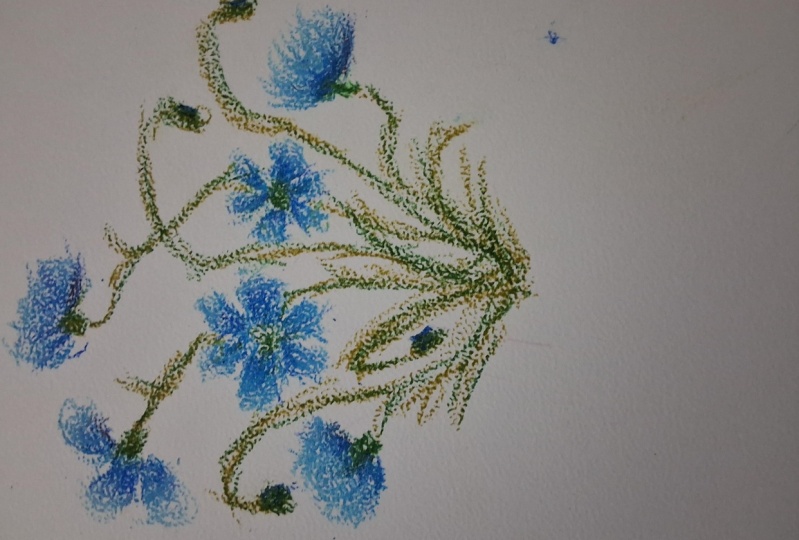
We’ll start by looking at inspiration and reference photos for our drawing, and next, we will modify the reference image on a go to fit our naive and simple drawing style and the oil pastel features. Finally, we will develop our botanical drawing layer by layer.
Tools & Materials:
- oil pastels: pale blue, ash blue, olive brown, yellow-brown
- watercolor paper
- masking tape
This class is probably best suited for beginners who have no experience with oil pastels and for anyone who likes creating botanical drawings and whats to try out such a unique medium as oil pastels.
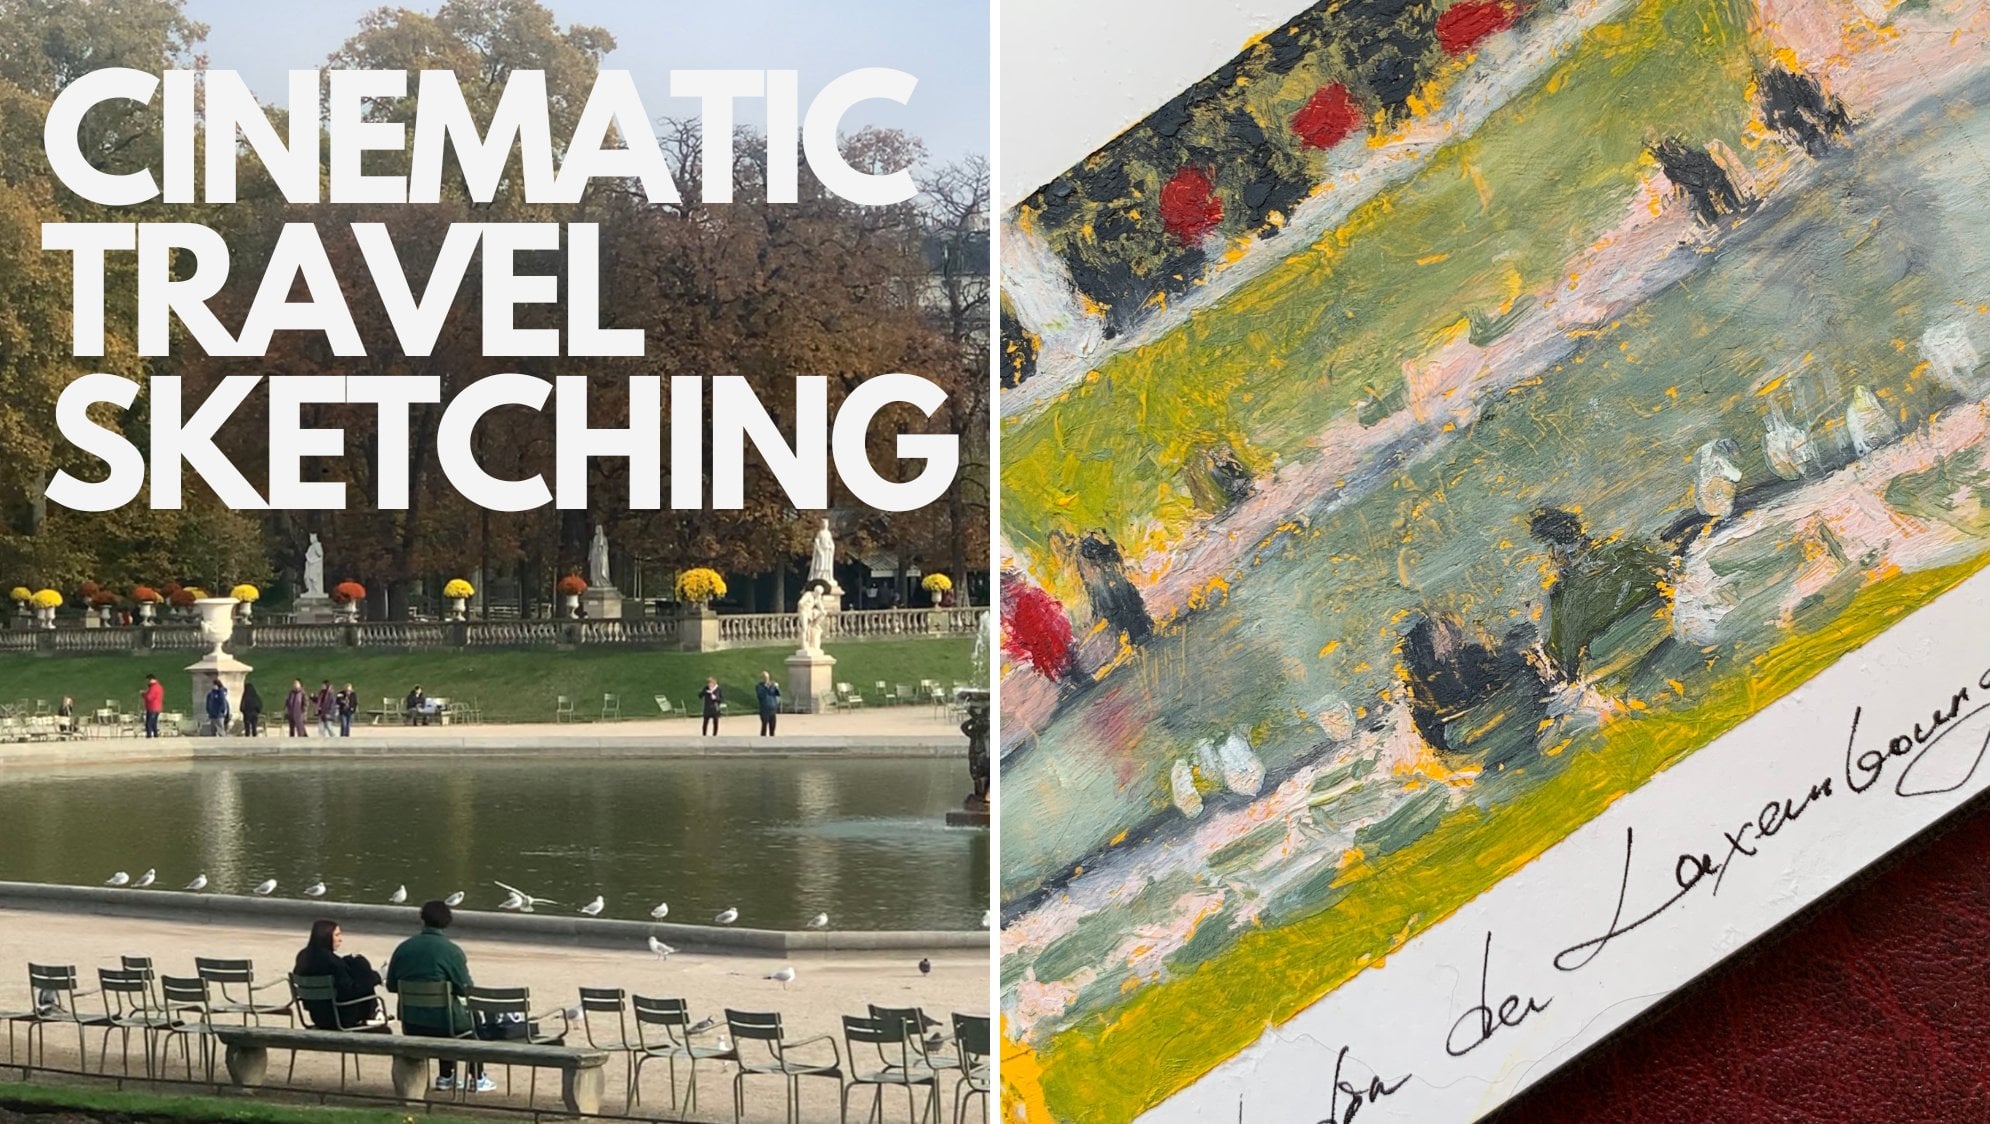
You might also like:
Here you can support me on Patreon :)
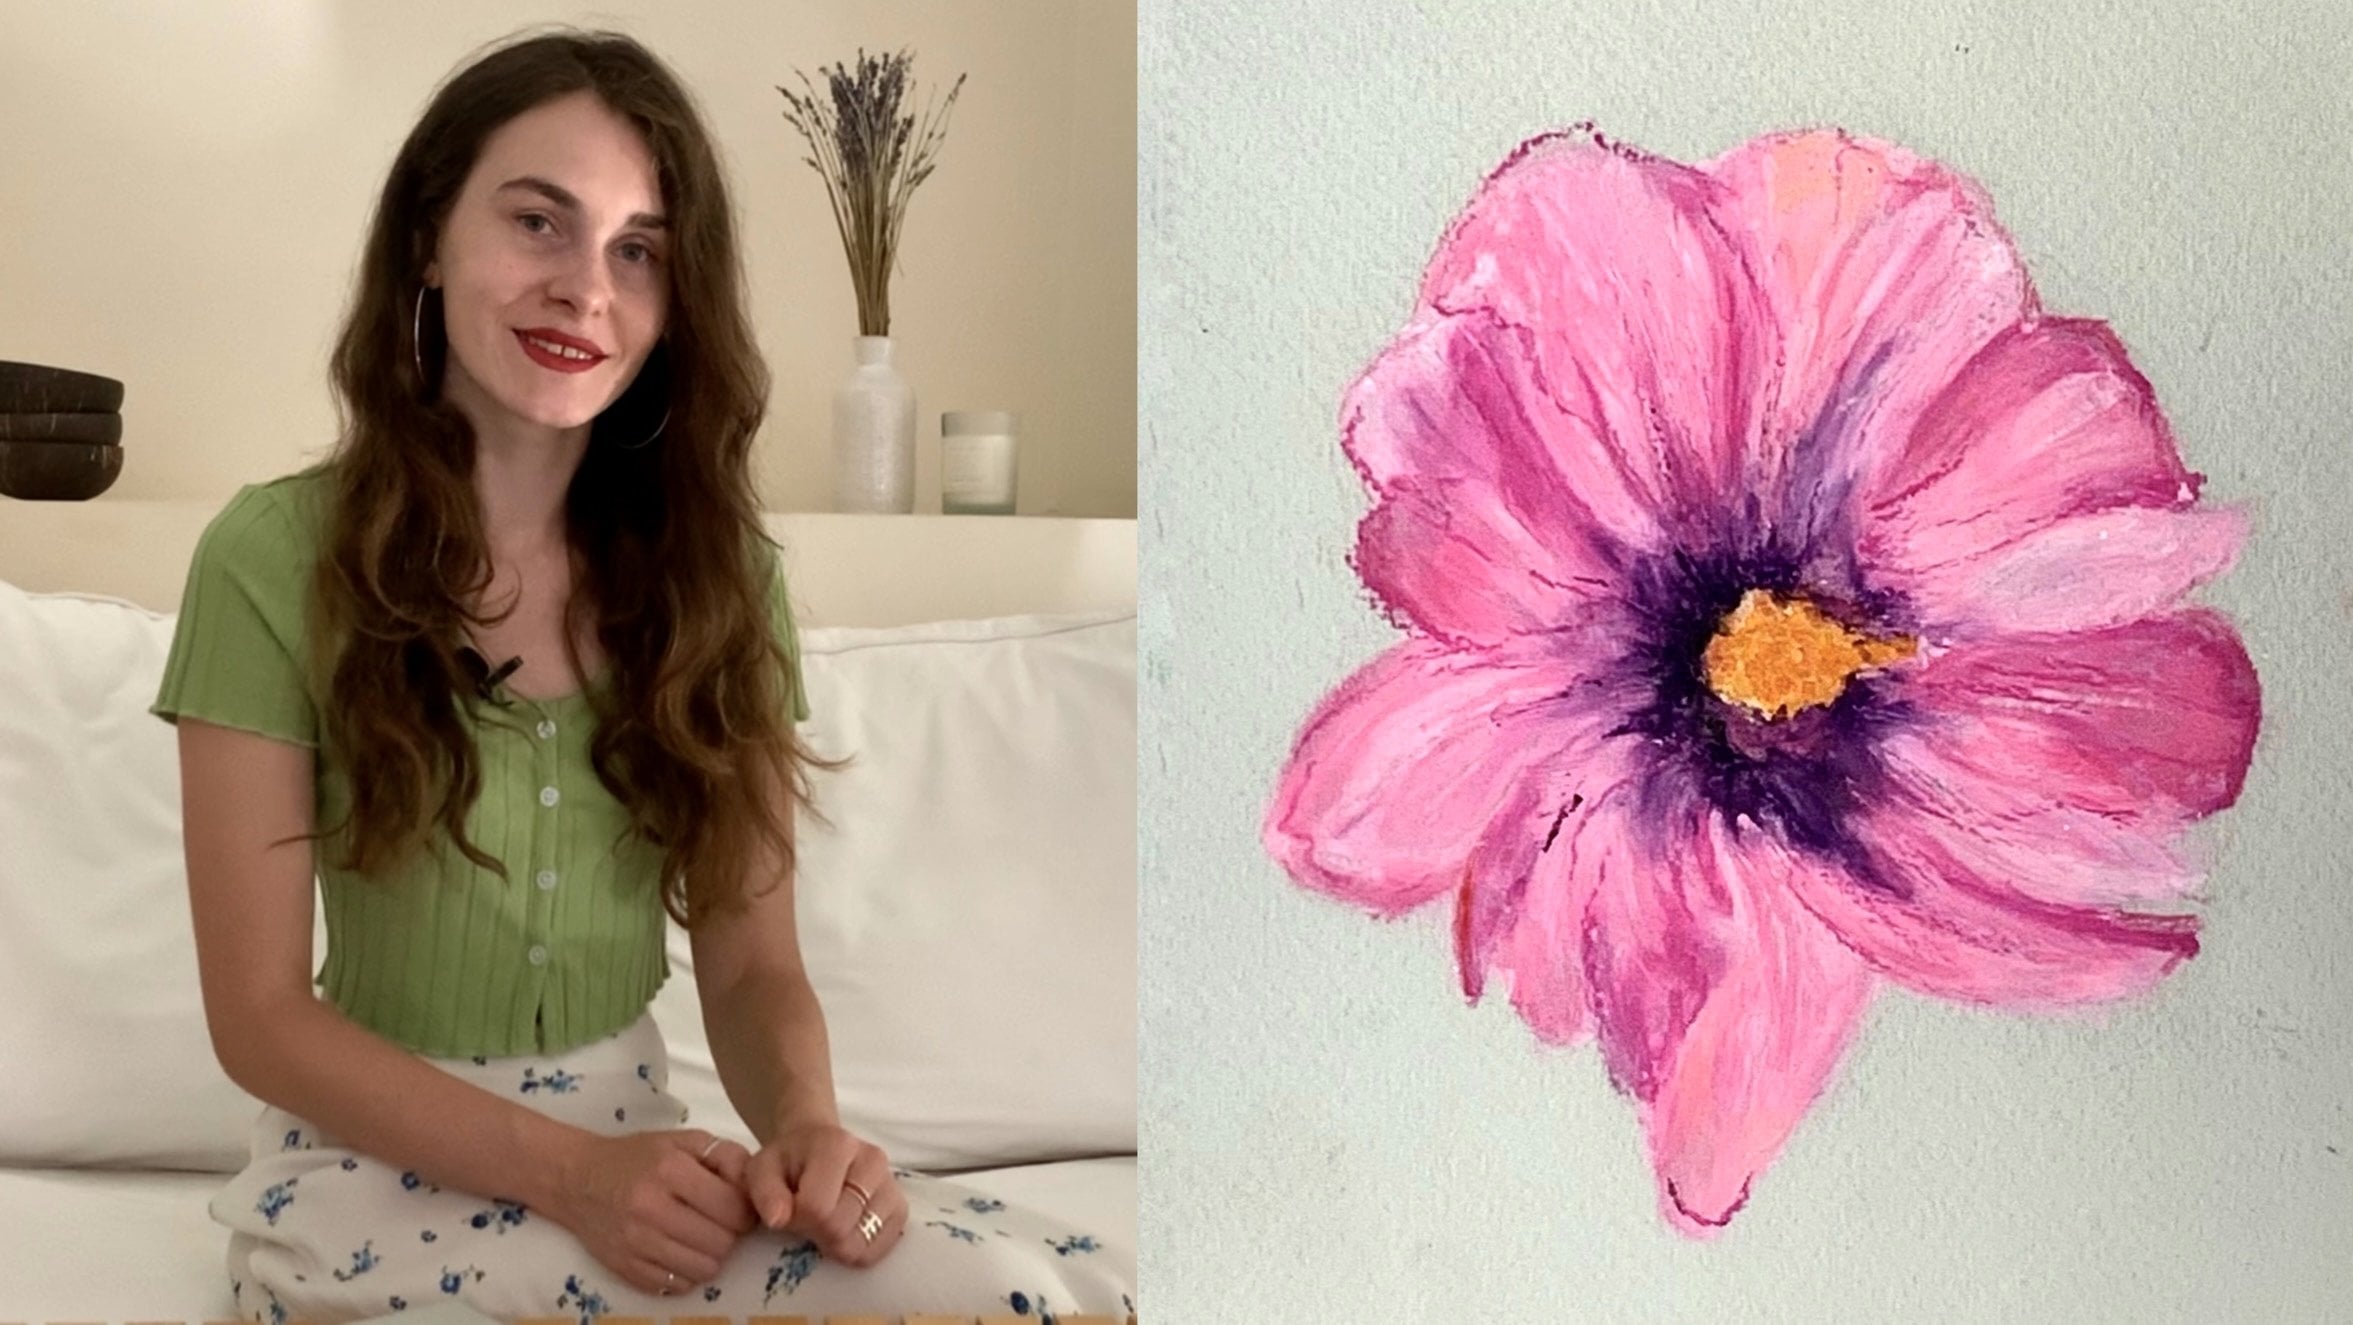
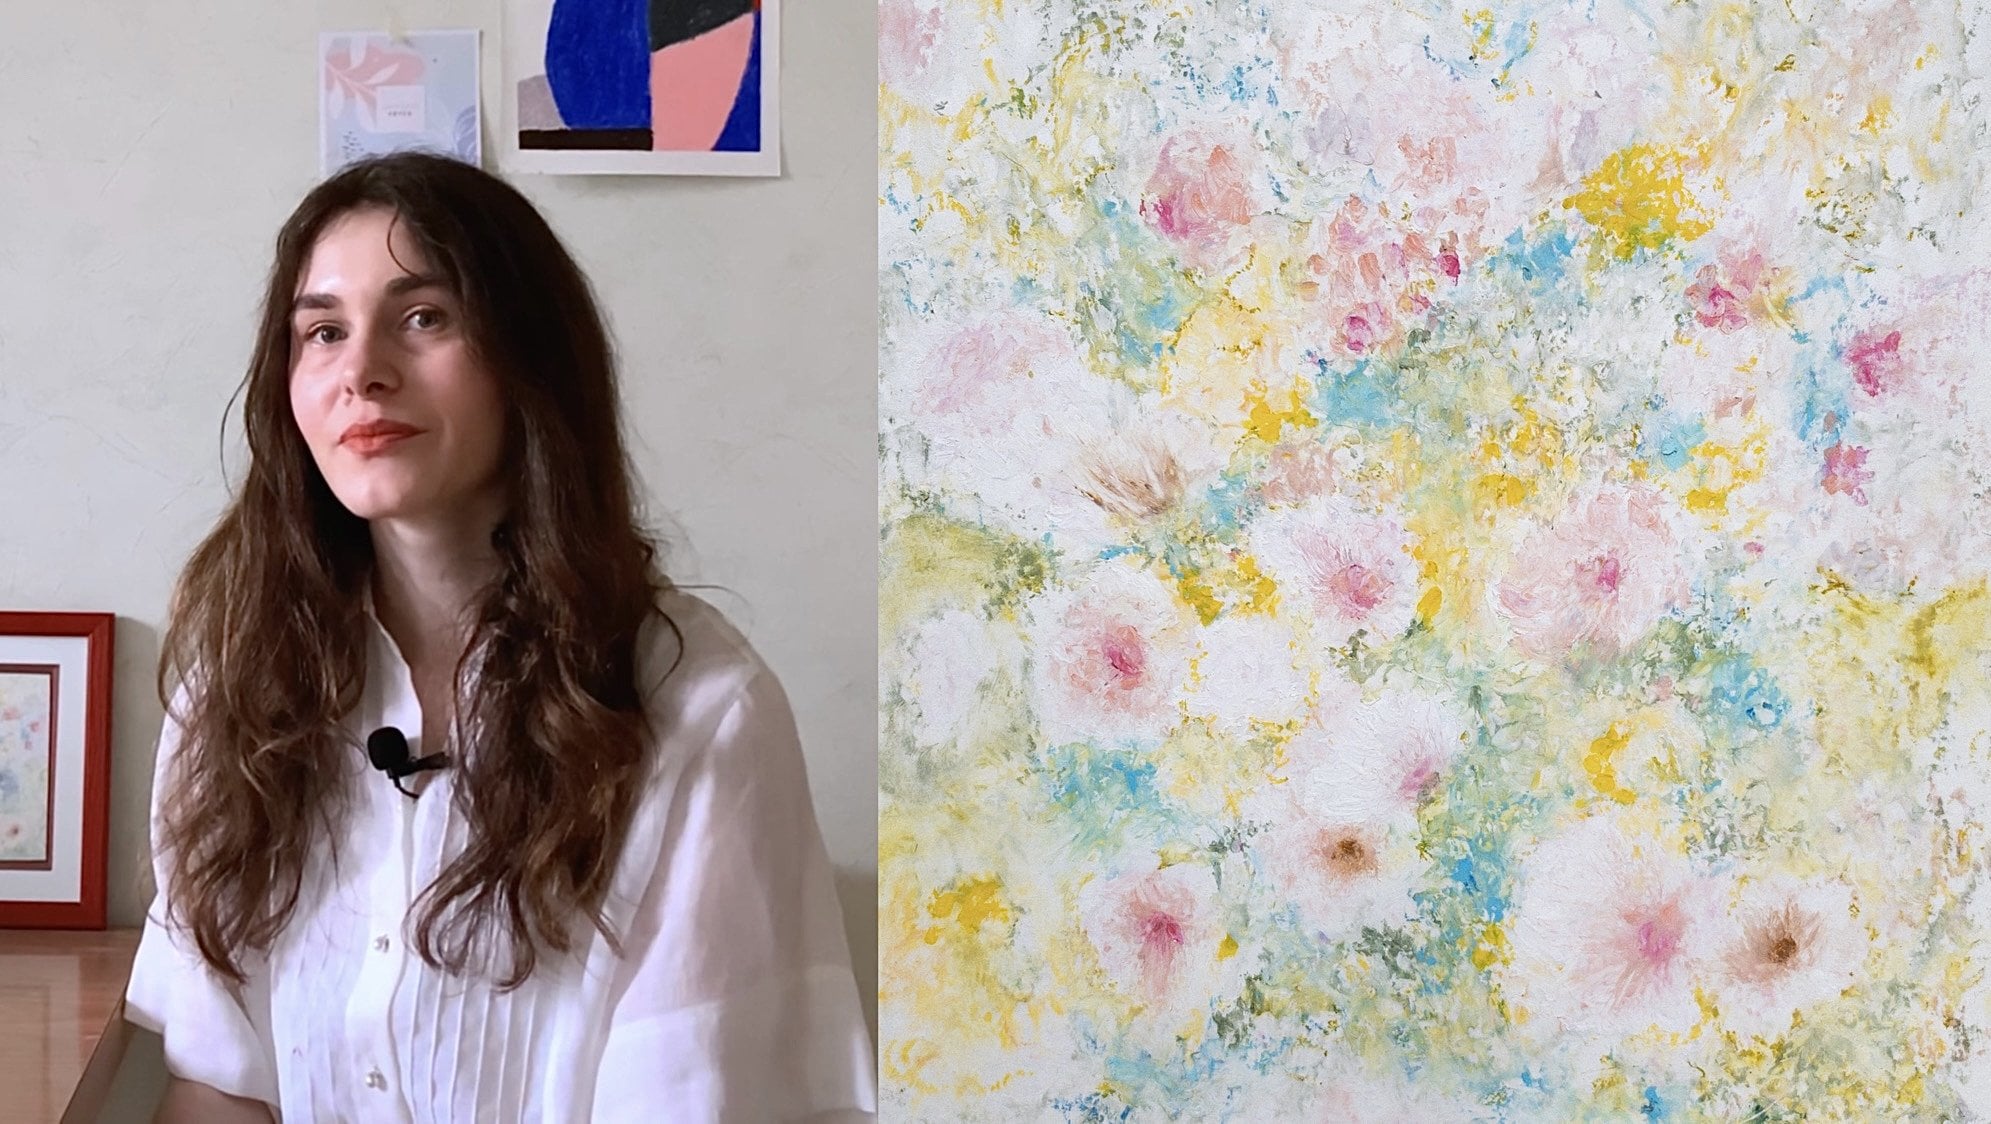
Meet Your Teacher

Hi! I’m a Ukrainian artist currently based in France and I’m here to guide you into the world of oil pastels and colorful drawings and paintings :)
Hope you enjoy!
__________
YouTube Art Channel
Support me on Patreon
Hands-on Class Project
Your project for this class is to create a drawing of blue cornflowers using oil pastels.
- start by looking at inspiration and reference photos for your drawing
- choose flower references with more simple shapes and fewer details
- use a limited color palette to create a simple minimalistic drawing of cornflowers
For the total beginners, and also for those who want to follow me in this class step by step and create the same drawing, I have created a coloring of my final result. You can download and print it out in B&W and simply apply your oil pastels on top!
I would love to see what you have to share with us, so please don't forget to upload a picture to your class project once it's done :)

Class Ratings
Why Join Skillshare?
Take award-winning Skillshare Original Classes
Each class has short lessons, hands-on projects
Your membership supports Skillshare teachers
Learn From Anywhere
Take classes on the go with the Skillshare app. Stream or download to watch on the plane, the subway, or wherever you learn best.