Transcripts
1. Introduction: A mental block, greater
stagnation is the column kept a notebook or create
an amazing works of art in no time or
a different mine. So I really love it. You're familiar with the feeling of being stuck, uninspired, and unable to produce an artwork that you
would really like. It means that you might
have an art book, something that happens
to the best of us. And there's the rest
of our comment. I'm so glad that you're here because I can't
wait to share with you my tips and techniques
for breaking through those creative blocks and
unleashing your inner artist. In this class, we will be exploring how to
overcome our blog by letting go of control and allowing your creativity
to flow freely. You will see me demonstrate how to fight an art
book in practice. As I walk you through each step of my own
drawing process. By the end of this class, you will have the skills
and confidence you need to overcome an art book and to create stunning
oil pastel drawing. Remember that the goal of
this class is to help you overcome art block and to
create a beautiful rules, soft floral oil pastel drawing. So let's embrace the process
and have fun with it. I can't wait to see
what you create.
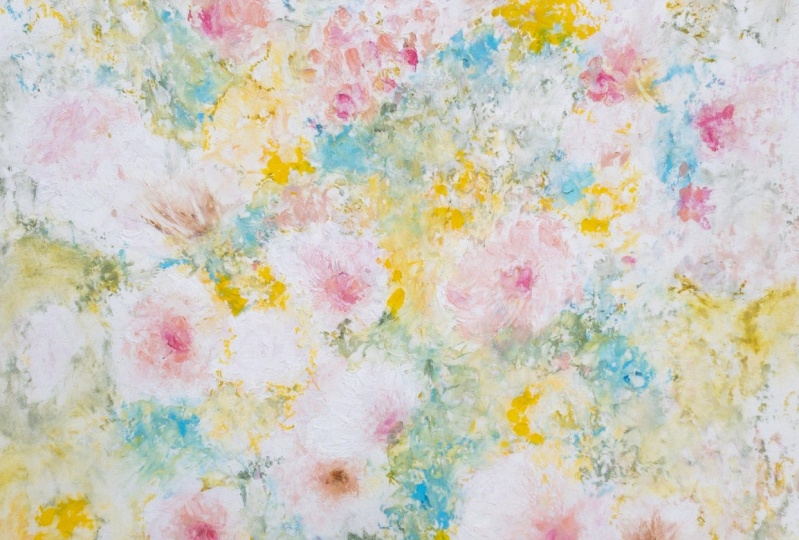
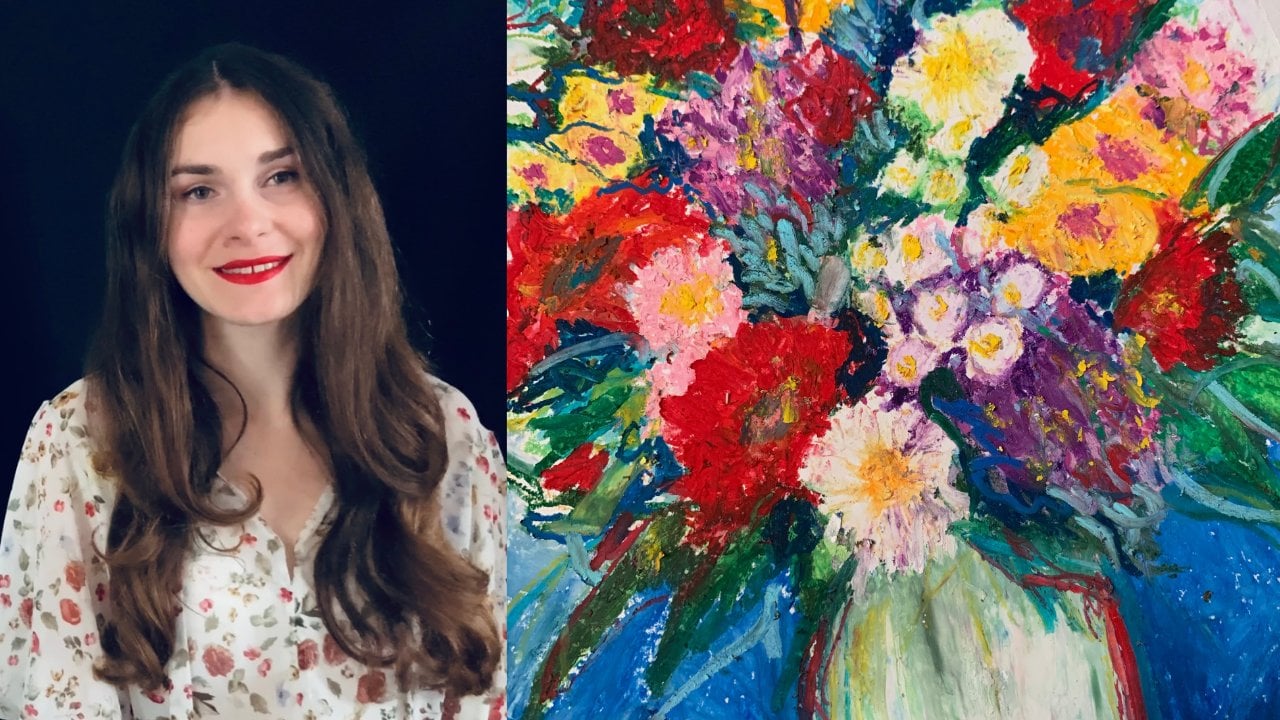
2. Class Project: So in this class, we will create a soft
and dreamy oil pastel, abstract floral drawing. I will demonstrate the
drawing process and guide you step-by-step
through creating your own beautiful drawing. You will be amazed
at how easy it is to create something truly
unique and special. Then you let go of the pressure to plan
and to be perfect. Hopefully, this will help you to overcome your art blog by embracing the process and
having fun with your art.
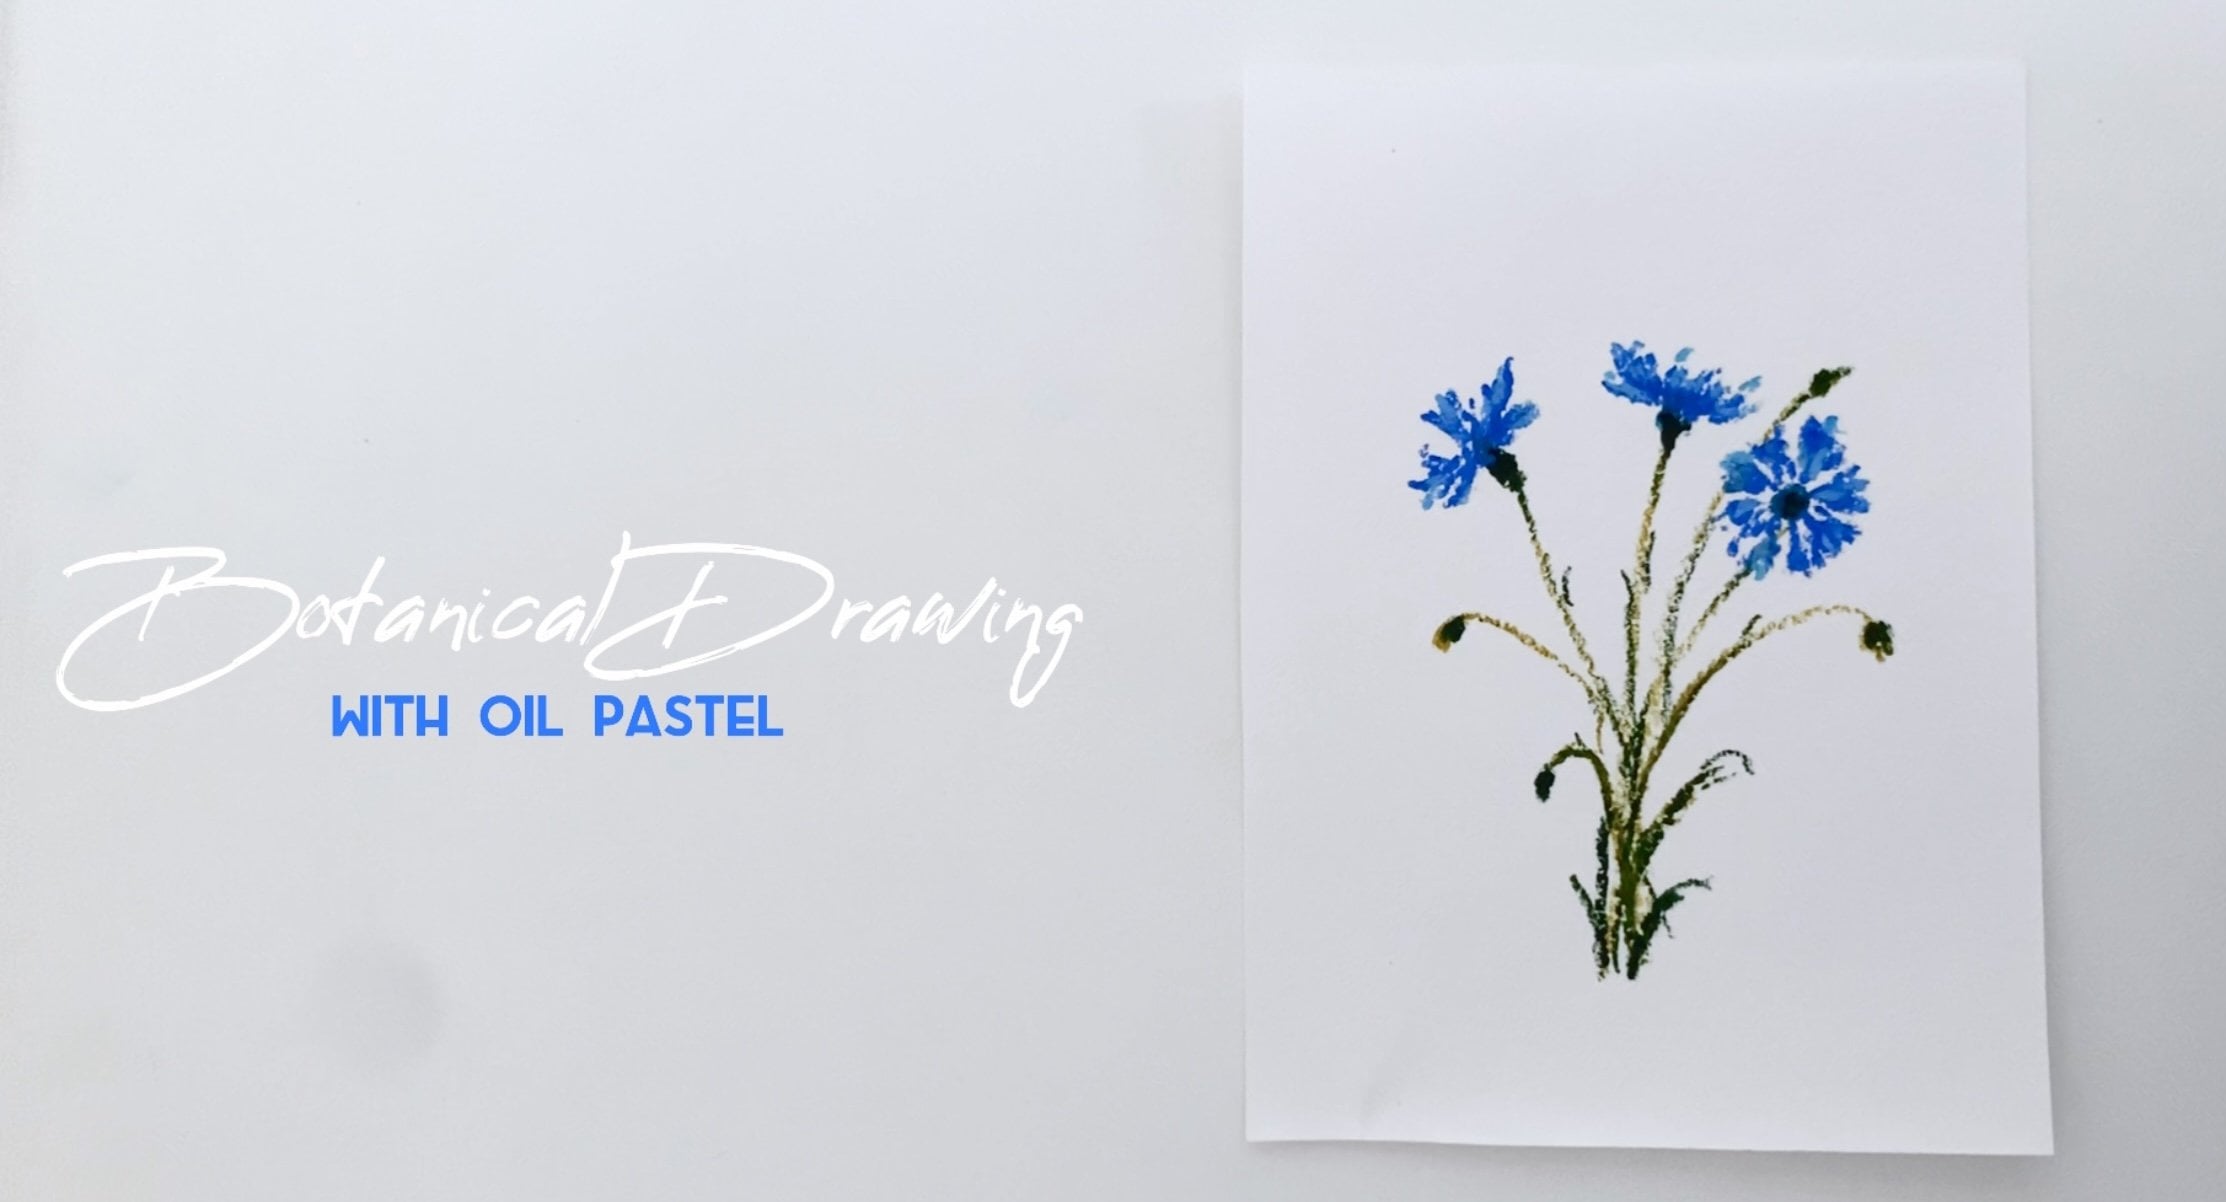
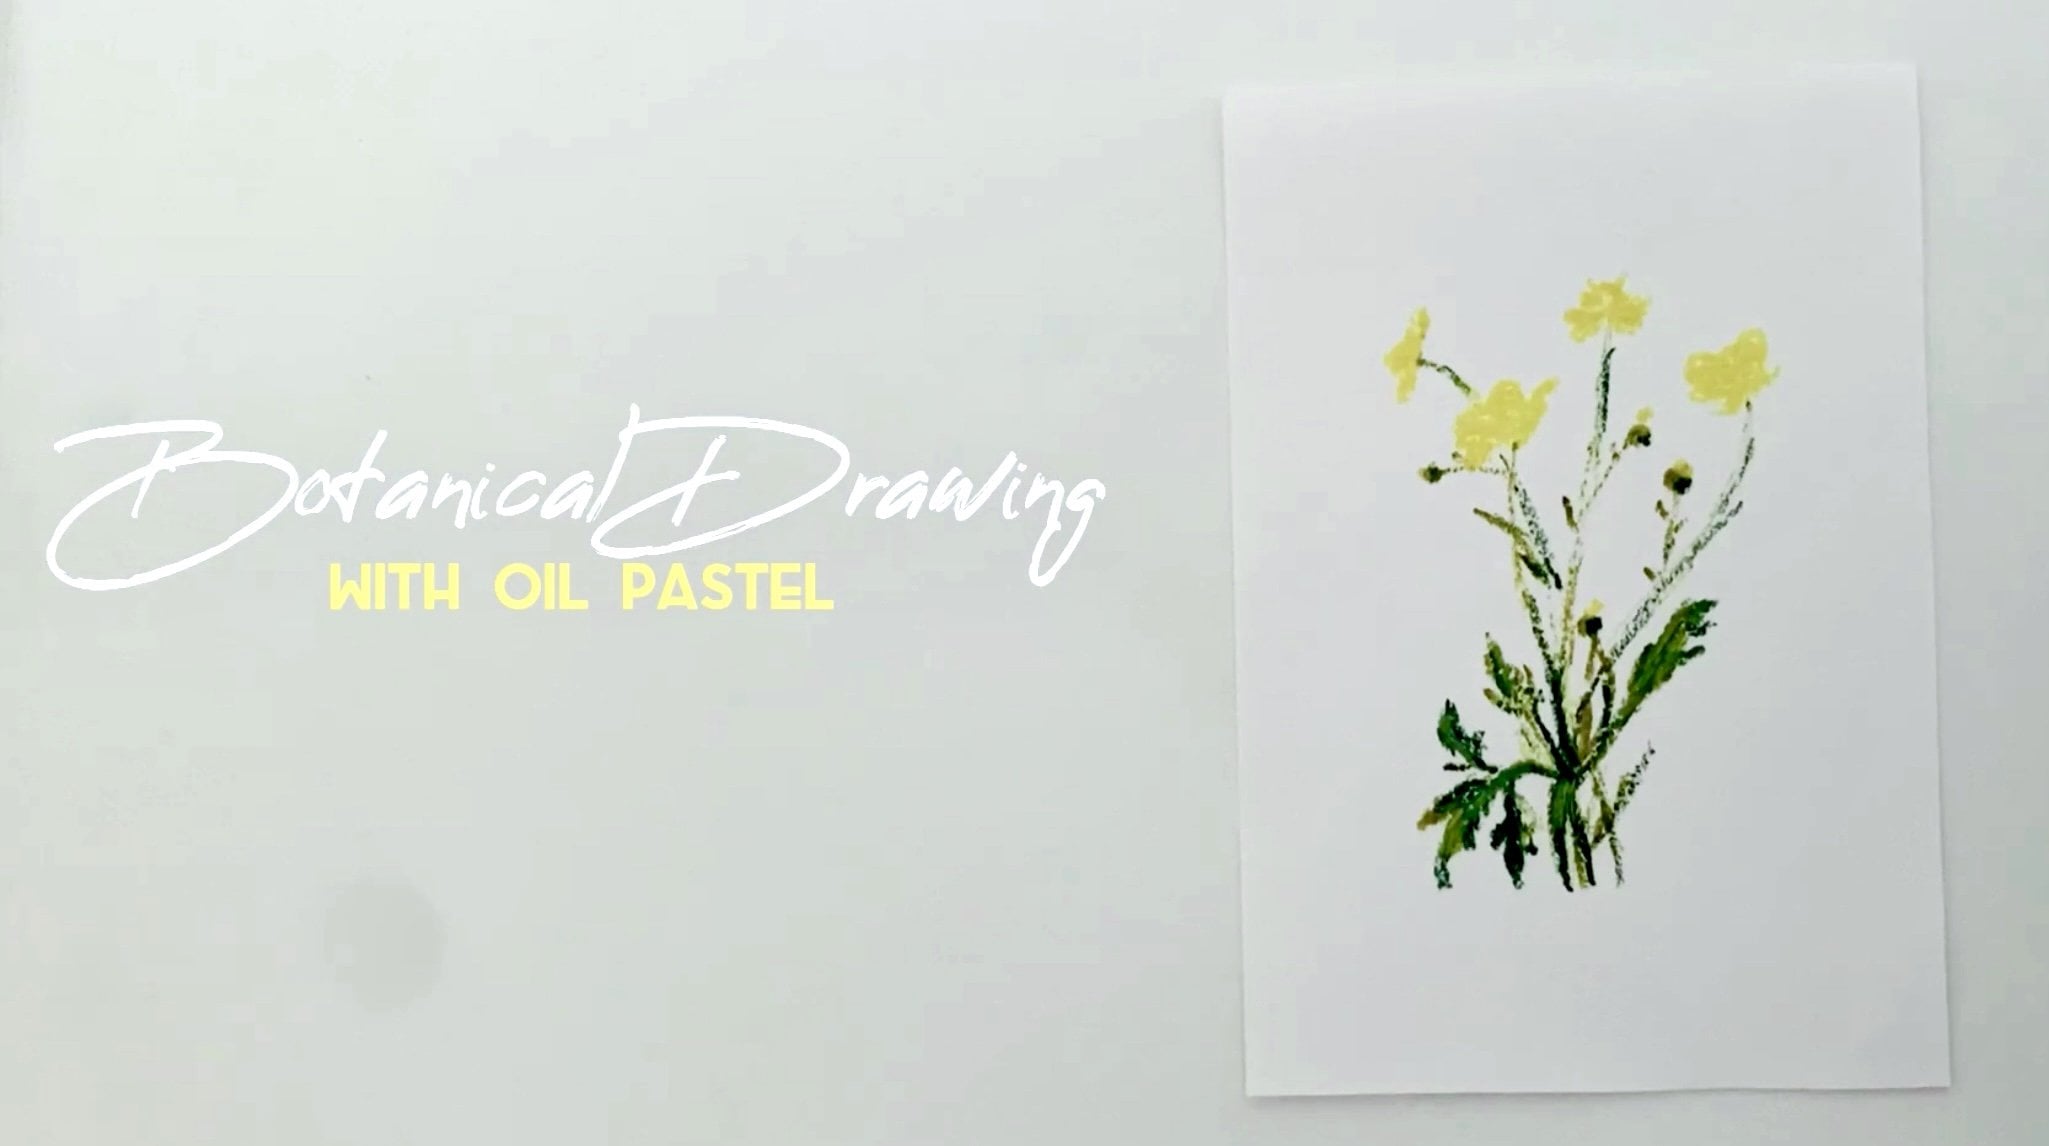
3. Tools & Materials: To get started, you will
need a few basic supplies. These include oil pastels,
and drawing paper. In the demonstration
part of the class, there I will be creating
these beautiful drawing. I'll be using watercolor paper. But you can use any type
of paper you have on hand. Don't worry if you don't
have all the materials, even though it's not much, you can use what
you have on hand. You can create your
drawing with watercolors, colored pencils,
or even markers. The key is to use what's you're
comfortable working with. And of course, to
fight your art block.
4. What’s An Art Block: Our blog is a common challenge
for artists of all levels. It can be frustrating and
de-motivating experience for any artists. And to prevent you from
creating the art you love. In this lesson, I will
explain what an art book is, and I will also provide some tips and techniques
to overcome it. Together, we will explore
the importance of letting go of control and allowing your creativity
to flow freely. You will learn how
to an art blog by embracing the process and
having fun with your art. An art blog is a mental
block or a feeling of greater stagnation that makes it difficult for artists
to produce new works. It can be caused by several
factors, such as stress, burnout, lack of motivation, or comparison
yourself to others. It can also come from
external factors like being busy with the
schedule or having stress. But to work e.g. or
with your family, we are all have been there. So the good news is that there are tons of tips on
how to deal with it. Such great artists
like Frida Kahlo or Vincent van Gogh had
to deal with it. So why don't we actually
learn from the great artists? E.g. freeze. The column kept a notebook of
her thoughts and drawings as a way to reflect on her experiences and
overcome creative blocks. Vincent van Gogh could
often switch between landscapes and still lives to keep his creativity flowing. Remember, Everyone
experienced art block at some point in their career
or in their hobbies. And there are always
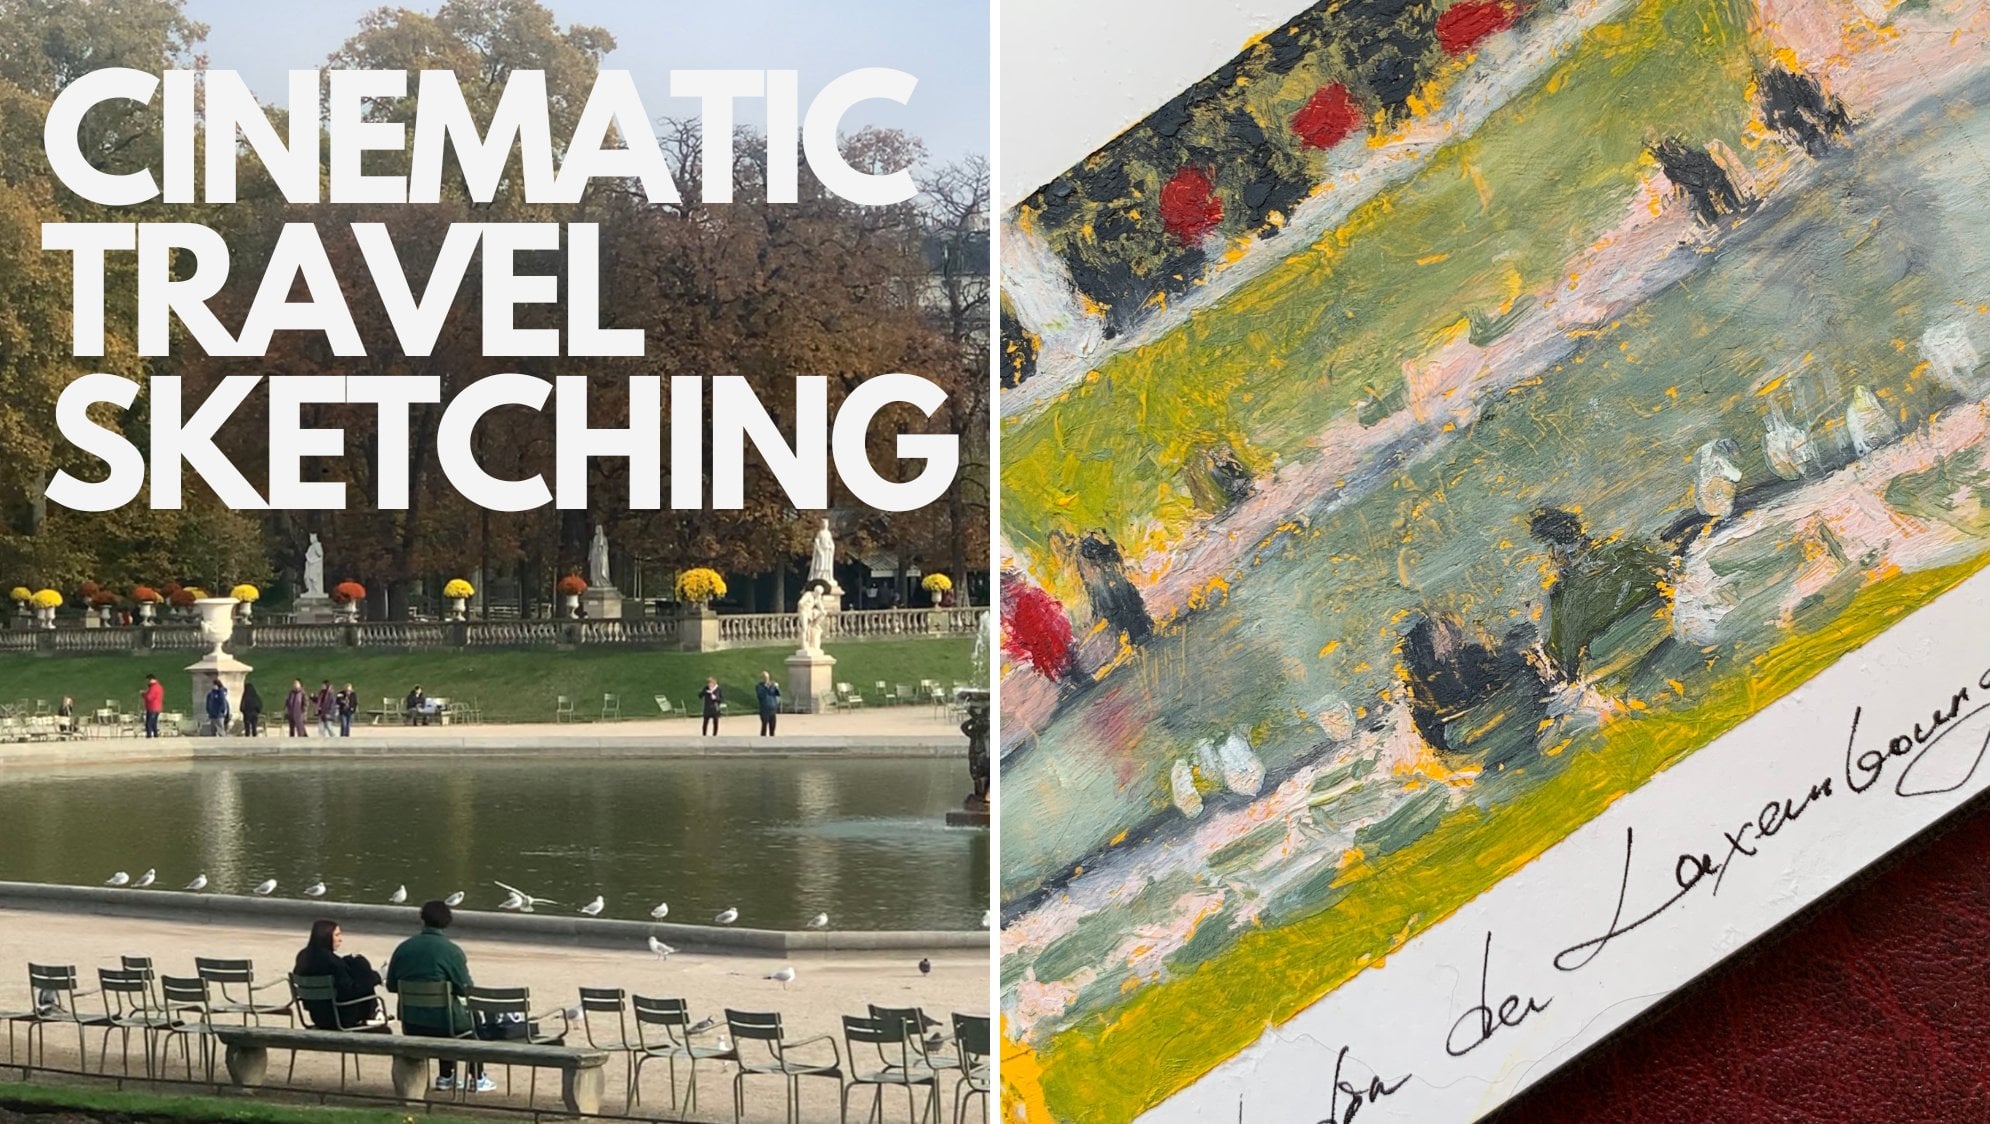
ways to overcome it. So how to overcome our in clock? You can change your environment. A change of scenery can do
wonders for inspiration. So try working in a new locations or
rearrange your workspace. You can also try new techniques. Experiment with new materials or techniques to break out
of your creative block. So if you're usually
working with watercolors, maybe switching to oil pastels
will make wonders for you. Logically, you can
just take a break. Sometimes taking a break from creating can help
clear your mind and recharge your
batteries to help you look at your works NTD
less with a fresh eye. Some artists suggest
to practice regularly. For them, consistent
practice can help build confidence and overcome
a fear of failure. The most important
thing here is to not give up and to keep
trying new things. With persistence and patience, you will be great and amazing
works of art in no time.
5. Freeform Placement: Alright, now that
we have covered the most common and
efficient tapes of our common aren't block. Let's move on to a more
practical ways of doing it and get started on creating
our oil pastel drawing. This is going to be
simple and loose. Drawing, a perfect
science of drawing for the moments then you really
want to create something, but you feel stuck
with a creative block. So to begin, I want you
to take a deep breath. Let go off in expectations
or pressure to plan your drawing ahead and
just have fun with it. So we start out
drawing by placing the oil pastels on the paper
to define where our flowers, we'll go pick a few colors that appeal to you and start
making marks on the paper. I've decided to go with soft and tender oil pastels like coral, rows, ocher, yellow. I feel like they are
perfect for ourselves. And to those abstract flowers, oil pastels as immediate, are actually a great choice for creating a soft and loose
floral drawing too. Because they are easy
to plant and layer. And they allow to create delicate and fluid shapes
that resemble flowers. So you can either use the same color palette or pick the colors you would prefer
using in your drawing. As you place oil pastels, make sure to use really, really light pressure
so that there will be enough pigment
to color the paper. But not too much. First step is important
because it allows you to let go of control and
lead to creativity flow. I'm just letting my hand move freely and seeing
where it takes me. By started with random placement of color for your
future flowers. You're allowing yourself to create without pressure
or expectations. This is an effective
way to fight our blog and let your
creativity flow.
6. Blending With White: Once we have placed
the first layer of oil pastels to define where
our flowers we'll go. Let's now shape them into more recognizable flowers by blending them with
Wyatt oil pastels. Blending and shaping are important steps
because they allow you to create a smooth and
flowing look off the flowers. This is crucial for creating a loose and soft floral drawing, which should have a
delicate and fluid look. Don't worry about being perfect or creating a specific image. Just let your hand move really great organic shapes that represent flowers to you. This step is important
because it allows you to create a visual representation
of the flowers. And it sets the foundation
for the rest of the drawing. Using white oil pastel will
allow us both make the colors softer and also to blend the first oil pastel
layers onto the paper. I actually invite
you to only use white oil pastels as the only blending tool
throughout this class project. This is another effective way to let go of control
over your drawing. Because when we
blend oil pastels by using blending tools
or even a finger, it requires more
control and attention. On the other hand, by using white oil pastel
to blend the under layers, you will be able to
keep your drawing. Mortal zeus.
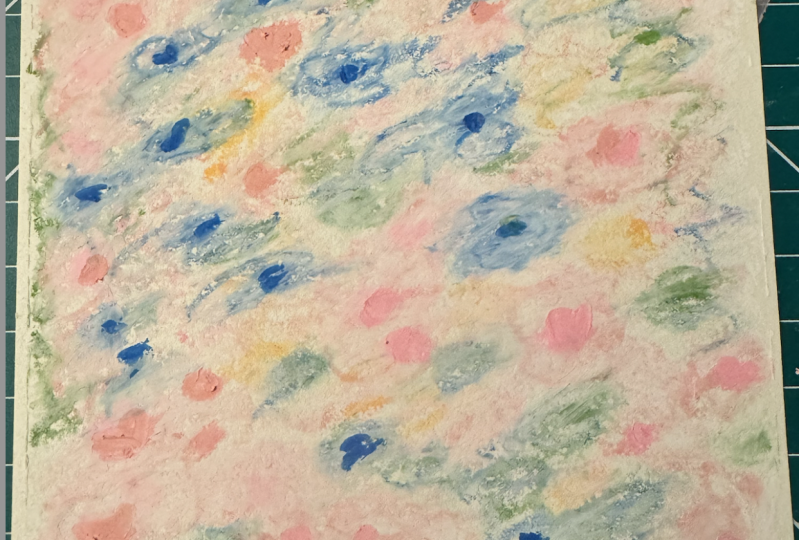
7. Defining Background: Now it's time to define the
background for our drawing. This will create a contrast with the bright flowers
and help them pop. Moreover, it will also make our loose abstract flowers
more recognizable. The background colors are
important because they provide a visual contrast
for the flowers and help to bring the entire
drawing together. So let's start by layering
ash blue oil pastel. And then we can also
add gray green here to. Not only these
colors will help us add more depth and interests
to the background, but they will also
complements the yellow and choral of the flowers and give the drawing a sense of
movement and depth as well. Their oil pastels. You do it in some sort of
chaotic and free style too. Just like we did with the
first layer of flowers. Same as with lovers. They use light pressure. At this stage, our goal is not to create a
finished background, but just to define it. Because later we will layer even more oil pastel pigment to it in order to make it look
even more complex and deep.
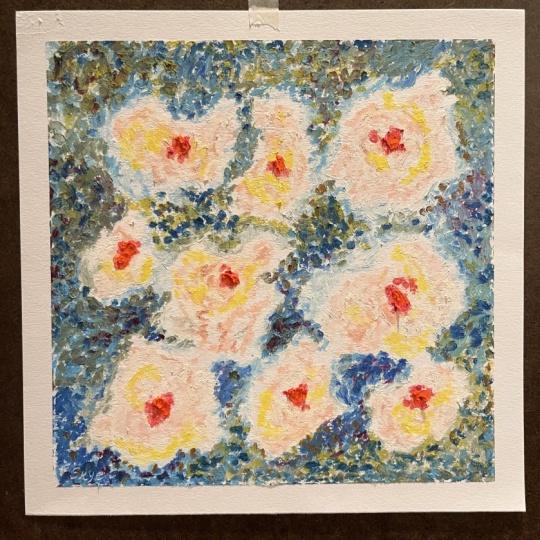
8. Shaping Flowers : At this point we're
getting somewhere. But there are still some
shaping that needs to be done. So let's jump into this
and add more color and oil pastel pigment
to our flowers to make them even
more recognizable. That I'm using the coral oil
pastel and same as before. I layer it with light pressure and in
some kind of spirals, which is actually a scribing
oil pastel technique. Try not to cover
the under layers. We don't want our color to
fully block with the flowers. We just want it to be
an addition to them. Once we finished layer
in coral oil pastel, we can once again blended
with white oil pastel. Also use white oil pastel to add a layer of lights
to our flowers. This will help shape and define the flowers and give
them more dimension. Adds a layer of white oil pastel is crucial here because it helps to bring the
fibers to life and make them look
more realistic. The biotite pastel x is
a highlight which will help the farmers stand out
against the background. Here we can start on layer in white oil pastel
with more pressure. The more pigment you will manage to layer on the paper surface, the more textured and I
catch new drawing will be there more white
pigment onto the surface. Notice how instantly it
makes the flowers pop. But our process of shaping the
flowers doesn't stop here. And once you've finished
layer in vital pastels, as we return to our
curl pigment and we can finally define the
center of the flowers. This will immediately
make our flowers even more recognizable,
more eye-catching. Don't limit yourself by using just one color for your flowers. You can use more
different colors to add more versatility and
depth to your flowers. E.g. you will see me later some rows or Chrome
and yellow flowers to just remember not to
other linkage your decision. Just let your hand and
intuition work for you. And once you are happy
with your flowers, I think it will be a good time to switch
to our backgrounds.
9. Shaping Background: Previously with lightly
define the background. They have layered ash, blue, and gray green oil bust cells. Then we blend them out
with white oil pastels. And now it's finally time
to finish what we started. I will keep on using
the same edge, blue and gray green oil pastels. But you are also free to
improvise and layer or the hues of original background colors to make it even more
deep and interesting. Later, as my background
will develop, I will definitely use even
more additional colors too, like Yellow, cerulean,
blue, yellow brown. As I learned more
background colors, I'm using a medium pressure and same scrubbing technique that we have used throughout
this drawing. I have to say that
until now I was never a big fan of
describing technique. But creating these drawings really helped me
to rediscover it. And I think it's one of
my favorites right now. Notice how each new
layer of the background, the drawing, gets
more visual contrast and depth and even more texture. At the same time, the
flowers appear to become lighter, mortified,
and eye-catching. Finally, to keep the drawing in that dreamy and soft tone, we will be using white
oil pastels to once again blend and layer over
the background pigments. This milky over the
drawing assault and a thermal quality and make the colors of flowers and the ground appear more
cohesive and harmonious. So keep layering and blending until you achieve
the look you want. And once you're happy
with your background, you can add final details for your flowers in
the next lesson.
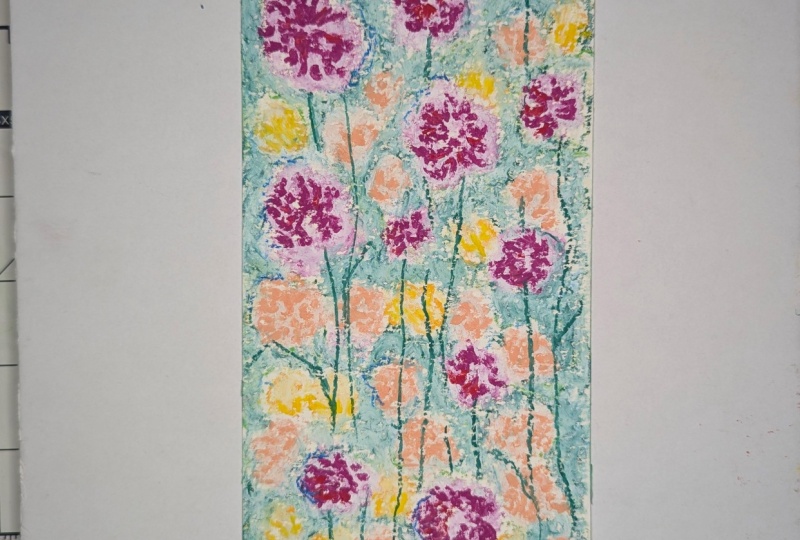
10. Adding Final Details: Now that our drawing is
pretty much finished, it's finally time for my favorite part of
the drawing process, which is adding any
final digest it needs. The final touches are
important because they bring to the drawing to life and help it look more cohesive. By adding highlights and
shadows here and there, you are creating depth and make the flowers look even better. What I liked the most about the final stage is
that at this point, it's almost impossible
to run your drawing. You just make it better
with each touch of color. Just like that, you got
yourself a beautiful, loose and soft floral
oil pastel drawing. Not only it hopefully helps
you fight your art blog, but you also practice blending with pastels and
scrubbing technique. And finally, you have created
a stunning piece of art. Let's, you can be proud of.
11. Final Thoughts : I hope you've enjoyed this class and that you feel inspired and empowered to tackle
your own art blog and create stunning
while pastel drawing, like we saw in Britain and oil pastel drawing of
abstract flowers. By using light pastel
colors is a fun, relaxing and
rewarding experience. You see, I have
already framed mine. So I really love it. Remember that the
key to overcoming an art blog is to have fun
and embrace the process. So don't be afraid to experiment and let
your creativity sore. I can't wait to see your
beautiful creations. So please don't forget
to share them with me. And thank you for joining
me in this class. I hope you had a great time
and learn something new. Don't forget that. I also
have a Patreon page there. You can support me and
my future classes. If you enjoyed this class
and you want to see, more likely, I
would be honored to have your support me on Patreon. You will have access to
exclusive content, e.g. how I create the
drawings like this. Some behind the scenes updates. The opportunity to help shape
the future of my classes. Thanks for considering this
and I hope to see you there.
 Alina Harvi, Ukrainian Artist