Transcripts
1. Introduction: What makes this class unique? It's the combination of the
tenderness of the flowers and oil pastels with their naive and unpredictable
nature of mark-making, we will learn to merge those two styles together
to create a series of simple yet and expressive oil pastel,
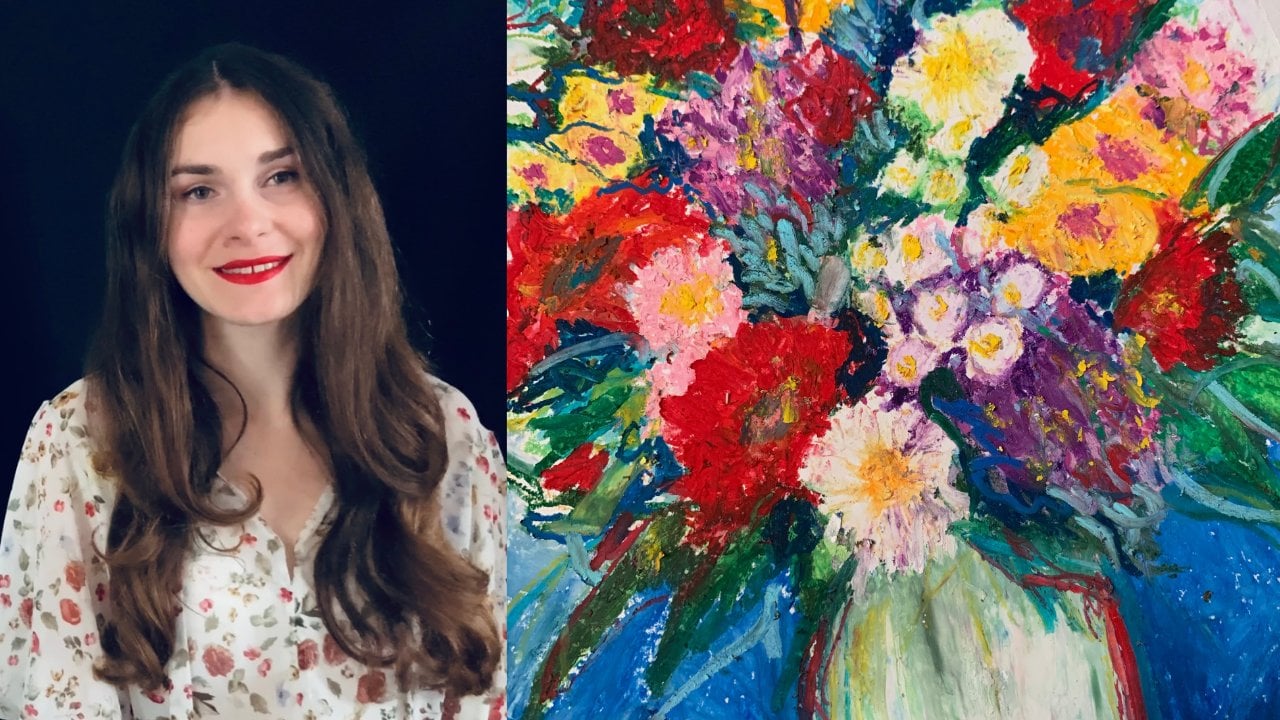
botanical drawings. Hi, my name is Alina. I'm an Ukrainian artists. And if you have been following
my classes for awhile, you already know about my love to oil, pastels and fibers. I have decided once again to combine
those two passions of mine and create this botanical drawing
course with oil pastels. This course will include
several short glasses that will I post each week
and every time together, we will create a drawing
of different flowers. This is the second class
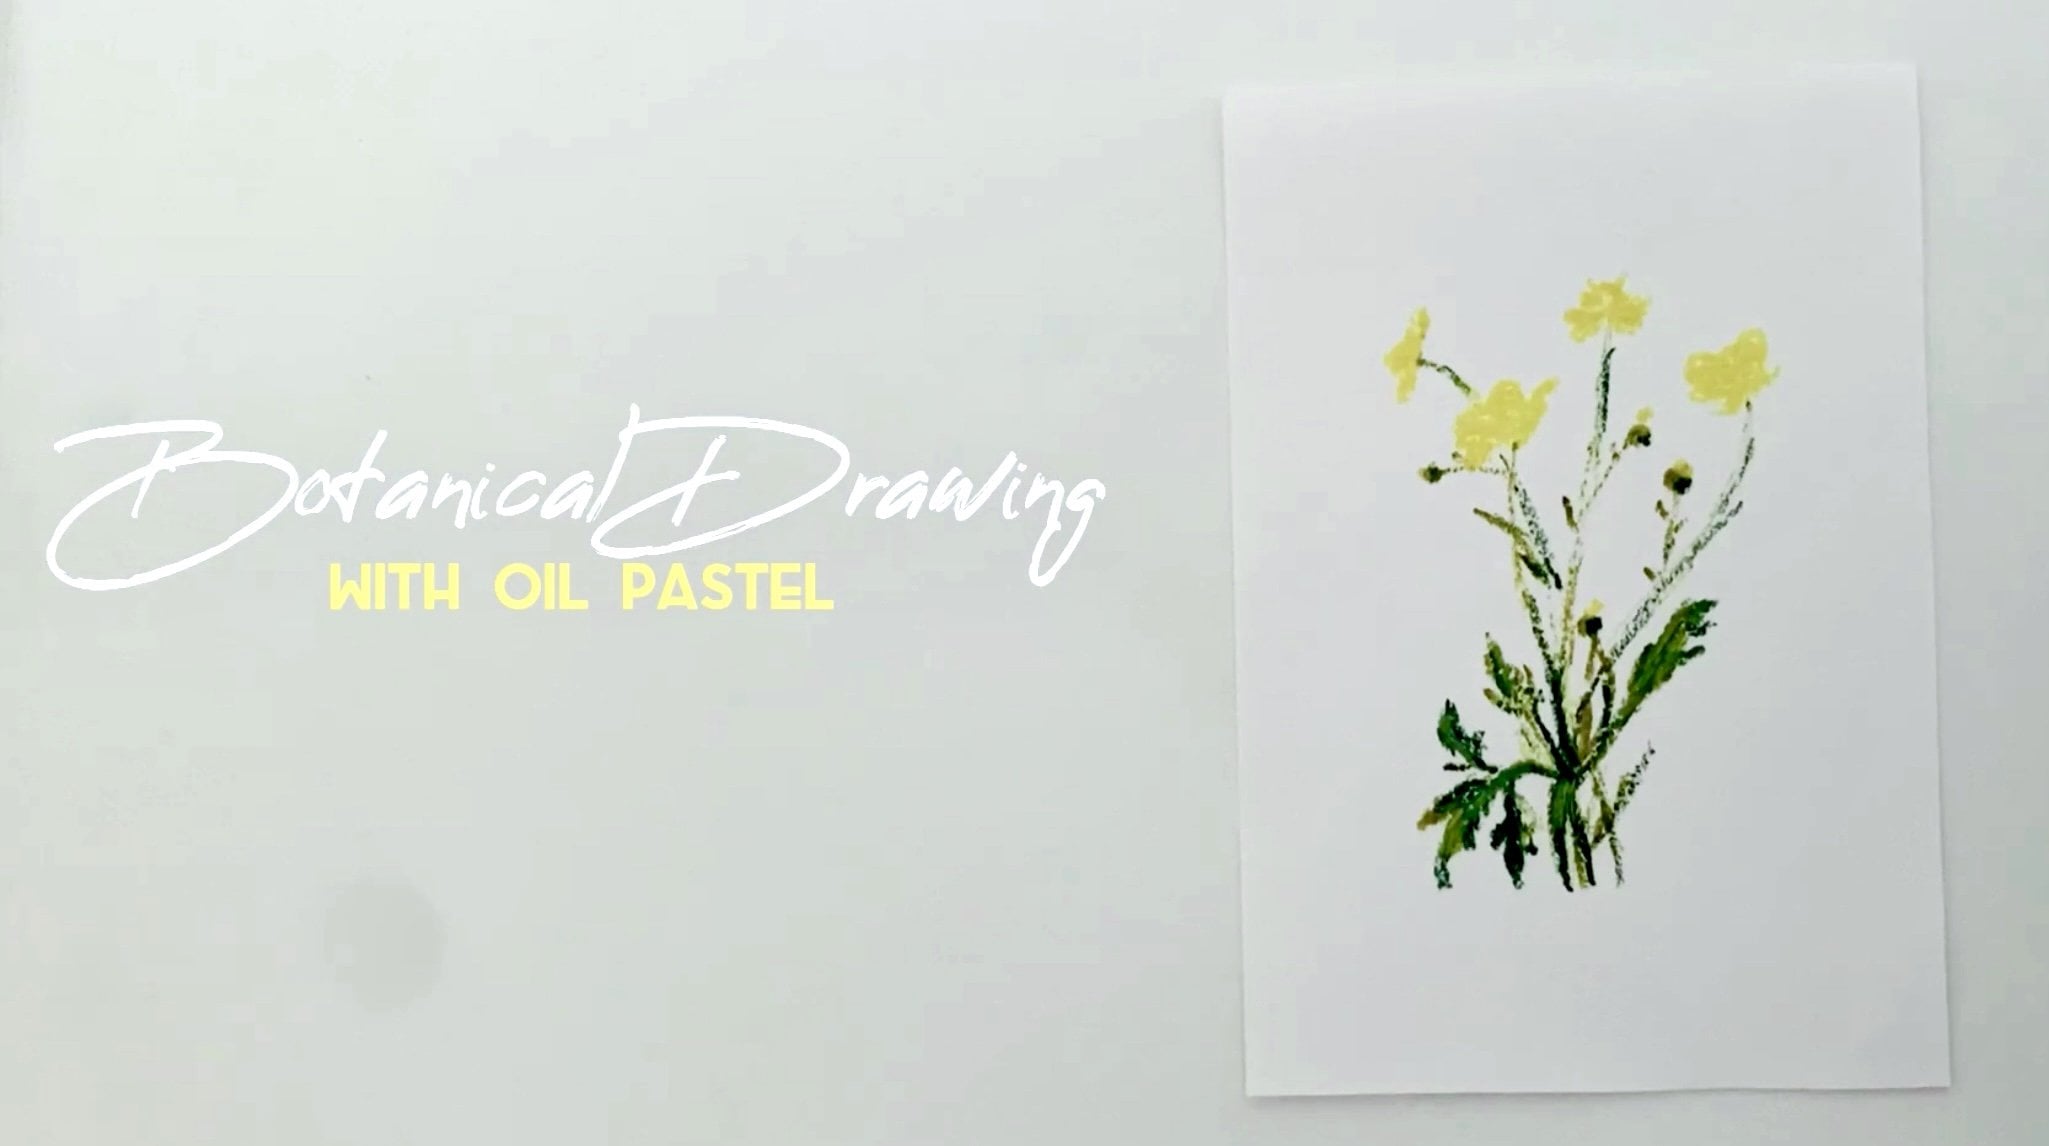
of this botanical course. Last time we have created a drawing of beautiful
yellow butter cups. So in the case, if you miss this class and how, you can check it out as well. And today, we will create another oil pastel drawings
over the wild flowers. And this time it
will be puppies. First, we'll start by looking at inspiration and reference
photo for drawing. And next, we will simplify
the reference photo to fit our naive and simple style of the drawing and the
oil pastel features. Finally, we will develop
RPs layer by layer. This class is
probably best suited for beginners who
have no experience with oil pastels
and for anyone who likes creating botanical
drawings and wants to try out such a unique medium as oil pastels for the total
beginners and also for h2s. Wants to follow in this class it step-by-step and create
the exact same drawing. I have created a coloring
of the final result. So you can download and
print it out in black and white and simply apply your
oil pastels on top of it. By the end of the whole course. Not only you will
learn to depict the beauty of lovers
by using oil pastels. But you will also have a whole set of your own
botanical drawings. So make sure to follow me so you don't miss any new class. Your collection of
botanical drawings.
2. Class Project: Your project for
this class is to create an oil pastel drawing of red poppies using
oil pastels. For that. First, use your reference
for the drawing. Here are several verse
for you to do it. The first and perhaps
the best option is to choose the reference I
will be using in this class. By using the same references me, it will be easier for
you to follow me through the drawing process and to create the same
botanical drawing. Another option is if you want to choose your
own reference for it, you can look through
the Pinterest board I have created for this class. Finally, I would love to see what you have
to share with us. So please don't forget to upload a picture of your class
projects. Once it's done.
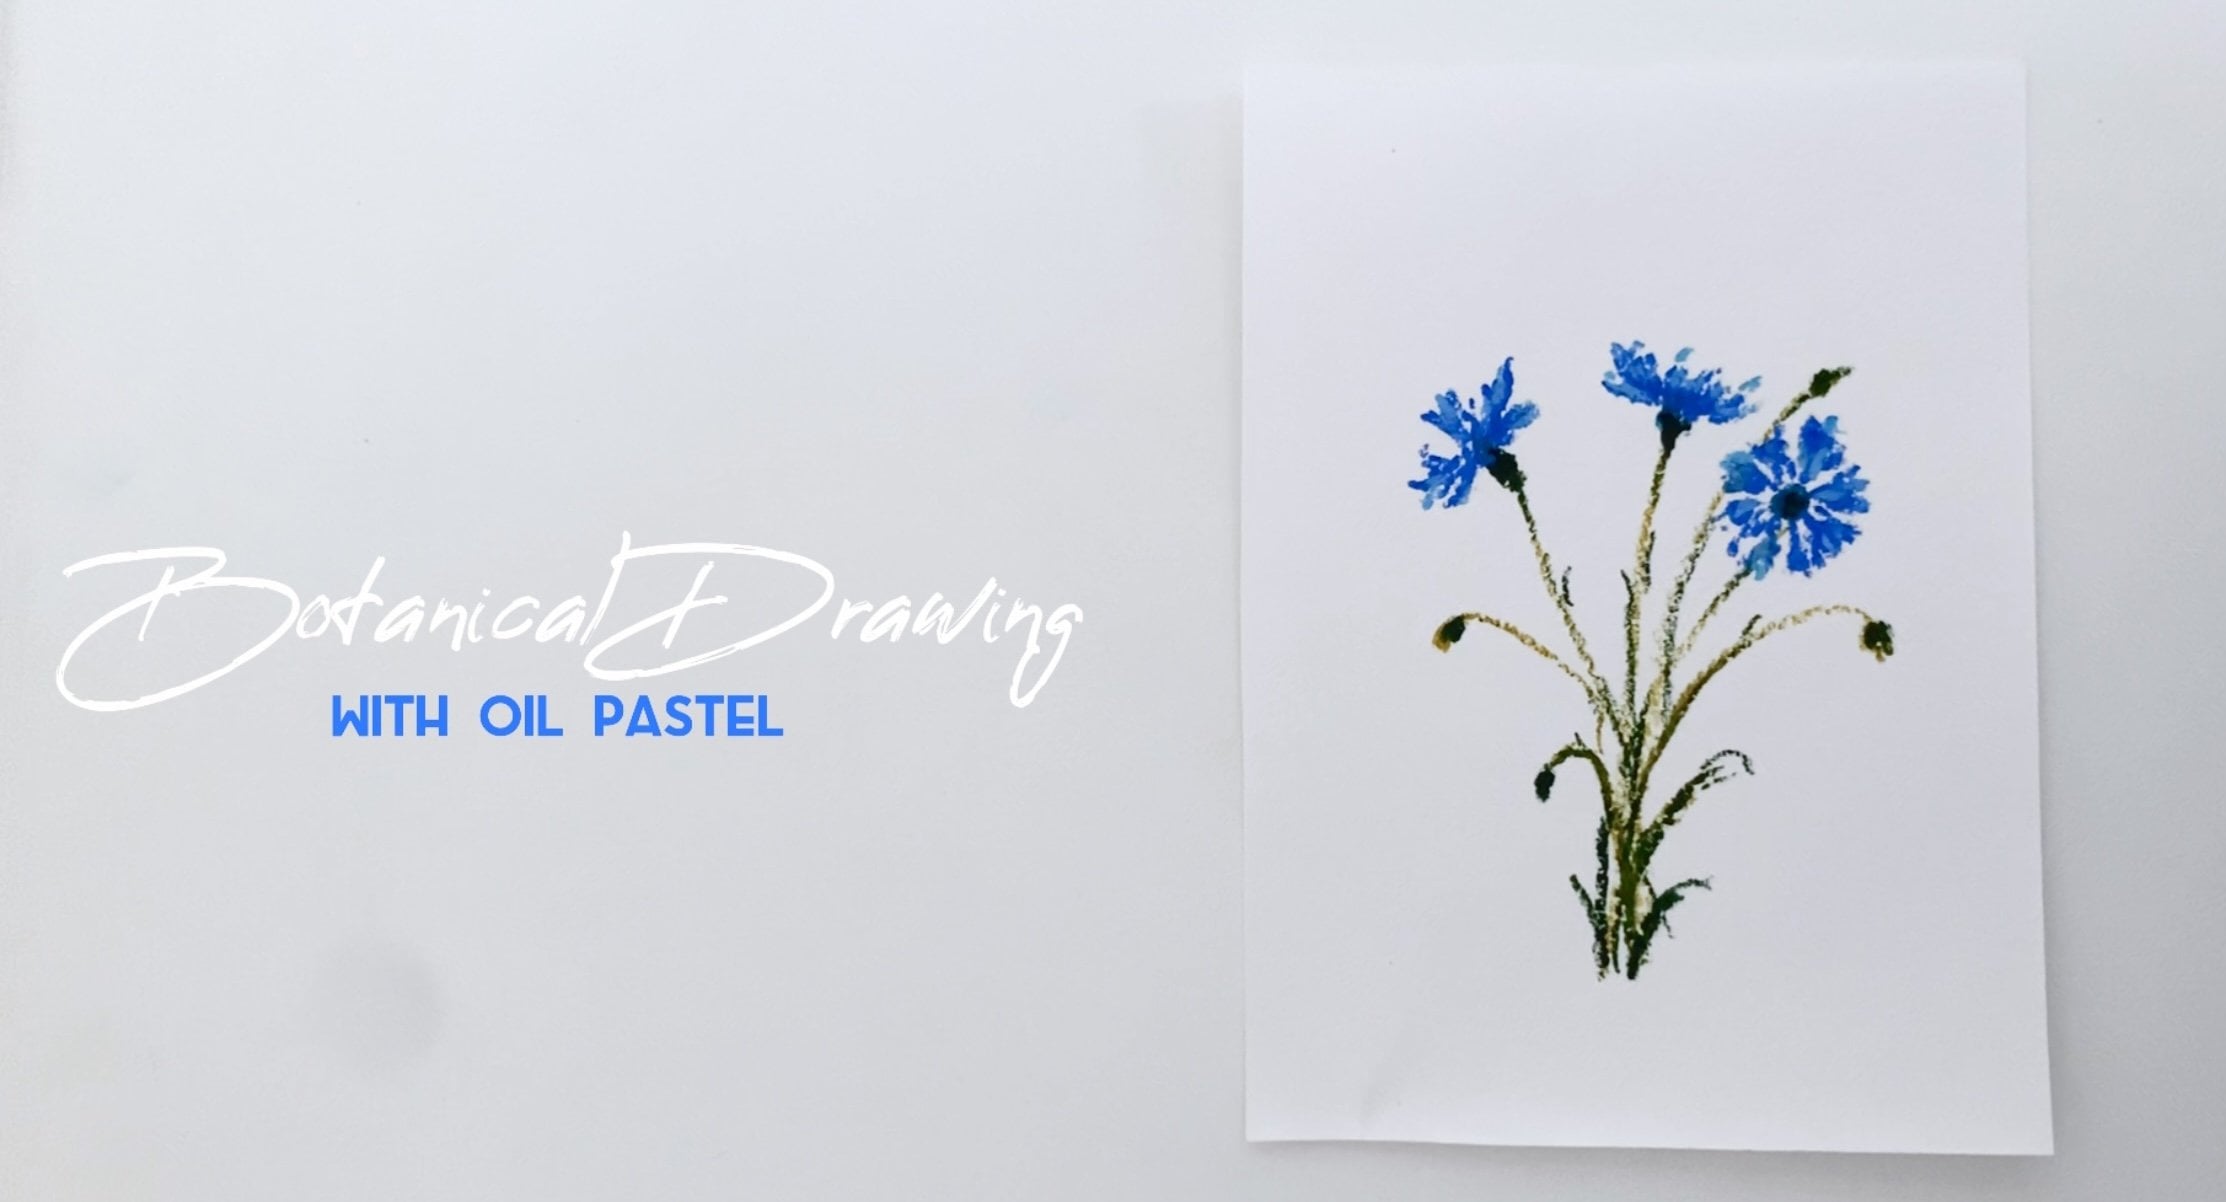
3. Tools & Materials: In this lesson, Let's
go over some tools and materials you will need for this class to create
a botanical drawing. The medium for today's class. And this whole course
is oil pastels. And same as in the first
class of this course. Today I will be using my favorite oil pastels
of Sennelier brand. These are probably one of
the best and well-known or oil pastels you can
find on the market. They are soft and creamy with
reach and bright pigment. There are three oil pastels we will be using
today in this class. Gold, yellow, oil brown,
and permanent red. You don't have
exact same colors. Don't worry, just find
the closest analog to them among the colors that
you have at your disposal. Next, same as in the previous
class of this course. You will need the paper. In this class I will be using
white watercolor paper. Make sure that the
paper you're using a sturdy enough for oil pastels. And finally, you might need some masking tape to fix
your paper to the surface. So those are the supplies I will be using for
this class today. If you have any questions regarding art supplies
or anything at all, feel free to ask me in
the discussion section.
4. Drawing Poppies : Let's start our
drawing by looking at inspiration and choosing
the reference images first. We can also draw your puppies from your memory or
your imagination. This approach might make your drawing experience more
personal and more authentic. Still, I find that working with the reference photos can
give you more confidence, and especially for beginners. So I have put together a Pinterest board with some
of the best options for you. On my opinion. You
will find the link to this Pinterest board in the projects and
resources section. So don't hesitate
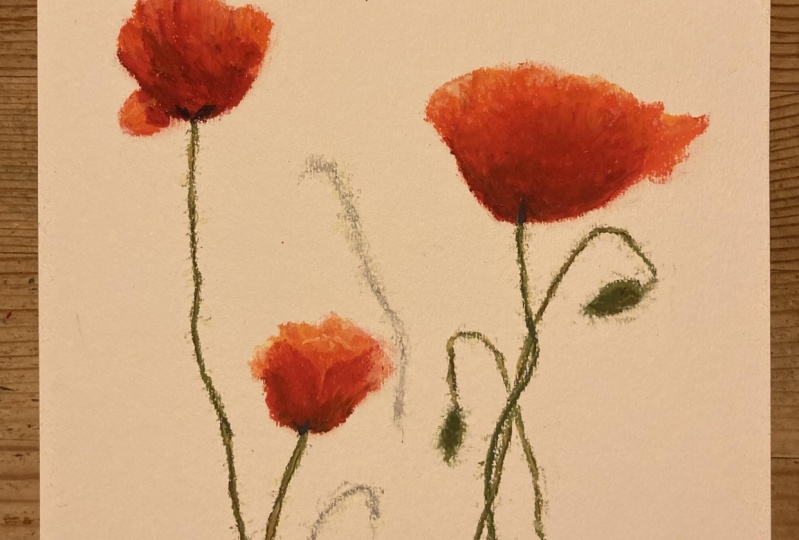
to check it out. And so here's the
reference photo I chose to use in this class. And this is gonna be the
great example of how they can modify the reference
image for the drawing, because the final
result is going to be slightly different
from the reference photo. So let's start. I believe it's the best to start with Bloom of the puppies. It will help us to define the overall composition and size of our botanical drawing. My suggestion is to start small so that you can modify the size of the fibers if you need to, and to get coherent and
natural size of your flowers. As I'm working with
the reference photo, you can already see me modify
it a little bit as I go. And so can you e.g. as you can see, I decided to put the flowers closer together. I encourage you to modify your reference image as you need to and not to feel obligated to create
the exact same copy. After all, this is
your creative work, so don't put yourself in a box. Let your creativity and talent bloom with your
flowers as neutral. Next, let's work on the
stamp of our flowers. And here I'm using oil,
brown, oil pastel. The sense of puppies
are usually kind of fluffy and I would even say a
bit chaotic in their shape. So I'm trying to recreate
it in my drawing as well. To create a thin line, I'm using the opposite flat
side of my oil pastel stick. And to show more
texture of the stem, we can add a little
bit more pressure as bilayer or the
pigment to the paper. Now, how about we add some tiny, cute little bars so we can
see on the reference photo. As you could notice, I have modified this part of
the reference image as well. It's more important to us to create coherent and
harmonious logos, the drawing so that the
flowers and the bugs, they belong together
here in the drawing. And we like the result. Oil, brown, oil pastel
pigments to draw the stems. We are overlapping it with
poppies, lend some oil, brown pigment on
top of red To add to that dark central
that we see on puppies. Now we can move forward and add some leaves
to the flowers. And here we keep on using
oil brown pastel stick. This is another
good example of how we modify the reference
in this class. Because there are
actually no they use in the image
that we have here. Still, as I look at the drawing, I really feel that it
likes some details and it made me want to
add some leaves here. And now we can finish our simple minimalistic
drawing by layering some yellow brown on the top of leaves and some steps just
as a finishing touch. Once again, if you don't have
the exact same pigment of your oil pastel
and you don't have yellow brown oil pastels
at your disposal. You can simply use
yellow oil pastel, warm yellow or yellow ocher. Anything that you have
at your disposal. Bi-layer in some yellow
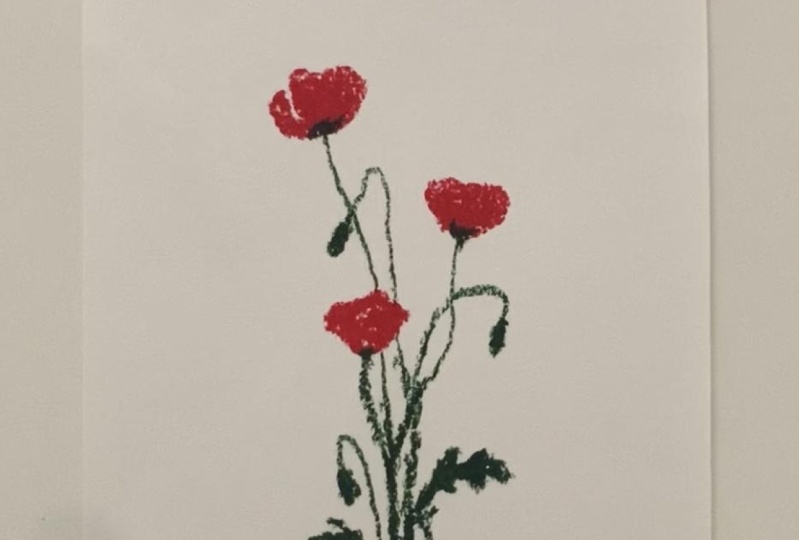
on the top of oil brown. And so this is our botanical drawing
of puppies is finished. We have combined
tender purpose with the expressive mark-making
of oil pastels. We managed to create
beautiful drawing by using such a limited color
palette and by modifying our reference
photo as well. I just love how it
turned out to be. It makes me want to frame it and to hanging
the other wall. You can do the same with the botanical
drawing, by the way. And for the final thoughts, I will see you in
the next lesson.
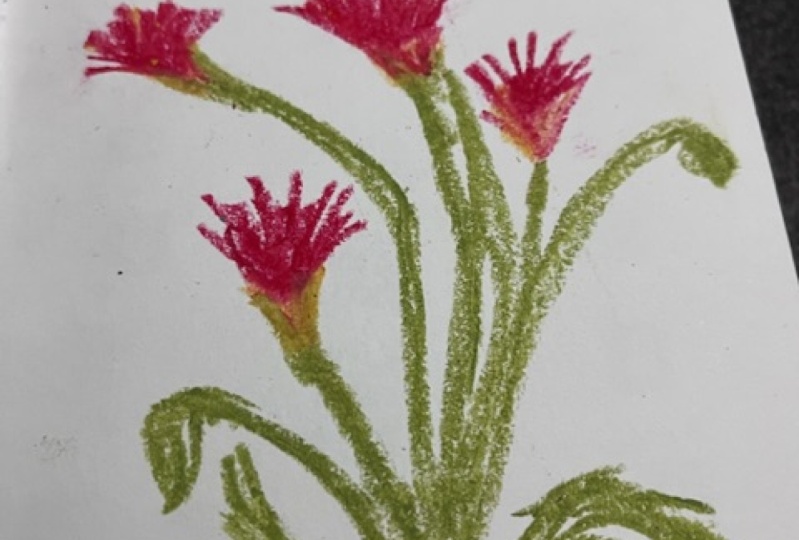
5. Final Thoughts: Welcome back. I hope you enjoyed this class and you're happy with
your read Buffett's, I just love how they turned out and it was so simple
to create them. So this was our second class of the whole course of botanical
drawing with oil pastels. Last week we have created oil pastel drawing of
yellow butter cups, and it turned out
to be gorgeous. So if you miss this class, make sure to check
it out as well. Next week we will create a drawing of another
beautiful wildflower. So make sure to follow
me so you don't miss it. If there is any flower you want me to include
in this course, you can write me in the
discussion section, and perhaps this is gonna
be our next project. Finally, I would love to see what you have to share with us. So please don't forget
to upload a picture of your class projects and show it to me and your fellow students. Thank you so much for
joining me in this class today and I will
see you next time.
 Alina Harvi, Ukrainian Artist