Transcripts
1. Introduction: Raping is one of the most expressive and
refreshing oil pastel techniques. If you've been following
my classes for a while, then you probably already
know that I really like this technique and I use it with my oil pastels
really often. Hello, and thank you for joining me in this oil pastel class. Today, I will show
you how to make your own oil pastel droving more interesting and expressive. Scraping is great
technique that will add more expression and
texture to the dving. That's why I've
decided to create another class that will help you to advance
this technique, and this time we will create
drawing of the flowers in. By the end of this class, you will create your
own floral tving using scraping technique. This class is perfect
opportunity for you to learn a refreshing and exciting
way to work with oil vessels and advance
your drawing skills.
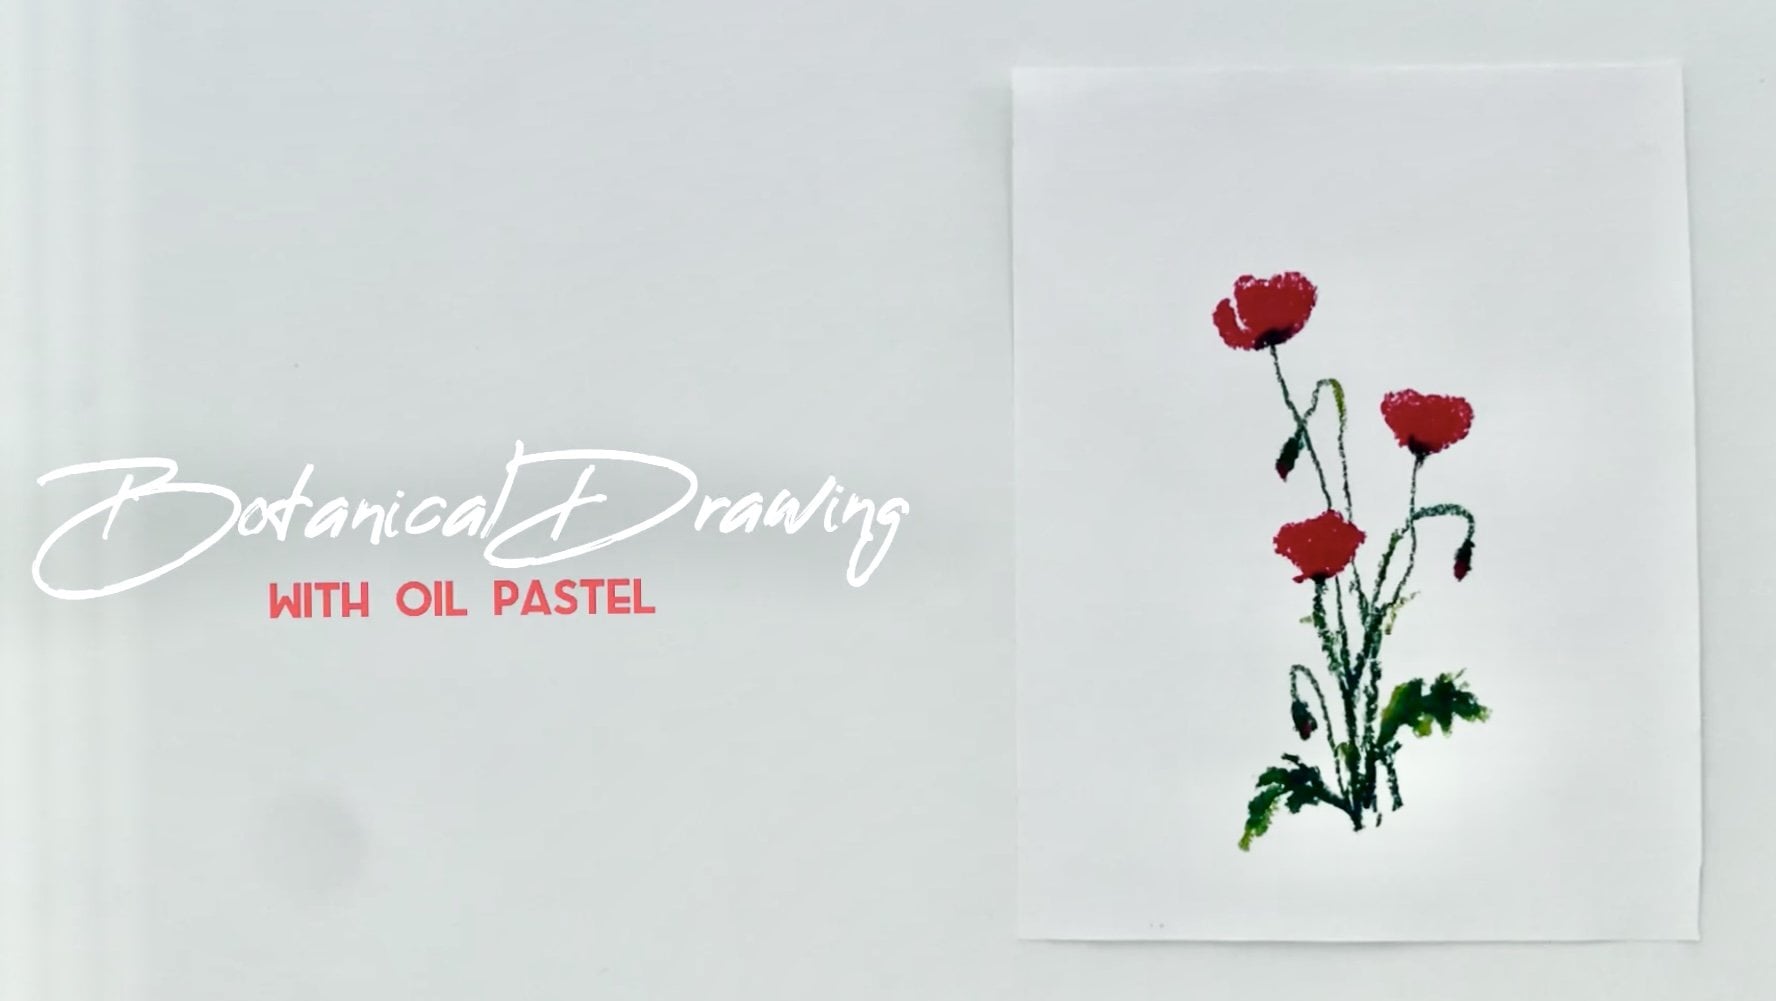
2. Class Project: The project for this class is the floral oil pastel dropping created with the
scraping technique. I hope you will have fun taking this class as well as
creating the project, and I can't wait to
see the results.
3. Drawing Outline: Welcome to the demonstration
part of this class. Now we can start on creating our oil pastel droving
of the flower bouquett. First, we will lose the draw out the basic outline
for a bouquett. We can either use some reference materials
for your drawing, use your imagination or follow my lead as I create this
oil pastel drawing. Either way, I'm
sure you will enjoy the process and your final
result will be just stunning. In today's class, I've
decided to go with my imagination and
throw some sort of fantasy flowers in vs. For
the outline of the drawing, I will be using yellow
ocher oil pastel, which later will blend in perfectly with the rest
of oil pastel pigments. Don't worry about
how yellow color might impact your drawing later. As I start working on the
basic outline for the drawing. First, I define the
vase and the table, and then I'm going to slightly draw out the shapes
of the flowers. Okay. On this stage, I'm going to decide
on the sizes, shapes and proportions of
the flowers in the bouquet, as well as the overall shape and dynamic of the
bouquet as well. Just like that, you create the basic outline
for the drawing. Once you're happy
with it, you can proceed to the next stage
of the drawing process.
4. Adding Flowers: Now that we have the
basic outline mapped out, we can now block in
general colors to flowers. As we are planning on using the scraping technique
in this class, the first thing we have to do is to create a
certain ground for it so that later we have enough oil pastel
tgment to scrape off. Because scraping technique is basically when you
put one color under another and then you scrape
through the upper layers. This is also part where we make a certain
color statement, and we keep on defining the shapes and sizes of
our flowers as well. I'm starting with light
pin coil pastel by using the heavy pressure to add
a thick layer of pigment. I'm leaving several
flowers untouched as I want to add a few more flowers
of different colors later. So once you have
finished blocking in the light pin
color to the flowers, we can now blend it a bit and
move to the next stage of the drawing process. I.
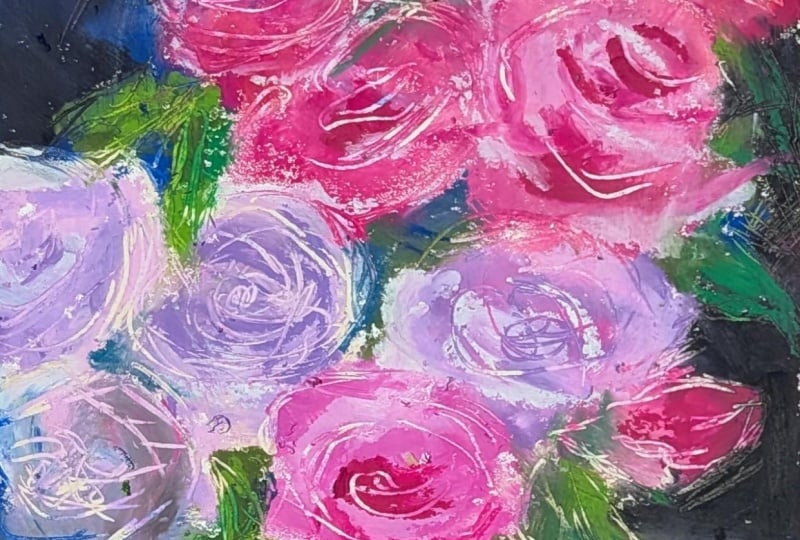
5. More Colors: Let's continue working
on our pink flowers, and let's add darker pink
oil pastels to them. On this stage of the drawing, we will add more shadows
and depth to the flowers. For that, layer darker
or lighter value of original color of the flower
on top of the first layer, and then you can blend it
a bit with your fingers. In order to keep
each flower unique, you can layer and blend the second layer in various
directions and angles. Just like that, you
will also define the petals on some flowers
and add more shadows to them. It's a. Oh.
6. Adding Leaves: Before we proceed on adding
more flowers to the drawing. Let's switch to greens for a bit and let's add the
leaves to the bouquet. On this stage of the
drawing process, you can establish
where your leaves will go and which colors and
shapes they'll get. It's also up to you
to decide whether your bouquet will have lots of greens or just a touch of it. I personally want to add just a bit of green here
to define the leaves, and so I've started with
bright green oil pastel. Just like that, I keep on adding few loose layers of green
oil pastels to the drawing. Next, I'm adding
TarkaGreen here as well. After that, I will be ready to move on to
the next stage of the drawing and start working
on the flowers again. Es.
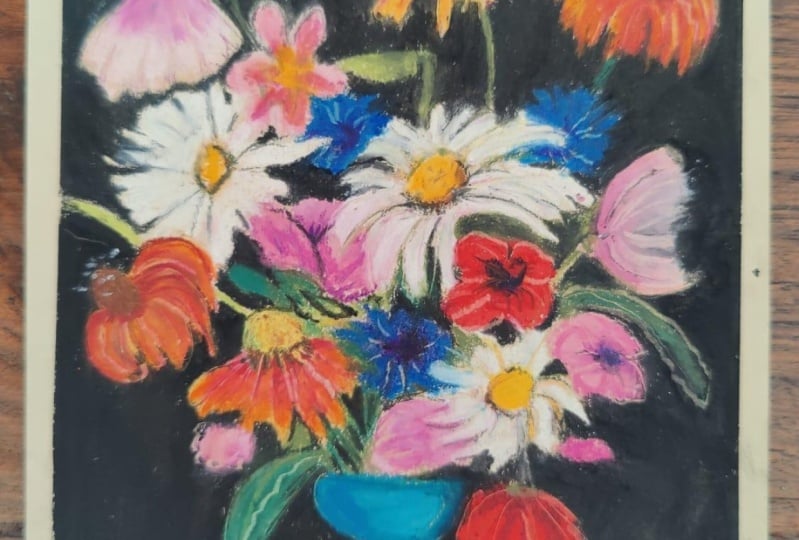
7. More Flowers: Great. Now that we have added some of the flowers
and leaves to our bouquet. All that's left for us to do here is to add the
remaining flowers, the ground and then finally use the scrapping technique to
add texture to the drawing. Now by using various
oil pastel colors, I'm going to draw the
flowers one by one. Okay. Now as you decide on
the color for these flowers, keep in mind the
background color that you will block in later, as well as the overall mood and color pallette you want
to create in your drawing. For instance, I'm planning on making my background
mostly dark, perhaps even black as I want
my flowers to stand out, and I really love that dramatic and vibrant
effect in my drawing. And so that's why I want to make my flowers as
bright as possible. Some of them will be mostly, some pink and bright yellow. Those are the main colors I will be using on this
stage of the drawing. To create most white flowers, you can first add just a touch of other
oil pastel pigment like yellow or pink in order to define the center of
the flowers or petals. Next, you can use white oil pastels to
blend the first layer, and as a result, you will create bright
almost white flowers with a touch of pink or yellow, which will look just
great in your drawing. First, you layer a
certain colored pigment to define the petals or
shapes of the flowers. Then you add white oil
pastels there as well, and you blend them until
you're happy with the result. This is a simple yet effective approach
that will help you to draw unique and vibrant
flowers with the oil pastels. So keep on drawing as many flowers as you want
to have in your towing. Once you're happy with the
overall design of the bouquet, I invite you to the next
stage of the towing process where we will block in the colors to the
bus and the table. I I It's time. Oh, God. Oh, God.
8. Vase & Surface: Now, as we have finally finished
working on our bouquet, we can now move on to the
table and blue ground. On the first stage of the drawing process where we
have created the outline. We have established the shapes and sizes of the vase and table. All that's left for
us to do here is to decide on the colors
that we will use. For example, I want
my vase to be blue, I'm laying and blending few
values of blue oil pastels. And while I do so. I'm also modifying the shape
of the vase as well. That's a great
opportunity for you to modify your vase and
the table as well. Speaking about the table, I will be using yellow ocher
and dark brown for it. Once again, as you're deciding
on which colors to choose, keep in mind the
background color, you will add next so that the colors in your traveling will look harmonically together.
9. Adding Background: Welcome to perhaps
the easiest stage of the drawing where we will block in the ground color
to the drawing. Now, that's a very
important step and you don't want to skip it. Because when we finish
layer in the background, we will finally be able to use the scraping technique where we will add more details and
texture to the towing. In case if you skip this step and there'll
be no background, you won't be able to use the benefit of the scraping
technique to the fest. And even though the stage
is really simple and dasy, there's still of room
for you to be creative. Because you can make
your background as complex as you want. You can use any colors and any combination of
colors as well. You can blend several colors or you can layer them on each other so that the
underneath layer would show up as you scrape
away the top pigment. As you can see, I've
decided to go with the simple black oil
pastel for the bground. Still, I want to make
it more interesting. I'm creating a simple
gradient from black to gray. This way, I will keep the dark background
I wanted to create, and I will make it a little bit more complex and interesting. And once you're happy with
the ground you have created. I'm invited you to the final and the most exciting stage of the traving process where we will use this
scrapping technique. I Good. I I I
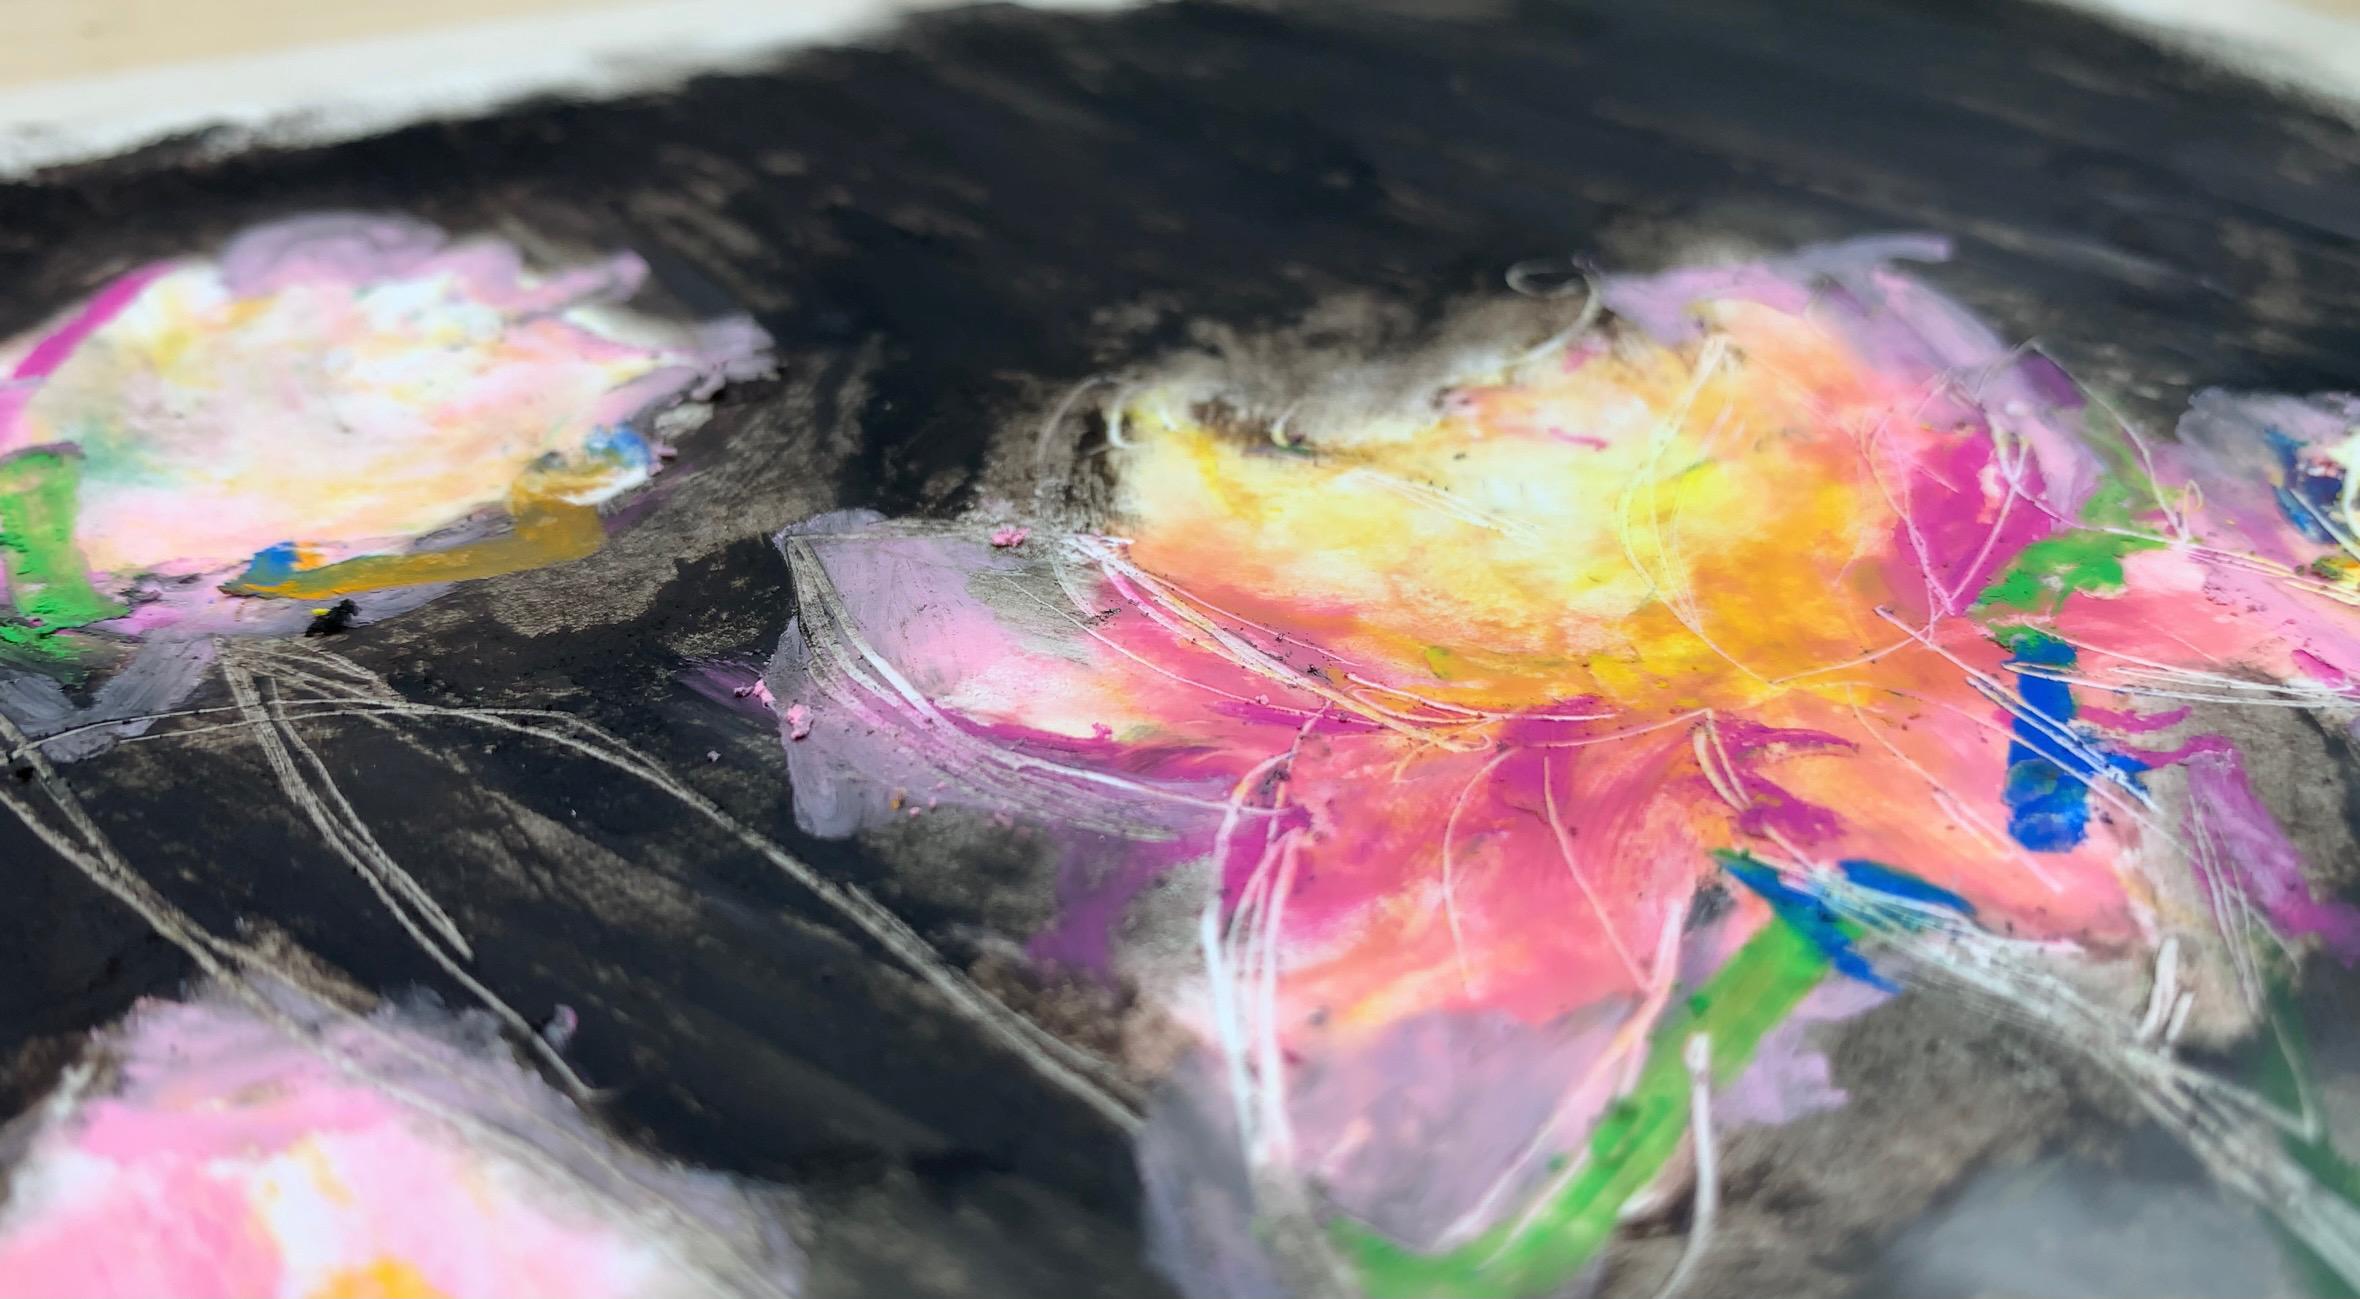
10. Scrapping: Welcome to the final stage
of this drawing process. So far, we have created a beautiful drawing of
the flowers and as, and now it's time for us to add some banjic to it and to do so. All you need is any sharp pointed tool
you can find at home. I personally will be using a small screw driver to scrape off the oil
pastel pigment. You can even use several
different tools to experiment with the thickness and sizes of the lines
you will create. Once you have found the
perfect tool for that, you can now start on adding
some magic to your drawing. First, you can start by defining the stems
of the flowers. Now you can see why we have layered the background
with oil pastels, so that now we can create
nice and thin stems. Next, you can proceed
to the flowers. By using the scraping technique, you can add more air and
light to the petals, make them more expressive
and eye catching. Just like that, one by one, I'm scraping of the oil pastel
pigment on each flower. As you do so, you can instantly see how your flower transforms. Once you finish working on the flowers as the final touch. You can also add some texture to your
vase and table as well. You can even scrape off some ground pigment
if you want to. It's all up to you to
decide where to stop. Once you are finally
happy with the result, you can now take off the tape and enjoy your gorgeous
oil pastel drawing. I will see you in the final
lesson of this class. I such such
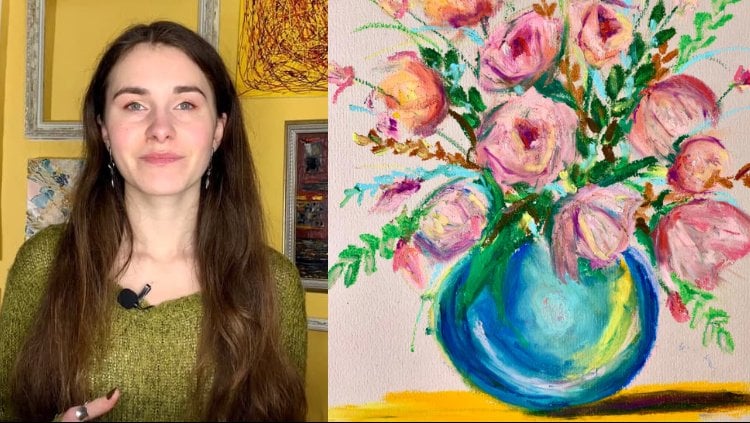
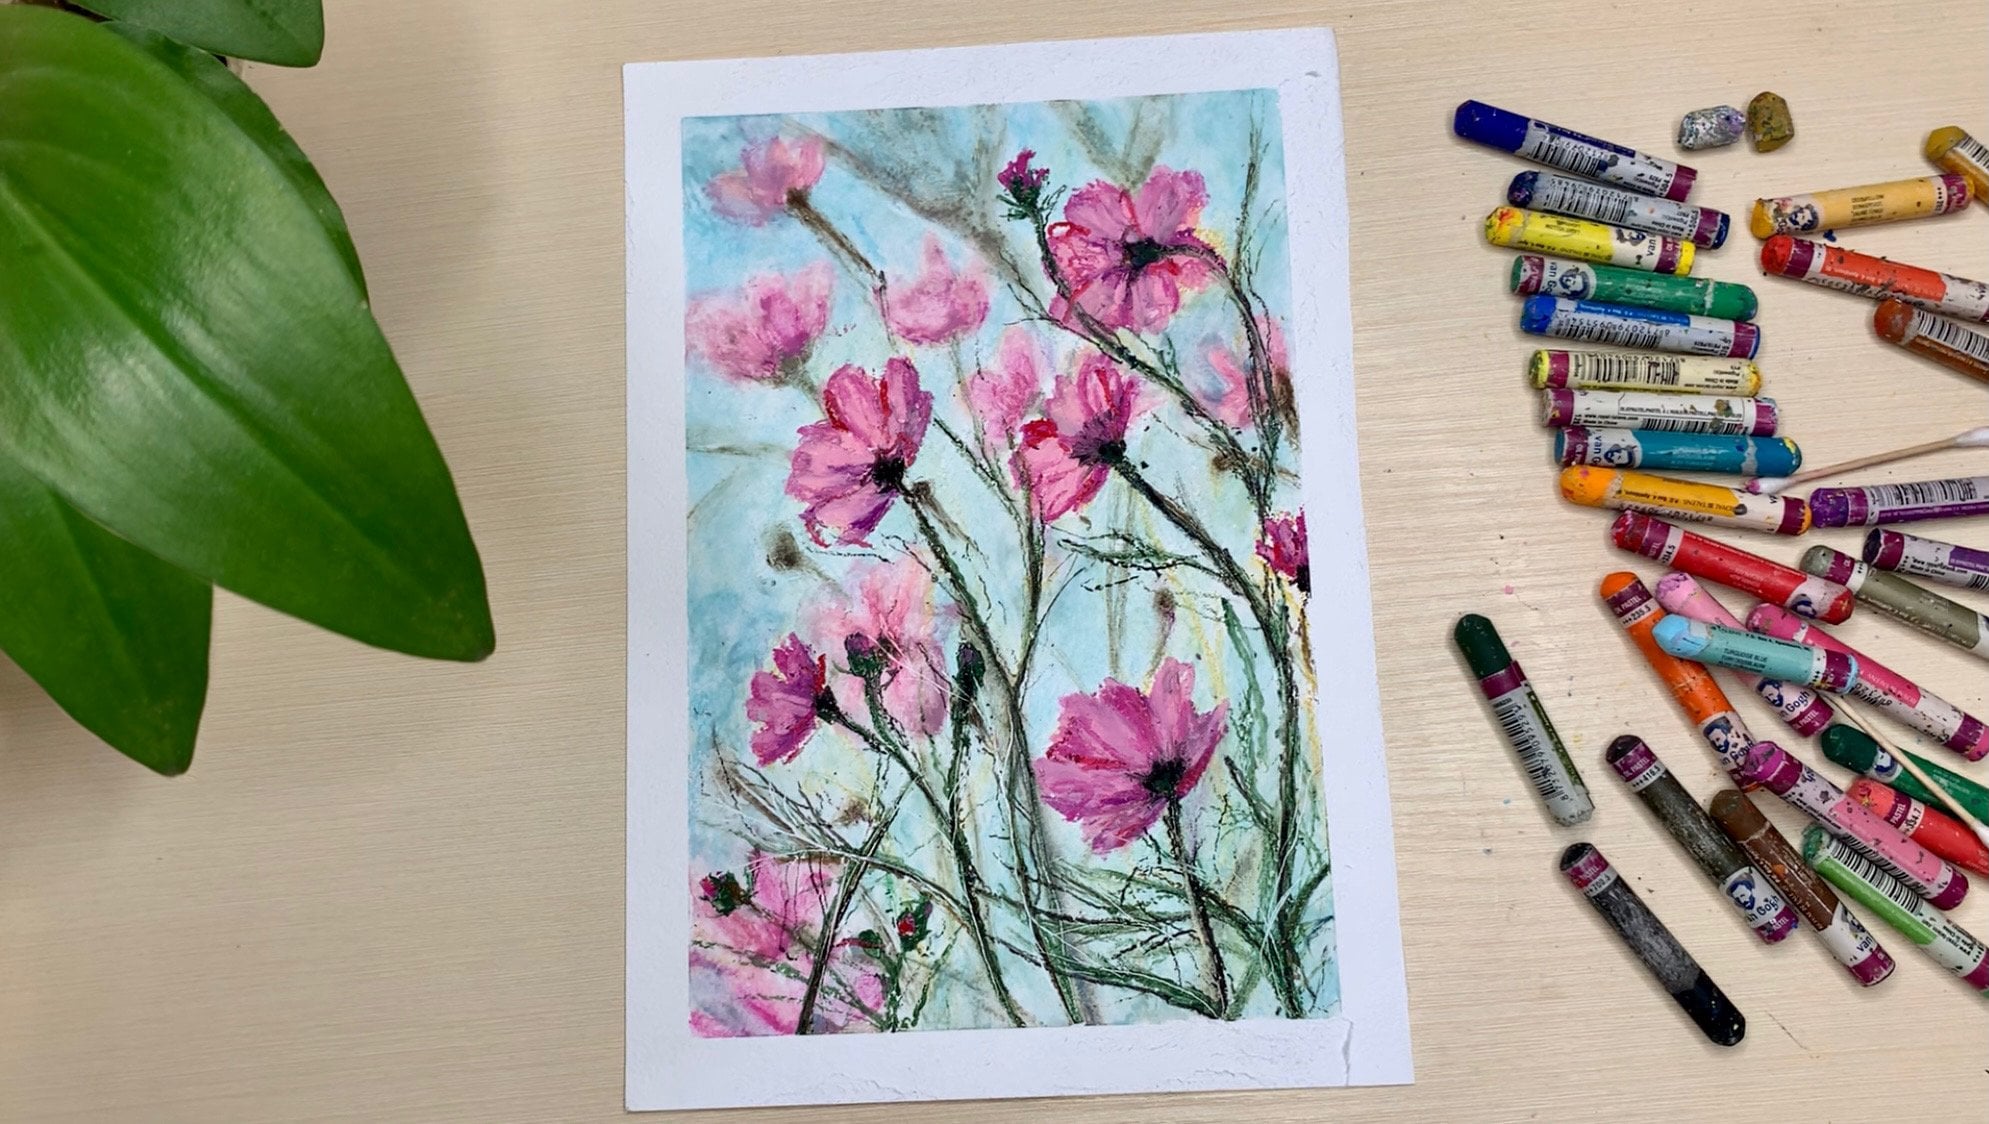
11. Final Thoughts: Here is my final result. Together, we have created a grade floral drawing
using scraping technique. As you can see, using
this technique in your drawing is really easy once you start with
the right approach, and to master oil pastel bending
and scraping techniques. By the way, you can
learn more about oil pastel scrapping and other great techniques in
my guide to oil pastels. I also want to remind you that
you can also support me on patron where you can make a
small pledge and as a reward, you get all the inside, look at my upcoming paintings, classes, and other fun
and great projects. Thank you so much for
taking this class and staying here with
me till the end of it. Don't forget to
share your results, and I will see you
in the next class.
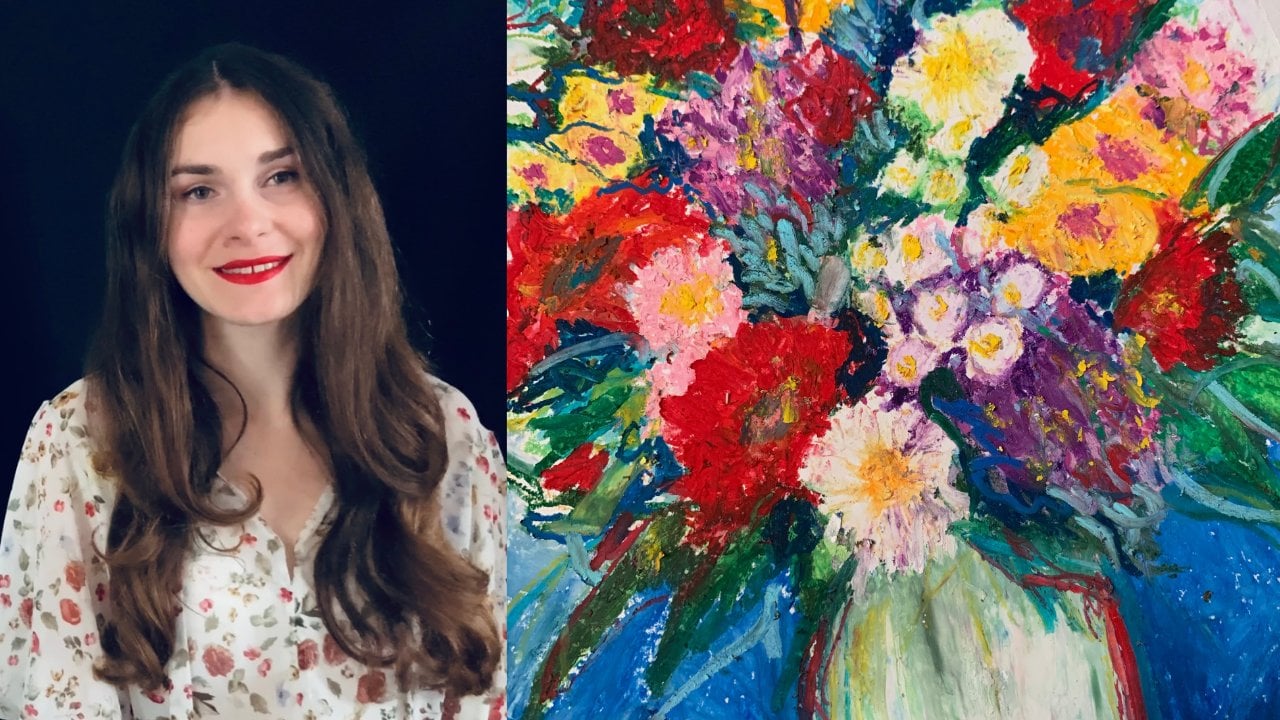
 Alina Harvi, Ukrainian Artist