Transcripts
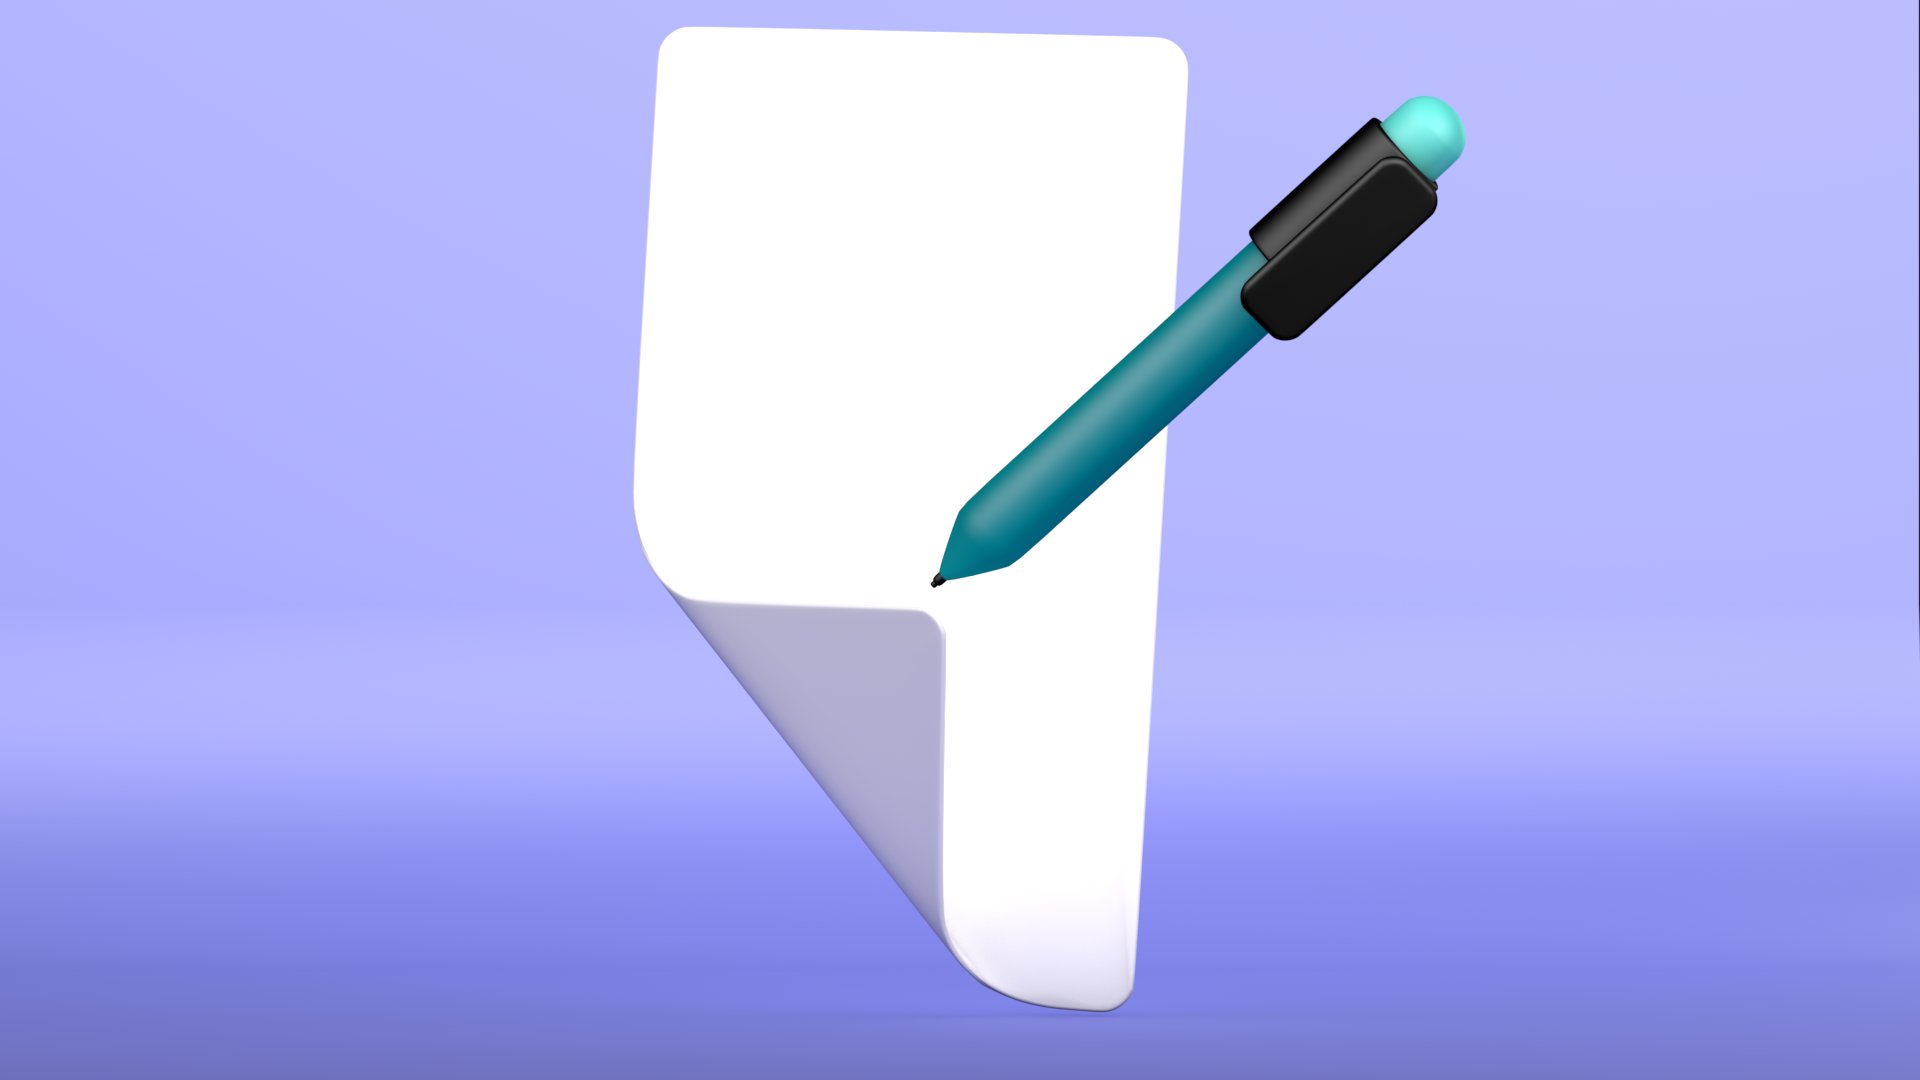
1. Course Trailer: Sala mollicum. Hi, everyone. Welcome to this mini workshop. In this workshop, we
will create a clean, modern three D paper and
pen seen from scratch. If you are beginner in blender, then this class is
perfect for you. We will start simple
by setting up our camera and lighting
for a smooth professional. Then we will create paper with clean curve and flowing shape. Next, we will model beautiful minimal pen
using basic tool. No advanced skill required. You also learn how
to create UI or paper and apply your own
custom material and texture. Finally, we will render a polished image ready for your portfolio or social media. Join me in this short
workshop and build your three D skill with a
simple but elegant project. So let's get started.
2. Camera and Light Setting: Okay. I hope you have
installed the blender correctly or you have
installed blender. I will use the Blender five. You can use any version
Blender 4.5, four, 4.2. A version you can download, and the workflow will be same. Okay. The first thing first,
just select these objects and press delete key to delete them and also
delete the collection. I just turn on my
screen cos keys, and from here, you can
just divide your viewport. Into the split the viewport
and just from here, just go to check these. Now what I'm going to do just now press Shift A and from here, just please monkey and now press one or
write orthographic. Now again, press Shift A and please camera and
just from here, go to right Orthographic
press three and just bring the camera
outward here and now from here, press Numpad zero to
see the view of camera. Perfect. Next thing,
what we are going to do we are going to
place light here. But these less shift
A and go to light and from here, press era light. Press one and just
go to the light here and just go from here
to bring it here. And if you notice
these white lines, you can easily understand
and just one box, two box, and just from here. I think that would
be great from here, just press the rotate and now switch to press salmon to
top you and just from here, bring the light here. Just here, I think that is okay. Now press select the line. Now just select the
light and just press it. I think it's okay. Again, press one to
top you and just adjust Now from here, go to the light properties
and just from here, change its power to 10,000 and you did not see
or notice any change. And if I go to render mode, you can see the change
and change the color to f0f3 double F and make the shape square
and make the size, I think 15 is okay. Perfect. Now again, from here, just press Shift and please at and just bring
this light to here. Just here and from here, just now press numb at
seven and bring it here. Adjust now change its color f0f3 FF and its area would be 40 and its
power would be 3,500. Perfect. You can
see the changes. Now press three to the right orthographic and
from here, please again, please a light and just
bring this light to here and just the
anchor just here. Parallel to this one. And from here, adjust size to 2,500 and color
would be f0f3 FF, and area would be, I think, 30s Perfect. Now you can see the
difference and you can see if I just notice if I select the light
and press H to height, you can see the change. If I press Alt to
turn on this light. We have set the anchors
and light for our scene. You can again adjust just bring the light
to bring it closer and just here a little
bit to the Perfect. You can increase its
size to, I think, 45, and you can see the
difference. Perfect. Now what we are going
to do just select these lights and
press M to create action new collection and make the name the election to
lights and here are lights. For camera, we use the camera. Now we want to adjust the
camera and from here, just go to right view and go to the camera
properties and from here, if you see, I just set the focal length tool
90 and from here, go to the render,
select the cycle. And if you have GPU, just select the GPU. You can edit the GPU from
preferences and from here, go to the if you have RTX, then you can select the Tx
and if you did not have RTX, you can simple GTX series, you can select this. Perfect. Now just switch to
output and from here, adjust the value to more
likely and from here, adjust the camera
and just from here, go to little bit down and go
to render and from render, go to film option and select the transparent and you
can see the difference. So our image will be
transparent with no background. And again, go to color
management from here filming and slack very high contrast and just a little bit
exposure, zero point. I think 02 is 0.2 is okay. Perfect. Now press Controls
to save the scene, and I already have
saved, paper dot, and just press and just save
the file where you want. So that's it for this lecture. In next lecture, we
will start creating our project and also remember
save this file in future. Any project which
we will create, we will use this template, see you in next lecture.
3. Create Papers: Welcome back. In this lecture, we are going to create
paper for our project. So for this, just go to the seen and just select the
monkey and press delete. And if you want to hide
these extra objects, just go here and just turn off the extra so you did not
see the extra object. And make sure your
cursor is in center. If it is not just
just like this here, press Shift C to bring
it to the center. Now just press Shift A and
place a plane and press one, go to the front orthographic, and from here, press R, then X in 90 degree
and just from here, you can adjust the
paper and just press to scale it
down a little bit, and now press S then
Z to scale it to xs. And if you just want to
make it a little bit wider, you can just press then
X to make it wider. You can also adjust the
focal length of camera, select the camera and go to. And if I make it generally 135, and from here, you can see
if I go to the extra object. Bring it to a little bit here. Perfect. Now, just go from
here to turn these off. Perfect. Now, what
I am going to do press tab and go to the object, edit menu, and from here, make sure all the vertices
you are in vertice mode, all the vertices of our
plane are selected, and Press one. You can adjust the scale. Press S then Z a little bit. Adjust the scale.
Perfect. Now next thing, what we are going to do, we
are going to add loop cut, press controlR and add a loop cut here and
just bring it up here and you can see the value
just little bit to the 75, I think, bring to the 75. Don't be precise,
just from here. Now, again, press Control
R and similarly from here, go to the again try to 70. Perfect. Now press K to enter in Knife tool and just
from here, press. And if you want to
add straight line, you can simply just from here. Perfect. And press Enter
to cancel the operation. Now just select this. What is press G and just
bring two to make the fold. And from here, you can see. Now just press G then
Y to bring it outward. A little bit. Perfect. Now before we are going
to add solidify modifier, we have to create
a vertex group, and for this just select this
vertice and this vertice, then this vertice, this vertice go to the data and from here, just create a vertex
group and name it paper bevel and just assign the val and if accidentally
you disect this, you can just select
this one and press let. You can see our vertex group
does not assign any value. So for this gains
like these vertices, and assign the value.
Now, let me check. You can see the value to
tex group is assigned. Now go to the modifier
menu and from here, just add a solidify
modifier and from here, just add the
thickness zero point. Ten, I think that is okay. You can see the difference. And from here, just before we are going to just turn this
off and from here, just add switch
to the edge menu, select this edge
and press Control B and add bevel and
one, two, three. I think the fours
are enough. Perfect. Now just turn on and you
can see the difference. Now we are going to add
another modifier and that is bawl modifier,
babel modifier, and from here, just
change the value 0.15, I think that is okay and
number of segment are ten, and from here just
angle switch to vertex group and add
the vertex paper babel. So you can see the difference and again add a
new Bel modifier. And just from here and you
can see the difference. And if I just press tab, enter object mode,
and from here, press Control two to add the subdivision
modifier surface, and you can see the difference. You can see a little bit
little bit problem here. For this, I am
going to press tab, go to and from here, go to Vertex mode. And if I press
select this vertex and just press one to enter and press I think G
to bring the fold more accurately and from here, I think just h. I think that it's okay. Perfect. You can just press tab. So here we have created the
paper for this project. In next lecture, we will
start creating the pen, and then we will
proceed forward. Before we are going
to wrap it up, just select and press a little bit press S
to little bit scale. And one thing that I have
forget press a modifier and simple deform modifier. Add a simple deform modifier, so we want to make it
a little bit rare. And from here, I'm going to
just add a press Shift A and just add just go to
the and from here, add a empty plane axis. And make sure select this
and from simple deform, select this eye dropper tool
and from here, just let the. And you can see our paper is behave as some
twists are bending. And if I just switch
to bend and from here, if I change the angle, you can see the difference. So a little bit, I
think -45 degree. Remember, always use the
perfect angles like 30 degrees, 15 degrees, 45 degrees 60, 75. So you can see the
differences and just again, press shift and shade smooth and you can
see the difference. So that's for this
lecture in next lecture, we will start creating the
pen CU in next lecture.
4. Create The Pen: Welcome back. In this lesson, we are going to create
the pen for this project. And for this, just make sure you are in object
mode, and from here, just press Shift A
and create a slender. And just press one, go to front orthographic
and just from here, press S and make it
smaller, I think. And now press tab, and from here,
again, press again, smaller and now press S, then Z to make it scale. And make sure the pen is at least equal or smaller than
our paper, just make sure. And just from here, just switch to the face
mode and select this upper face and press
Control B to make it the wel. And if I cancel the operation, just focus on here press
Control B and make the Perfect. Now next thing, what
we are going to do, just press one to
enter and number of segment of our bev are four. Now select the lower vertice and now press one to enter,
front orthography, and now press E and
bring it for extrude. Press E to extrude
and bring it outward. Perfect. Now press one to enter the vertex mode and then press S and just a little bit to
the press scale for scale. Perfect. So you can see the basic nib for
our pen is created. If I press tab, go to the vertex object mode, you can see the difference. Now if you press Control two to apply
subdivision surface, so you can see here our pen is little bit weird for this
press tab and now again go to the EdgemdPress
control and just bring it to the little bit here. Perfect. Now, next thing, what
we are going to do, we are going to create the
nib or tip for our pen. So for this switch to
the phase mode and just press select this phase, and now if I press Shift D to duplicate it
and now press cancel, so we have created
the duplicate. And if I press P, we can separate the
selection press P and separate the selection. So here you can see our slander is divided into two parts. Now, go to the object mode. And from here, select
this Lender and press tab again to enter the duplicate part of our
nib to the part of the nib. For this, now press again, press E and just
extrude then press one. I cancel the operation,
press one to enter the front orthographic and
press E to extrude, bring it out a little bit. And from here you can see, press control or to add the vertex tool just a
little bit and press tab, add the sheet smooth. And now from here, just let this, press G, then Z to bring it upward. Now again, press
Shift D to duplicate. And just bring it here. And if I press G or S
to change its size, you can see the origin of this
duplicate objectives here. For this, what we
have to do press Control Z to press control G. So for this select and go to
the object and from here, set region to geometry, and now press S and bring it to the scale to make the above pen. Perfect. So you can see
our pen is created. Now what we are going to do, we are going to the
clip for our pen. Again, for this, what
we are going to do, create a cylinder and
just bring this cylinder here and now press scale and just bring this
cylinder to here, and here we are
going to the lid. And what we are
going to do we have to adjust the size
of London here, just switch to the
wireframe mode and see these edges and these edges, press S and little bit
to adjust the size. Again, go to solid mode and
now press tab from here, select this go to face mode, select this phase and
hold on shift and select this phase and press
delete to delete the pass. Perfect. Press, go to the object mode. You can also adjust the size. Otherwise, just go to the
object mode and from here, add a solidify modifier and just adjust the value so you can
adjust the value accordingly. Perfect. And from here, just add a bevel modifier and make
the segment equal to ten. And if you just want to I think the original
value is okay. Press Control Z, 0.1 is okay. 0.01 by default. Perfect. If you just adjust the
value just you can again adjust and just select
the sheets mouth. Perfect. Now what we
are going to do we create the clip that open
and close our pencil. But just press hefty and
create a plane and just bring this plane here and press
R then X, then 90 degree. Now press S for
scale and from here, just bring G, then Z to bring it up here and
from here, just bring it. Here now press tab to enter it, and then press then X to
adjust the clip, then press G, then press X, adjust here, and then press S then Z to adjust the scale a
little bit. Perfect. And now from here, just
press E to extrude. Now, then I press I for intersection insect tool
to invert, bring it here. Now, then press S, then Z, little bit and
now press G and bring Z, press Z to bring it upward. Perfect. Now switch to the edges
mode and just from here, let's select this one, select these edges to
make them pal. Perfect. Now press Control B to
adjust the vertices. Perfect. Now, next, what we
are going to do just make sure we are going
to add a subdivide, a bevel modifier and just change the value
to ten segment, perfect, and just from here, select this phase and just
press E to bring out. Here and just from here to press tab and adjust the clip here. Perfect. Now just press
Control two, two sm. So here our pen is also created. So for this, we are going
to make some adjustment. First thing first, I am going to create just select the plane. You can see this plane
and make sure select these two planes and make sure you should select
display plane first, the main plane and this plane. And if you notice if I select this sorry plane and
this empty object. So make sure our active
object is our plane. Okay? And if I press, then I press J, sorry, press Control P to make
the set pagan to object. Our plane is
similarly now again, select the and select this and this select this one and
sorry, select this, this. And you see the difference. Now, make sure our active
object is this cylinder. So you can see the color
change into yellow, little bit y now press
Control P, set to object. Perfect. Now what we are going to do select this
plane and cylinder. Now press M, name the
collection to. Per. Perfect. Similarly, you can adjust make the
collection for this. Perfect. So I think just bring
our pen to bring it here. That is for this lecture. In next lecture, we
will start applying the material and also
UV this project. Su in next lecture.
5. Create UV's for Paper: Welcome back. In this lesson, we are going to make
some adjustment, and then we will start UV
mapping for this project. And for this, first of all, just select this
and just from here, press R, then Z to
rotate it a little bit. So you can just
see a little bit, and then press Odd, then press X twice
to little bit. Now again, press Odd then Z. To rotate it a little bit. Perfect. Now press R
only and now press G to move it here and just
press G to little bit here. Now, select the pen and
just bring it here. Now press seven and bring G Y to it here and now press one, and now press R. I think
now press G to bring it. Perfect. Now what
we are going to do just select our
paper, and from here, if you see if I go to the object mode and from
here wireframe mode, you can see the difference. So first thing first,
what we are going to do we have to apply the
solidify modifier. And now if I press tab, go to the edit mode, you can see the difference. So make sure you are in edge
mode and select these edges. Just select this and
press Shift and hold on, and you see that this
loop edge selected. Now next shift hold on shift and press Alt and how this
loop is selected. Again, now press
hold on shift and just hold down and select this
loop and from here again, select hold on shift
and hold on shift, and then to select this loop. Now, right click
and just from here, we are going to add Mark SMs. Perfect. Now just select this and
press A to select this. Now if I press right click
in Blender previous version, we see the UV map section, but in Blender five, I don't know why they remove it. Now simply you can
select this and press U, and from here, do not use
the smart UV projection. You can simply use the
unwrap angle paste. Perfect. Now from here, go to UV Edit section
so you can see the section for the
UV map of the paper. So what we are going to do
just select this and now press L to select it at the whole and press T to bring
out the canvas. Now just select this and press
L and just bring it here. This is the UV UV map of the seam which we
have mark the seam. Now simply what we
are going to just switch to the vertex
mode and just from here, select these vertices,
then press G, then Y, then zero. Sorry, I think I make some
select these vertices. Press, then Y then zero. So the edges are
vertices are state. Now select these vertices. Now press S then X, then Z, and now press
L and press S two. Press S to scale
to adjust press G, and now press S. Perfect. Now press G
to make adjustment, press S, then scale. Perfect. Now in next lecture, we will start to add a
texture for this project. So before we are
wrapping this lecture, just select the seam
section and from here, just go to UV Map and
select the export to UV and just where you want to save and if I select
I just select the I think my D drive
and just from here, name it the paper
UV and just export the UV and make sure you also have a photoshop or any
photo manipulation, image editing software,
not editing software, image editing software,
so we can make the UVs. So that is for this lecture, CU in next lecture.
6. Apply UV and Material to Paper: Come back. In this lecture, we will start to import the UV, which we have created,
export the UV, go and just bring the U to here. And we have export the UV, a map which we have
export from Blender. Into Photoshop. And whatever
you want to create, or I just create a rectangle and just
make the adjustment. And here, I just
want to make it. And you can adjust the size, and you also can
change the color. And if I just just select this. Perfect. Now I just select this one and just
hold on art and make a duplicate of this and this
and you can adjust the size. How do you like. Just from here, just select the. If you want to write the text, you can simply just change
the color from here, press text and blender five and just the
color blender five, change the color of
text just from here to I think what we are going
to I think this is okay. Blender five and from here, just select create
and from here, just again go to paper and pen. Perfect. You can also adjust
the size of sorry shape. Just like this. Perfect. Now just
turn of this layer and make sure you have created this and just
go to file from here, just go to Export
and save for web and make the changes
here and just from here, just click on the Save and go to the save where
you want to save it. And I just go to the
T and U paper UV. It's just two. Impressive. Perfect. Now go back to Blender and
just from here. What we are going to do just
go to Object mode and just make sure select the
paper and just from here, go to the shading menu. You can also go to the material and create a new material and
just from here. Click on this and just
create a image texture and open the image and just go to the image
where you have saved, select this and you can see
our images map on this. Similarly, go to UV Editing
and you can see the images. You can also add
image from here. If you want to add the image, you can just click on
this and from here, you just click on this. You can add the image. Perfect. Now just
go back to shading. First thing first, you can see
our paper and pen is here. You can just simply go to
here and just from here, just go to change the
repeat to extend. So you can see the one thing
that I want to do here, just select this and from here, press Shift A and add the
color mix node to here. So you can see if I just add the Alpha to factor,
and you can see, one thing that I want to do
just select this node to DP, you can see the differences. So here you have
apply the basic UNO, the basic UV map, how you can apply the
basic UE map image to your A three D object. So in next lecture, we will start applying the
material to our these, and then we will
render the image, and then our this workshop
will be completed. C in next lecture.
7. Final Render and Conclusion: Welcome back. In this lecture, we are going to apply the material to our
paper and the pen. And for this, just go to the layout section
and just from here, switch to the material mode. You can also see the materials and just switch
to the materials. Now what we are going to
just before we are going to J plus shading and
now from here, if I just the nib of the pen, just create a new and from here, just create the
color to the black. And also this color, we also want to just
make it the lack. Perfect. Now for what
we are going to, we are going to
create a light color, and light color that would
be the, I think, blue. And also for this and this,
what we are going to, we are going to create a
color and just from here, add a terial and just from here, just a lie. Black. I think I made some mistake. Select this one. Also sometime Perfect. And just from here, go to the edit mode and
ray mode and from here like this and just from here, go to the material mode and change its color
to the and from here, what we are going to do, we are just make a teral
assign and from here, we are going to just a
little bit light color. Perfect. Now go to the tab and you can see the difference. For paper, we can
make it a little bit. I think just if we
want to a little bit, I think, a little bit gray. Paper. And if I go to the layout, so we can see our paper
and pencil is just ready. And one thing what
we are going to now go to the output
and just from here, change the view put sample 164. I think that is okay. And from here, just
go to the 128, turn on the denis. And if I now press
to the render image, you can see the difference. So I hope you have
learned how we can create the basic shape
or model in the Blender. And if you have any question, you can ask me in description. You can also download
the project. Okay, for this workshop, I think you have learned a lot, see you in next workshop.
 Muhammad Umer Najeeb