Transcripts
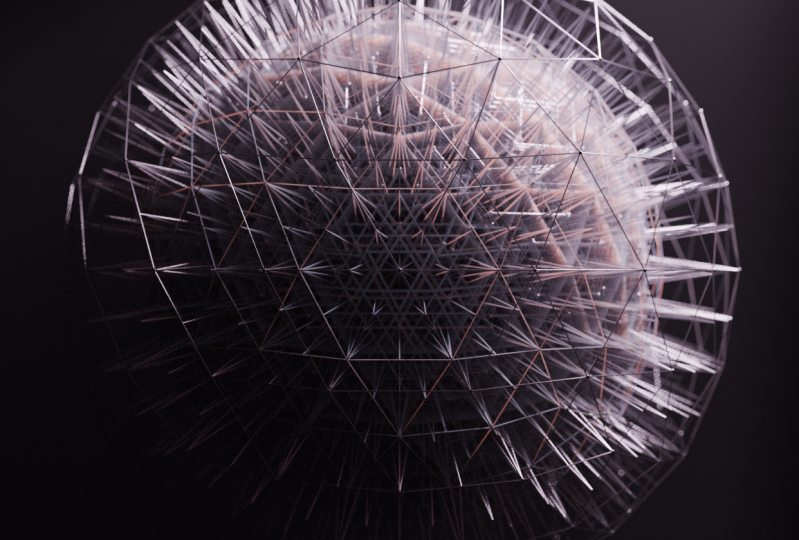
1. Intro: What's up, guys, welcome to my new course on creating
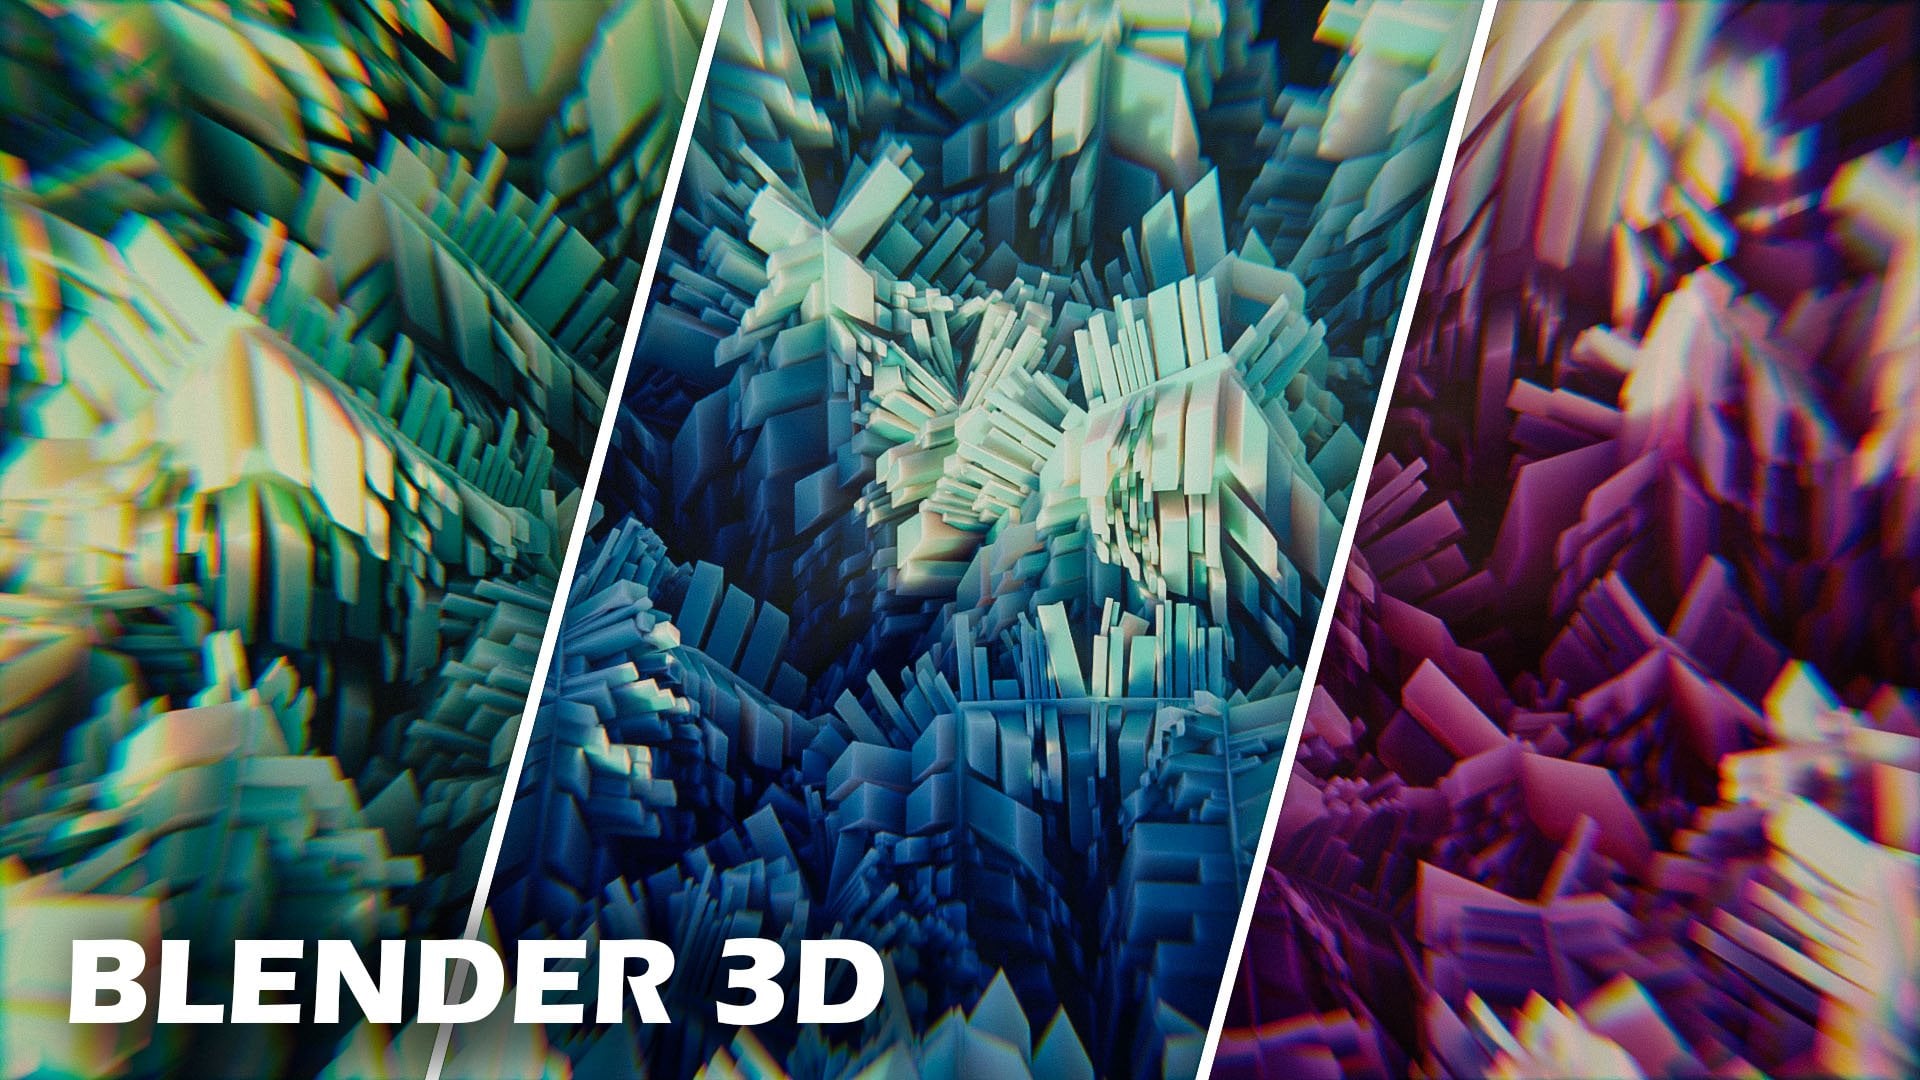
abstract art with Blender. In this course, I'll teach you
guys how to make this cool abstract render using blenders
geometry node system. This course will cover beginner
geometry Ned techniques, simple procedural texturing,
and how to create a cinematic lighting
setup that will take your scene to
the next level. It is important to note that this course is not intended
for complete beginners. You must have a
basic understanding of blender to
complete this course. Without further ado, let's get into
creating this project.
2. Modeling: Alright, so the first
thing I'm gonna do is open up Blender. This is Blender
three-point, two-point fun. But this project should work in pretty much any of the
newer versions of Blender. I'm going to click
away from here, and I'm in my default
Blender scene. So the first thing I'm gonna
do is select the camera and light and press
X and delete them. We only need the
cube starting now. So I'll select the cube. I'll come over here
to the bottom left till my cursor becomes a plus. Now left-click and drag this
out to create a new window. And that will
change this over to the geometry Node Editor. I'll press N to hide
that active tool window. And I'll press New on
the geometry node tree. Make sure you have the cube
selected. When you do that. First thing I'll
do is I'll select the group input and
press X to delete that. I'll press Shift a to
bring up the Add menu. And I'll type in ecosphere. And just bring that into here and connect this node
to the output node. And we have a little
ecosphere over here. I'll update the
subdivisions twice, so we have a little
bit more geometry. And the first node I'll add to this tree is a extrusion node. So I'll press Shift day. I'll press S to go to the
search bar and type extrusion, extrusion mesh, that's the node. Left-click to set it here. And basically this extrudes all the faces on the
ecosphere outwards. One thing we can do to
make the edges a little bit more visible
on this ecosphere is come up here and left-click
on this wireframe button. And now we can see all the
edges on the ecosphere. And what we want to do is set this offset scale on the
extrude mesh to zero. That brings all the faces
back to their original point. And now we can add
is a scale node. So I'll press Shift
a and type in scale. In this will allow us to scale the faces that we just extruded. So if I bring this down, by default, it's scales
the entire object. But if I plug this top
node into the selection, it scales the faces and words. And let's change this
to something like 0.75. Now what we can do
is select this, extrude mesh and press Shift D to duplicate it and
bring it over here. Then we can plug this
top selection into the selection here so that
when we extrude the faces, It's only extruding
these top faces. And let's set this to
something like 0.1. Now we have a little bit
of extrusion going on. Now what we can do to
make this even more detailed is select all of these, press shift D and
duplicate them over. And let's move our group. I'll put it over a
little bit further. Let's plug this mesh
into the extrude mesh. Let's plug this top
into the selection, because we want to only
extrude top faces again. And let's plug this
end extrude mesh into the geometry output that creates another
level of extrusion. So if we go back to Solid View, you can see what that
looks like in solid view. I'm going to set back to
wireframe so I can kinda see how these edges are looking. Now what I wanna do is change the scale elements a little bit on the second group
of nodes right here. So I'm gonna change this
to something like 0.5, just to make them a
little bit smaller. And I'll change this extrude
mesh to something like 0.05 or possibly 0.075. That a little bit further. I think that looks pretty good. And now what we can do is
basically wireframe this. So I'll bring my
group output out a little bit further
to make some room. And I'll press Shift day, press S for the search bar. And I'll type in mesh to curve. And I'll bring this
node into the scene. And basically this is going to, it's going to turn
every single one of those edges into a curve. Now we want to convert
this back to a mesh. So I'm going to press Shift a, press S and type
in curve to mesh. In this gives us this little
profile curve option, which allows us to turn all
these lines into a shape. So I'll type in, I'll press Shift day
and type in circle. And I'll grab a Curves circle. And I'll plug this curve
circle into the profile curve. And the radius by
default is way too big. You want to change this to
something like 0.0, 015. And now if we go back
into solid view, you can see we have a detailed looking mesh
that looks super cool. And it's a really simple
note tree to get. Next, what we want to do is add a couple of different
layers of detail. So what I'm going to
do is press Shift, they press S and type
in join geometry. And I'll grab this node and I'm going to pull this
node up little bit. And basically, this
allows us to grab our ICA sphere, our
ecosphere mesh. We want this extrude mesh, one because our basic like
a sphere is very simple. This is the node containing the mesh that has
all the detail out. Drag this into the
joint geometry, and that brings the
original mesh back. You can see we also have the
detailed wireframe mesh. And to make the detailed
wireframe mesh stand out, we went to scale the
original mesh down. I'm going to press Shift a, press S and type in transform. And I'll just
left-click that here. I'll bring this up a little bit. And I'm going to set the
scale to something like 0.75. And so now we have this
interesting ICA sphere inside of this interesting layer of wire that looks fairly
abstract and super cool. The next thing we wanna do is select these two nodes and track them out a
little bit further. Okay, So now what we
wanna do is press Shift a and get a transform
node, another one. Or you could have
just duplicated this. That probably would
have been faster. Let's plug that
curve to mesh into this transform
node and plug this into the joint
geometry in right now, it's scaled to the exact same as this node right
here, this wire. So we went to scale this down to 0.75, like the ecosphere. And so now we have this interesting little
bit of detail on the surface of our ecosphere and more detail on the outside. So one thing we can do to make this look much more interesting is add a subdivision node
before the mesh to curve net. And basically what
this will do is make our model that is going into the mesh to
curve much more detailed. So if I press Shift
A S to bring up the search bar and type in
subdivided, subdivided mesh. And I plug that in here. You can see our mesh instantly
gets much more detailed. And so the more levels
you add to this, the more complicated
your mesh will look. But also the more complicated
the geometry will get. And so if you up this too much, you could experience a crash or your viewport will get really
lucky and really slow. So if your computer
is a little bit slow and you're already
getting some lag. You can choose to
set this to zero. And when you went
to render this out, you could set this to one. Or if you want even more detail, you can set this to two. But again, this is a
really dense mesh. And I personally think it looks better just with one
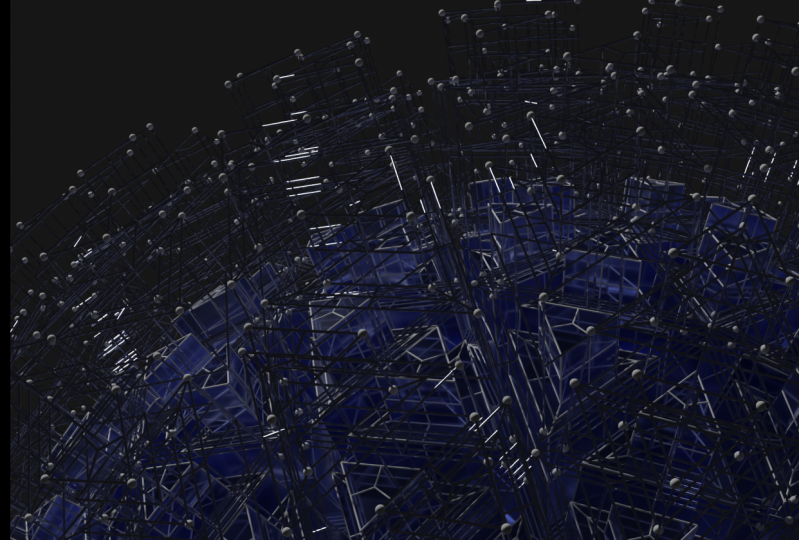
level of subdivision. So now what we wanna do is
add another level of detail, which will be little spheres on the edges of the wireframe. And so what we want to
do to create this is press Shift A S and type in
mesh to mesh two points. And bring this below the
sub-divided mesh and plug our extrude mesh into this. Next we went to press
Shift a and type a instance on points. And this will allow
us to put objects on top of the points that
are created by this mesh. So let's plug the points
into the points here. And we want them to
be little spheres. So I'll press Shift S
and type in UV sphere. Another thing we can do to
optimize our scene real quick is adjust the
resolution of our curves. So right now, each
of these wires, the curve that is creating
this cylinder shape of the wire has a pretty
high resolution of 32. If we set this to eight, this will lower the
resolution of all of these curves and make our
render times a lot faster. And we can also adjust the resolution of
this UV sphere and set it to something like 16
segments by eight rings. And that will lower the
geometry of the sphere. And we can plug this
into the instance. And we can plug the instance
into the joint geometry. And by default these
spheres are massive, so we went to lower them. So let's change this to
something like 0.05. Still way, way too big. Maybe 0.005. That's looking better. And this just adds another
level of detail to our model. Now as you can see, these
spheres look a little bit bumpy because they're
not shaded smooth. So what we can do is bring
in a set Shade smooth node. So type in set, shade smooth. And just left-click
that in here. And all of these spheres will
appear shaded smooth now. And this is our entire model. As you can see, it looks really
complex and really cool. And it only took a relatively small
node group to achieve. Alright, so in the next
part of this course, I will teach you guys how to light the scene and
set up a camera.
3. Camera and Lighting: Alright, so now
we went to set up a camera and lighting setup. So what I'm gonna
do is hover and this bottom left corner
and my viewport. And left-click and drag
to close this because we don't need the geometry
node editor anymore. And I'm going to press
Shift a and this scene. And I'm going to
add in a camera. And I'll press N to bring
up the menu over here. And under rotation, I'm
going to left-click and drag down and set this to zero. Now I'm going to press R X 90 to rotate it 90
degrees that way. And RZ 90, throw it at
90 degrees that way. And then G x and bring
it out a little bit. Next, I'll left-click
this camera icon and I'll head over to this
Output Properties menu. And I'm going to change the
resolution to 1920s by 1920, just to fit the sphere a
little bit better in here. And I'm going to head
into view, appear. I'm going to select
Lock camera to view. And I'm just going
to scroll this in and out until I like
the composition. And I think that's pretty good. Then I'll uncheck this, press N to hide that menu. And here are some of
the settings you can tweak for your
output properties. If you want even
more resolution, you can set this to 200%. And that will give you two
times, 1920s by 1920s. So it'll be like a Forky image. And the next thing we wanna do is adjust our Render Settings. So I'm going to hit
Render properties. I'm going to change my render
engine from EV two cycles. Device from CPU to GPU compute. Because my GPU is a lot
more powerful than my CPU. I'm going ahead to
render and I'm going to change the max samples to 1,000. And it's up to you
whether you want to leave D noise on or off. If you leave it off, it will be a slightly
more noisy image. If you leave it on, it will
look completely smooth. It's really just up to
personal preference. Alright, so the next
thing I want to add is some depth of field
to my camera. So I'll left-click
on this camera icon, make sure your
camera is selected. And then this little
menu will pop up. And I'm going to
enable depth of field. Then I'm going to come
up here and left click this little arrow and come down here and enable depth
of field right here. And as you can see the
scenes a little bit blurry now because step
the fields enabled. So I'm going to left-click this little eyedropper
and select our cube. Then under here, we
can adjust the f-stop. And if we lower it, you can see the depth of
fields a little bit wonky. And basically what the camera
is trying to do is it's finding the center
of the sphere. And it's trying to focus on
the middle of the sphere when we actually want it
to focus on the front. And so what we can do
to fix that is adding an empty object and have
the camera focus on that. So I'm going to press
Shift a and add an empty. And she's playing axis. And I can double-click on this. And then there's something
like camera focus. And then I can press
G, the next one. And that will move
it a little bit forward to the front
of the sphere. Maybe a little bit further here. And then I'll left-click
back on my cameras icon. I'll left-click on the camera
right here, the edge of it. And I'll change the focus. Object to this camera focus. Now as you can see,
it's focusing on the front of the sphere and
it's blurring out the back. And this is a little bit much, I don't want it to
be super blurry, just a little bit subtle. So I'm gonna change this
to something like one. Maybe. That's looking
a little bit better. As you can see. It's a little bit
blurred on the edges, but it's a lot of, it's still in focus. So we'll still get
a lot of detail. Alright, and that's
looking pretty good. Now we can move on to lighting. The first setting
I'm going to change is in my world properties, I'm going to left-click here
and change the color from gray to complete black
and press Shift day. And let's grab a light
and choose spotlight. And I'm gonna go back
into my camera view and move this to somewhere
around here. And I'll rotate
it by pressing R, just so that it's
kind of Anglian at it from the
top, like up here. I think that's pretty good. Let's left-click on our
object data properties. And we want to change the
power to something like 1,000, needs to be a lot more powerful. And we can adjust the spot size so maybe make it a
little bit bigger. So it encompasses the
sphere a little bit better. All right, that's
looking pretty good. Let's see what it looks
like in rendered view. Alright, and that looks pretty cool and cinematic already. But there's still a few
adjustments we need to make to really make this
render look cooler. So first I'm going
to bring the light a little bit closer to my object. And I'm going to bring the
spot size up a little bit. Maybe something like 65, 60 to 65 around there. Basically we want this corner
down here to be in shadow. And we want this corner up
here to be pretty light. And that way we get a nice
range of values from white to black that really make the
render looks a lot cooler. Let's go back to our
viewport shading view. And one thing we can add to
really make this friend or look a lot more cinematic
is some volume. So if I go into my shading properties and I change this from
object to world, I can add a volume scatter node. So I'm going to press Shift
S and volume scatter. I'm going to plug this volume
into the volume right here. And this density by default
is set really high. So we can change this to like 0.05 and we can
adjust it later to, let's just see how it's
looking right now. So let's go back
into camera view. Let's disable this so we can see our render a
little bit better. That's looking a little
bit more cinematic, but I think our density
is still too high. So let's go into the
world properties. Volume may be changes
to like 0.01. Just a little bit
of subtle volume. They're really helps eliminate the world a little bit better. I think we can actually increase the spot size to maybe 70. So it eliminates these
edges a little bit better. And really makes the render
look more cinematic. Alright, so our lightings
looking pretty good right now. And if you want to
render out a scene, feel free to do so real quick. I think honestly, this scene looks pretty
cool without any materials. This is kinda like
a stylistic choice. But I'll also show
you guys how to add some cool materials to really make this friend or
look interesting.
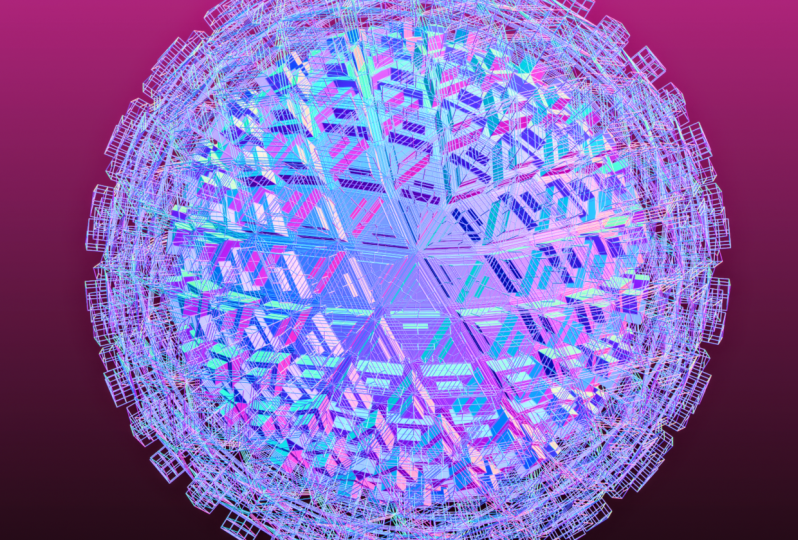
4. Shading and Rendering: Alright, so now let's move
on to shading this scene. So I am going to turn
my overlays back on. The shortcut for
that is Shift Alt Z. Or you can just come
up here and tick that. And I'm going to head
into the shading tab. Now the texture is, I used for this original project
are really simple. And I really don't
think you need to go complex with this. So I used to materials
when material was kind of a translucent material and the other was a very
simple metal material. So our first material, we can call maybe ACO sphere because it's going to be the main icon sphere that
will be shaded with this. And the only adjustment that we make to this
material is just set this subsurface
2.5, and that's it. Now let's press New right
here to add a new material. And we'll name this one. Wire is maybe just so we don't get confused
between the two. And we want to set this
subsurface back to zero. And the only thing we
want to change on this, actually there's two things. We want to change
this metallic to one and we want to change the roughness to 0.1 or 0.20, 0.2, it looks a little
bit better in the scene. And that's it for the shading. Now, we just need to apply these materials and our
geometry Node Editor. So let's head back to Layout. Let's come over to this corner and left-click and
drag this out. Now let's change this to
the geometry node editor. Press N to high that menu again. And we need to apply
some materials. So first, let's
find our main mesh. Our main mesh is being scaled by 0.75 and it's not running through any
curve to mesh notes, it's this one up here. Let's press, Shift a, press S and type
in set material. And we can plug this right here. And it's literally as easy as
changing this to ecosphere. Now that will be set to
the translucent material. Now the other node we
wanted to change to the ecosphere material
is this one right here. Now, these are the
wires that are being scaled to the size
of the sphere. So we want to press Shift D
and duplicate this down here. Basically to remember which ones have the ecosphere material. It's the ones that are being scaled by the transform nodes. Now we can press shift D and duplicate this to the
other wires, et cetera. We want to change this to the wire's material and Shift D to duplicate
this down here. And now if we close this tab, so left-click and
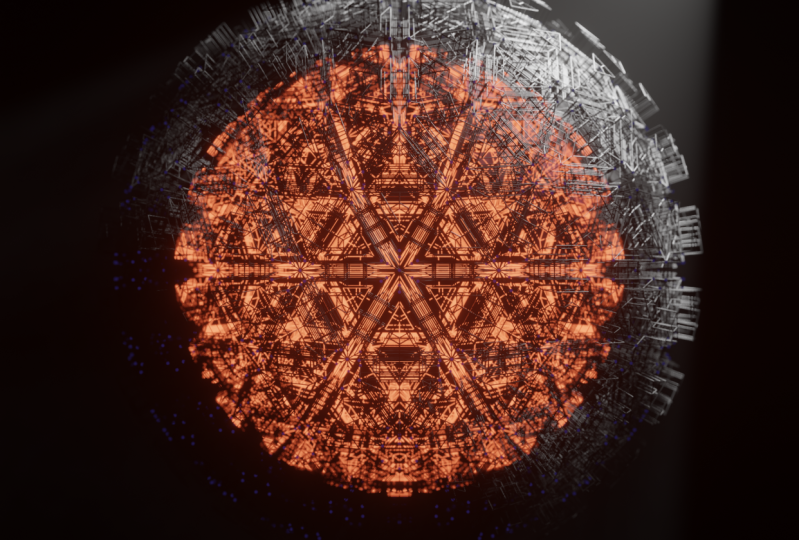
drag this over again. And we go into camera view. And we turn off our overlays. And we click render. As you can see. Now this
might take a second, but we're getting some
really nice light passing through the
ecosphere mesh. And we're getting some
really nice reflections off of the metal wrought
wires around here. Alright, so let's render
the final image out. So change this back
to shading up here. Let's turn overlays back on. Alright, so real quick
before I render, I'm going to change my
output properties to 100. And personally I
think this scene looks better with a
little bit of noise. So I'm going to change this
untick this de-noise button, and I'll do a quick test render. Now one thing to note
before you render is that the translucent and
metal materials take a while to render. So if you have a slow computer, it's going to take a
long time to render. And one way you can avoid
that is just by using the simple white material from the beginning and not having that translucent and
metal materials. Another way you can lower render times is by changing
the SMAC sample account. If it's taken a
really long time, you can lower this to
something like 200. Now granted, this
render is going to be a lot slower, but real quick, I'm gonna do a test render
at 200 samples just to gauge how the scene
is looking right now. All right, I think that looks pretty good for a test render. Now, I'll head back and
I'm going to change my sample count to something
like 1,000 to 2000. If your computer's a
little slower and maybe stick to 1,000 for
your final render. I'm going to change it to 2000. And again, if you want, you can de-noise the image and that will get rid of the grain. But I think the grain looks
a little bit more cinematic, so I'm going to keep
that on ticked. And I'll press F 12 and friend
or out the final image. Alright, so now our
renders finished, and here's the final result. Now the last step is
saving our final render. So I'm gonna head up
to Image, Save As, and we can pick a
spot like there. Alright, so that is
the end of the course. I hope you guys learned
something from it. I hope you guys
really enjoyed it. If you want to learn more about geometry nodes or
blender in general, makes sure to follow me. And if you really
like the course, it'd be awesome if you
left a positive review. Alright, see you guys
in the next one.
 Surface Designs