Transcripts
1. Introduction: What's up, guys, welcome
to my new series on animation and motion
design using Blender. This is the first course of
many that will be released, where I will explain in detail how to create
beautiful animations in satisfying motion design using only free tools
within Blender. Each consecutive course will get slightly more
difficult and complex, which is why this one
is named level one. These courses will be
project-based so that you will not only have
improved your skills by the end of the course, but you will also have a
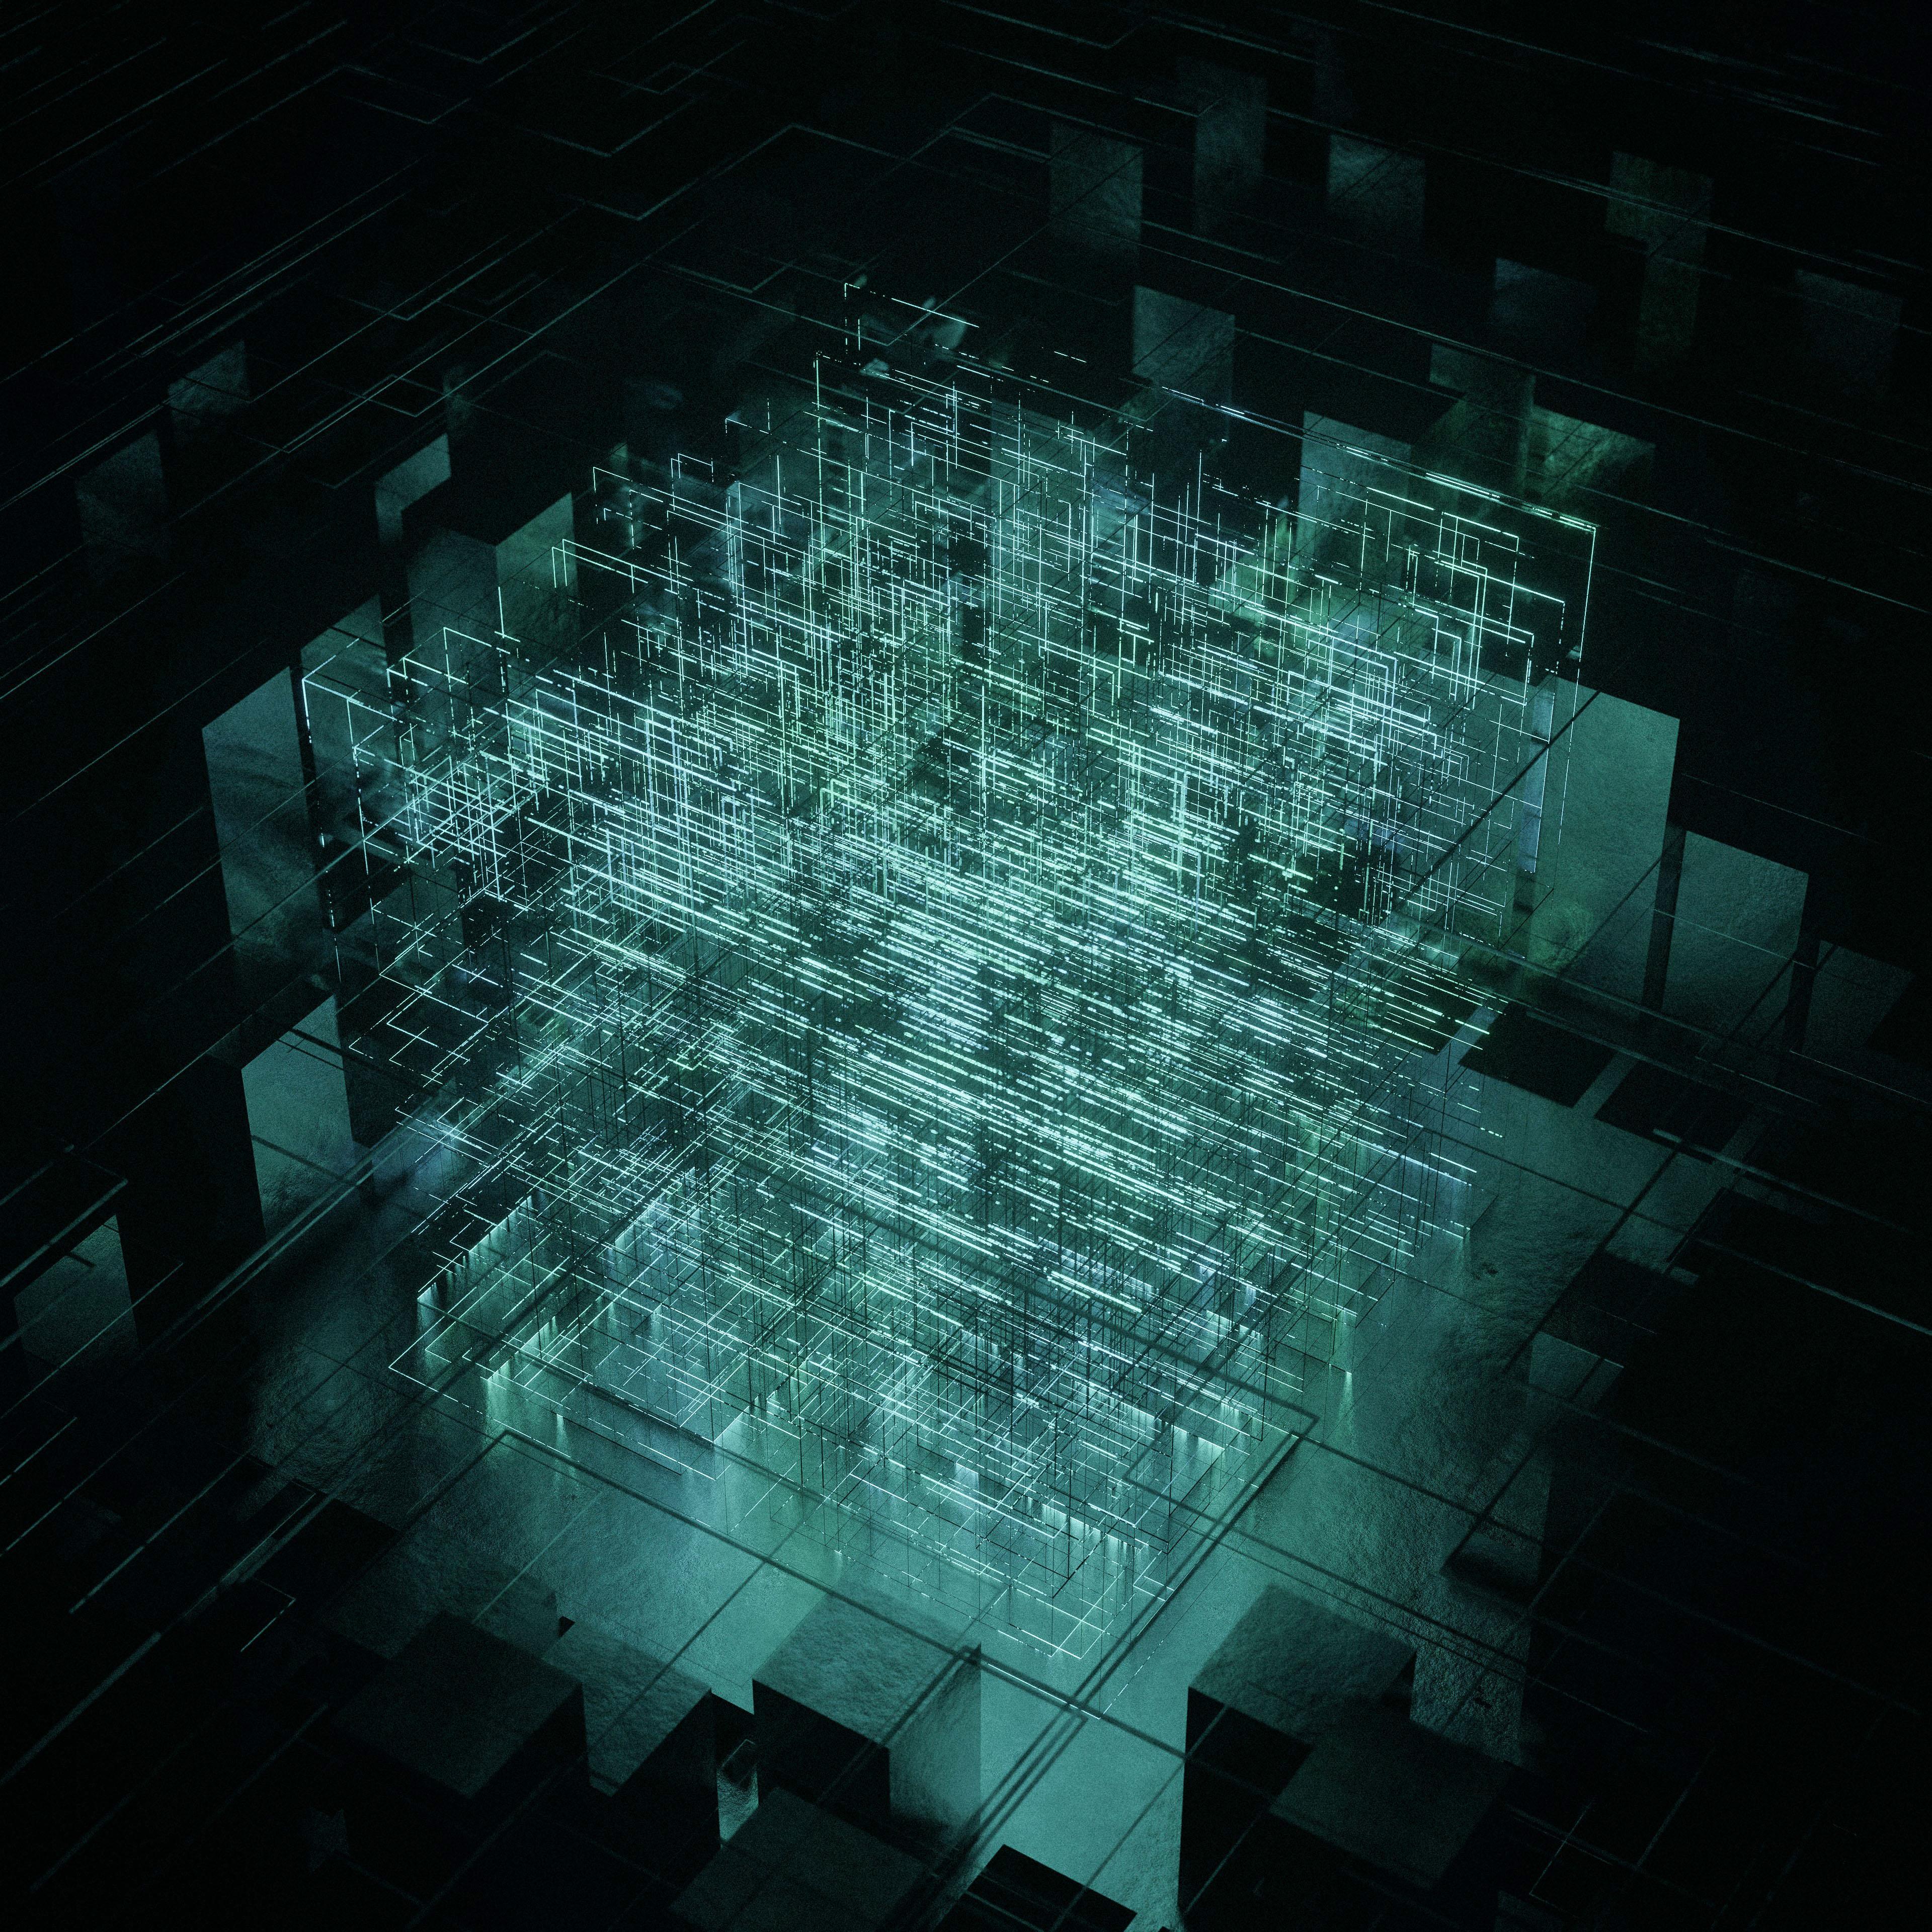
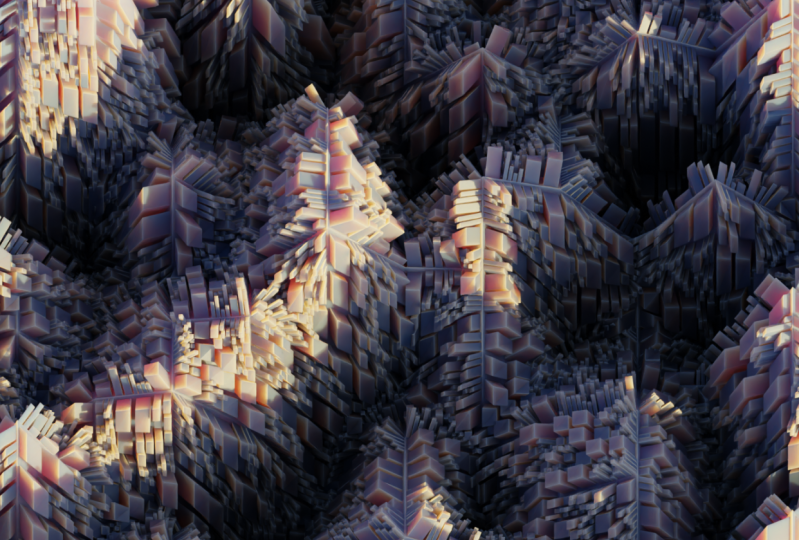
cool looking animation to add to your portfolio. Will start off this
series by creating this trippy, satisfying
looping animation. In this course, I will
teach simple shading, lighting, compositing, and
geometry know techniques. That'll give you a
solid foundation for the future more
detailed courses. Without further ado, let's get into creating this project.
2. Modeling: Alright, so I am
currently in Blender 3.5, but this project should work in pretty much any version
of Blender 3.0 and up, I think basically
the first thing you wanna do is select
everything in your scene. I only have a cube, but you should have
a camera and light. Just select all that and
press X and delete it. And next, we're going
to add in a plane. Now before we start getting into the geometry nodes stuff
and modeling this out, we went to enable an add-on, so I had to Edit Preferences. And let's go to Add-ons and then type in node, Node Wrangler. And just make sure that
this is ticked and then save your preferences
and close this out. Alright, next, I'm going to
enable a shortcut U, V are. Now basically if you look
in the bottom right, you can see what I click. So if you get lost,
you can just look down there and see the keyboard
shortcuts I'm using. And then we went to come
down to the bottom left and left-click and drag this
over to create a new window. And then change this to the geometry Node
Editor and press N, tie back the tool window. And while you have
your plants selected, press New right here to create
a new geometry node tree. Then we can spread this
out a little bit further. The first thing we want to do is basically subdivided
this plane because this animation is
going to be based off of the displacement
of this plane. So some parts are gonna be up, some parts are going to be down. And the animation is just gonna be those parts of
the plane moving. And so to see the geometry of the plane a
little bit better, we can click this
wireframe view. Now let's go back into
the note editor and press Shift S and sub-divided mesh. Now you can see as
we sub-divide it, you can see the lines
of the geometry. So we went to sub-divide
this four times. So it looks like this. Now to get some pieces
of it to go up and some to go down and get that
displacement look, we use a set position node. So press Shift S and set
position. Right off the bat. It doesn't do
anything because we need something plugged
into the offset. But you can kinda see
what this node does. So if I edit this z value, which is the up and down value, moves the plane up and down. If I use the y value, which is front-to-back
right now, and the x value which
is left and right. So if we use noise to
control this offset, it will move the
individual vertices instead of just
the entire planet. So let's press Shift A S
and get a noise texture. And we can plug the
color into the offset. Now you can see it does all this crazy stuff
right off the bat. And it's moving our plane
away from the center. But it's also moving the
individual vertices. And we only want it to move
the individual vertices. So to get this back
to the center, we can add a vector math node, the search bar, and
type in vector math. And then if we change
this to Subtract and left-click and drag down on these values and
set this to 0.5. It will move the plane
back to the center. So now it's only moving
the vertices bright. Now it's moving the
vertices in all directions. On all axes, it's
moving in the x, y, and z direction. We only want it to move
in the z direction. And so to get this, we can use a separate XYZ
or actually a combine XYZ. So press Shift A S
and combine x, y, z. And plug that right here. So right now it's
plugged into the x. So it's only moving the vertices along the x if
we plug it into the why, it only moves them along the
y and we want it in the z. And so now they're only
moving up and down. And we want this effect to be, we want the displacement to
be a little bit more extreme. And to do this, we can
add in another math node. So if we duplicate this, subtract math note over
and change this to scale, and basically adjust this value. We can control the strength
of the displacement. So let's just set this to five. Now we have this
displacement effect. Let's also add to our noise
texture and change this to 4D And this will give us a w value, which is what we're going to
use to animate the texture. So we can leave that
at zero for right now. Now what we wanna do
is make all the little spiky like extrusions that were on the original animation. So if we just select this
sub-divided mesh and duplicate it over and
change this to two. We're going to subdivide
this whole thing twice, which just adds a
lot more geometry. And what we wanna do is
start extruding these faces. So we'll add a Extrude
mesh node that in here. And it goes crazy
right off the bat. And that's because the
value is super high. So if you set this to 0.1, you can kinda see what the
extrude mesh node is doing. But we want to set this
extrusion to zero. So basically these faces are in the exact same position
as the original phases. Then we want to use
a scale elements node to scale down
the extrude faces. So these top faces or
the extruded ones. If we set this to 0.75, it's scaled sum
down a little bit. It creates like an inset. Then we want to duplicate
this extrude node. Then plugged the top into
the selection again. If we set this to
something like 0.05, extrudes all these faces
out a little bit like this. Now, right now, let's
just mute these nodes. So if we select these and drag this out also
to mute these, just select them and hit em. Forgot to say that. Now basically we want some of these faces to be even smaller, but we don't want all of them. So if we just used the
regular subdivision node, set this to one, it's going to sub-divide all the phases and we don't want that. So what we can do is use
a separate geometry. So if we press Shift day
essence separate geometry, plug this in here and
change this to face. It doesn't do anything
right off the bat because we don't have
anything controlling the selection of what faces are selected and
what are inverted. So basically if we add a shift S random value node and change this to Boolean and plug this
into the selection. Basically, half of these faces are selected and
half are inverted. And you can see now if I
have the probability to one, all of the phases are
selected, none are inverted. So we can use this to control
how many of the faces are subdivided versus how many
are just stay the same. We can use a shift
that's join geometry node to combine both of these. If we plugged the selected
into the sub-divided mesh, this node into the
joint geometry. When we set this to 0.5. Now half the faces are
being subdivided again. And then half are
just going through this selection and
aren't being subdivided. And we can do this one more
time to get even more detail. So if we duplicate this
separate geometry, note again, plug it after
the sub-divided mesh. Duplicate the random value. Plug this in here. Now it's going to delete
half of those faces. Then we can duplicate this
sub-divided mesh again, plug the inverted into the mesh. Plug this into the
joint geometry. Now half of this, these subdivided faces are
being subdivided again. This is that principle of
recursive subdivision, where basically each time half of the phases are getting sub-divided or a certain amount, depending on the probability. So if I set this to one, none of these faces are
getting subdivided again. And if I set this to zero, all of these phases are
getting subdivided again. You can set this to
0.5, keep it at that. Then if we bring back our extrusion and
unmute these nodes, we can see all of these
phases are being extruded. But it looks a lot more interesting because
some of them are big and then some of them
are like super tiny. And it looks kinda interesting. Now one thing we can do to
make this look even cooler is to add some randomness
to the extrusion. Right now they're all being
extruded the same distance. But if we add in a random value, we can just duplicate
this probability and change this to float. It turns it into this
random men to max. We can set the minimum
extrusion value to something like 0.01, the maximum to 0.05. If we plug this into the offset, some of them are being extruded like a very small amount and some are them are being
extruded a little bit more. And let's go back into solid view so we can
kinda see the mesh. That looks pretty cool. This is the basis of the model. It's all done completely
in geometry nodes. And it's super easy
to animate and make look really cool
in the final render. Alright, so in the next
part of the course, we're going to be moving
onto animating this
3. Animation: Alright, so to animate this, we're gonna be doing that
in geometry nodes again. And we're gonna be using
to noise textures. So you can press Shift D
to duplicate this down. Let's select both of
them, drag them out. And we're basically going
to be mixing between them. So we'll add a ship,
they mix node. And we can change this to color. And politically color here. And this color here. And plug the mix
into the vector. Then you can set this to zero. Then in the timeline, the timeline right here to zero. Then basically the animate this, we're gonna be keyframing these W values and
Keyframing the factor. So we want to leave this noise texture
I had zero on frame zero and hit eye while hovering over the w to
keyframe this value. Then you went to hit I on the mixed value
also to keyframe, the factor right here. Then we can go to our
timeline and click this little arrow
to get to the end. And let's set the W value
on this texture 2.5. And then you can hit I
to keyframe that value. And let's set the factor 21 and hit I to
keyframe that value 0. And then this texture, we want to set two. We want to leave it at zero and hit I to keyframe that value. Then let's head
back to frame zero. So make sure it's on frame zero. And we want to set this
value to negative 0.5. And then keyframe it. Then basically, this will
allow our animation to loop perfectly if we want to visualize it right now there's too much geometry,
it might crash. So you actually want
to save your project. And then you went to
mute the extrusions. Actually, we can leave the
we can leave the extrusions and just went to mute
the subdivisions. So select these, press M. We have to mute this
separate geometry too. There we go. Then if you press the spacebar
on your keyboard, it'll start to play
the animation. And if it loops perfectly, you know, you did
something, right? Alright, so it loops perfectly. We know we're good. That is
pretty much it for animation. Now what we can move
on to is shading the actual geometry and adding a camera and tweaking
some cameras settings
4. Camera Settings and Shading: Alright, so now what I'm
gonna do is add an a camera. So I'm going to press Shift
day and go down to camera, press N. And actually I'll
enable shortcut EUR again. And I'm going to go to item in just zero
out the rotation. Press N to hide that again. And I'll press Shift X to
move it on every axis, but the x axis, and just bring it up here, then RX, and point
it at the model. And then I want to click on my camera head to
camera settings. Click on this
camera toggle thing again so I can see what
is within my camera. And I wanted to
change the lens type from perspective
to orthographic. And this will basically make
the model appear much more flat in right now are orthographic
scale is kinda crazy. So select the camera
again and just lower the orthographic scale until our model fits comfortably
within the camera. Then you want to select
the model one more time. Let's mute the
recursive subdivision. So these nodes right here. And then you went to play the animation and make sure
that it looks good and makes sure that the
landscape kinda stays within the camera
frame, the entire animation. And I think this
looks pretty good. So I'm going to press
pause to stop it, go back to the beginning. And I'll press M to
unmute these nodes. Now we can move on to shading
the actual model itself. So to do that, let's head
up to the shading tab. And let's press New
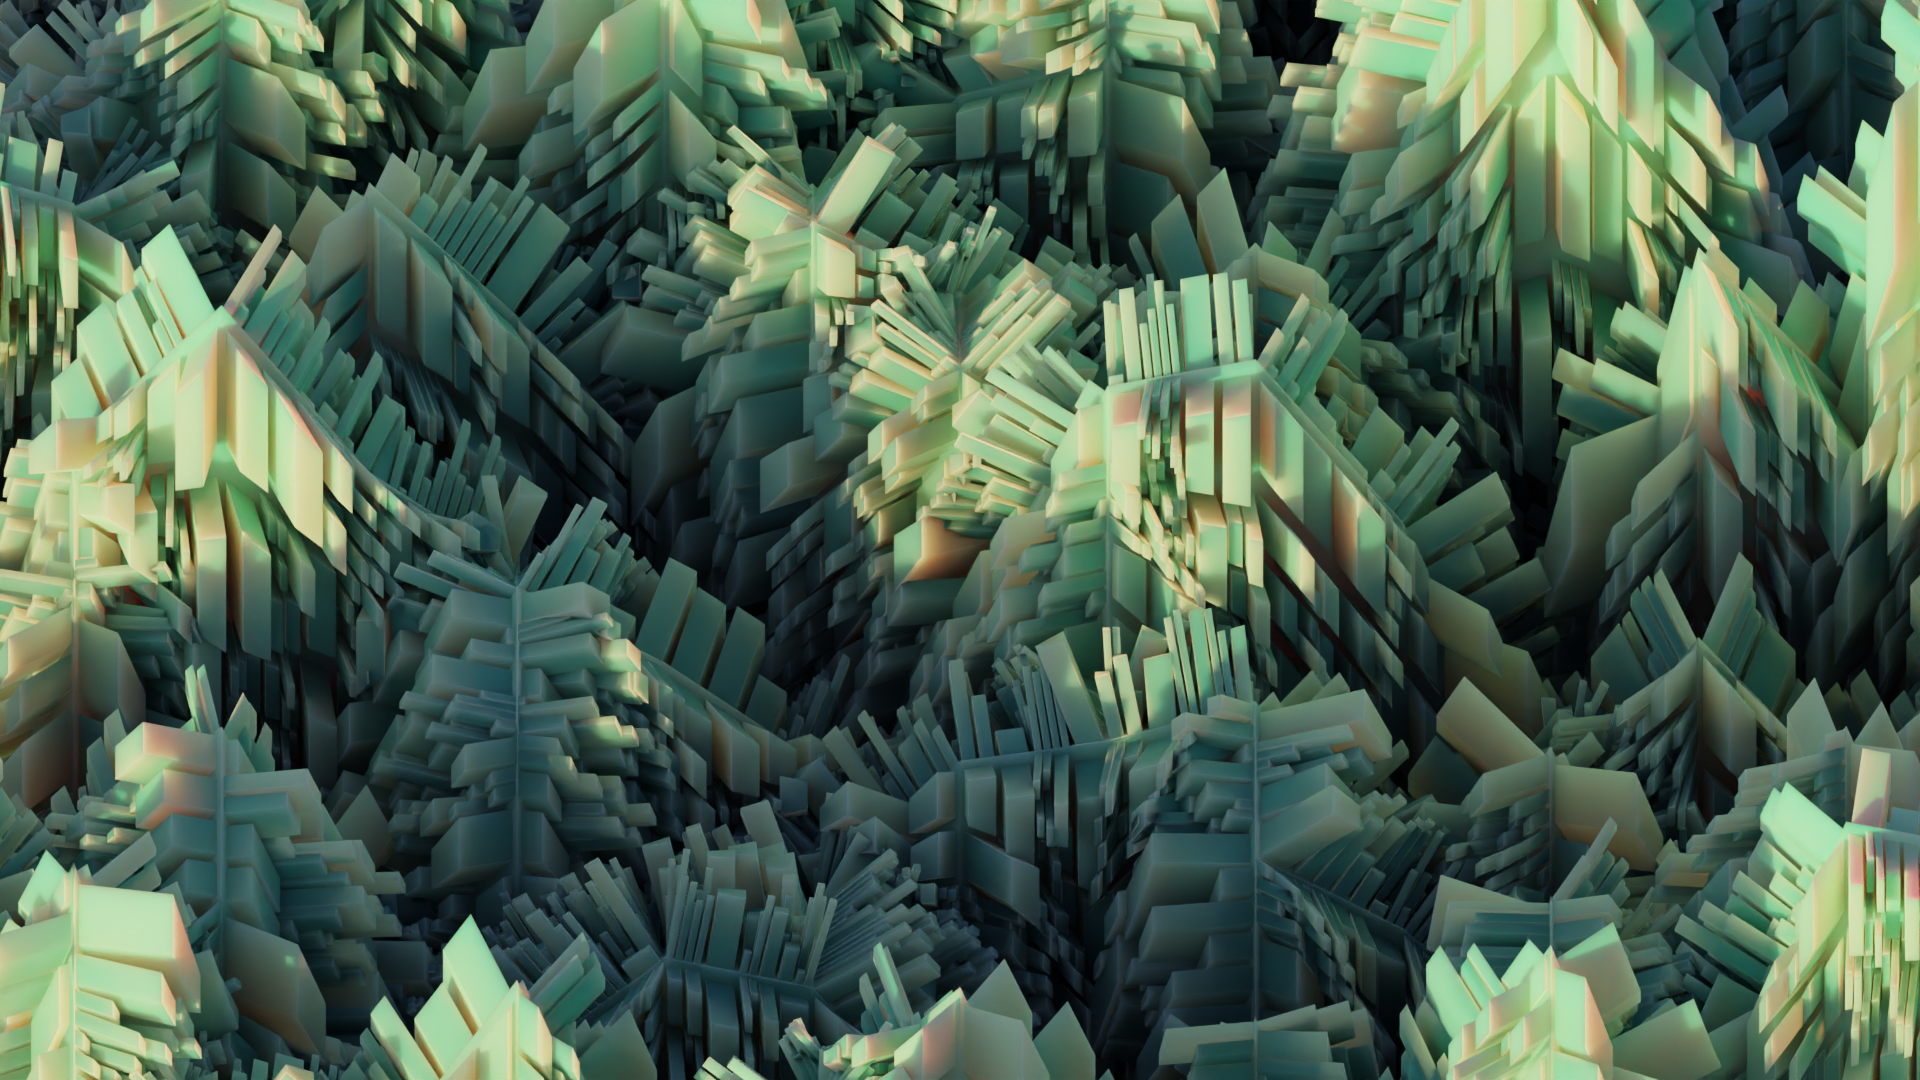
on the material. And basically what we want
with this material is for the low parts
of the model to be like a dark green and for the top peaks to be like this really light
kind of flesh color. And so to do that, we can
use a separate XYZ node. Again, like we did
in geometry nodes, except this time it'll be controlling the
color of the model. So I'll press Shift A S
and get a separate XYZ. And I'll also get a color ramp. And this is where the
Node Wrangler comes in. If we press Control T
on the separate x, y, z, it adds a texture mapping
and an image texture. And we can just
press Control X on the image texture and plug the mapping back
until the vector. Then all we wanna do
is change this from UV to object into the mapping. Then plugged the z value into the factor and plug the
color into the base color. And you can see
what this is doing. It's making the low parts, this black and the
top parts this white. And this is where we can
control the actual colors. So let's brighten this up a good bit and make it like this. Dark teal green. And then let's select
the white value and make it like this. Light. Light greenish color. Now looks pretty good. You can control the z value on the mapping if you
want it to be a little bit lower or higher. Alright, so I think
that looks pretty good. I might lower it just a touch
or erase it. Just a touch. I think that might be
a little bit better because we want the really
dark values to be subtle. So I think that looks good. Now the last thing
we want to change with the material
is the subsurface. We want to raise this just a little like 0.15 is pretty good. And basically the
subsurface will allow light to pass through the model a little bit and make it look a
little bit more cool. Alright, so let's head
back to Solid View. Head back into our layout view. This is pretty much it for
cameras setup and shading. In the next part of the course, we're going to move on to lighting and our final
render settings.
5. Lighting and Rendering: Alright, so the lighting
setup we're gonna be using for this is super simple. It's just gonna
be an HDRI image. So what you wanna do is
head into your browser and go to HDRI, haven. This site. Then type in sprue it, Spirit sunrise, and you just
want to download this HDRI. This is the one that I use. You can pick any HDRI honestly, if you want to go for
a different look. But the spirit sunrise
looks pretty good. So once you have
that downloaded, head back into your scene. And then you went to go back to the shading tab and change
from object to world. Then we went to add in
a environment texture. So press Shift S and then
type in environment texture. And then we'll press Control T and the
environment texture just to add some mapping. And then press Open. And then you went to
go to the folder where you have the HDRI installed. So Spirit sunrise find that, and then plugged the color
into the background. Press Control S to
save your project. And if you go into rendered, you should look pretty cool. Alright, so now the last step is adjusting our
render settings. So right now we're in EV, so it doesn't look very good. But if we change this in the Render Setting
and head to this tab, change from EV two cycles. It's going to look a
lot more realistic. Alright, then once you
have the lighting setup, the way you want, head back into shaded view and then back
in our render settings. This is where we're going
to change some things. Are max samples. We went to change this to 150. We don't need 500 samples, so that's a little bit overkill. Then we went to enable the noise so that our render
appears smooth. Because if we don't enable
the noise will have little spots that have tons of little dots and it
won't look super good, then our output settings
should be good. But we do want to change the frame rate to 25
frames per second. There's a total of 250 frames, so this will be a
10-second lung animation. Then in your output settings, you want to make sure that
the file format is PNG. And then you want to
choose a destination for your animation images to go. So once we have the render
settings set up next, we can head into camera view and press F2 to do a test
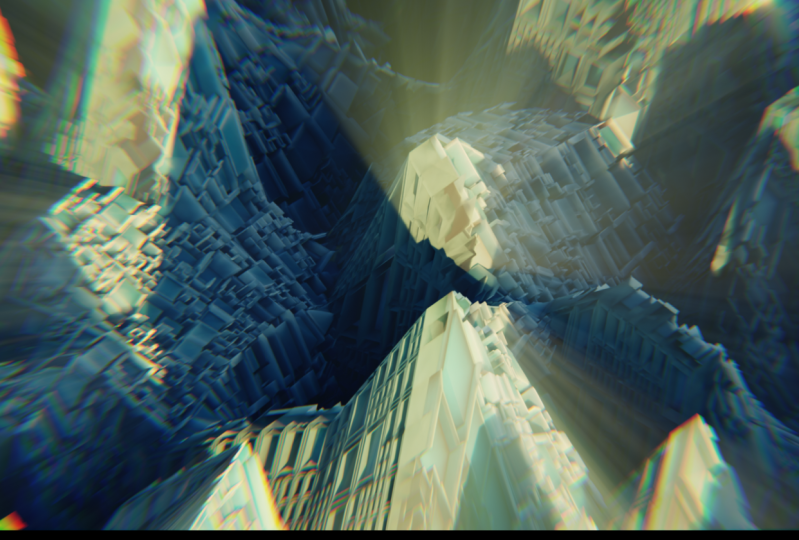
render and let that finish. Alright, so the
first frame is done. You can see how it looks
with the subsurface. It's allowing the
light to pass through in kind of creating these
like oranges and pinks. The ad nice contrast to the, the blues and the
greens in the shadows. So I really like how this looks. I'm not going to be tweaking
my lighting anymore, but if you want to
change anything, you can do that real quick. Get that setup how you
want before you actually start rendering out
all of the images. Also, if that's a QR, really
long time to render out, you can lower the
SMAC samples to something like 100 or 75, or even like worst-case
scenario 50, that will lower the quality
of the final animation. Now, if you rendered that
image really, really quickly, and you have a super
powerful computer, you could up the
resolution if you wanted to like 200 per cent. And each of these images will be basically four K resolution. And so that'll up the quality
of the final animation. So that's pretty much
it. Once you have the output destination for your images set and all your render settings
the way you want, and your lighting and your
colors or the way you want. You can press Control F 12. And this will start
the process of rendering out each
of the images. In the next part of the course, I'm going to be teaching
you guys how we can turn the images into an actual animation
and some composite in tweaks we can do to make it
look a little bit cooler.
6. Compositing: Alright, so once you've rendered
out all of your images, you can head up here to this little menu and change
this over to the compositor. What we want to do
is enable this, Use nodes button right
here and press X on the render layers to
delete it and press Shift A S and get an image node. Then we want to click open on this node and you
want to navigate down to the folder that has
all of your images. It should be a total of 250. And so you can just
press a to select all of them open image in, they should all be in there. Then you can plug
this image into the composite to be able to view this, we
need a viewer node. So press Shift S and fewer. Then connect this node to this. And then click this
little Backdrop Button and then head to view
right here and click Fit. You should be able
to see your image. Then we went to press Shift and hold right-click
on your mouse. To join these. This will allow us put nodes in-between and they'll go directly to the composite
and to the viewer. So we'll be able to see are changes that are happening
to our final composite. Alright, so next what
we want to do is add in a color balance to tweak
the colors a little bit. So press Shift S, color balance. Just plug that right here. So once we add this
color balance, you can start messing around with the colors a little bit. The lift is kinda
like your shadows. So I'm going to make
these a little bit more of a greenish hue. And then my mid tones, I want to be a little
bit more kind of counterbalance that maybe
a little bit more of this orangey, yellowish color. Then my highlights, I want
it to be this orangeish. If you want to see
the changes that this does just hit M on
the color balance. You can see what
effect you're getting. So I think I'm gonna
go for more of a blue with this, this render. Maybe a slight greenish
hue and my mid tones, or a slight teal and my mid tones. I think
that looks nice. And then keep that orange
a shoe and the highlights. So you can see before and then after it just add
some more contrast. It makes the colors a
little bit more vivid. We can probably turn
this down just a touch. Turn this down a touch as well. Just so it's a little
bit more subtle. Although I do want to keep
the oranges pretty prominent. Alright, so we have a
before and an after. And if you prefer that before, you can just delete this node. But I like to use it to make my colors a
little bit more vivid. Mess around with
things a little bit. Alright, so now what
you want to do is add in a sun beams node. You will know plug the image, the image right here, and you want to set the
railing to one. Then you went to add in a mixed node in right now the mix is just mixing between our
image and white. So we want to set the factor to zero and change this to screen. And then plug the
sunbeams into the image and set the factor to a
small number like 0.15. What this does is it just adds the soft glow to the image. This might be a
little bit extreme, so maybe set it to 0.1. And basically a kind of
softens the edges a little bit and adds these interesting little sun beams that look
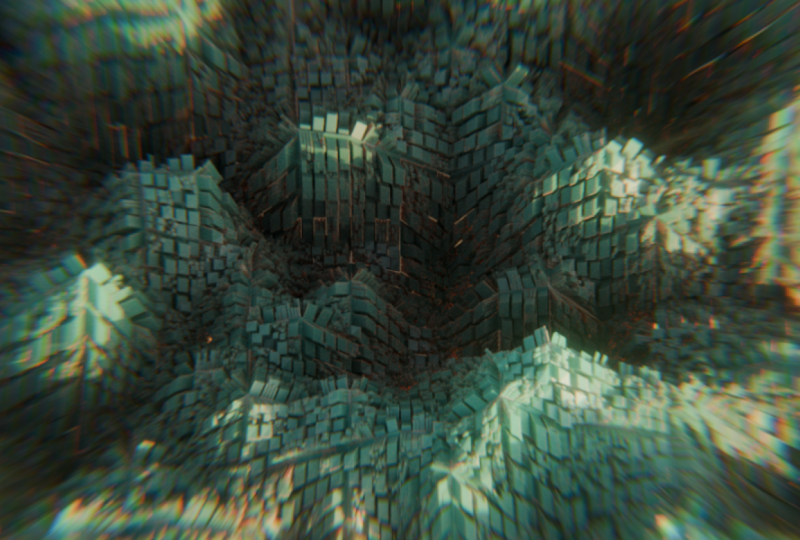
good in the final render. Now we want to add
some distortion to the image to make it look
a little bit more tricky. So we'll press Shift S and
get a lens distortion. And we want to plug this here. We went to mess with the
dispersion a little bit. This is way too much. But if you set the dispersion
to something like 0.075, it adds this interesting effect around the edge
of our animation. Let's try 0.05, make it a
little bit more subtle. Then we can duplicate
this note over and set the dispersion to zero and mess around with
the distort a little bit. So maybe negative 0.1. That's kind of interesting. And maybe negative 0.25 until you get a
value that you like. That looks kinda cool. I think maybe negative 0.15 adds a slight distortion to it and makes it look a
little bit more interesting. So I can select all these
nodes and press M to mute. And this is the
before compositing. And this is the
after compositing. So just makes it look
a little bit more interesting in a little
bit more dynamic. Then what you want to do is
head to your output settings, change the frame rate to
25 frames per second. Choose an output destination for your final video and change the file format
to FFmpeg video. Then change the encoding
from Metro SCA to MPEG-4. So once you're ready,
just press Control F2, and it will render out
your final animation. Congrats on completing
the first course in this motion design series. I want to thank you
guys If you made it all the way to the end and congratulations on hopefully
a super cool render. I hope you guys are
really proud of it. And if you want to keep
progressing your skills, make sure to follow me
and check out my courses. As I released them,
I'm going to be releasing many more
courses on motion design, creating cool stuff like this. Alright, thanks
again for watching. And I hope you have a
great rest of your day.
 Surface Designs