Transcripts
1. Intro: Let's Paint Mushrooms!: Our first encounter with watercolors is often
a magical moment in our childhood when our hearts brim with boundless creativity. Little do we realize the vast potential of
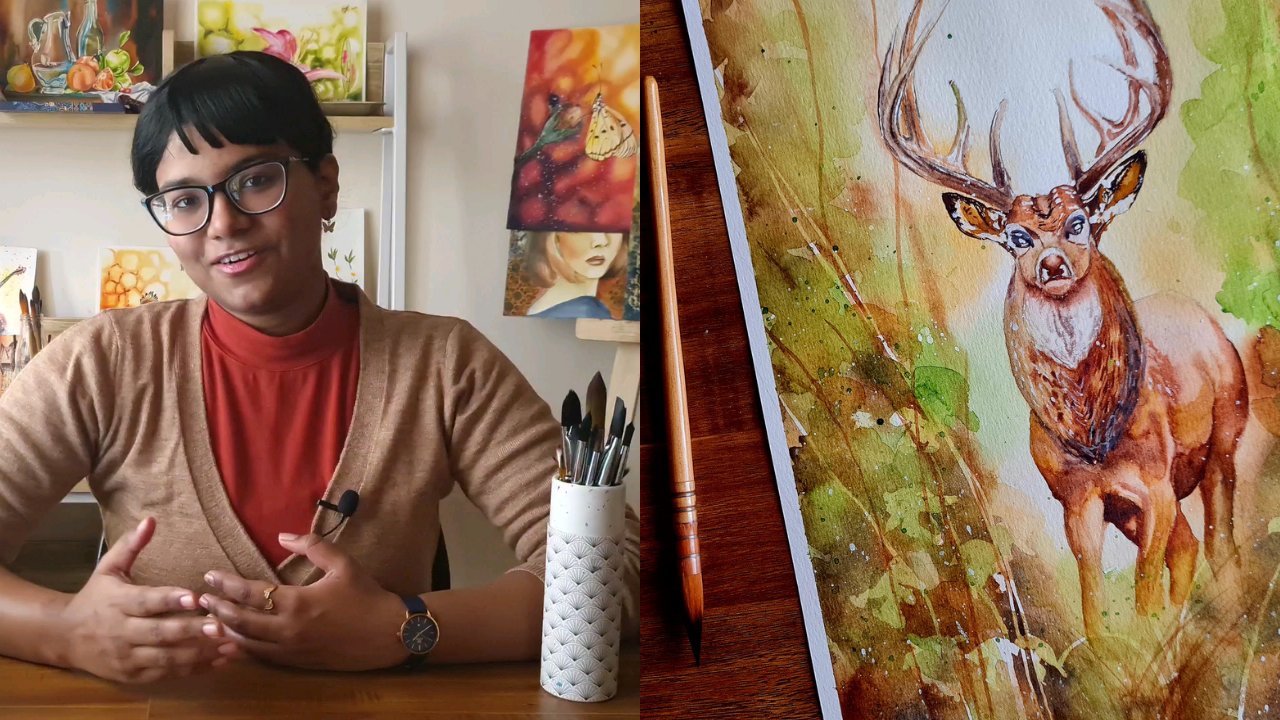
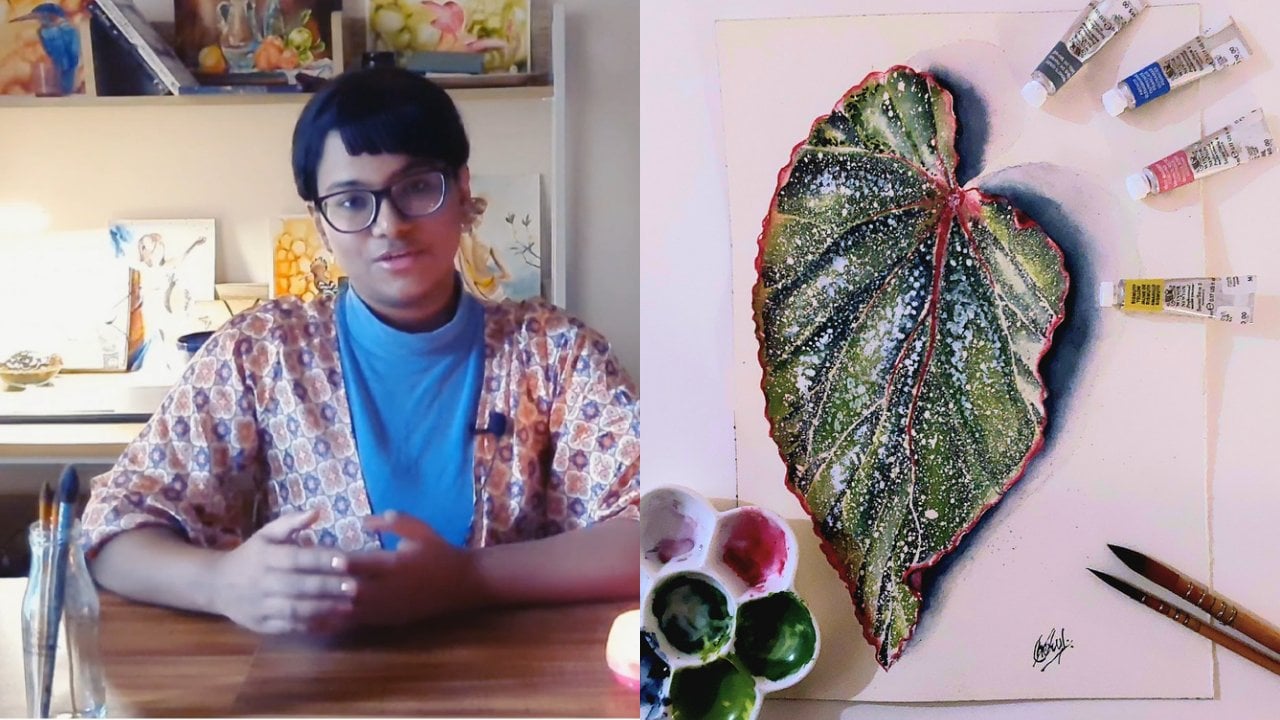
this humble medium. Hi, everyone, I'm Cheryl, a physicist by training, and a self taught
watercolor artist. I live in a small town
in the heart of India, where I pursue my passion
for art as my life's work. From a young age, creativity flowed through me like a river, nurtured by the clean and verdant surroundings
of my hometown. Nature became my muse, whispering secrets of
beauty and inspiration. For many, rediscovery of art in later years is a
rare and special gift. It's an opportunity to step into the enchanting world
of watercolors with new found appreciation. Just as mushrooms spring
forth from the forest floor, fresh beauty emerges from
our past experiences. This symbolism permeates
our journey as we explore this vibrant
and dynamic medium. In my class, we embark on
an ahlarating adventure, delving into the tips, tricks and techniques
of watercolor painting. Our project, painting mushrooms, symbols of transformation
and growth. We'll learn to sketch
the subject and then breathe life into our
drawings with watercolors. Through layering, we will
add depth and richness, balance our composition,
and explore the power of a limited
palette to create harmony. This beginner lever
class is designed to be accessible using the
supplies you already have. Join me on this thrilling
journey and let's discover the magic of
watercolors together. I can't wait to see
what you create.
2. Class Project: For your class project, I invite you to get your
watercolor supplies ready and paint with me. I will guide you on how to draw these mushrooms and we will paint them one step at a time. Along the way, we will explore a wide variety of
watercolor techniques. I strongly suggest
that you watch each lesson till the end
before trying that part. This way, you can be better
prepared for what to expect and hopefully
avoid too many mistakes. If any part of the lessons are not as clear
as they should be, please feel free to start a discussion below.
See you in class.
3. Materials: For our watercolor
mushroom painting, these are the materials
we will require. The basic ones are
watercolor paints, watercolor paper, brushes,
and two jars of water. You will need a pencil and
an eraser for drawing. It's also crucial to have
a rack piece of cloth to dab off excess water from
your brushes while you paint. You could instead also
use paper towels. I'm also going to use
the ceramic palette, but if you don't have one, you could squeeze
your paints onto a ceramic dining plate and
that would work just as well. If you use watercolor
pants instead of watercolor tube set like
me, that's perfectly okay. The key is to use whatever
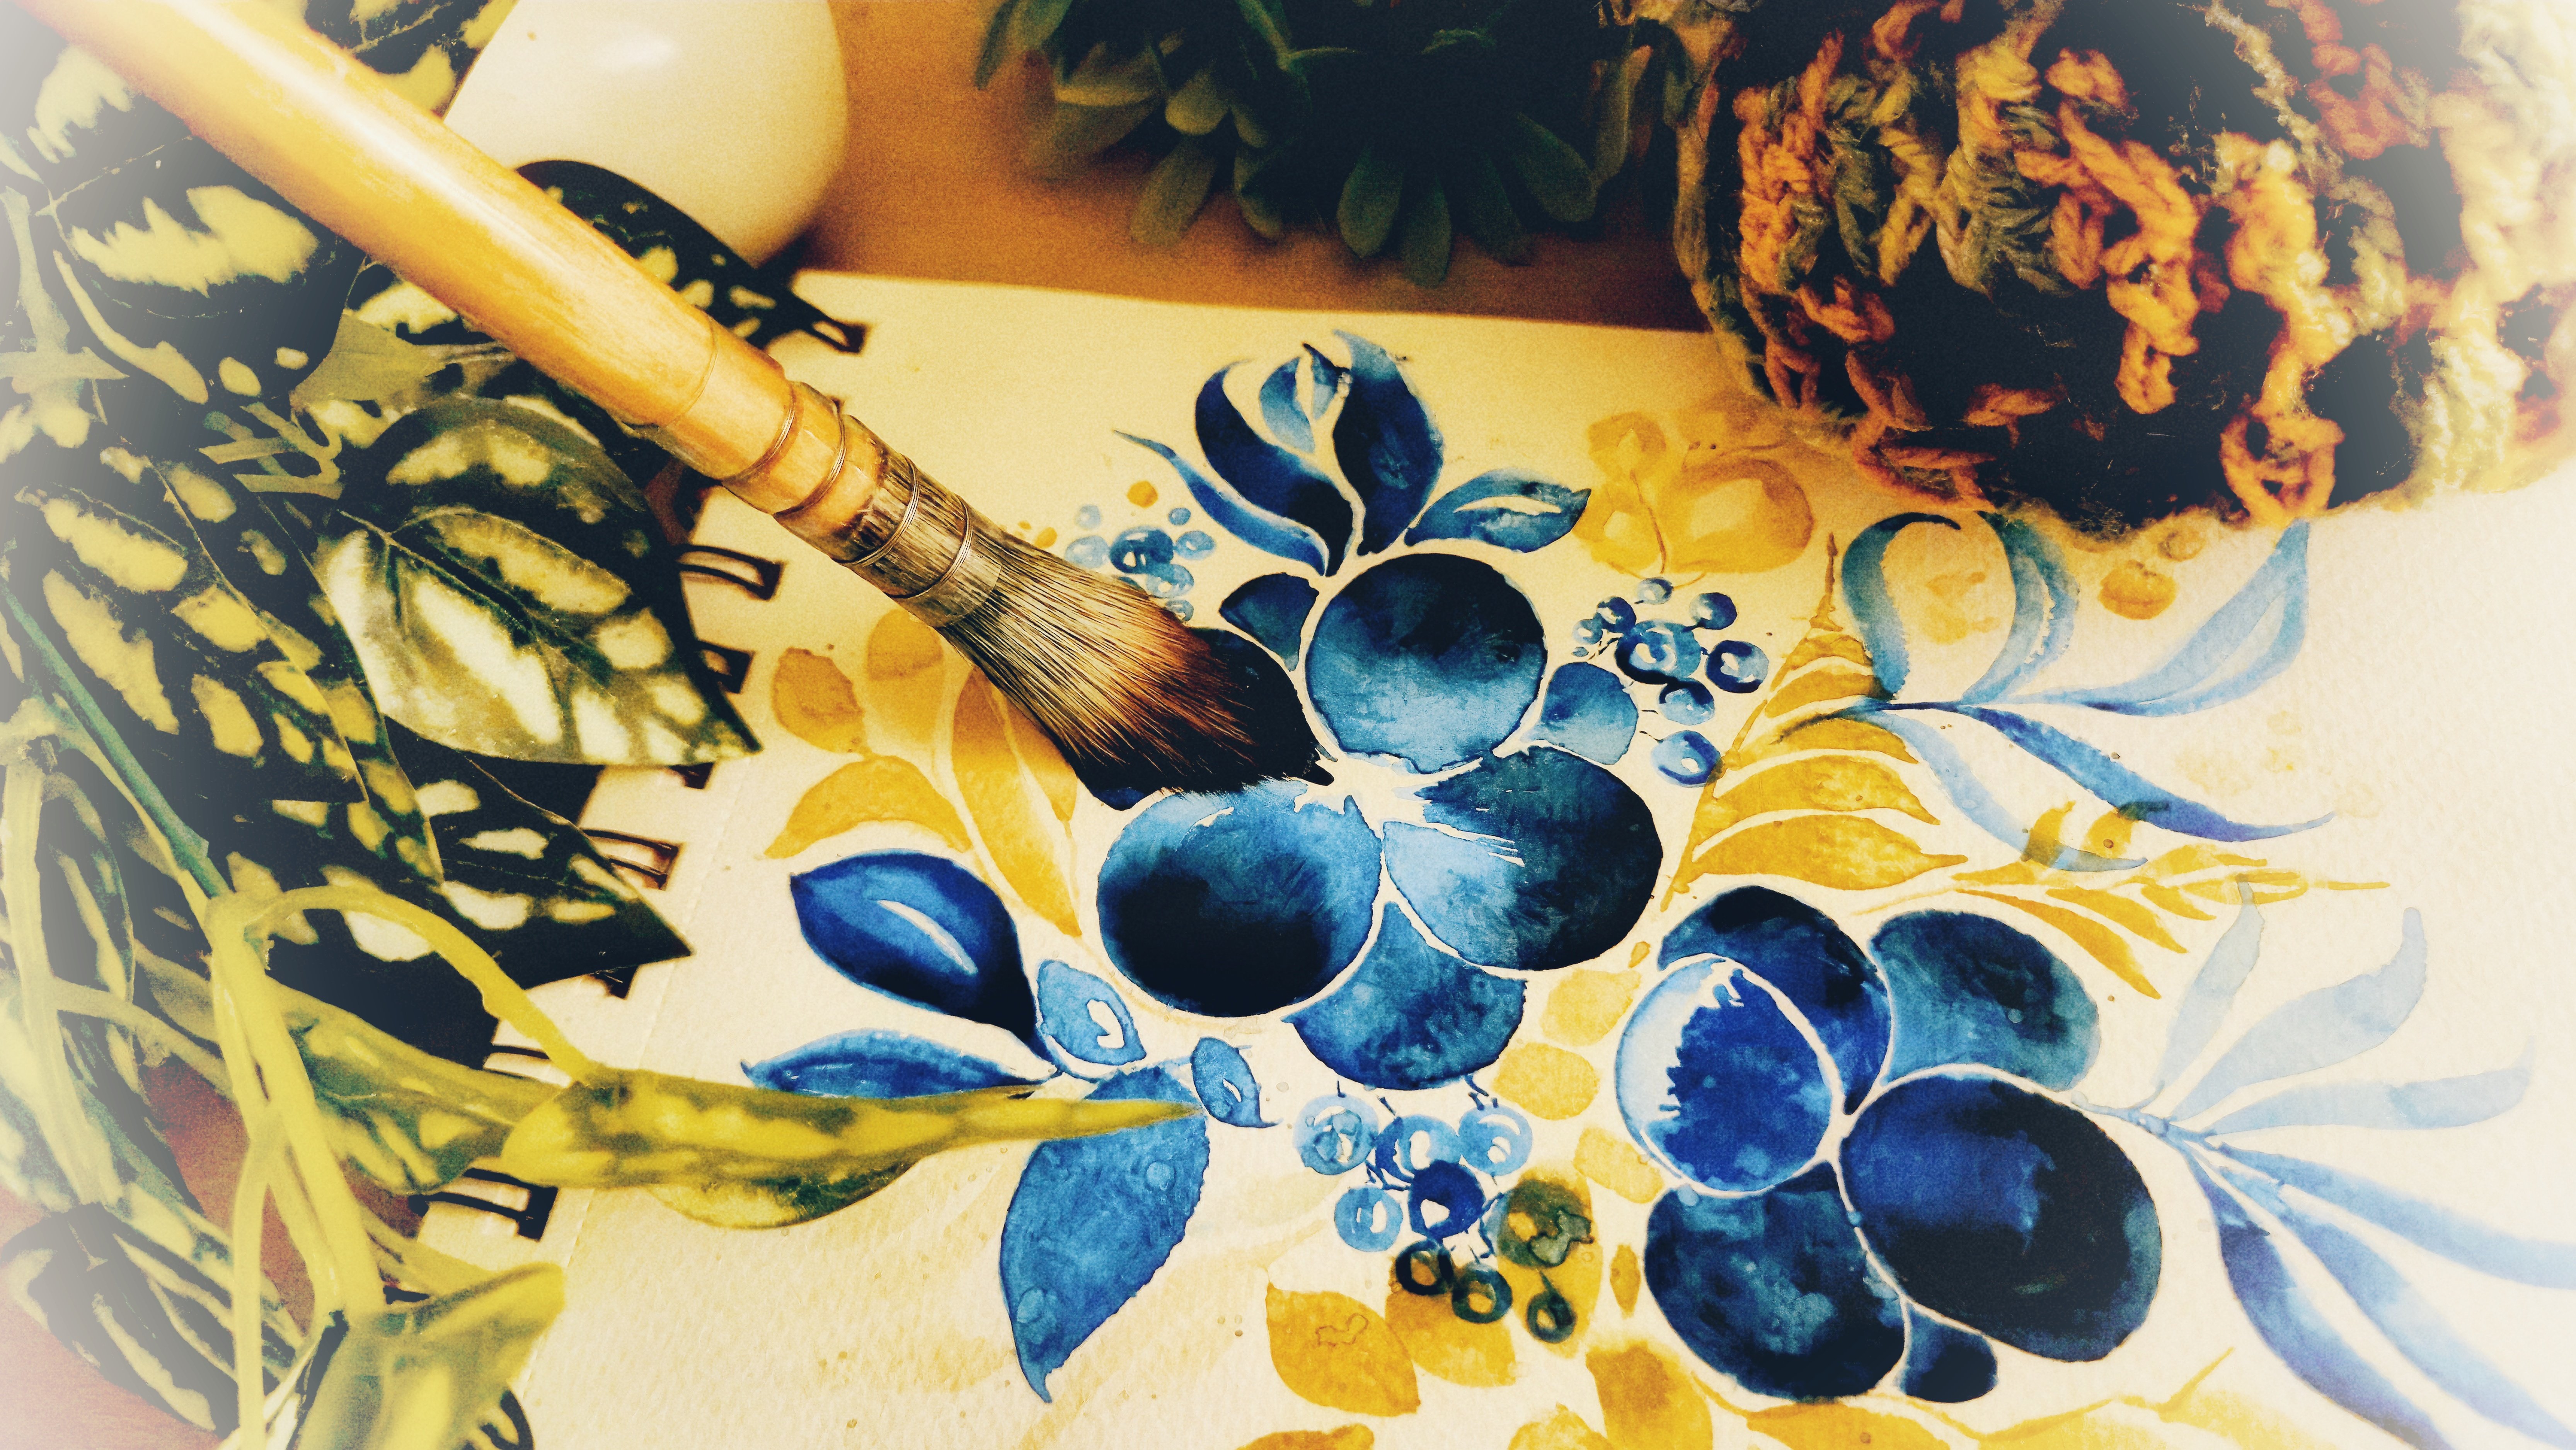
you have at hand. The specific colors I'm using our Sap green ultramarine deep, burnt sienna, yellow
ocher, and scarlet laquer. You do not need to have
the exact same hues. You are free to
substitute them for similar looking colors
that you have with you. My watercolor paper is
300 GSM or 140 pounds, and it's important to have thick and heavy
paper so that you can sustain all the layers
that we'll put down. 300 GSM or anything
about that is fine.
4. Drawing: L et us get down to drawing. The materials you will need
are your watercolor paper, pencil, eraser, and
reference tensil. If you are not too confident
with your drawing skills, you could use the
tensil to trace out. Alternatively, you could
first draw on a scrap sheet of paper before transferring the sketch onto the watercolor. I would encourage you to practice drawing
yourself though. Any drawing can be
simplified by viewing it as a collection of
elementary shapes and lines. I first roughly
draw the lines for the stems and later
add the caps. These caps are just val, but slightly deformed, so we
have a more organic look. I then refined my sketch, separating the top and the
bottom parts of the cap with a curved line that
captures my desired cots. The bottom part of the
mushrooms will have gills, which we will directly paint. Where the stem meets the gills, I draw a ring and add a skirt. From beneath the skirt protrudes the stem,
which I now draw. Additionally, I have some grass to balance the composition. I also draw some soil over
which my mushrooms stand.
5. First Layer: Now that we have our
drawing ready before us, we get to the fun part
which is painting. For this lesson, I have in my workspace two
jars of clean water, my color squeezed
onto my palette, a piece of cloth,
and my brushes. The size of the brush
that you choose should be comfortable to use relative
to the size of your drawing. I begin by applying
a thin layer of clean water onto
my mushroom caps. I apply more than
necessary because it's hot where I'm located and
the paper dries quickly. Furthermore, I want to
take my time and apply sufficient water so that it
can soak well into the page. You shouldn't have any
puddles of water, though. If you've got too much
water on the paper, it might create
blooms when it dries. The solution is to use a dry brush to soak
up the excess water. Now we start to lay
down our colors. Starting with the
lightest shade, it is a dilute yellow occur. I lay down colors on
the wet mushroom caps. This technique is
called wet on wet. When you paint, the
water will transfer from the brush to the
paper if you have more water on the brush
than on the paper. This can cause
unintentional blooms. On the other hand, if the
brush has less water, the water flows from the
paper onto the brush. This is how we want
to paint wet layers. The way to control the amount of water on your brush is by using the rack cloth to dab off excess water
from your brush. It takes practice to get
water control right. However, with time,
you'll get there. I use a thick consistency of yellow occur where I
want the shadows to be. Now and then, whenever I notice
excess water on my paper, I off a clean wet
brush onto my cloth and then use this
brush to collect the puddle of water
off my paper. While my paper is still wet, I continue to layer now with
burn Siena for darker tones. I proceed to the stem. Again, I bet the stem and then I lay down the
lightest colors first. I darken these colors
layer by layer. I'm primarily using burnt sienna with a bit of ultramarine
blue mixed in. This gives a nice
deep brown color. I vary the proportions
of burnt sienna and ultramarine blue to add
interest to the painting. You could also experiment with mixing little bits of scarlet or yellow ocher with
your burnt sienna to get different
shades of brown. Once I've covered
all three stems, I proceed to paint the skirts. My stems are still wet, so I leave a gap between the paint on the stem and
the bottom of the skirt. This is to prevent
bleeding of colors. I lay down yellow ochre first, gradually building the shadows. I use burnt Siena
to add depth as well as to paint some of
the folds in the skirt. After this, I
proceed to lay down a thin layer of yellow
ocher onto the soil. I then use a relatively
dry brush with burn sienna to add textures
by stippling dry on wet. I then sip on the stem wet on dry to create
the impression of soil. With this, we are done
with our first layer.
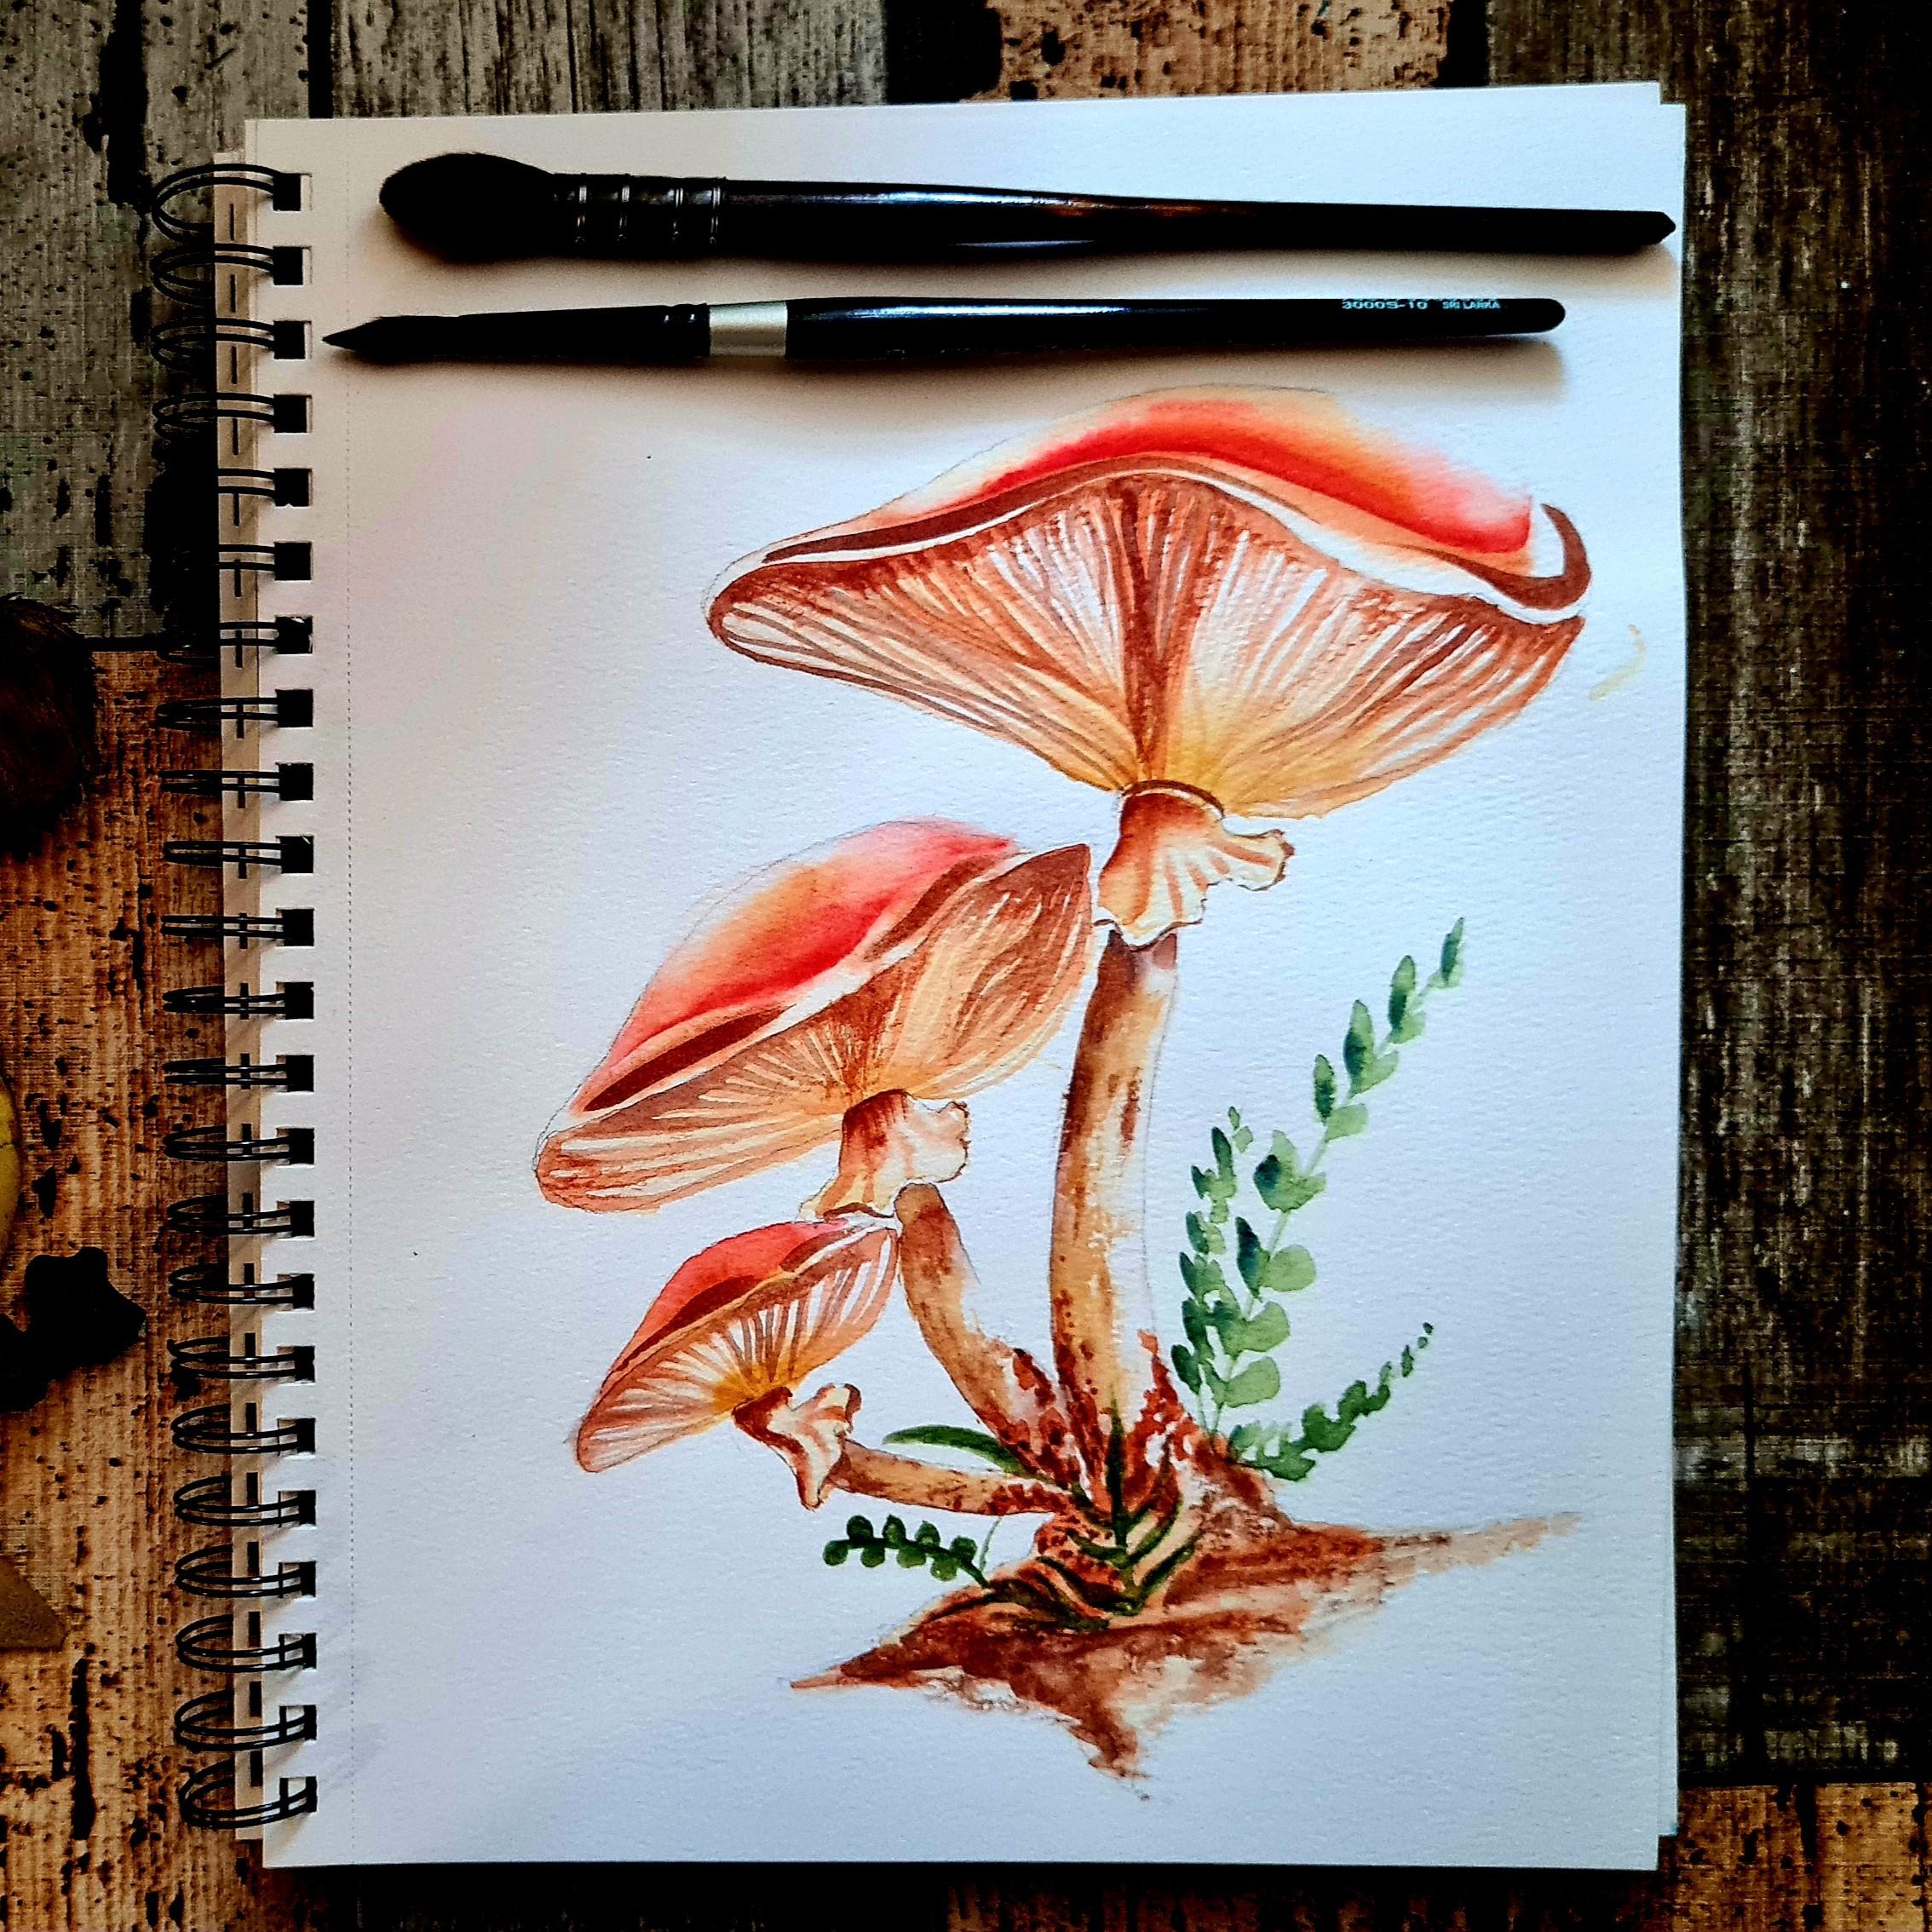
6. Top of Mushroom Caps: Once our first layer
is completely dry, we can proceed with this lesson. We will now paint the top of the mushroom cap
with scarlet laquer. I have placed my
mushrooms upside down because this makes
it easier for my arm, and I invite you to do the same. I start by creating a dilute mix of the scarlet and I
paint across the gap. You could also add
some burnt sienna to create variety
in tonal values. With a clean damp brush, I blend the top edge like so. I do the same for
all three mushrooms. I place a higher intensity of color towards the
middle of the mushroom, since this is where I want
the greatest contrast. If you notice closely, you'll see that I have left some space between
the scarlet paint and the pencil line the
top of the mushroom. This is to give
the impression of the mushroom caps folding
inward at the boundaries. Depending on your taste, you could choose to leave such a gap in your painting or not.
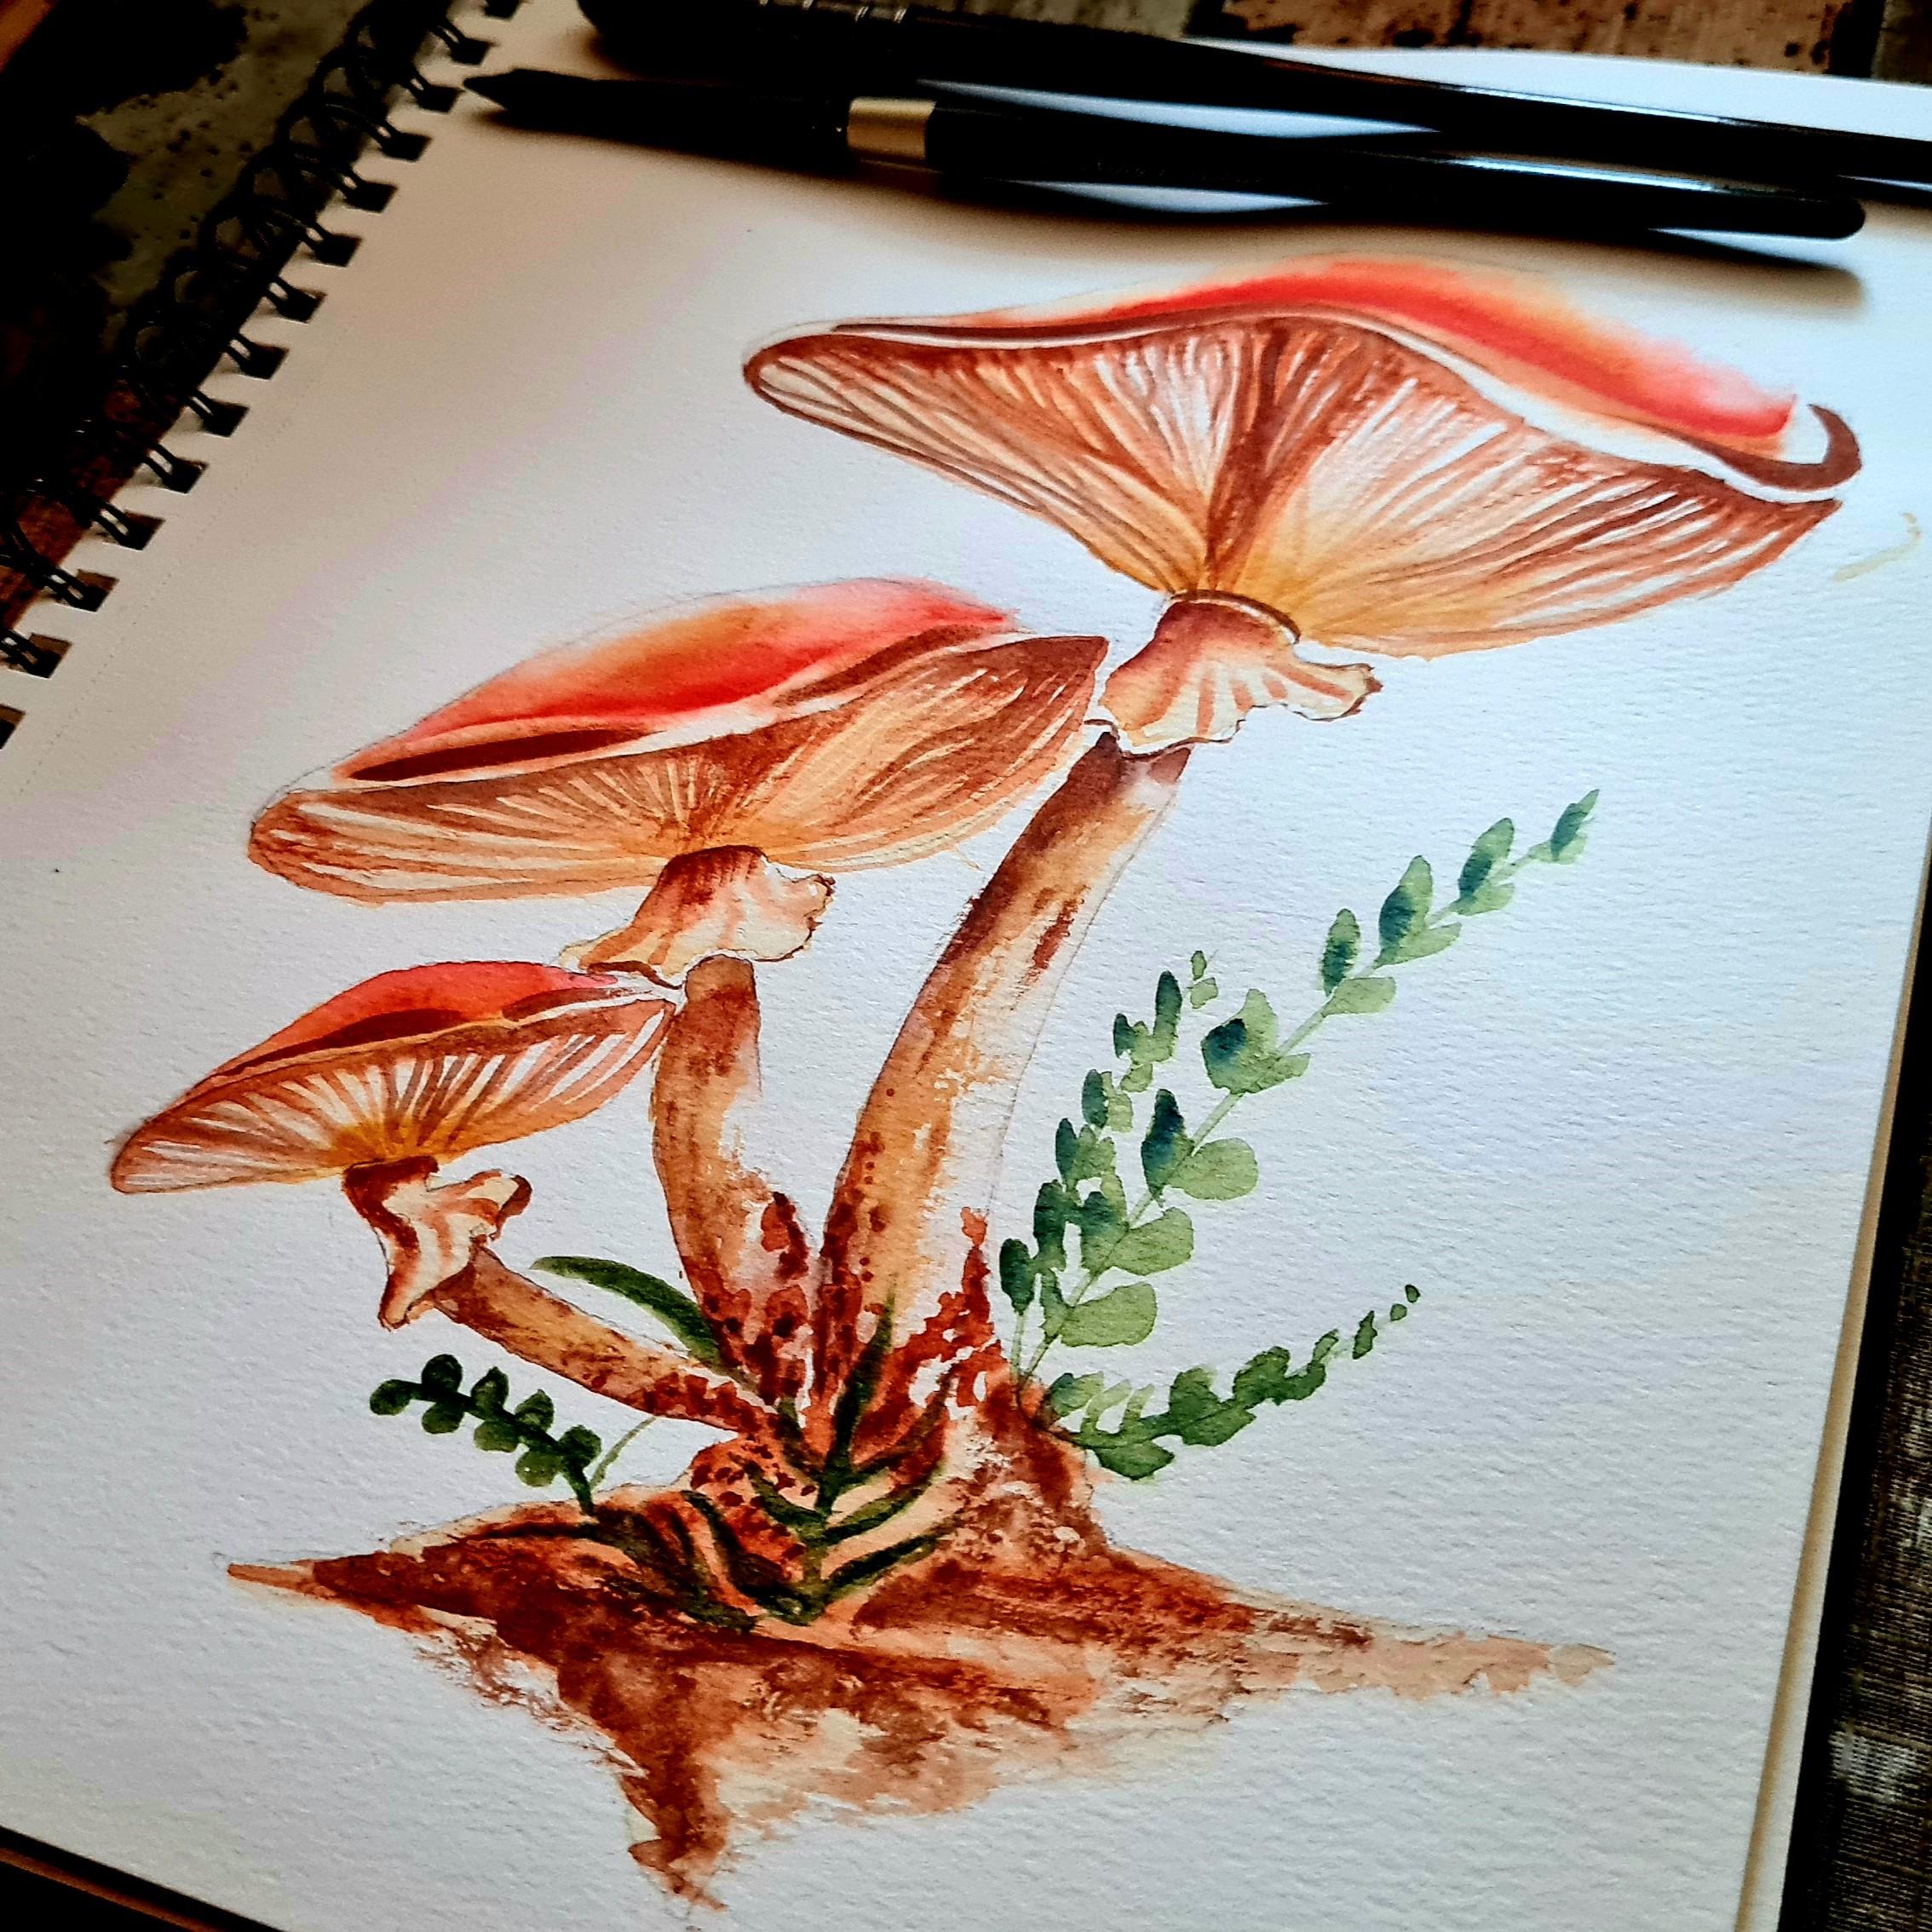
7. Gills Beneath the Caps: It is now time to paint the gills at the bottom
of the mushroom. I mix a very watery
burnt sienna, and using a very
fine paint brush, I create these pale lines. I try to vary the
intensity to give it a more natural look by
mixing in more burnt sienna. Try not to cross over the lines that you
have already put down. It's a good idea to
tackle a stretch at once. First, paint over a part
of the demarcation line. Then pull out the lines from the edges and draw the
one at the center. Then split in half
the left segment and draw the middle line. Continue this process until
you have enough lines. Keep wearing the hue
and tone by mixing in the other colors on your
palette with the burnt sienna. For darker areas, use
ultramarine blue. Do this for all three mushrooms. Once the first layer
of lines has dried, create depth by adding
more layers of lines. This way, you can achieve
a more realistic look. I have found that the patient
you are with this part, the better the outcome. Since it's a repetitive process, this exercise doubles as
a mindfulness exercise, and I invite you to
be in touch with the present moment and enjoy
creating your artwork. You may have noticed that
we use the same set of limited colors for each
component of our painting. This is generally
a good idea since it makes the piece look
unified and cohesive. Using too many colors or
using different colors for different parts
of the painting isn't usually a good practice. This gives the painting the
look of a patchwork collage. However, if you believe
that's your style, don't let me or anyone
else tell you otherwise. Creating groundbreaking
artwork is all about breaking the rules
in interesting ways.
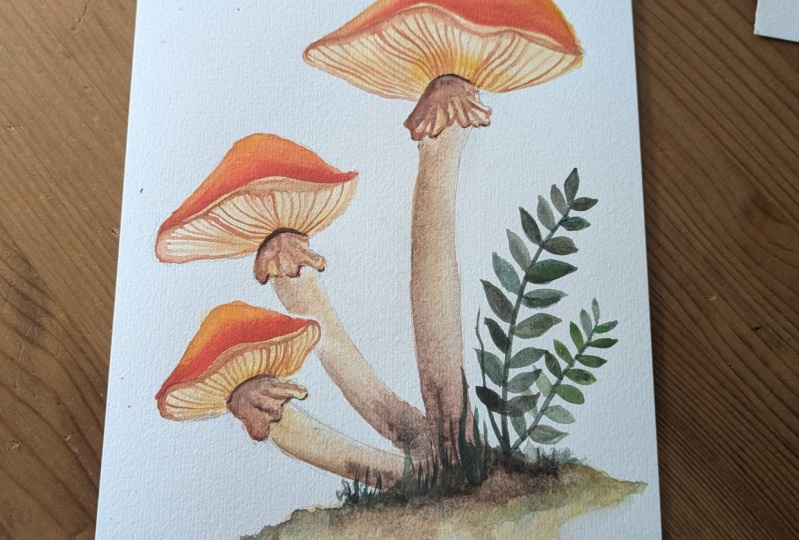
8. The Soil and Grass: In this lesson,
we will work more on the soil and the grass
around the mushrooms. I mix a dilute sap green and I start by painting over
my thin pencil lines. I then add these small leaves
directly with my paints. If you are not confident
about doing so, you could draw first. With a thicker
consistency of my green, I start to include this
plant over the soil. I add some more
greenery onto the soil. I go in with ultramarine to
darken parts of the leaves. While doing this part, try
to alternate your vision between focusing on
the individual details and looking at the
painting as a whole. This way, you'll be able to see if the value placements
are correct. Or in other words,
which parts need to be darkened and which
ones kept lighter. I darken the soil
to the left side to give the impression
of light from top right. I then start stippling with a deep brown color onto the soil to build
layers and at depth. Once all my water
has left my brush, I have a relatively dry one. I use this to add more texture. Another way to create a brush is to load it with a
concentrated brown pigment, then of the excess
water on your. Then drag this brush over
the paper to create texture. With this, our painting
is nearly ready. In the next part, we'll
make it stand out with some subtle but
crucial finishing touches.
9. Finishing Touches: In this lesson, we'll add
final details to our artwork. I thicken the fold
in the caps with the dark mix of burnt sienna
and ultramarine blue. I add textures to the stem of the mushrooms with a
relatively dry brush. After loading the
brush with pigment, I dab off the excess
water on the towel. Then I lightly drag my
brush along the stems. This gives the
impression of soil and perfections on the stem. It's important not to go
overboard with the step. Take a step back now
and then and view your painting as a whole to decide how much texture
is appropriate. I thicken the rings above
the mushroom skirts with burn sienna and then add some discontinuous
lines to the bottom. Don't make a continuous
line though, because that would
give the painting an illustration like fail. Next, I mix a dilute
yellow ochre and use it to add shadows by dry brushing one side
of the mushroom stem. Finally, I added
textures to the gills of the mushrooms because I felt
the need for texture there. But if you would rather keep
the mushroom gills smooth, you may skip this step. With this, our
artwork is complete.
10. Outro: Upload Project!: A Thank you for staying with me through the lessons
and congratulations on completing your painting. As a final step, please do not hesitate to
upload a snapshot of your painting process or your finished work to the
project gallery below. Feel free to ask
any questions in the discussions or seek
feedback for your project, and I will be sure to
take a look and reply. Do leave likes and
comments for your fellow students projects to encourage
and support each other. Please also consider leaving an honest review for this class, since this helps me
improve my content and create more classes
for you to enjoy. Until next time, happy painting.
 Sheryl Mathew, A Physicist with a Watercolor Streak