Beading Class: Beaded Jewelry Making Masterclass Beginner-Pro (Part 5: Van cleef Station Necklace) | Mariya Karim | Skillshare

Playback Speed


1.0x


  • 0.5x
  • 0.75x
  • 1x (Normal)
  • 1.25x
  • 1.5x
  • 1.75x
  • 2x

Beading Class: Beaded Jewelry Making Masterclass Beginner-Pro (Part 5: Van cleef Station Necklace)

teacher avatar Mariya Karim, null

Watch this class and thousands more

Get unlimited access to every class
Taught by industry leaders & working professionals
Topics include illustration, design, photography, and more

Watch this class and thousands more

Get unlimited access to every class
Taught by industry leaders & working professionals
Topics include illustration, design, photography, and more

Lessons in This Class

    • 1.

      Introduction(Vancleef Necklace)

      2:22

    • 2.

      1.How to bead a vancleef

      6:46

    • 3.

      2.How to join beaded vancleefs together

      7:03

  • --
  • Beginner level
  • Intermediate level
  • Advanced level
  • All levels

Community Generated

The level is determined by a majority opinion of students who have reviewed this class. The teacher's recommendation is shown until at least 5 student responses are collected.

1

Student

--

Projects

About This Class

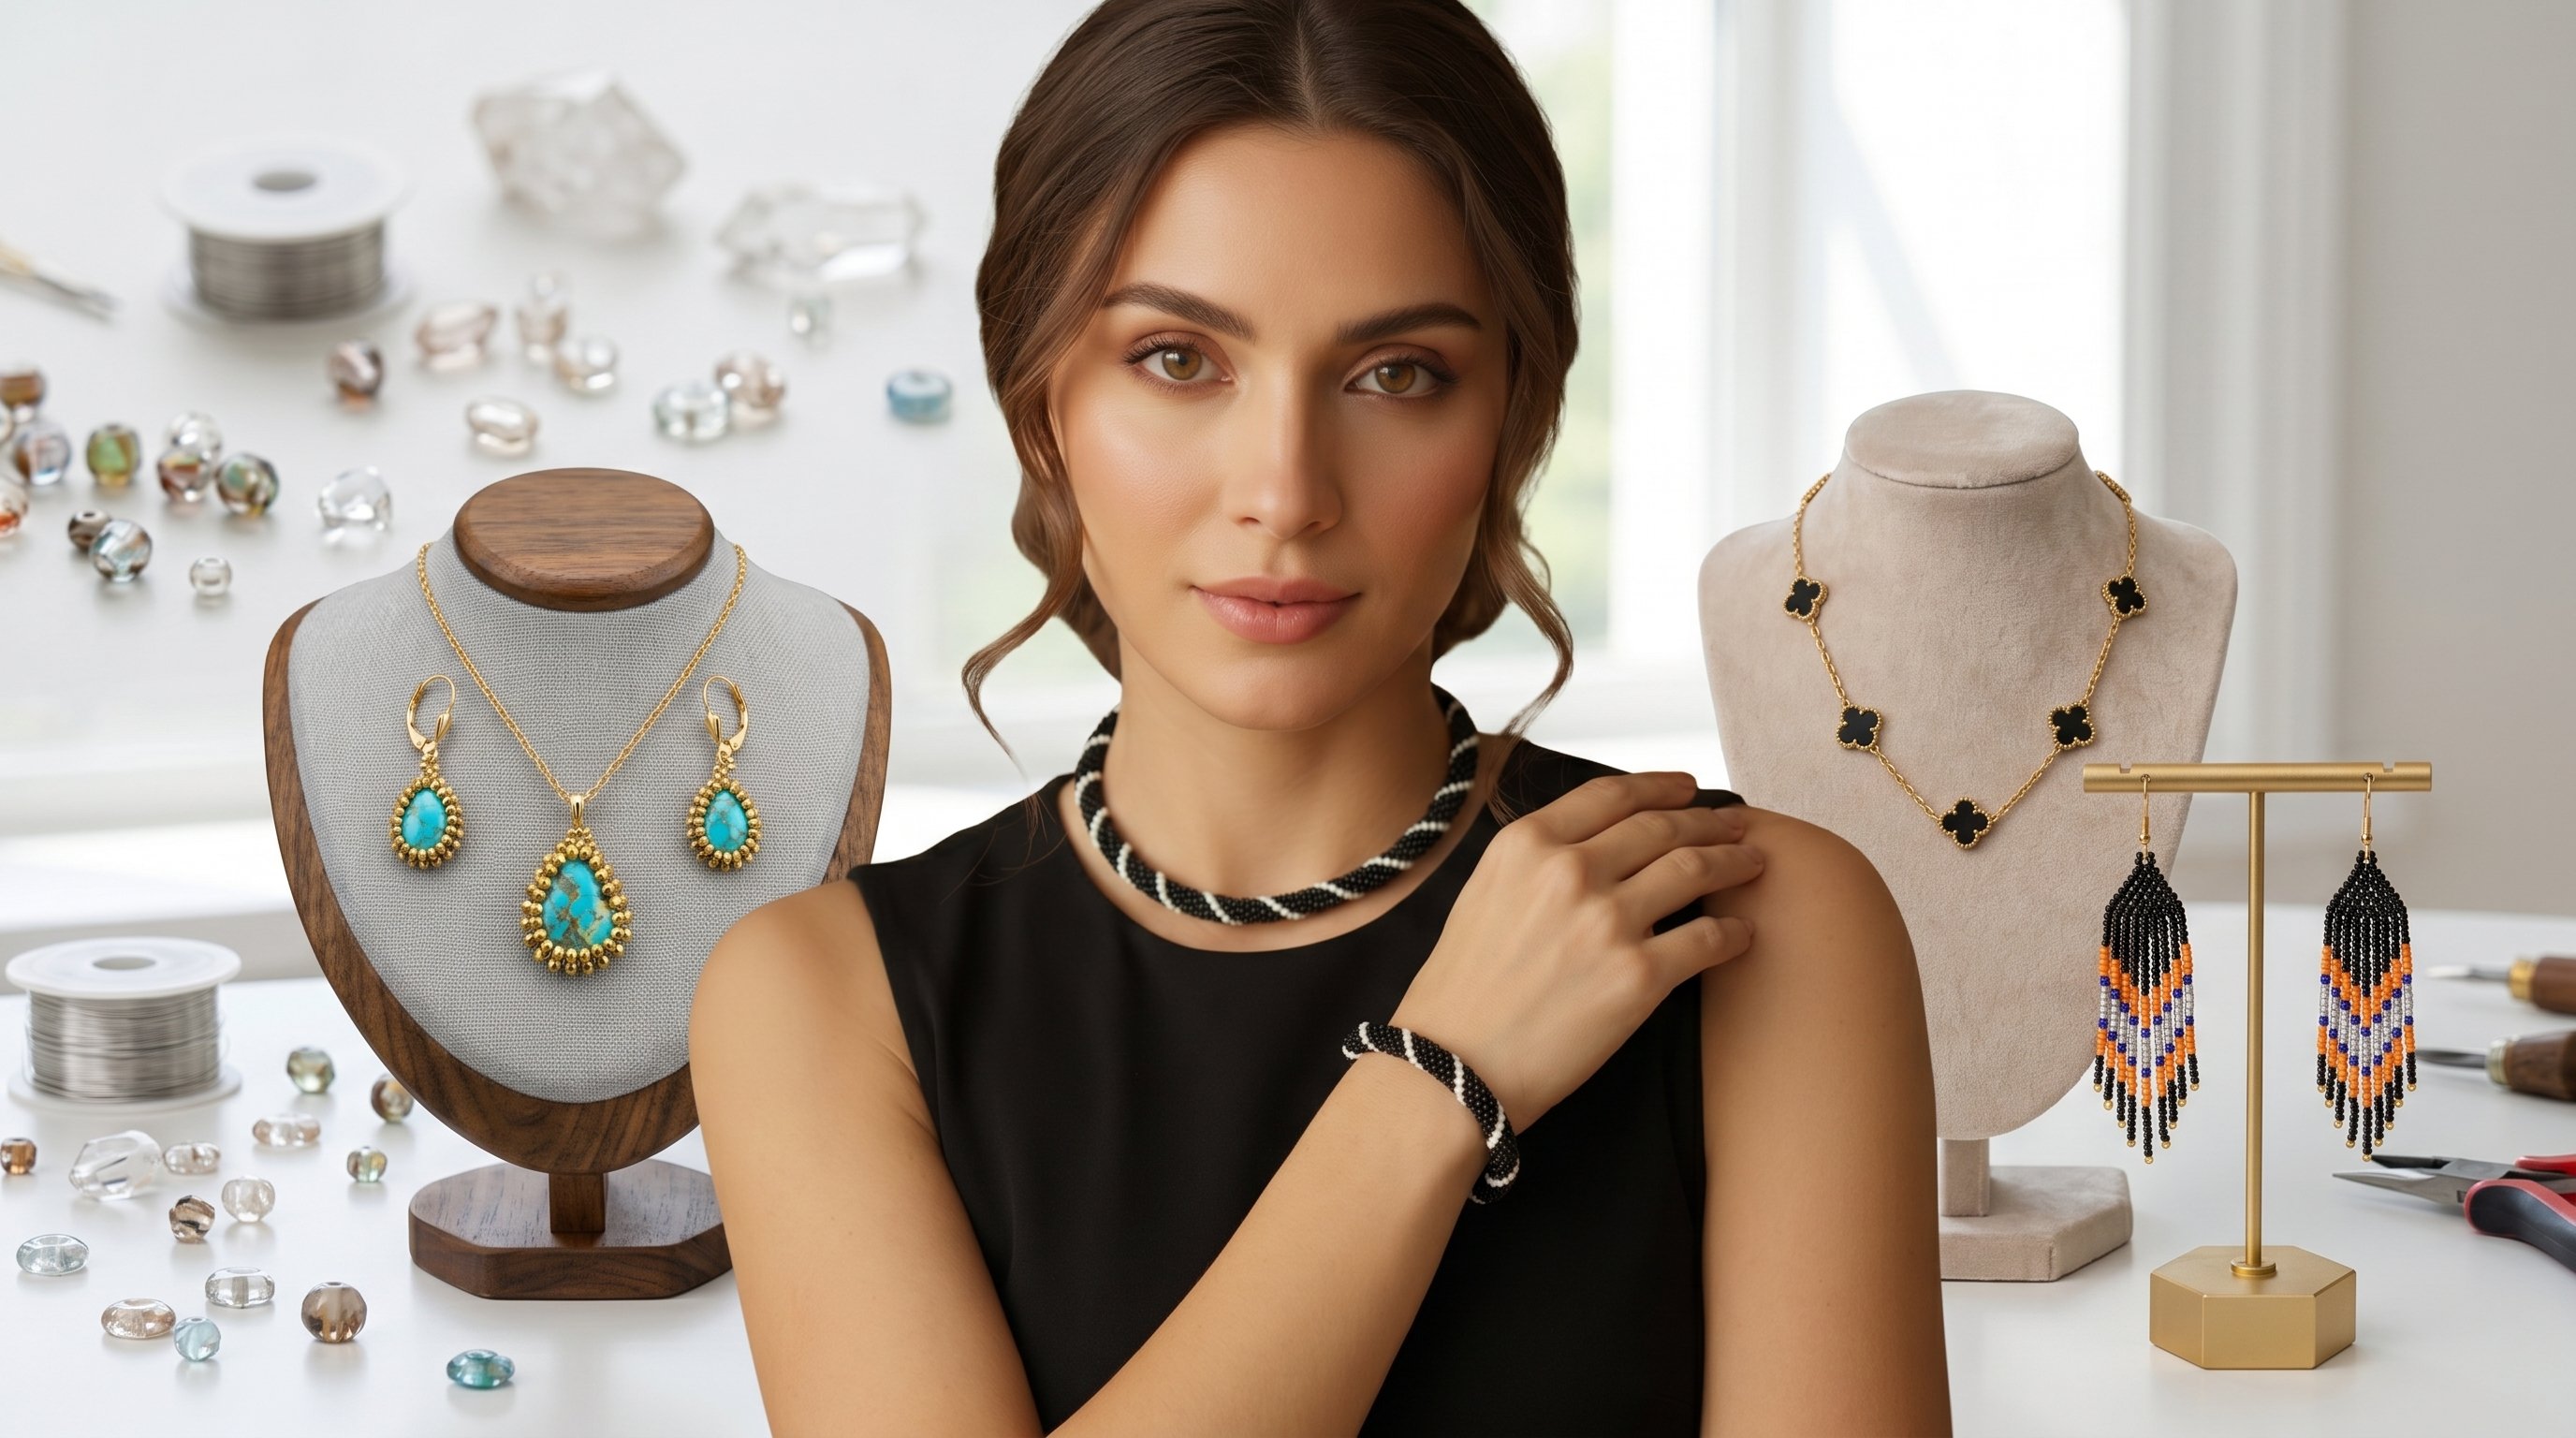
Learn how to create an elegant Van Cleef-inspired beaded jewelry set featuring a necklace, bracelet, and matching earrings! ✨

In this step-by-step beaded jewelry making class, you’ll learn how to create a beautiful and trendy jewelry set inspired by the iconic floral style of luxury jewelry, using seed beads and beading techniques.

Together, we’ll create a coordinated set including:

🌸 Beaded Necklace
Learn how to create a delicate floral-inspired necklace with a sophisticated and elegant finish.

🌸 Beaded Bracelet
Create a matching bracelet and learn how to achieve a beautiful, professional-looking beaded design.

🌸 Beaded Earrings
Complete the set with matching earrings that bring the whole jewelry collection together.

This class is perfect for anyone interested in DIY jewelry, handmade jewelry, seed bead jewelry, beading, and jewelry making. You’ll learn practical techniques that can also be used to create your own designs and experiment with different colors and bead combinations.

Whether you’re a beginner who wants to learn beading techniques step by step or an experienced jewelry maker looking for a new project, this class will help you create a stylish handmade jewelry set inspired by a timeless floral aesthetic.

By the end of the class, you’ll have a complete beaded necklace, bracelet, and earring set that you can wear, gift, or use as inspiration for your own jewelry designs. 💎

Grab your seed beads, needle, and beading thread, and let’s create this beautiful jewelry set together!

Keywords

Beaded Jewelry · Beaded Jewelry Making · Seed Beads · Beading · Jewelry Making · DIY Jewelry · Handmade Jewelry · Beaded Necklace · Beaded Bracelet · Beaded Earrings · Beading Tutorial · Beading Techniques · Floral Jewelry · Crystal Jewelry · Statement Jewelry · Jewelry Design · Van Cleef Inspired Jewelry
Meet Your Teacher

Teacher Profile Image

Mariya Karim

null

Teacher
Level: Beginner

Class Ratings

Expectations Met?
    Exceeded!
  • 0%
  • Yes
  • 0%
  • Somewhat
  • 0%
  • Not really
  • 0%

Why Join Skillshare?

Take award-winning Skillshare Original Classes

Each class has short lessons, hands-on projects

Your membership supports Skillshare teachers

Learn From Anywhere

Take classes on the go with the Skillshare app. Stream or download to watch on the plane, the subway, or wherever you learn best.

Transcripts

1. Introduction(Vancleef Necklace): Welcome to part five of my beaded Jewelry making series. In this class, we're going to create a beautiful Van Cleef inspired station necklace using beads. You learn how to create elegant, clover shaped motifs and connect them with chain to create a stylish, balanced necklace with a luxurious look. As a bonus, I'll also show you how to turn the same design into a matching pair of earrings, you'll finish this class with a coordinated jewelry set. This project combines beading with simple jewelry assembly techniques, making it a fun way to expand your skills and create pieces that look polished and professional. If you've been following this series, you're building a strong foundation with every class. Each new project introduces fresh ideas and techniques that will help you become a more confident and creative jewelry maker. So don't miss the previous and upcoming classes. Let's begin and create something truly elegant together. 2. 1.How to bead a vancleef: Hello, everyone. Now we got the station necklace part. Now in this part, we want to learn how we can actually attach our beaded work to chains. We'll also learn how we can actually create a Van cliff with only crystals and set beads. Any size and color that you like. As you know, an cliffs can be in different colors. So if you couldn't get Van cliff charms, don't worry because I'm going to teach you how to make one yourselves. I've already created two Van cliffs in different sizes. The first one is with black crystal size four, and the second one is with black crystal size six. The first Van cliff that it gives me is almost one centimeters. If you're using crystal size four, you can actually have a Van clff at size almost one centimeters. If you have crystal size six, your Van cliff would be almost one point half centimeters. Based on the size of the Van cliff that you desire, you should prepare its crystal. It's either size four or size six. Now I want to work on crystal size six for you. As you can see, ARM my crystals, I used gold seedbeds. You can actually do it with a monofilament invisible thread, or you can do it with fishing line or even fire line thread. And for each in cliff, you need almost 20 to 30 centimeters of thread. So I'll take four crystals and four seed beds, every other one into my needle. Means one crystal, one seabed, one crystal, one seed bed. And as you can see, I have every other crystal and seed bed on my needle. I place it like this, and then after that, I tie a knot. Actually, I tie two strong and tight knots. If the thread is slipping in your hand, you can use your pliers to tighten your knot. As I told you before, for monofilament, invisible thread and also fishing line, after tying their knots, you should actually heat them a little so your knot would be totally firm and it won't get loose. Now, I thread seven golden seedbeds Now, my threat has came out of this set bed, so I'll be passing my needle through the next set bed. And you should actually try it to see if you use a seven set beds. Would it actually cover the whole edge of your crystal or not? Because the size of your seed beds might be bigger or smaller than mine. So just try and see how many seed beds do you need to cover all around your crystal. Maybe you need only six, or your seed beds are smaller and you need more than that. Like eight of them. Then again, I take seven more set beds, and you see I pass my needle through the next golden seedbed on the other side of the crystal. I'll do the same thing for the next two crystals as well. All right. Now it's complete and now because I want my work to be firmer and stronger on the edges and all around the crystals, I pass my needle through all of these set beds once more. I'll just do this until the end. And here, I actually passed my ktho through all the suit beds twice now. Now, over here, I should tie my thread again. Tie a knot. I pass my needle through underneath this thread and then pass it through this ring that has just been made. Then I place my nail over here at the end of the thread and I pull the thread strongly. Once more in the same place, I just repeat the same knot. 3. 2.How to join beaded vancleefs together: Now for this necklace, we have to bed actually seven in cliffs and eight pieces of chain each as the size of 4 centimeters. Now we should actually attach these in cliffs and chains every other one with the help of our jump ring together. And then I pass it through here above one of the crystals in between the set beds. So I pass my jump ring through, and then I actually put a chain inside of it, as well. Then I use a little bit of jewelry glue like E 8,000 glue, and I place a bit of it on this gap and wedge in my jumping ring, and then I close the ring. So just like that, we attach all of these ban clefts and chains every one another to make our necklace. See now the next jumping should be attached to the crystal right in front of this one or better say across from this one. There is a very high possibility that the thread would actually come out of these jump rings. That's why I told you to use a drop of jewelry glue on the wedge of all of these jump rings. I'm just going to do it one more time, and the rest is just the same, so you're going to do it by yourself. So I pass my jump ring through these set beds. So just like that, we attach all of these ban cliffs and chains every one another to make our necklace. Now I've completed by necklace and the only thing left is to attach the class to one side of it and the adjustable extender chain to the other side. Now, the length of the chain for the necklace is better to be five or 6 centimeters. And for bracelets, it's usually two to 3 centimeters. All right, I'm attaching the class to this side. And then to the other side, I attach my adjustable extender chain, again, with the help of a jump ring. If you're sure about the length of your necklace and you want it to have the same size always, you can actually not use this adjustable extender chain. But if you're working it for someone else or it's for yourself, but you wanted to have adjustable size to make bigger or smaller at some times, it's better to use adjustable extender chain. Now I should also attach a charm to the end of my adjustable extender chain, again, with the help of a jump ring. My dear friends, as you can see, sometimes I'm using my jewelry glove to make my jumping clothes firmly. But you should use them for all of your jump rings, especially when a thread is going through a jump ring. Al right now, this is a very beautiful and simple necklace at the same time. Again I say, if you didn't have any Van Cleve, you can actually make it your own. You can also make the bracelet for this work as well. So you can actually have a beautiful set. You can even create its earrings. See, just take an earring class. Inside of this ring, actually should attach a jumping ring. And then inside that a evan clfh. Just like that and then close the jump ring and just as easily as that. You can have a complete set for yourself earrings, bracelet, and necklace. If you enjoyed creating these projects, don't forget to leave a rating or a review. The next work which I'm gonna teach you is this beautiful, attractive piece of art. Well, you should be definitely with us so you can learn the techniques and its hints completely and thoroughly.