Transcripts
1. Introduction: Adding a little
bit of texture to your animations can make it more visually appealing
to your audience. In this class I'll
show you how to use blending modes and track
maths to add texture overlay, how to create grain, how to distort stuff using
displacement math, as well as other
tips and tricks. Can't wait to see the
animations you create.
2. Getting Started & Class Project: To get started with this class, you'll need Adobe After effects. All the class project
files will be available on the project
and resources page. Your class project is to create a texture animation using any of the techniques
taught in this class, and feel free to post your project to the
project gallery. I love seeing the animations
that everyone creates.
3. Overlays, Blending Modes, & Track Mattes: So here I have a couple
different paper textures. I'll provide these textures on the project and resources page, and I'll also put a link to
where I found these textures. I'll drag one of my paper
textures into the composition. I'm going to add
a levels effect. I'm going to dial
in these handles to get a more
bright white color. I think that looks good. Now I'm going to go to the
mode list of my paper texture, and I'm going to select
the multiply mode. And there we have it. We already have our paper texture overlay. We can dial in these
handles further to increase or decrease the
amount of paper texture. It all depends on the look
that you want to achieve. Now let's add some
animation to our paper. Just something to take note of before you start animating. Make sure your paper texture is large enough to cover
the entire screen. Like here, you can
see the bounding box for my piece of paper. If your papers not covering
your whole screen, you'll just have to scale it
up or you'll have to find a larger paper I'll press R
to bring up the rotation. Press the stopwatch
to put a keyframe. I'll do the same thing
for the position. Press the P key.
Press the stopwatch. Now I'll press the U key to bring up both
of my keyframes. I'll select both of them, right click, toggle
hold keyframe. I'll move over maybe four
frames on the timeline. Change the rotation. And
I'll move the paper texture. Keep in mind, you can choose
whatever values you want. I'll move over
another four frames. Change the rotation again. Change the position. Do
the same thing again. For the remainder
of the timeline, I think I'm just going
to copy and paste. There we go. Now we have
an animated paper texture. Now I'm going to drop in
my other paper texture just to demonstrate that if you were using a black
piece of paper, you would need to use
a different mode. I find the screen mode
works really well. You don't need to limit yourself
to just paper textures. Here I've got a piece
of fabric texture. I'm going to drop
into my composition. And the effects and presets, I'm going to search for the
black and white effect. I'm also going to
add a levels effect, just like we did earlier. Dial in these handles. Go to the mode menu,
choose multiply. Dial in these handles
even further. I'm going to bring up the
scale and scale it down, maybe turn the opacity
down a little bit. Just dialing it in
until I get a look, I like Now let's try
out some track mats. I've turned the paper
texture back on that we created earlier and moved it to the top of
the composition. Now we can use a track mat pick whip to connect it
to our text layer. This by default, will turn the text layer off, so
we'll turn it back on. Our paper texture is a little bit difficult
to see at the moment, so I'm going to change
the color of the layer. Let's try a bright blue color. There we go. Now we can view
our paper texture better. Here's another way we can add
texture using a track mat. I've got a grungy paper texture. I'm going to drop it in the
composition under my text. I'm going to search for
the extract effect, drag these handles to the left. And what this is
doing is it's getting rid of all the white
parts of the image. Change the background
color just to show you. Again, we can take our track mat pick whip connected
to the paper texture, and now our text is only showing up on the
paper texture layer, and the white parts of
our texture layer that we extracted earlier are being
cut out of our text layer. We can adjust the extract
effect to increase or decrease the amount of texture that we would like to
cut out of our text. So scale our paper texture down. Again, just depends on the type of look
you're looking for. One final thing I want to teach in this lesson is how we can use displacement maps to distort stuff in
our compositions. I'm going to drag in yet
another paper texture. Once again, we will
search for the levels effect and add it
to our paper texture. Gonna dial in the handles
to bring up the white. I think that's good. I'm going to duplicate
this paper texture. I'm going to rename one
of them to overlay, and I'm going to
rename the second paper texture to displacement. I'll move the
displacement layer to the bottom of the composition
just above the background, and I'm going to turn it off because we're not going
to need to see it. The overlay layer,
I'll set to multiply. So now we have the paper texture overlay to
our composition. In the effects and presets, I'm going to search for the
displacement map effect, and I'm going to
add it to the text. Change the displacement map
layer to the displace layer, turn on effects and masks because we have an
effect on that layer. And for the use
horizontal displacement and the use vertical
displacements, I'm going to switch
them both to luminance. And as you can see, now the text layer is being distorted by the
displacement layer.
4. Grain & Dust: Before we get started,
just want to let you know, I've provided the MP
four file that you see in this lesson on the
project and resources page. The first type of
grain I'm going to teach is a type of
noise that we can put over our whole
composition to make it look a little bit
less computer generated. I'm going to right click
New Adjustment layer. I'll rename the adjustment
layer noise HLS Auto. That's the name of
the effect we're going to use to
create the noise. We'll search for the effect in the effects and presets tab. We'll add it to our
new adjustment layer. Change the noise type to grain. And I'm going to turn up the lightness maybe
to around ten. We can also change
our grain size. And we can change our
noise animation speed. This is a very subtle effect, but when you zoom in, you
can really notice it. It almost looks like
film grain that you would see on stuff
that's shot on film. Next thing we're going
to create is a vignette. I'll head over to
the rectangle tool. Double click to
create our rectangle. Rename our new rectangle
layer to grainy vignette. With our vignette
layer selected. We'll go to our EllipsTol. We'll make sure that
this icon is selected. The tool creates mask button. We'll double click
to create our mask. And beside mask one, we'll change the
mode to subtract. We'll toggle down mask one, turn up the mask feather
to something really high. I think around 600 is good. In our effects and presets, we'll search for the
rough and edges effect. This is what's going to
create the actual grain. We'll turn our
scale down to ten. We can turn our border. Let's turn it down to Let's turn it all the
way down to zero. Now we need to add some
animation to our grain. We'll toggle down
evolution options, go to the random seed. We'll click on the random seed, and we'll type in times ten
into the expression field. There we go. Now we have
some animated grain. The next effect I'll
show you how to create is a dusty overlay. We'll right click,
create a new solid, we'll rename our solid dust. And the effects
and presets we'll search for the
turbulent noise effect. Turn our contrast way up
around 1,000 looks good, and we'll turn our
brightness down. I think around 250 looks good. Toggle down our transform menu, and we'll turn the scale down so that our dust
particles get even smaller. I think that looks good.
Toggle down evolution options. I'll click on the random
seed, once again, we'll type in time
times ten into the field to give our dust
particles some animation. To finalize this effect, we're going to change the mode. We'll change the mode to screen. This gets rid of all
the black parts of the layer and only shows
the dust particles. We can turn up our scale
to make them more visible. We can also adjust
the contrast even more and the brightness. All depends on the type of
look you want to achieve. In part two of this lesson, I'm going to show
you how to create a grainy shadow on
specific objects. We'll go to our Ellipse tool. I'm going to change my color of the ellipse to
maybe a pink color. I'll rename it circle. Center it to my composition. Now I'm going to
grab my pen tool. I'll change the color to black. Now I'm going to start to draw the shape of the grain
I want on my circle. I'll rename the layer grain. And we'll use the
track mat pick whip, attach it to the circle, and then we'll turn
our circle back on. But now our grain layer is
only showing up on our circle. Optionally, you can parent
the grain to the circle, which is what I'm going to
do. Let's create our grain. Go to search for the
rough and edges effect, add it to our grain layer. Change the scale down to ten. For this, I'm going to
turn the border way up. Around 140, I think, looks good. We'll toggle down our
evolution options and press Alt on
the random seed. And we're again going
to use that time times ten expression to generate
some animation. There we go. That's how you create
a grainy shadow on specific objects.
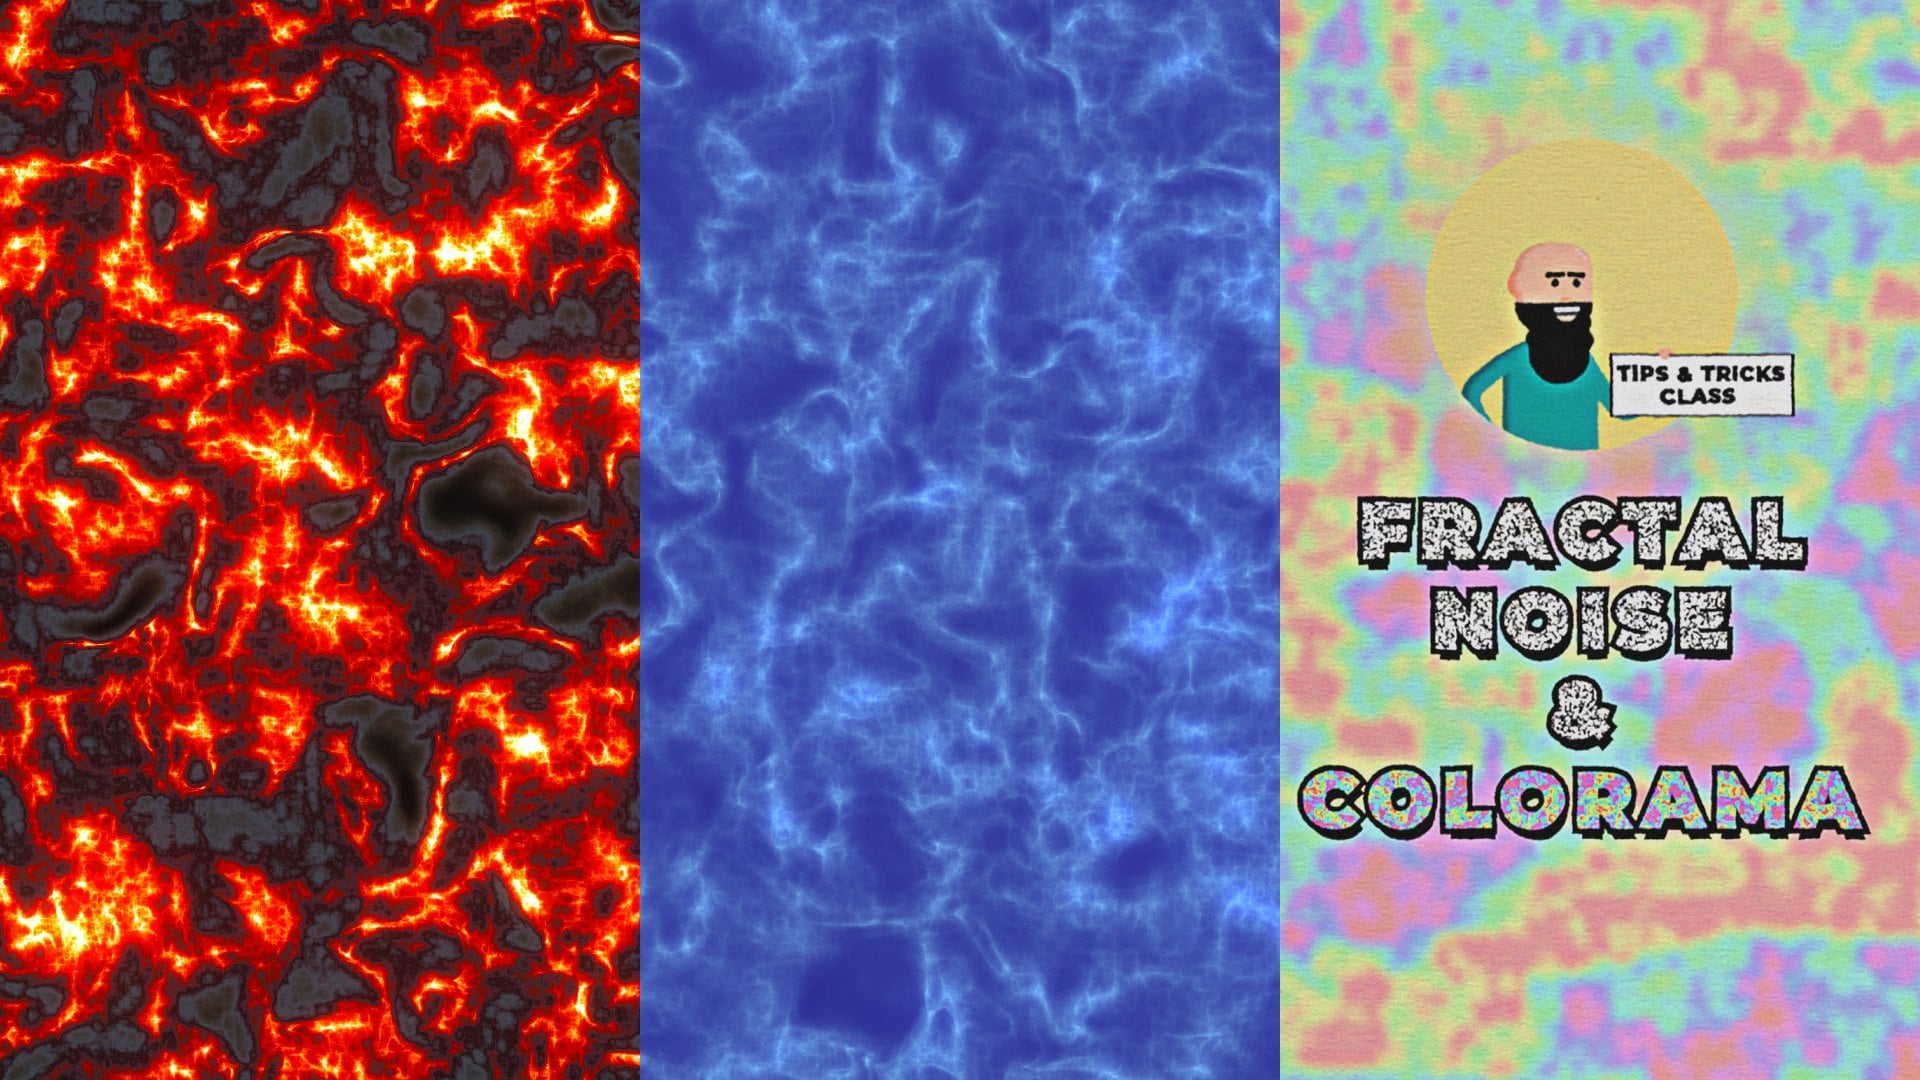
5. Boil Effects & Roughen Edges: First thing I'll show
you how to do is create the boil effect using
an adjustment layer. We'll right click New
Adjustment layer. We'll rename it Boil. Go to search for the turbulent displace effect and
add it to our layer. We'll change the amount
to 15 size down to ten. We'll change our
complexity to two. We'll duplicate our turbulent
displace layer with Control D. On our second
turbulent displace, we'll turn the amount up to 30, the size down to two, and we'll change our
complexity to four. So give us a nice rough look. Now we'll add some animation by toggling down the
evolution options, Alt clicking on the random seed, and we'll type in random 10,000
in the expression field. We'll do the same thing for our second turbulent displays. Type in the same expression. Random 10,000. And there we go. Now
our whole composition has a nice boil effect. Now, anything you create under our new boil layer will have
the boil effect added to it. Gonna create a rectangle
real quick to demonstrate. Next, I'm going to
show you how to create a similar look using
a different method. We'll go to create new solid. We'll call it displacement. In our effects and presets, we'll look for turbulent noise, add that to our new
displacement layer. We'll up our contrast to 300. We'll toggle down our
evolution options. I'll click on the random seed. Type in time times ten. That'll give our fractal
noise an animation. Now we can make this layer
invisible and we can move it to the bottom
of our composition because we're not going
to need to see it. What we're going to
do is we're going to create a new adjustment layer. We'll add the displacement
map effect to it. What we're going to do
is we're going to change the displacement map layer
to our displaced layer. We'll also turn on the
effects and presets option because our layer
has an effect on it. We'll change our
horizontal displacement to luminance and
we'll also change our vertical displacement
to luminans there we go. We essentially created
a similar effect using a displacement map. To distort your text
in a different way, you can go to your
displacement layer, change the settings to
get a look that you like. You could also use your
adjustment layer with the displacement map effect
on it. Change the settings. You can get some
funky looking results just by changing the numbers. I'm going to rename the layer
displacement map because we should always name our layers
just to stay organized. You could use this method to
add it to specific layers. Like here, I'll create
a new rectangle. And just by adding
the displacement map effect to the rectangle, you can see that only the
rectangle is affected. One last thing I'd like
to show you how to do is how to roughen
the edges of text. We'll select our text layer, and we'll search
in the effects and presets for the
roughen edges effect. We'll toggle down the
evolution options. I'll click on the random seed, type in the time times
five expression. And it's as easy as that. But to make it even better, we can duplicate our
rough and edges effect, and we can change
these settings. I'll change the border to four, scale down to 75, and I'll turn up the
complexity to maybe four. There we go. We got a nice
gritty text animation. And
6. Outro: Congratulations, and thank
you for taking my course. Now you can post
your projects to the project gallery so everyone
can see what you created.
 Tyler Bennett, Motion Graphics Designer & Photographer