Transcripts
1. Introduction : Hi, everyone. I
am Arbia Sultana, and I'm so happy you're here. There is something incredibly
peaceful about a rainy day. The way the world slows down
and colors seem to deepen. Today, we are going to capture that exact
feeling on paper. In this class, we
will be painting these vibrant rain kissed berries among the
lush green leaves. Whether you are looking to unwind or looking to
grow your skills, this class is designed to be your creative sanctuary
for the next hour. This class is completely
beginner friendly. We aren't just going
to paint a picture. We are going to master
specific technique that you can use in all your
future projects together. We will cover layering greens, how to create depth and foliage, the dew drop effect
using highlights to make those berries
look wet and fresh, expressive rain
streaks, a simple but effective way to create a rainy atmosphere
in the background. Color blending,
keeping your blues and greens vibrant without
them turning muddy. We have kept this class
concise under an R so you can fit a full
creative session into your busy day. Our final project will be
this beautiful painting. I'll be walking you through every single brush
stroke in real time. Don't worry if you have never
picked up a brush before. I'll show you exactly
how to mix your palette and control your water to
get this exact result. By the end of this class, you will have a
finished piece of art that feels like a
breath of fresh air. So grab your paints, find a cozy spot, and let's turn a rainy day
into something beautiful. I will see you in
the first lesson.
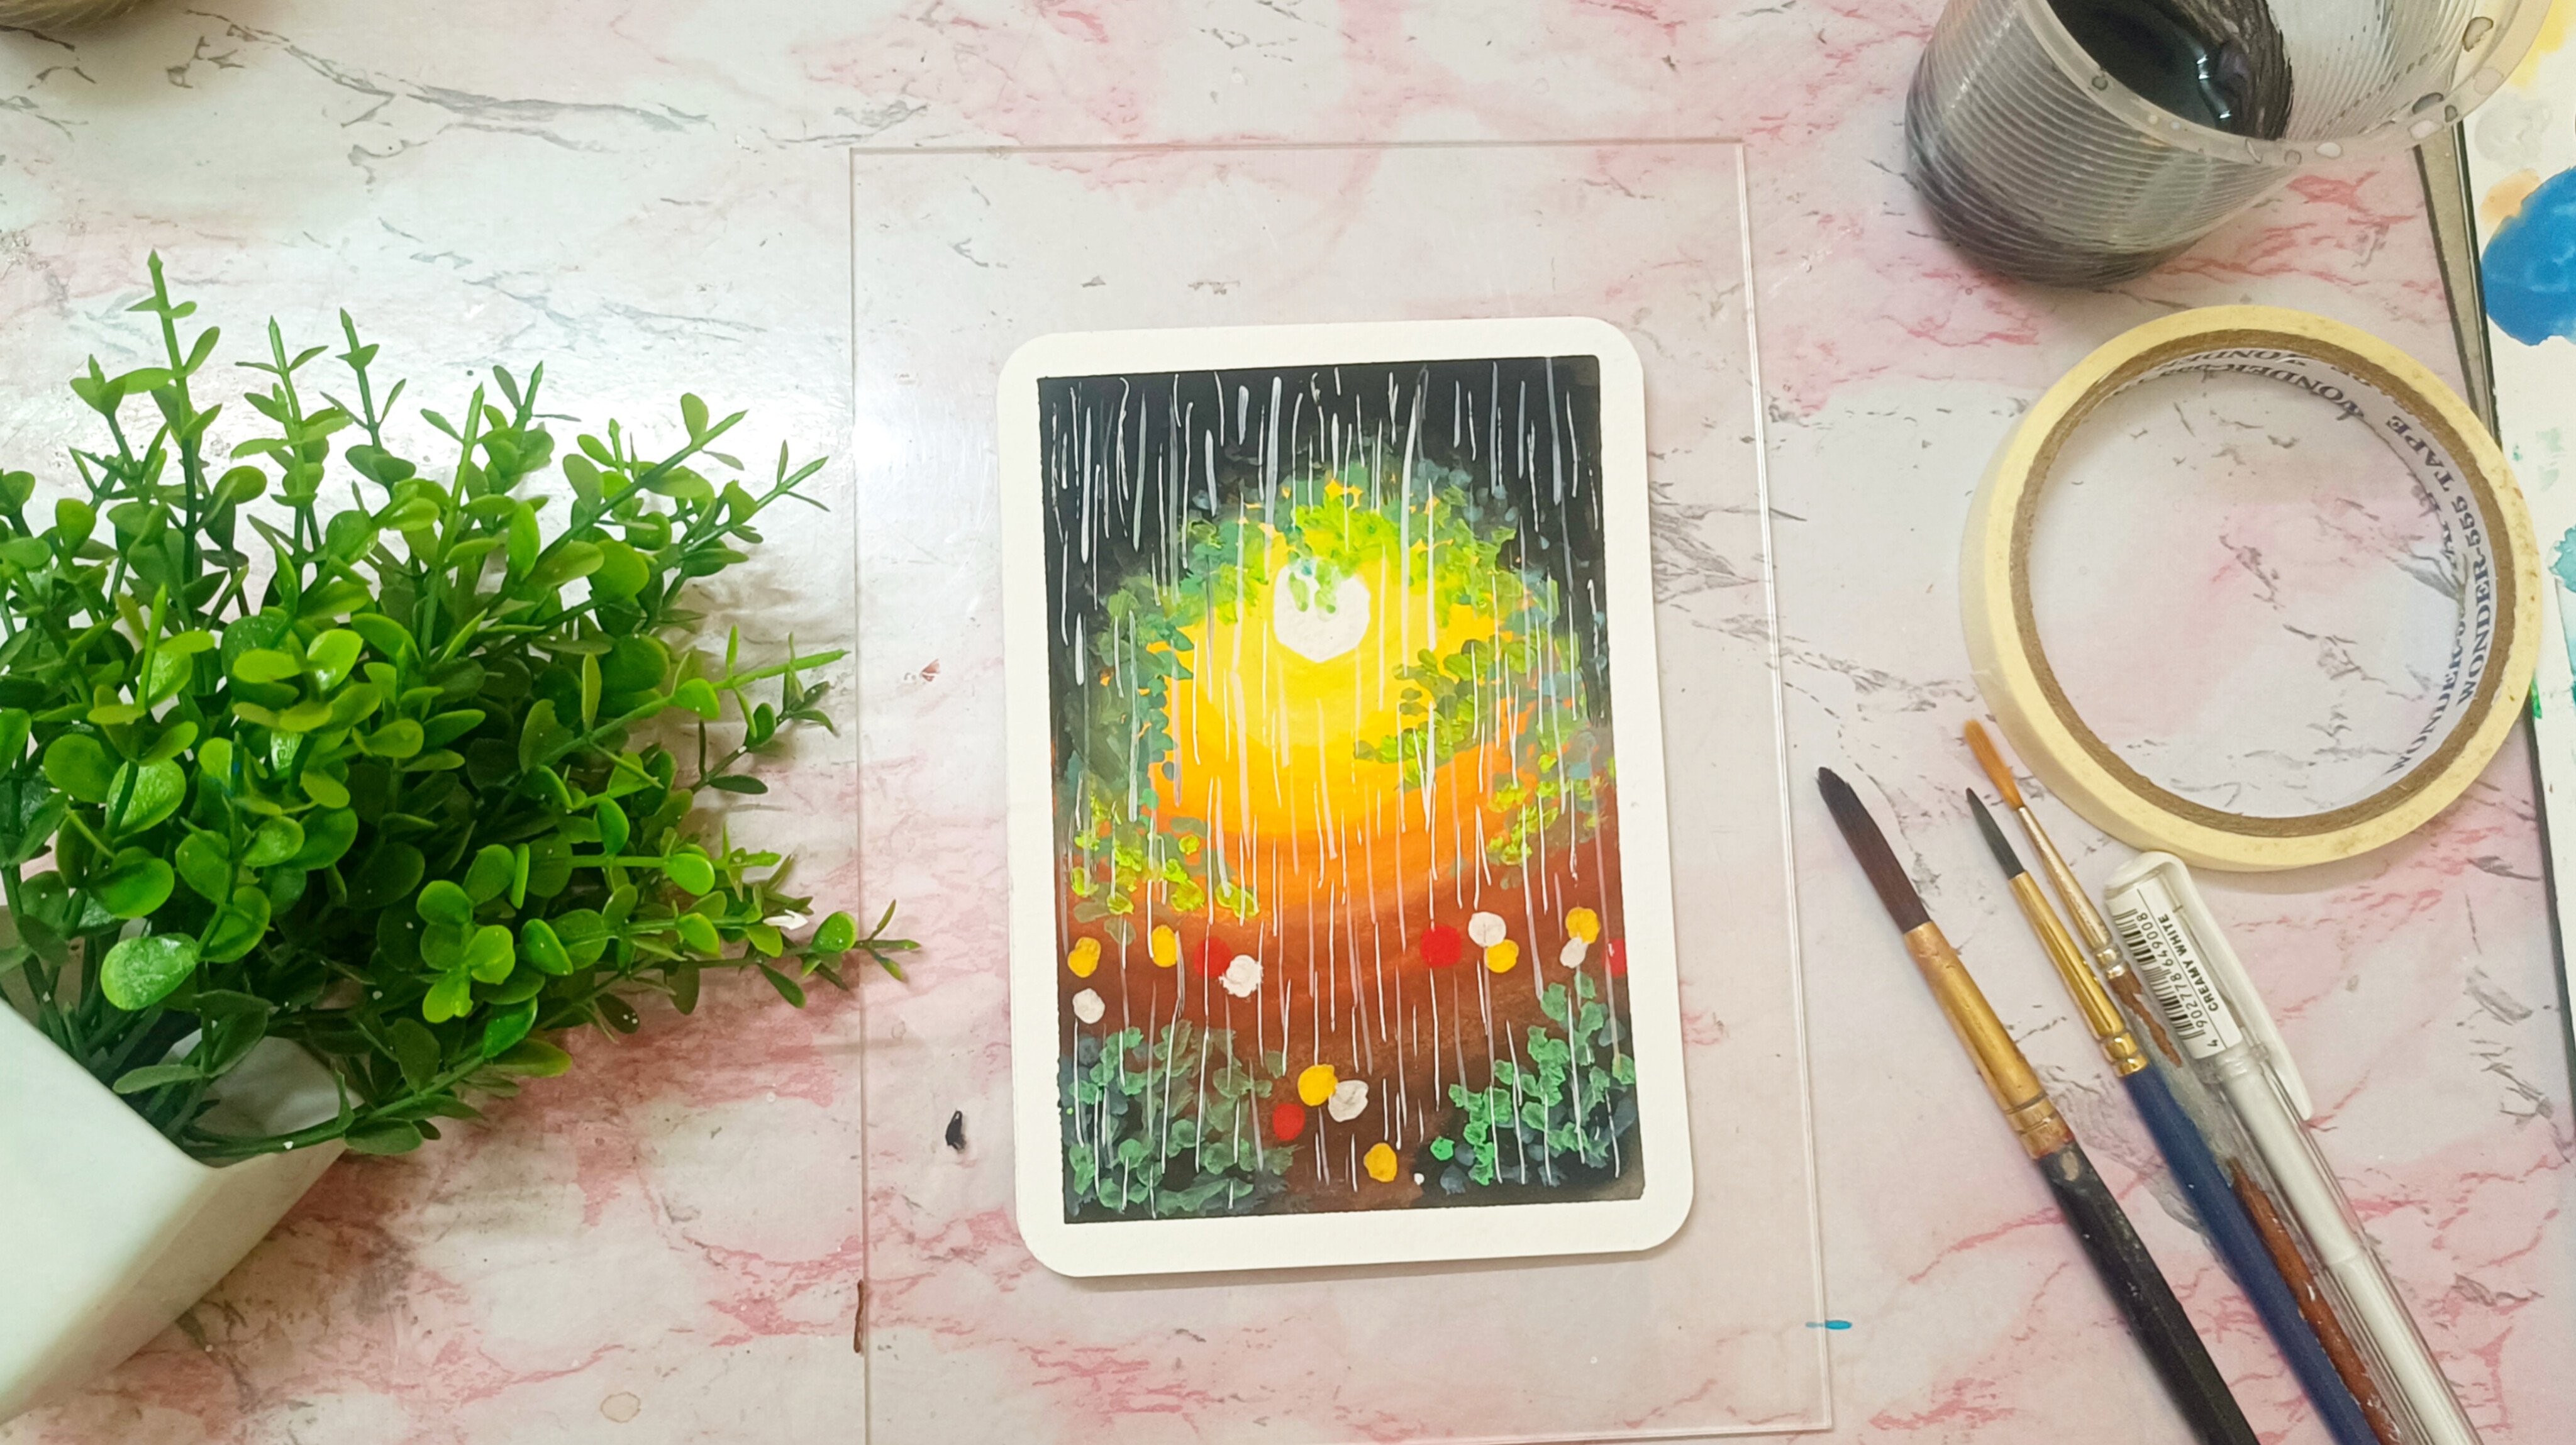
2. Materials Required : Before we get into
the first lesson, let me just brief you up with the supplies that are
required for this class. Firstly, the gauche. Since the medium that
we are using is Gauche, we are using the Hmia palette. If you don't have memia, any brand Gauche is okay. You can also go for acrylic or poster colors if
you don't have gauche. I'll be using three
different shades of green, the dark, light, and the medium. Along with that, I'll
be using brown white. And the blue. Next
coming to the papers, I'll be using 300 GSM
watercolor paper. If you don't have 300
GSM watercolor paper, you can go with any paper
that is 160 GSM plus. The thickness should
be 160 GSM plus. You can use sketchpad or the paper stock which I
have shown you earlier. How beautifully
Gauche can be created using thin paper on.
You can see that. So any thickness above 160
GSM is ideal for gauche. Look at the difference.
The down one is thin and the
above one is thick. So the thicker, the better. Next, moving on to the brushes, here, I'll be using
very limited brushes, that is a roundup brush of size six and a thin liner brush, or you can also go for
zero size roundup brush. Next, for the basic stationary, I'll be using a
pencil and an erasum. White gelpin is an optional one. If you have, you can use it. Next, tissue, a jar of water. For water, I'll be
using the bislary one, which is ideal for me
for the Himiagh palette that helps in not creating
molds or fungus in the paint. The last one is masking
3. Background Painting : Welcome to the first
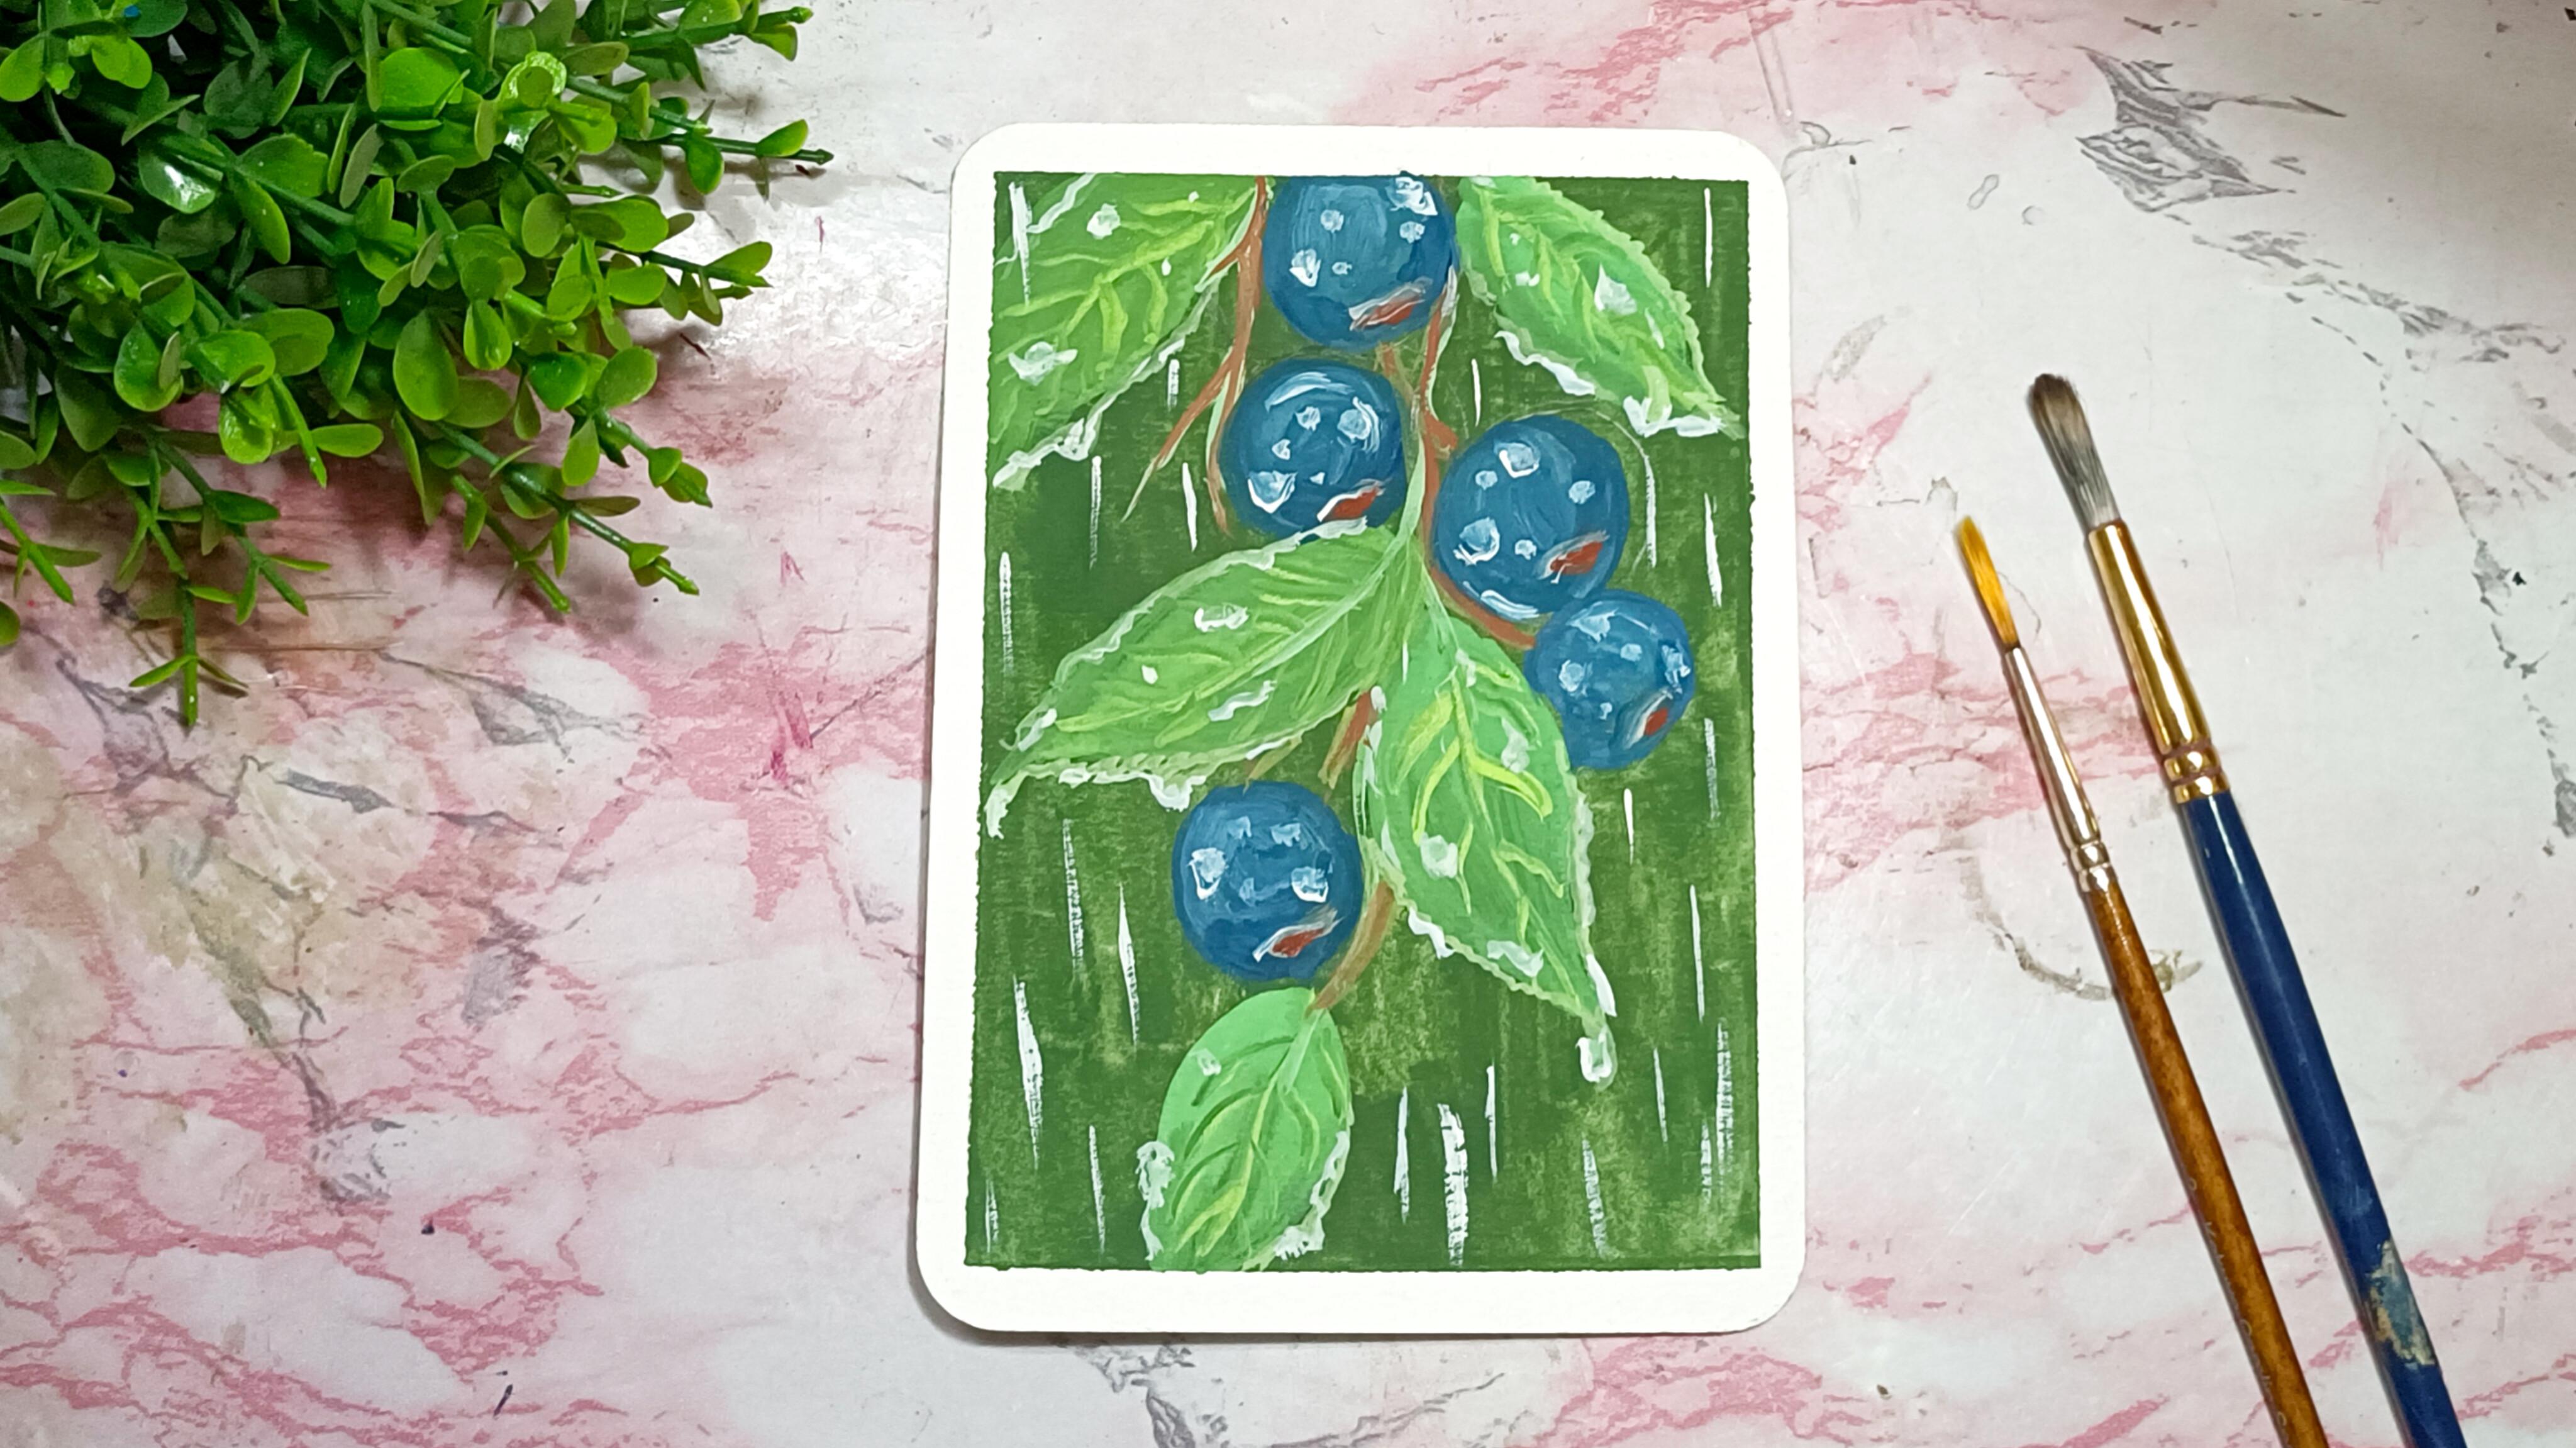
lesson of this course, which is all about the
background of in killed berries. Firstly, we'll go
ahead and start adding the green color paint using roundtip brush on a wet paper, which is almost 75% dry. Here, I'm using
roundip brush and adding the paint in
increments and not in one go. This helps in creating
texture on the background. Since the paper is a
little bit of wet, the paint start to blend and also creates
a smooth finish. Here I'm using a darker
green color for the paint. You can go ahead and complete
this step at your own pace. If you notice I'll be adding only from top
to bottom stroke, you can go ahead and add
from left to right also. So if you don't know
how to wet the paper, it's basically taking the
culpris watercolor paper and applying a layer of water
using a round tip brush. And when you apply, it should look shiny. And you let the paper
absorb the water, and when it's almost 75% dry, you can go ahead and use it. I just feel that the paint
in the bottom is too light. So I'll go ahead and add some more paint in the bottom part and
make it almost even. Cover all the edges without
missing a single part of it. Now, I'll just leave
this painting to dry. If you want to make
this step faster, then make sure you
keep the painting under the fan so
it dries quickly. Now, how do you know if the
painting has dried or not? You can just check if the painting surface
is shiny or not. If it is shiny, it hasn't dried yet. And if it is mapped, then it is dried completely. Apart from that, you can put your finger and dab in check. If it is dried completely, you can go ahead
with the next step. That is drawing round circles. As you can see, if you
can't identify it, you can just
randomly add a bunch of berries together
or separated, but make sure you give some
space for the leaves, too. Once it's done, let's go
ahead and paint the berries. Again, I'm using a
rounded brush and slowly going and covering the edges and making it in a round shape. As you can see, I'm just being so gentle and careful
at the edges. You also try and make it
as circle as possible. Play on with different sizes and different shades of blue. Somewhere dark, some light. If you want a lighter
shade of blue, mix white. If you want a darker shade, just use the paint
color, original color. The lighter ones are highlighted and they
look more front, and the darker ones are
more to be seen behind. Here, I'm painting 4.5 berries, four full berries,
and one half berry. I'm leaving out spaces in
between for the leaves. Once you laid down the colors, make sure you let
it dry completely, and then you can go ahead with the blending of
the highlights and the shadow area till then we'll move ahead and
start making leaves. With the same brush, I'll be going ahead
and cleaning it first, and then I'll be
adding the mid green for the leaves slowly,
as you can see. I'm slowly dragging
from a wider part, and as the tip is closer, I'm just narrowing down the painting surface
towards the tip. I'll just go ahead and add
as many leaves as possible, but carefully so that I
don't overlap many. Okay? If you want to know exactly where I'm putting
and how I'm putting, make sure you watch the video first and then go
ahead and paint. A the So once the first layer is done, I'll go ahead and add more
green towards the leaf, especially to make the leaves more highlighted
and rich in colour. The the Next, when I have laid down the
flat wash of all the berries, now I'll go and add
somewhere dark, somewhere light colors
onto the berries so that it gives a highlighted and shadow
area on the berries. So I'll just keep a sunlight
area on my top left. That means all the berries on the top left will be
on the lighter shade, and the lower right
will be darker. And For adding highlights, I'll usually prefer to go
with blue and white mixture. And for adding shadows, I prefer going with a proper paint itself
without any mixture. So if you want a lighter shade, go ahead and mix the portion
blue with white and use it. And if you want a darker one, just make sure that you have added the whole
light area and then go ahead and
add the portion blue itself so that it gives, like a proper three D
effect of the berries. Can you see how beautifully
it has turned out already? One tip to make it
more realistic. Paint each of the
layers at a time. Don't wait each layer to get dried and then
go ahead with next.
4. Layering and Highlighting : Once the painting is dried, let's go ahead and add layers and highlights
to this painting. Using a thin round tip brush, I'll be using a lighter green, the most lightest green
we have in palette, that and adding
veins to the leaves. For drawing the veins, I'm going to draw a central line at the middle of
the leaf and then go and add the small lines
at the sides as seen. You can switch from a
thicker to a thinner stroke, but use a liner brush itself. Take your time and do it for every leaf, and you can change the
pattern of small lines. Some are curved, some are
straight, as you can see. The Next, let's move ahead and make
the berries more realistic. For this, I'll be using a
liner brush and a brown paint. Below the berries where
it is shadow areas there. Over there, I'm
just going to add a small semicircle
shaped curve stroke. Not stressing much, adding a tiny bit of stroke at
the bottom of the berries. Once this is done, let's go ahead and
add the branches, using the same brown color and a little bit of greenish
mixture from the green paint. I'm going to mix it in
palette green and brown paint and use that for
making the branches. I'll just go ahead and
add a main branch and then the side branch that
is connecting the berries. You can see how thick the central branches and how
thin the asi branches are. You don't have to connect the branches to all the berries. Just a little bit of so
that it's touching it. Okay. The next step is blending the branches
with the background. So this was all about layering. Let's go ahead and make this painting even
more realistic. For which I'll be using a
green and white mixture of paint for the water
droplet effect on the leaf. As I said, mix the two
colors in the palette and then apply it at
the border of the leaf. If you don't have a palette, you can use a random plastic
paper or a plastic sheet. As you can see for
water droplet effect, I'm just going to draw a
wiggly line around the leaf. Now, just check out how I paint on the left
side of the leaves, giving water droplet effect
using the same paint mixture. Wherever I feel the water
should drip from the leaf, I'm just adding a proper
droplet effect over there. It's not everywhere. It's at particular
center or at the corner. Do you be careful not to
overpaint and mess the painting? Now, I'm pretty sure that the
berries are completely dry, so I'll just take white
colour paint and add a W shape onto the brown surface where
we had painted earlier. Once you're done with all the steps, let's go ahead and add the water droplet effect
on the berries, as well. I'm taking the maximum
white and a little bit of blue mixture or adding the
droplet effect on the berries. Just some smaller and some larger droplets,
as you can see. It's not of even size. It's of different sizes. I'm just making some
rounds, you can see, right? Next, for the leaves, I'll be using proper
white colour and a little of green. Not much. For the corner of the leaves, I'll be using the same
whitish green mixture. Here the white more. I'm just going to
go at the corner of the previous mixture
painting which we had added at the
corner of the leaf. Just at the tip of that
particular painted area. Just highlight the places
where you think that this actually has to be there
and it's dripping. Somewhere central, somewhere, you feel like
at the corner of the leaf. See I'm making a wiggly
line wiggly droplets, not a straight
circle curved lines. See how beautiful it's
turning out to be? Now, I'm just going to add some greenish white
mixture along the corner of the berries to
give a branch like effect, which I'll soon
turn it into brown. So here, just as a guide, I'm just adding the branch. And you can see where the
branches are passing, I'm just laying down the paint. Trust me, you can
never be satisfied with the highlights you
put onto the painting. You feel like you want to keep putting the white
dots everywhere. For the droplets on
the berries, again, just go ahead and take a brighter white
colour and add it at the corner tip of the berries so that it
looks like realistic. Next, moving on to
the rain shower, I'll be using a proper white
colour and a liner brush. I'm going to make the
strokes from bottom to top using a liner brush. It's a very small brush. Okay? If you feel like
your brush is thicker, then just go ahead and use white gelpin which I had discussed earlier in
the material section. Just keep adding the strokes
and you love painting rain. Once you're satisfied
with the raindrops, let's go ahead and add some more raindroplets onto
the berries and turning the green branches into the proper brown color and also the lower part of the
berries, turning them brown. Wherever you feel there are
sharp edges in the painting, make sure you blend
it with a damp brush. It shouldn't be a way brush where the water is
literally falling. The the the So this was it for the second lesson. We'll add some more highlights on the places where
we think it's required and then go ahead
and end up with this class.
5. Final Touchups: So this is the final look of the rain killed
berry painting. So here I feel the edges of
the berries are very sharp. So I'll just go ahead
and blend it with damp brush using a liner brush and not a thicker
round brush, okay. Just going around and making it. Blend. Not so much
blend also that the way effect is seen on paper. Basically, while blending, you don't have to make the paint or the edges so
transparent that it is evident that there's two
different colors used. You have to blend it
in such a way that both the colors blend and not
leave a transparent effect. So this was the final
painting outlook. And here I'm removing the masking tape while
removing firstly, make sure the edges are
fully covered with paint. Good. Second, the painting
is dried completely. Third, remove it
in a slant manner, just like 45 degree angle. As you can see, I'm just making a 45 degree angle and
then removing Okay, in this way, you
won't be able to tear the paper or the painting. I hope you all
enjoyed this class. And that brings us to
the end of this course. I would absolutely love to
see what you have created. So please make sure to
share your project in the project section and leave a review to let
me know your thoughts. Until next course,
feel free to explore my profile page to check
out my other courses.
 Arbia Sultana, Art Educator