Transcripts
1. Introduction: As an artist and creative, it is absolutely crucial to stay up-to-date with what is going on in the industry. And not only that, you have to know all the new technologies that come out and that includes hardware and software. Staying behind will really hurt your prospects that lending creative jobs and making a proper name for yourself. One of the industry standard programs used as the Adobe suite of programs. And with the recent Adobe MAX announcements, it's more important than ever to stay on top of things. And today I'll be doing just that and showing you the fun new features of Adobe Photoshop CC 2021. In my course, Adobe Photoshop CC 2021, new features. My name is Tom Chi and I've been a photographer and graphic designer for almost 12 years now. I'm from the United States and I travel around shooting photos and designing for various clients and companies specializing in fashion lifestyle and commercial photography. To see my work, please head over to my website at www dot and the real-time chi.com or look me up on Instagram at the real Tom Chi. I'm incredibly excited to show you some new features because I'm really happy about the new Photoshop update. Today, we'll be going through several examples of the new tools and abilities that Photoshop now offers. Neural filters. So they knew AI powered sky replacement feature and a whole lot more. I will not only show you these new tools, I will also explain and walk you through proper applications of these. This course is for anyone who wants to learn about the new update and features that are coming in Adobe Photoshop CC 2021. And those who want to stay ahead of the competition and on top of what's new in the creative industry. Whether you want to create professionally to make money or just as a hobby to express your creativity. This course is for you and I'm super excited to share with you all that I know. I hope that you decide to enroll in this course. And if you do, I'll be seeing you in the very next video.
2. Neural Filters: And here we are in Adobe Photoshop CC 2021. And we're gonna get right into it. We're gonna get started with one of my favorite new things and that is neural filters. We're actually going to go through five different neural filters. We're gonna go through skin smoothing, smart portrait, makeup transfer, colorized, and content aware D Hayes. But let's start with the very first one. Let's start with some skin smoothing on this image that I've loaded up. Now, you can also download all the images that I've used and you can find them in the resources section of this course. So make sure you download them and just open them up as I go through each of these and you can follow along. So for this very first one, we want to do some skin smoothing. Usually what I would do, I will do some high-frequency editing, high-frequency separation to fix up the skin. But for this one, let's go to filter. And then we have a new section here called neural filters. Let's just click that. And Photoshop is going to use it's AI to edit these photos for us. You see it's detected where the faces. And when you loaded up for first time, you're going to come to this section and we already see skin smoothing up here. As we see the AI has detected where our faces in this image. And let's go ahead and zoom in just a little bit so that we see what we're doing. So this is the before of our image. So let's go ahead and turn on skin smoothing. And you see it's gonna do its thing. And it's loading up there and it's already done. If we toggle the before and after the four, after you see this done a fairly decent job. I'm actually really happy with that. As you see, it's fixed out. A lot of the blockchain is a lot of texture. And you can play around with the blur and this movement is so we can bring the blur up even more if we would like. And again, this is being powered by AI, so it takes a little second to do everything. We can talk with them before and after for this as well. So this blur might be a little bit too much. Some i bring that back. Let's go down to about 33. Let's see how that's going to go from this one. I like that a little bit more smoothness. Let's make a little bit more smooth. Let's go up to about 16. And let's wait for that to do a thing and let's look at the before and after. So this is before and that's after, that is a whole lot better. So lost smoother, very nice. And then we can choose where we output everything. So I'm always going to output to a new layer. Ok, that's what you want to do. You don't wanna put it to the current layer or duplicate. We wanted to be a new layer so that it is non-destructive. So let's go ahead and hit OK. And now this is going to apply these edits on a whole new layer so we can talk all that off if we'd like. And the beauty of this is if we zoom in, we can mask out some of the areas that we don't want to be changed. So for example, the nozzle here, I don't like how blurry that's gone. So we just create a mask on that. We've made hip beat to get the brush and want to make sure we're on a nice small brush. And I'm gonna make sure I have black as my foreground color. And then you can simply just paint away. Let me get a nice round brush. There we go. So you can paint in some of the detail. So I'm gonna do a little bit around the nose, maybe a little bit on the bottom there, so you can talk on the before and after. And that did a fantastic job. Now keep in mind this is artificial intelligence. Don't know. I didn't nothing. I click the button, I move to sliders and I did this. This can save so much time if you wanna do just a basic Edit. This is a great place to get started. You can still go ahead and do some other healing Spot, Healing Brush Tool, clone stamp tool, whatever you would like to fix the skin. My honestly, this is a really great place to start and a fantastic new neural filter. I absolutely love it. So let's go on to the smart portrait. All right, so here's our next dimension. Next we're gonna go and show you the smart portrait narrow filter. So again, let's go up to filter. We're going to go to neural filters. We're gonna wait for this whole dialogue area to pop up again and again. It's found the face of our person here. And this time we're going to go down to this section, the beta filters. And like the name suggests, these are in beta and this isn't fully implemented yet, not fully finished. So keep in mind, might not do things absolutely perfectly. But here we have our smart portrait neural filter, and that's you see, it can creatively adjust your image, change the expression of your person, change the, the rotation of their head, their hair, everything. So let's go ahead and turn that on. And we're gonna go through some of these so we can make our person more happy. So let's wait for the AI to do its thing. And we'll take a second. And there we go. We now have a smiling man. Again. We can toggle the before and after, before, after. That's done. A pretty good job, very convincing job actually, to make me think that this person is smiling. And we can make this go all the way up to 50. Again, the AI will take a second here to do a sync. But now he's really smiling, he's really, really happy. And that is a very convincing thing. So if you have that child in your family picture who's not smiling as much as you would like. You can make them smile just through this. And we can just toggle that off by unchecking this over here. And we can do all kinds of expression that we can make him be surprised. So let's see what that looks like. Let's put the surprise on him. We can also there we go. He's now surprised we can turn that off. Let's make him really angry now. Let's see what he looks like if he's really angry. So there's a lot of creative things you can do with this. As you see, it's not perfect. This doesn't look that angry if we look at the before and after, he looks more annoyed than angry. But again, this is in beta and it's very, very cool. I'm actually very surprised with this. So let's go ahead. Let's turn off anger. And now, after the expressions we have Subject things we can do with our subject. This is where it gets interesting. We can change the age of our face. We can see this gentleman here is fairly elderly. We can bring the age all the way down, may come very young. So let's see what that filter does. And making him Young. It didn't do too good of a job. But as you see, it did get rid of some of the wrinkles and lightened up his hair, made it more gray than white. And it did a fairly decent job. I'm not to upset at this. And at the same time we can make him look even older. And let the AI do its thing again. And if we look at the before and after, you see he looks even more h. So this can be a fun little thing you can do. If you don't make yourself look a little bit younger, you can definitely do that. Now we can change his gaze, we can make him look away in a certain other directions. Let's make him look to the right a little bit more. See, that didn't do too much. Let's see if we can go even further. See his eyes moved a little bit, so it's not perfect, might work better on other image. So keep that in mind again, this is still beta. We can change the hair thickness, the head direction, the head direction is a very, very interesting one. We can make us head look a little bit more to the right. This is one of the craziest filters. His whole head has turned. How crazy is that? We can also make him look to the left, make his head turn more to the left. And that looks very, very convincing. I'm honestly so surprised that this photo, this is one of the ones I really took my breath away at the Adobe MAX announcement. Another really cool one is the light direction. So let's go and change the direction. We want it to be very much from the right because it is. So let's see what that does to our image. Not just change some of the lighting on the edges, made it be more directional, which is actually nice. I'm gonna keep that. I've altered the head direction back on and you can layer all of these on top of each other. Which is very awesome. And I will have his gaze Be a little bit more to the left. So let's turn that filter on here. Very nice. And let's go down here. Now you can change the mass. You can feather all of this as much as you'd like. I'm gonna keep this on the default 20. And we can do the experimental retain unique details. This is such as different freckles or moles, anything unique to a person, and as you see, didn't do a perfect job. So we see some artifacts in here in his mouth, but that is totally fine. I'm gonna go ahead and click OK. It's going to apply this to a new layer. And as you see, it's made to edit me on a whole new layer. So that's fantastic. You can go ahead and unmask anything else that you would really like. So for example, if I'm toggling this off and on, on, might see that i want some more detail over here back in his hair. For example, if I can create a mask here, my brush again makes it nice and big soft feathered brush. And let's put opacity down. Second paint back a little bit of detail that I might have lost in his sight Verne here and in his hair. I can paint some of that back. So you can really use the smart portrait filter to really edit your person, your model, to really tweak them if they're not looking exactly the direction you want them to know, if they're not smiling as much as you want them to. This is a great tool to actually let you do. Let, lets you really manipulate the whole pose and anatomy of a person, which is really, really interesting and fun to experiment with. Next, let's move on to the makeup transfer filter. Okay, so next we have the makeup transfer filter. What if you have an image of your model by you want different makeup? Let's say I want to apply this makeup onto her. So how are we going to do that? So that's gives us new neuro filter a look from make sure you have this image selected and open. So let's go to Filter, narrow filter. It's gonna load up again this whole panel on the right hand side. It's found the face of our model and we're gonna go down here. This is also a beta filter and we're gonna do makeup transfer. So let's turn that one on. And it's going to ask you to select a reference image. So we're going to select the one called makeup example. So let's click makeup example and it's going to apply this makeup to our model. As you see, it didn't do a perfect job at applied some onto the flower, but that's fine. We can mask that out. So let's zoom in here a little bit so we see exactly what's happened. Such toggle that off and on. So it's applied that eye shadow to her. It's done an okay job is applied that lipstick to her, supplied some to the rows as well, but we can fix that. So let's go ahead, hit okay on this. And again, this is going to apply that to a new layer. Make sure you haven't output to a new layer. And I want to change this. I want to get rid of the sculpture that's gone on to the row. So we're gonna make a new mask on here have before our brush. And I'm gonna put opacity up to a 100 this time. So I don't want any of the slips that color on that. And you can combine this with some of the other filters that we've done, the skin smoothing smart portrait. You can combine all of these into one image. But if you look at the before and after, this is actually a fairly decent application of some makeup. It's not perfect by any stretch of the imagination on that. Wanted to remove a little bit of this above the eyebrows. But if we're talking about before and after, that's applied some new make-up to this model. So you can really play around with this because let's say your model is not wearing the exact shade of eye shadow that you would like or she's not wearing any makeup. But online you want to experiment with different types of looks. You can do that. You can apply these makeups two-year model using this neural filter and it does a fairly decent job. And I'm really happy about that. Now let me show you then you colorize neuro filter. Now this next neural filter is probably one of my favorites out of all of the ones that I'm going to show you today. And that is a colorize filter. This allows you to turn a black and white photo into a colored flotilla does its best job using artificial intelligence to colorize your image. So let's go ahead and colorize this image of the Eiffel Tower in Paris. So let's go ahead and filter neuro filters. And we're gonna go to the betas section. This is also a beta filter, so we see colorize over here. Let's turn that one on. Its gonna take a second and it's going to colorize our images. Look at that. And it's smart enough to know what is the sky at what our trees. And that's done a fairly decent jump while we have some sliders here that we can play around with. So what we can do here, we can select certain points to add certain colors to soap. For example, if I know that the road is more of a brownie type of color, we can go select a color. Let's go select this type of color that's like a nice, nice gravel road color. We can hit OK. And we can apply that color too. Our road here, and as you see that's updated the color down here a little bit. Now let's say this building here is more of a cream color. So let's select an ice cream color. Something like that. Let's hit OK. And I'm going to apply that to my building. As you see this edited it a little bit of that to our building here. Very nice, very nice. And let's say this color here, I want to change that back to that grey that we had before. There we go. So now we have two different colors in here. So that is a really, really cool to really refine the colors in your colorized image. And this is a fairly decent jump. Also, adjust each color specifically sold a science and reg1. Have it be pulled more towards the siam or toward the red? As you can see, some I have a slightly more towards the red. Might have ever so slightly more towards the blue. And then let's say slightly to the magenta just a little bit. And we can change what we want the color to be more on, won't do we want it to be worn to focus color or on the scene color? I'm gonna keep that 50-50 BY can mess around with these sliders for yourself because it's going to be different per image that you do. So let's hit OK. It's going to output again to a new layer. That's a 100% what you always, always want to do. So I said, okay, and now we have a colorized image before and after. That's done a fairly good job. And I'm really impressed with the, and if we look closely, it's done all the edges so nice to, there's no artifact thing. It is so nice. Alright, so I also went ahead and colorized this image. We'll see how good of a job at MIT for this one. So let's go ahead and turn on the afterlife. So I see that a fairly decent job. I did some selective color picking for like the tarmac down here and made it a little bit more green out of that, a little bit of like a creamy color, building color to this over on the right. Some more red brick colour here. So done a fairly decent job on this cityscape flux not to ban. Next, I'm going to show you the depth aware haze filter, the narrow filters. So here we have some sheep out in the pasture is grazing and we're going to have a little bit of haze into the background here. So let's go filter, narrow filter. Let that load up really quickly here. And we're gonna go down here. This is also a beta filter and this is a depth aware hayes. So what does this do? It add some Hayes into the vague on environmental haz we see we do have some environment in the back here. So let's turn that on. Let's give that a second here. To do its thing. As you see, it's added some haste to our image. It's not too bad, it's a mix and more like a cold morning with some Fung. And you can change the amount of haze that you have in this image. So let's make it really hazy. Let us go for 100 Hayes. That's a really hazy, that's almost too much. Let's go ahead and I'll put that down to about 17. And you can also change the warmth of this hayes. So let's turn on the warm slider here. We can make it be a warmer Hayes and might be like early sunrise type of thing. And we can also cool it down. So let's see what that looks like. So might just have ever so slightly cool, just like minus five. Let's see how that's going to look for image awareness. And let's do the before and after, before, after. That's quite a significant change by again, let's output this 20 new layer. Let's hit OK. Now I'm going to try and fix some of the artifacts, especially around this sheeps face here. So we're gonna do is we're going to add a mass 1a, this layer. I'm gonna go with our brush, a big soft Rochelle past study. We're going to go down for this one, maybe about 50. I'm gonna paint back a little bit on our sheet. We don't need them to be in a haze. We just want the background to be in the haze. And you can get very fine tuned with this if you would like. But we have some added Hayes to our atmosphere here. So let's turn that off and on, off and on. I think that's a pretty cool tool to use. You want to use this very sparingly. I wouldn't use this too often and nor would I use the sliders on too much of the extreme when it comes to the haze, I wouldn't use the full 100, but it is completely up to you might suit your project for this one, I went around 70, did a fairly decent job adding kind of like a foggy morning type of look to this image. But I'm really happy with that. And then we have the neural filters. And next, I'm gonna go ahead and show you the really fantastic new AI powered sky replacement tool in Photoshop. So let's keep going through all these fun new tools.
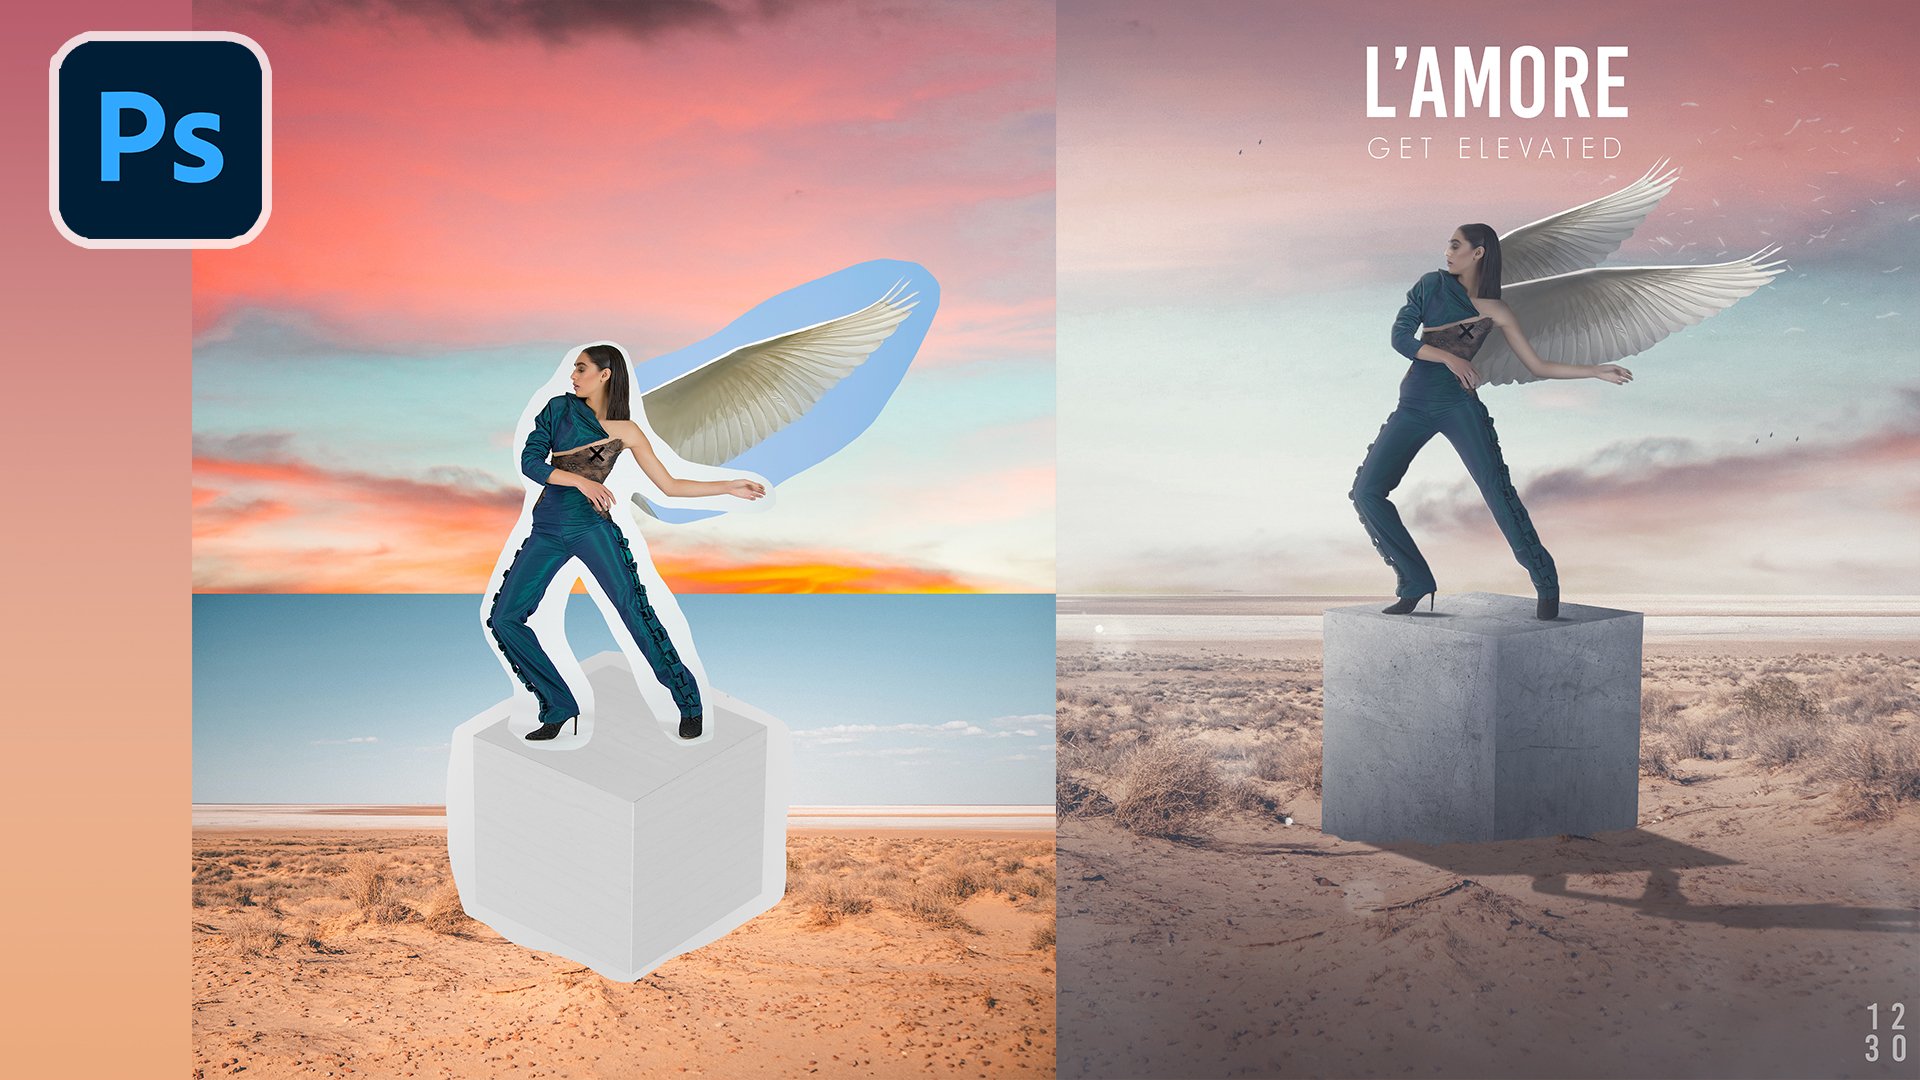
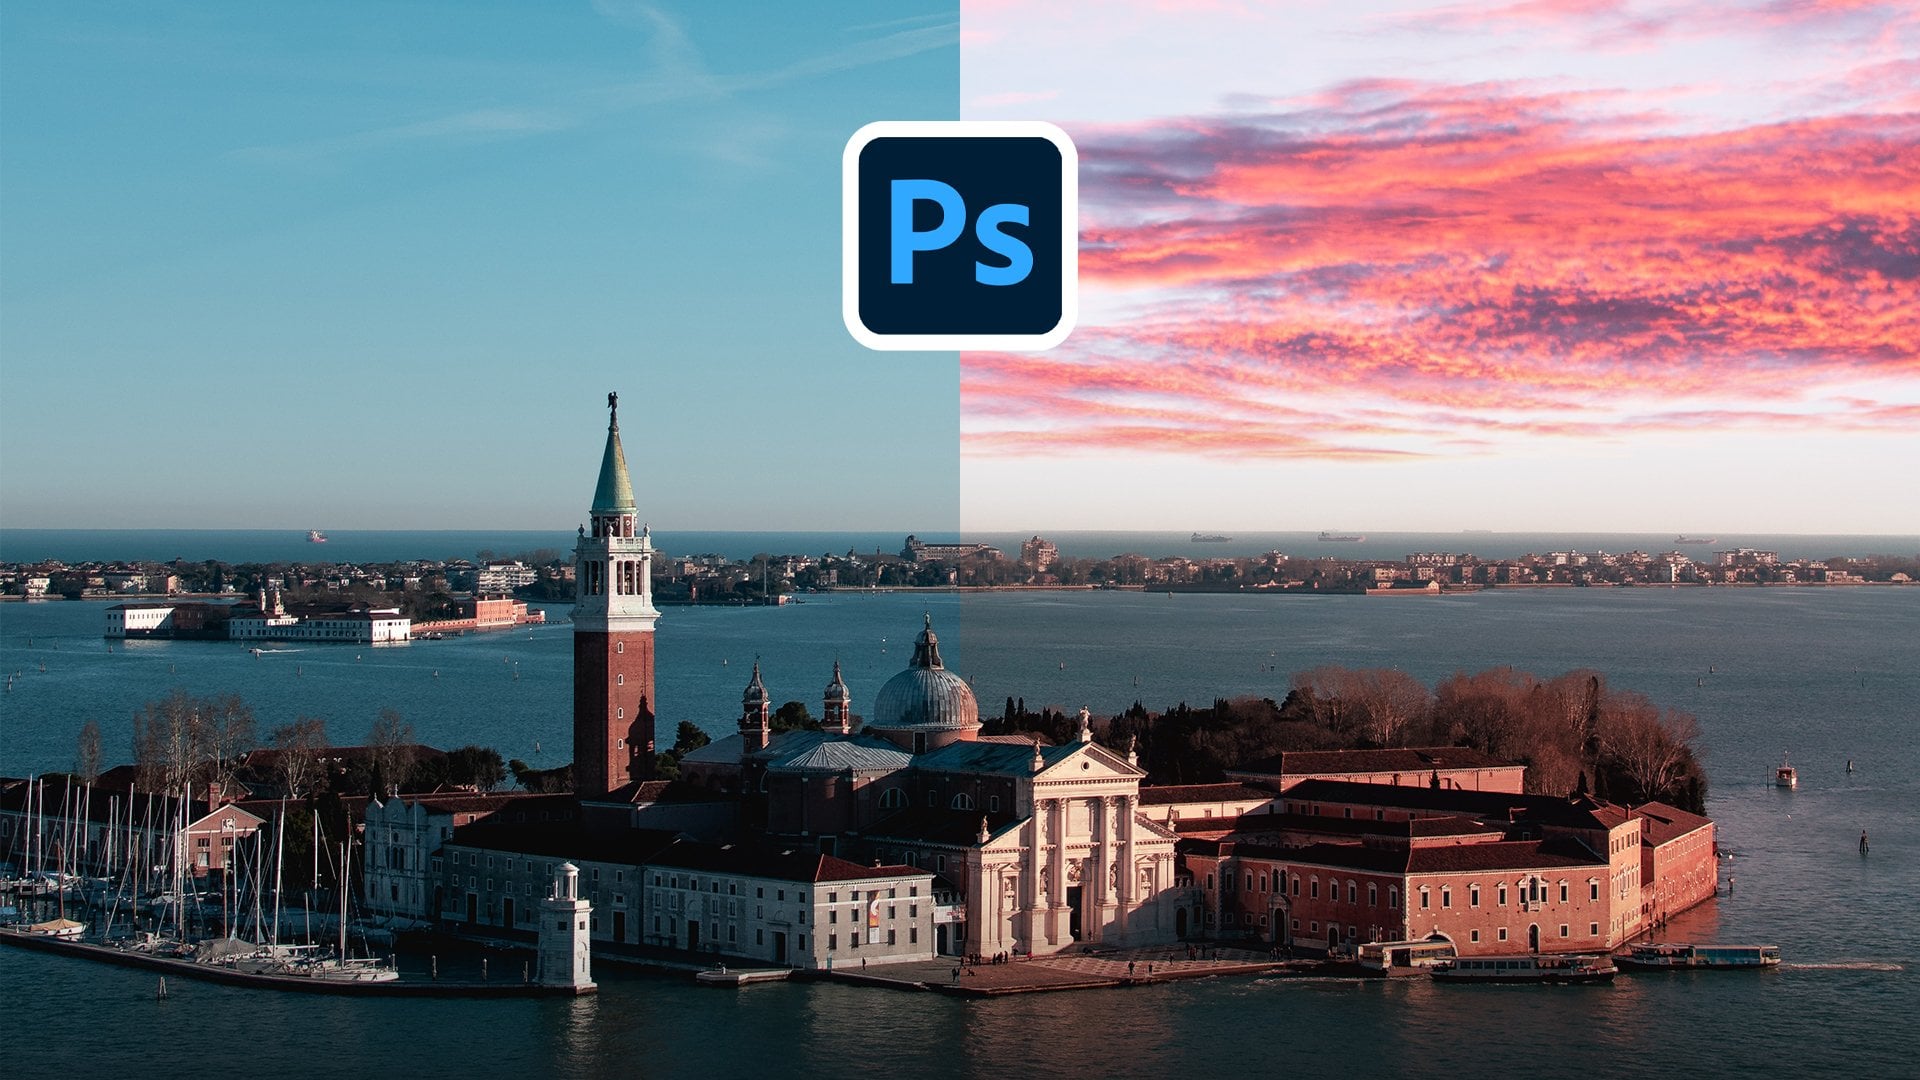
3. Sky Replacement: So next we're going to deal with some sky replacement. Now the new Photoshop has added an AI powered Skype replacement tool built right in so you don't have to do anything. So it, let's go ahead and try it out. So here we have this image of just some nature, some rolling hills, Mountain area. But I want to change this guy. Now before we change it, we want to make sure we know what direction the light is coming from. So as we see, this is most likely midday. We don't see a lot of harsh shadows. So we want to make sure that the sky that we replaced this with matches the actual environment. So let's go ahead, let's go to Edit and we're gonna go down here to sky replacement. That's a new section here. So let's click sky replacement. And now you're going to get this dialog box is going to give you a few different options here and 30 trying to change the background, and it's already actually changed them. But let's go ahead and look at this guy option. So it comes with a lot of built-in options. We have blue skies, we have spectacular, we have sunsets, and you can add your own. For this example, we're going to use a built in ones. And then I'm going to show you another example where I'll show you how to bring in at different sky of your own. So I do want to keep one of the blue skies. So let's just click through these and play around and see what actually looks good. This one doesn't look too bad actually. Let's play around with this one. Maybe. Not too happy with that. I might go actually with this one. This one looks pretty good. So we have chosen our sky, and now we have a few other options. And again, you can talk with a preview off and on. So there we go and talk to the off and on. So you can shift the edge of your image so we can go all the way to the right as you see that's shifting it in to our environment. Or if you go into the negative, it's going to bring more of the previous Sky back into it. So this can help give a good fade on the edge here. So might go minus 11 on mine gifted a little bit of a fade. And again, fade edge, we have the all the way up to 100. We can toggle that down to 0. As you see, there's no faded edge. Let's turn that all the way up. And now we can also adjust the sky itself. We can change the brightness. So if we want to brighten that up, just a smidge, which I might want to do. And very nice. And I might also change the temperature, might cool it down ever so slightly. Because the original Skype was a little bit bluer. If we talk with the preview, this is more of a deep blue than a scion. So you can change the temperature of this, bring it down, I'll go to minus ten for that. Very nice looking good. Now we can also change the scale where at 100, let's go to scale 300. And by definition, that just makes the sky bigger so I can make it bigger or smaller. I'm just going to undo that. So now we have to scale back to 100 and you can also and the sky. So in this case, let's see, do I want to flip this guy or not? Now if we look at the direction of the light, will notice on this piece of wood here, it's coming from the left. And we want to make sure that on our clouds, it's more left direction where the light is coming from. And as it is right now it is coming more from the left. I'm going to keep it like this, but you can flip that if you want. And then there's another section here that's by default close and that's the foreground adjustment. So let's open that. So you have a lighting. The lighting mode does is gonna change how the background image is applied to the sky. So we have multiplying screen so you can play around, it's going to be different on whichever method you use. Screen might work better, multiply my work, but I'm gonna go with multiply. And you can also do lighting adjustment. So if you find that it's not looking too good on the edges, you can just adjust the lighting and that can fix the edge quite a little bit actually, some happy with that. And you can also do color adjustments from matches the color on the edge a little bit more. I'm gonna go to about 50 for that. And again, we want to output two new layer, but let's do before and after. That is a very seamless change on the sky as you see, it's retained. This smudge or whatever this was on the original photo didn't go over that. You can mask it out later on. But that kept it. So if you have any birds in your background, it's going to keep that as well. So let's go ahead and let's hit OK. And very nice. And as you see, I'll put this to individual layers, which is fantastic. This is what you want. You want it to be a nondestructive editing. So you can go ahead and edit each layer individually. So we have our SKY brightness that we changed. We have the temperature, we have the sky itself, foreground lighting and foreground color. And you can go back and edit needs at any time. So for example, let's say I decide, you know what this guy is still isn't bright enough. I can go ahead and click the brightness here. Bring up a little bit more. And I can adjust each individually, which is fantastic. So let me go to another photo now and show you how to use your own photo for the background. So here we have this image is kind of a hazy sunset or early morning type of photo. Now I want to change the background, but we have a lot more things in the way here. So how is the sky replacement tool going to deal with that? Let's try it out. Let's go to Edit and then go to sky replacement. It's going to let that load up the new sky for us. As you see we have this new sky doesn't look good. We're going to use our own. So let's choose the sky dropped down. Let's close up these. What we're going to do, we're going to hit this plus you're going to add our own sky. So I'm gonna click that and make sure you download the sky that I provided. So let's click that and you can name it. I'm gonna call it just a sunset type of sky. So Sunset sky for the course. And now we have that sky in their perfect and that's going to show up at the bottom of everything. And look at that. That's already done. Such a fantastic job. I'm really happy with that. So if you turn the preview off and on, look at that, that's actually done a really good job and it's taken care of all of these little antennas look different poles and the buildings that are around our images and add is fantastic. But what if it didn't do a good job? What we have a few other buttons here on the side. So let's zoom in here, for example, into the middle of our image, we see it's done a fairly decent job, but we haven't you Refine Edge brush. So if we have the plus is going to extend the sky area and if you all don't alter option, it's going to take it away. So if we take it away, we can paint back some of our antenna here. And you can toggle this as much as you would like. And actually we're going to undo this. So I've undone that, but you can go ahead and refine it as much as you would like. You might find like here, for example, that didn't do a very nice job. So you can go ahead subtract that out a little bit so it's not as harsh. And you can move around. Move this tool, just make sure that it's looking good everywhere, sometimes in between Windows and little edges like this. It doesn't do such a good job, but this new tool is actually a pretty good job. So let's go ahead and zoom out a little bit so we can see our whole image. Very nice. And let's play around a few of our other edges. So Shift Edge, I might shift that up a little bit. There we go. I'm going to keep the fate edge, their brightness. I might want to brighten that up ever so slightly. And for the temperature, I want to cool that down just a little bit to match our original photo here. And the scale, I'll keep the scale as it is. Letting, let's see if screen does a better job. And note that this one multiply it does a better job. And again, you can change the lighting Adjustment, Color adjustment. That default is actually doing a pretty good job at smart enough to know what to do. Very nice. Preview before and after, before and after. So you can add a lot of interests to your images because it's original Skype wasn't that interesting, was kinda boring. But we knew that it was nighttime. So we can turn that on and we can hit. Okay. And if you want to add some of this color into your main foreground here, It's very simple. You can just go to a new layer. Make sure that's above everything. Every go hit brush sample one of the colors that you want to have in the front. And on a low capacity, you can start to paint over the front. And you want to make sure that you're on one of these other layers here. Let's go on to overlay. Let's go low opacity on that second painting, a little bit of that pink color onto your foreground. So that matches a little bit more. And you can turn opacity of that even more down. So you can really change the entire look and feel of your image. But again, make sure you keep count of where the light is in your image. Having a mid, and this guy would not suit this image as shadows don't suit that. This is more of an early morning or right before sunset kind of image. So you wanna make sure that you match the sky to the environment of the image that you're changing the sky for. And that is a quick look at the sky replacement tool that's mu and Adobe Photoshop CC 2021. Next I'm going to show you some new select Subject improvements that have happened that makes selecting hair and first social much better. So let's hop into that one.
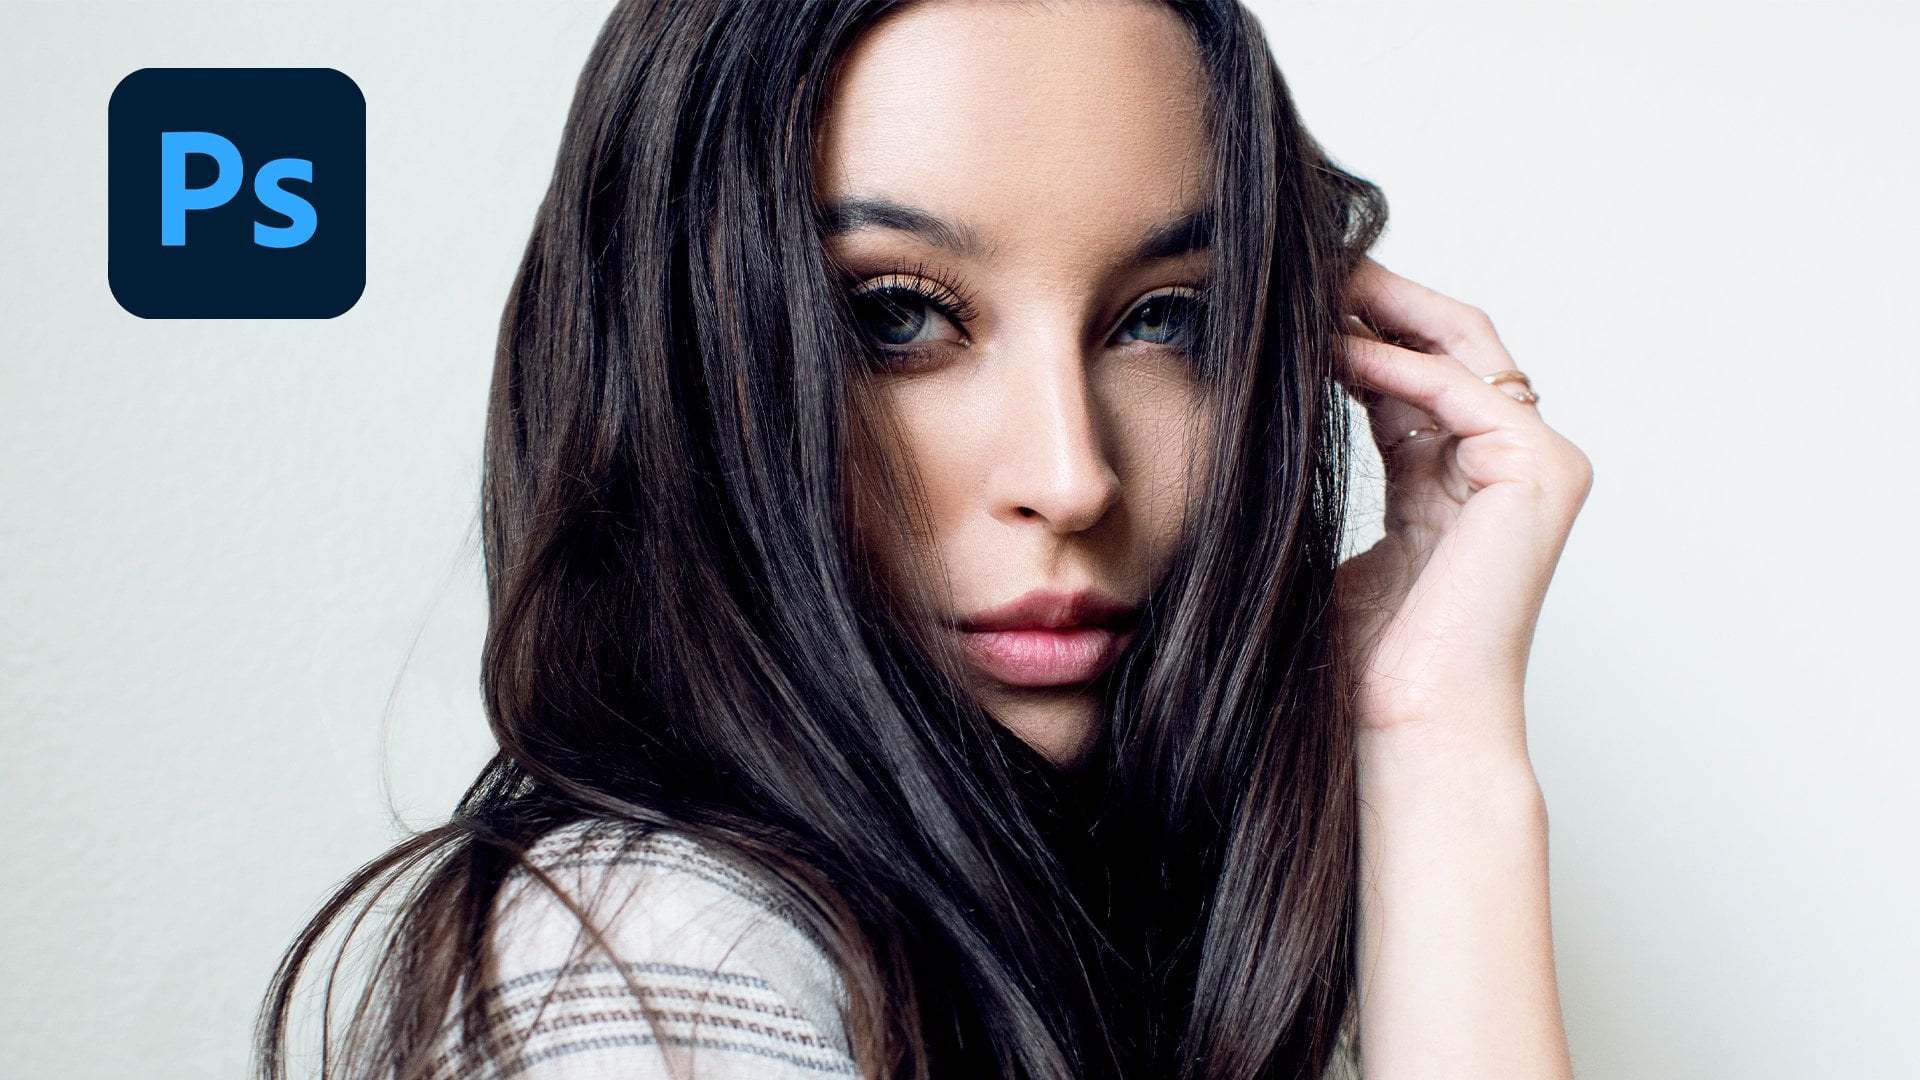
4. Select Subject: Now one of the really handing you changes had been the improvements to the select Subject tool. So now if we wanted to select this subject here, we could use a few different options. We could use our objects selection tool are quick selection tool to just, just draw it where our model is. And it could do a fairly decent subject. And then we would mask out the hair paint with the Refine Edge tool. But that takes a lot of time. How could we do this better? Let's select this, and let's do select subject. So it, let's go to a marquee tool or it can be on any selection tool nets do select unmask. You're going to come into this dialog box. Let's do select subject. Let's try and select our subject out of here. It's going to take a second and look that we have a very good selection here. And let's view this on white. And turn the opacity up of that. And we see that's done a really, really good job on the hair. We can zoom in as an actually a surprisingly good job on the hair. So you can also turn the opacity down to see the original, to see if it's missing anything. It's actually got a lot of the actual hair that I want in this selection. But you can also do a few other things here. You have refined mode here. So you didn't do color aware or object aware. So color where it's going to result in a different edge. So let's just hit OK. So it might result in a different edge. So it's going to use either the color or the object itself. What we want to be object away here. So we're just going to click ok there. And again, you have all the normal edge detection suffering can change the radius. We can have a Smart Radius if we'd like to turn the radius on, let's just do one pixel radius there. We can smooth it out. If we can put the feather up. You can get very specific with this if you'd like n as well. You can always paint in the Refine Edge as much as you want on your hair and change the contrast on that. Put the contrast up a little bit, and shift I just keep the edges where it is. Output settings. We can output all of this to a layer mask. We can also put this toy new layer, new layer width layer mass m_2 document. For this, I'm actually going to do it to a new layer. New layer. And you can decontaminate colors if you'd like. It's not going to be too effective in this image. So we're not gonna do that too much, but you can't see with and without. It might work for your photo and might not fun just going to have that off for now. And let's just hit OK. So we have our selection there. And then all we have to do is control C, control V. We have that on a new layer ready to go. And if we have a layer filled with white below it or any color for that matter, we see we have our selection. And as you see, I didn't get the bar that was here behind her, but it did a fairly good job. So let's go and do a few other examples of this, shall we? So what if we want to do specifically? Hair. So let's go over to our next photo and this one right here. And we're gonna do a very similar thing. So here we have this model here. She is currently here, and we want to get a really good edge with her hair. As we see, she has really nice curly hair, but we want to Moscow to help properly. So how are we going to do this? Well, on any selection tool, we're going to just use a N for Marquis. Let's just select a mask. And if you don't see the proper things up here, make sure you're not under Xun tool, but just like any of these selection tools up here. And now we want to do refine hair. So it says you cannot find here without a selection. So let's first select our subject. It's going to take a second, just select her out of this and let's go ahead and let's show her on a white background. So let's do on white. And now if we zoom in, we see it's done an okay job with the hair. Not too good, but let's do refine hair. And now the AI is going to look at the hair and as you see, it's gone up. Better selection of the hair. Very nice. It's not perfect by any stretch of the means we see here has gone a little bit too far. If we toggle the opacity back, we see it's done an okay job, but as you see, it has managed to get in between the hair, get all the white that we want in there. So it's on a fairly decent job. So let's go ahead. We can do color aware again, we can switch that out if we would like. And in this case, it's actually done a better job of things. So I'm going to keep it on color are aware. So play around with this switch between color where an object where it, because it's going to be different per photo. Next radius, I might give it a one pixel radius. There we go. And again, you can do all the smoothing feathering that you'd want. I'll probably do a one pixel feather and ever so slightly increase the contrast to about 13, 14%. Very nice. And I'm going to output this twin new layer. So let's hit OK. Now we have the selection on a new layer, both of the original underneath it. So if at any point you want to paint something that you can. So now we have this edge with a nice hair selection behind it. Let's go ahead and fill in that layer as well with white. And look at that. We have a nice selection using the refined hair tool. It's actually done a really nice job on that hair. But what if you want to have one preset that you want to apply to many photos, a same type of edge detection, same type of refining. What we can do that now we can create presets for refining our edges. So let's go ahead. Let us look at this image here. You have this image of a lion just sitting on a rock. That's a lot of detail that we want to get. So again, want to make sure we're in one of these selection tools and let's just select unmask. Let's make sure that we zoom out here. And let's put opacity down so we actually see our subject here. Let's do select subject. So now we have our line, but look at that. It's not done a very good job with the first here. So let's go ahead and assume refine hair. This is a great job on hair. And for, so if you have a cat, a dog or line, in this case, it does a really good job at refining the hair. So let's go ahead and let's put him onto a white background. And very nice. And now we can do between color, aware or object or I. Let's see if this does a better job. We can toggle between the two. So I'm going to say. Color where it looks better to me for this particular example, I'm going for the radius up by two pixels. And let's go ahead and smooth it again a little bit. Feather it by about a pixel, increase the contrast of 15%. Very nice. But now what if I want to use this exact setting on another image? Well, if you look up here, we now have preset. So you have a custom presets. You can save this. So I'm going to call this a lion refinement. So make sure you know where you're saving this by default is going to save it to the Adobe Photoshop 2021 presets folder under Select and mass. Make sure you save that as a line refinement or anything you'd like. And let's hit Save. Very nice. So we have this Edit done. We can hit OK. It's going to output that tone you layer, but now I want to apply that to another image. So let's go to this image of a lion. But I also have, I'll go ahead and try to apply that preset to this image of this line. Let's go ahead and let's do select unmask. So right off the bat is gonna do select subjects I know what I'm selecting here. And I'm going to do we're fine hair just to get their hair done right off the bat and very nice. And here we have our presets. Lets go and select line refinement. And as we see that's changed all the settings here. And it's tweak the settings here a little bit. And now the background is very similar to the subject in this particular image. So it's not the best, but let's look at this on white. And as you see, that's done a fairly decent job. I would definitely go back and refine a lot of this. So I would go back with this quick Selection Tool or they're fine edge tool actually makes the brush nice and large. And I would go ahead and paint in a few of the spots here on the left just to get rid of some of that. So it's going to take a second excited click multiple times here. And if you hold down minus, it's going to take away from that. So I might actually take away a bunch of that stuff over there on the left. There we go that's cleaned that up. Let's clean up this edge over here. So again, after this you can do all of the Refine Edge that you would normally do. But this is a really cool tool to be able to have a preset I can apply to multiple images, especially if you have multiple images from the same photo shoot. This is perfect for those scenarios because you can apply the same selection to all of those images, such as head. Okay? It's going to output this through a new layer. And I said, Okay, and there we go. We have that on a new layer. Let's fill that in with some white. And that's done an okay job, not a very good job at all. But for the example of this, we see we've applied the preset to this selection. That's fantastic and a really great new tool. Next, I'm going to show you a really quick little tip on the Content Aware fill shortcut and how there's a new way that you can actually use it in a very effective and fast way that'll cut down your workflow time. So let's hop into that one.
5. Content Aware Fill Shortcut: We now have a new way to do content aware fill. And there's actually a new shortcut for it on our keyboard and get our lasso tool out. And let's just draw a little selection around this paragraph lighter, and you can now right-click on your selection and do content aware fill right from here. You don't need to go into any other kind of menu. My default, that doesn't really good job. So you can do all the normal settings that you'd be able to do. You could change the sampling area. You can change the type of area options that filter settings, color adaptation, rotation adaptation. And as you see, the session actually did a really good job. So I'm just going to hit apply. It's going up at 20 new layer. So let's hit OK. Let's put it to a new layer. We can de-select that and look at that. It's my magic gone. But now what is a practical use for this? Because in this image, and this is, this is the focal point. You don't really want to get rid of this and how would you actually use this one? Let's go over to this image. We see this model here, modelling by nice blue brick wall, but this Light is a little bit distracting. It's a nice light, not gonna lie, but it is a little bit distracting. So how would we fix this? Very, very simply, actually. So you would simply just select the light. You'll right-click and do content aware fill. And as you see, it's done an okay job. Or we might want to add some of the sampling area to this. So just hold down. Alt is going to add to the sampling area. There we go. And as you see, that's looking better now. So let's play around with the Philae settings color adaptation. Let's do high willingness to really match the color and rotation. Let's do, let's do medium. Let's just do, don't show again because we know what we're doing here. As you see, it's starting to get the lines in properly. And let's go. Hi, let's see if that does a decent job, that does a better job. Let's check out full. So depending on your image, you might have to play around with this. High did the best job. In my opinion. Very nice. Now might actually add a little bit more sampling area from here. Says more information to pull from. And that's a good start. I would definitely go ahead and go in with a clone stamp tool, for example. But let's, let's do this. Let's output this tone you layer. I said OK, as de-select that and as you see, we have that there. It's a great starting point. So now what I would do is I'll come into a new layer. Hit us for the clone stamp tool, makes it nice and big. And I would probably just sample something from here and just draw in what I have to ever go. I would probably go ahead and erase part of this here that I don't want NO wouldn't match the color properly. I'll go ahead and do saturation. Makes it a bit darker, change the hue to match that green. So you can definitely play around with this to make it match even better. But that is essentially one way that you can use this new tool in an effective way. There we go. And light is gone. You can group all that together. And just name that lighter removal. Perfect. On item toggle that on an off. Very nice. So that's a really cool way. Can using you content aware fool shortcut of just a right-clicking on a selection to do content aware fill. Next I'm gonna go into something a little bit different. And that is the pattern previously you make patterns so you get a live preview of what you're doing. So let's hop into that.
6. Pattern Preview: One of the really cool features in Photoshop is that you can create patterns, but it's a little bit hard to get them to be seamless. Originally, what you would do is you'd probably create something, have some kind of a swirl. And you would hope that it meets up on the other side. But all you do is you would select everything. So you do Control Command eight to select everything. And then you do edit, define pattern. I would name it swirl and said OK. And then you'd go down here. And then you would do pattern. Go ahead and select the pattern you just made. For example, this one here. And then if you were to scale it and wouldn't meet up on the edges very nicely. How do you actually fix that? Well, there's actually a really cool new feature and that is a patron previously can see what you're doing. How do we do this? Let's just hit, cancel on this. Let's get rid of this. So let's just do select all. And we're just going to delete everything felt now with everything gone, let's go ahead and we're gonna go to view. We're gonna go to pattern preview and works best with Smart Object flow. We can, so just paint in there. We're going to hit OK. We're going to have this dialogue box here. I'm gonna zoom out a little bit. So now if I'm starting to make a swirl here like I did before, let me pick a nicer color this time, something more like a mint color. So now if I want to do another swirl, we see it's being updated live everywhere. So I can go ahead and do whatever kind of pattern I want. I can connect that up there. I can go ahead and paint off screen if I want and bring that in. I can connect that up. I can have circle go off to the side here. You can really get creative, create any kind of pattern. This doesn't look good, I know, but if we zoom out, we see it as continuous. It's all connected. It's fantastic. And it goes for an amount of time that is absolutely fantastic. But what if you want to have a proper pattern? Let me hop over into another art board here. Alright, so here we have a more of a standard type of pattern. You might have a few different vectors on it. As you see, this goes on for an infinite amount of time. So if you want to make some wrapping paper, some kind of wallpaper or background or anything like that. You can really adjust everything using this pattern preview. So I can just adjust in this singular element here. And it's going to update it everywhere. So let's say, I'm not happy with this being down here. I can move it up and it's going to update everything live. And you can also change the size of this just to control command t. And you can make bigger, smaller or anything you'd like. You can even rotate it. So let me rotate that place, sat there. And again, you can adjust everything. It is fantastic to get a really nice seamless pattern going throughout your image. And you can even have these go off the edge as you see. So you can get really varied type of patterns going throughout your patent that you're creating. So let's zoom out. That's a very nice, seamless pattern. You don't see any edges, nothing, and it is fantastic for that. So this is a really cool new little, little tool that you can use when you're making a pattern. Next, we're gonna go on to some of these have been made to some of the shapes in Photoshop. Let's keep going.
7. Shapes: One of the areas of photoshopped has gone quite a significant change in this update has been with the shapes section. So usually we had the line tool, we had the rectangle, everything. But now we also have a new triangle toolbar. Let's start with our rounded rectangle tool. So now if I draw a shape, let me go ahead and make sure that's filled with some nice dark color that everyone can see. You now have these handles here to change the roundness of the corners, which is fantastic. It can also rotate the shape and it's going to keep that and you can still edit the roundness after you've rotated it. Previous versions of Photoshop did have some complications of this and limitations. You weren't able to do all of this. We can go ahead, change all the sides of your image no matter what you want to do, you can make this a little bit rounded and you can get, you can get some very unique shapes are done through this method. Now what other shapes do we have? We also have now a new triangle tool. We didn't have this before. Sleeping is click a triangle and you can have the same roundness effect on the corners and the same thing like with the rounded rectangle we can rotate, change the size, change the height, the width, everything. And you can always change the roundness of the points at any point. So you can get some really interesting shapes. You can make. For example, an ice-cream cone of some sort, have some very creative type of graphic made using these shapes. Fantastic. Nothing that's been changed has been the Line tool before. It used to be four points. It used to be a rectangle. Now it is just a line, is two points. You can drag them here and there to point is no longer rectangle. We can again change the fill stroke everything that you would like to be exactly as you want it to be. So you can change the stroke saints or thickness no matter what. And you can continue doing all of that. So that's a great way that some of the shapes have changed in Photoshop to make you get really unique, different type of things that you can create. Lastly, I'm gonna go over some quality of life improvements that's been made to Photoshop. I've three improvements actually that I'm really happy with that had been changed, that I really want to show you.
8. Quality Of Life Improvements: I'm going to show you three quality of life improvements that are new and Photoshop 20-20, one that I think are really, really handy and useful to note. In fact, some of them are total gain changers. So the first thing that I wanted to show you will have to do with version histories. Russian history only works with cloud documents. So first of all, let's save this as a cloud document. So I'm just gonna go to File Save As. And if you aren't already in it, you're going to find somewhere to Save As and I'm going to save it as a cloud documents. So you're gonna click this, Save the cloud documents. Are they have some other examples I did before. And let me just rename this as example. Very nice. I'm gonna hit save, and that's been saved. Now let's say that I want to make some edits to this. So let's say I want to increase the brightness of this, increase the contrast. Let's say I want to change the hue saturation, make it more saturated. Little darker, very nice. Now, once you have this first edit, I'm just going to decide to save it. So control command S, I've saved it. You see that saving as a Cloud file one. Now I decide, you know what, I actually want to see what this would look like as a more moody type of image. So let's do a color lookup. And let's say I want to add the foggy night filter on this. I'm like, Yeah, that looks good. So let's save that control commanders. But then I'm looking at this, I'm thinking, I don't like it, so I turn that off. And let's say I want to do plus I don't turn that off. Let's say I want to just do a color fill layer, solid color. And I want to have that be a bright pink color. And I'm gonna make that be soft light blending mode. Like So. These aren't the best that is, but you get the idea, you playing around with different ideas. And now I want to see all the different versions that I've done. It's very simple. You're gonna go to Window and version history. And now we see here, let me just scroll down. We have all the different versions that we've saved today. We have this version, we have the previous version of the moody color lookup. We have the original hue, saturation, brightness, color contrast, and we have the import version that we have. And if you want something that you really like, you can mark it as a check. And I can say this one, this is one that I don't want them to delete because the cloud will delete the different versions after 30 days. It only keeps it for 30 days. So if you want to keep one, make sure that you mark it. You can even mark multiple. If I wanna keep two, I'll keep those two edits. So let's say I want to go back to this foggy version. We can click on these three here and revert to this version. And it's going to change everything back to what it was. There we go. It's back to that. It's saved it. So that's a really great way. You can use version history to go back through different versions, have multiple versions, or get back to a point where you were before if you're saving multiple times. Another great new thing in Photoshop 2021, That's a great quality of life improvement. Is this new plug-ins tab. I don't have any installed, but you can just click plugins, browse plugins, and it's going to bring up all the plugins that you can get through the Creative Cloud. It's going to load up a couple for you. So let's say for example, I want to, I want to get this custom watermarks, let's say one out of custom watermarks. So let's hit get it, installs it, and it's ready installed. And it is now under plugins. So again, you can close out of that. So if we do plugins, we now have the watermark login there. And you can go ahead and use a yes to register for this one and sign it. But that's a really great way. You can add all kinds of plugins to Photoshop, both paid and free, so you can not custom watermarks, different effects, everything. I highly encourage you to take a look at the plug-ins that are available because they make it so easy now for you to install them and use them. And lastly, I want to show you a really great new section. So now we have this section right here you click Help, Photoshop helps. So if you ever have any questions with anything, Let's say for example, I want to say I want to make something black and white. You now have the shortcuts right here. There are different ways you can do it. You can do grayscale image mode. It's going to show you in the top left you see their image mode grayscale. Or you can do shortcuts layer, a new adjustment layer, black and white. And you can just click it here. And it's going to do it for you. Just click OK and you can do it just like that. And then let me undo this. What else can we do there? Well, let's say I want to change the background in this image. Let's see how to replace background. So let's do the results. And not only does it give you some help here, but it gives you some hands-on tutorials. So we'll change the background color and a photo or background entirely. Let's do change the background color and you just click Start Tutorial. This has been made by a professional and it's going to load up the image for you and it's going to walk you through. It, just tells you what to do. You can you select subject and the subject automatically, and it's going to walk you through the whole tutorial. So tells you what to do Exactly. So it's fantastic way to do things that'll teach you what to do right here in Photoshop. And there you have it. Those are some of the quality of life improvements that are really fantastic. From some really cool new plug-ins to version history that can really help you get back to a previous version of your piece or to multiple versions to the Photoshop helping guide it tutorials which can literally walk you through step-by-step on how to do certain things in Photoshop. So if you're getting started or if you just want to practice certain skills, you can look through the guided tutorials and follow along with that professional who's already done this. It can really, really help you improve your skills. And the next video I'm gonna wrap things up with some final thoughts on this new Adobe Photoshop update.
9. Final Thoughts: There you have it. You've made it through my course, Adobe Photoshop CC 2021, fun, new features of that you've learned a lot today. New features, tips and tricks that you can apply to your own edits. I highly encourage you to create your own edits using what I taught and drop it down to the students submitted projects section. I'd love to see what you've created with these new features and new update of Photoshop. I would like to mention that I am something Lightroom presets right now for a special introductory price over on my website. So head over to www dot and the real-time kind.com forward slash presets to get your presets today, these are perfect to use in Lightroom to apply cool styles to your photography or edits that you do. These are perfect for the final color grading part of retouching or any edit that you make. You can just throw your photo into Lightroom and a play one of my many presets to give us that final high-quality color graded look. If you've enjoyed this course, I encourage you to leave a review on rating as it helps me out and feel free to check out my teacher page, to check out other Lightroom and Photoshop courses that I've made, ranging from beginner courses all the way to mastery courses. It's been a pleasure teaching you today and I hope to see you again in a future course. Take it easy.
 Tom Kai, Senior Graphic Designer & Art Director