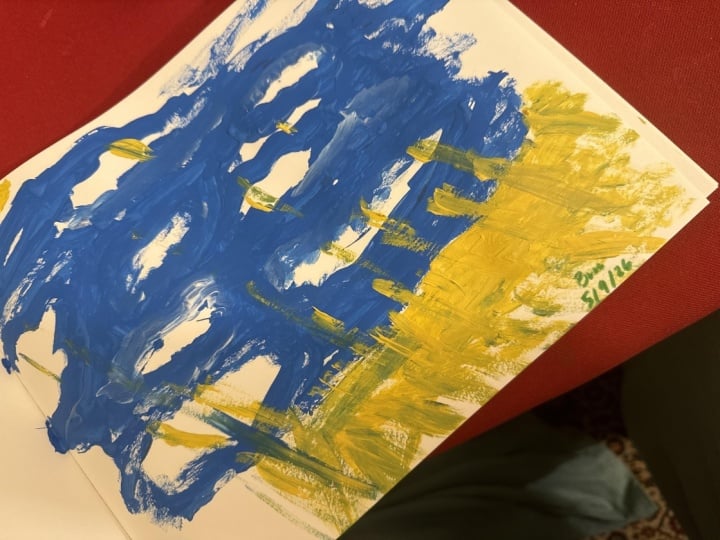
Transcripts
1. Welcome to the Class: Painting begins with
a simple stroke, but it holds the potential to become something
beautiful. Hi, everyone. I'm Anka Sivadas, a self
taught artist from India, and I welcome you all to my
very first acrylic class. So in this class, I'll be giving you a quick
introduction to acrylics and how you can use them in a simple
and effective way. So if you're new
to acrylics, well, this medium is considered to be very versatile because
they dry fast, they're easy to layer, and they are simply perfect for beginners as well as
experienced artists. The main aim of this
class is to help you create a beautiful
painting while spending less time
and at the same time learning some essential
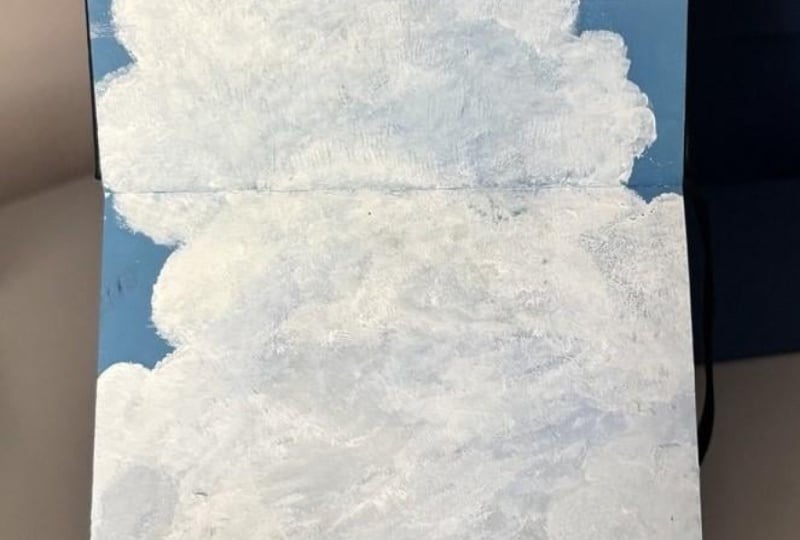
elements of painting. And in this first class, we'll be focusing
on painting soft, fluffy clouds and understanding how to build them step by step. And this class is completely
beginner friendly. So even if you're
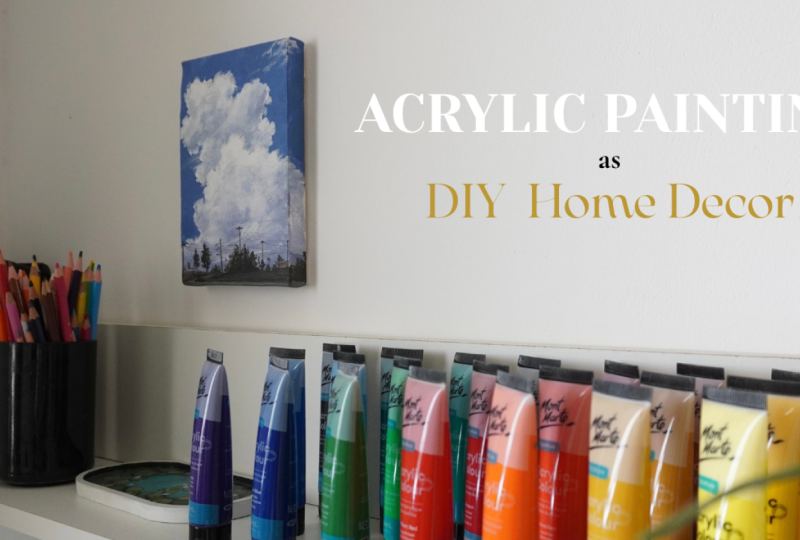
just starting out, you can easily follow along. And the best part is you're not just creating a practice piece, but a canvas painting
that you can actually use as a home decker
and hang it in your place. So grab your materials
and let's get started.
2. Materials : As for the materials, I'm using a stretched canvas
of size five to 7 ". Then we need a mixing palette. For the brushes, I'll
be using a set of flat brushes along with
a few small round ones. Apart from that, we'll
need a jug of water, and you can also keep
a waste cloth handy. I'm also using a spray bottle to miss the paint so they
don't dry out quickly. So this is a set
of colors I'll be using for the sky and
this one for the ground. So we'll need white,
purple, plato blue, medium yellow, black,
brown, and sap green. So these are all
the materials we
3. Painting the Blue Sky: You can start by spraying your palate with a little water. Now let's begin with the sky. For that, we'll need
white and blue. So if you have ultramarine blue, that would work really well. And while taking out your paint, make sure you don't
spread the paint too much as acrylics
tend to dry quickly. Next, we'll need some purple
and finally, a bit of black. Now using a flat brush, I'll start mixing the colors. So let's begin with white, and slowly you can
build it up by adding blue violet
and a touch of black. So here, I'm not using
ultramarine blue, which is why the color
appears more vibrant. To slightly tone
down the vibrancy, I'm adding a bit of
violet and black. So while mixing, always
make sure you're using all the paint on
your palette while mixing. Now, if the colors
look too dark, you can gradually add some
white in the next steps. I'll quickly test this color on the canvas to check if this
is the right shade I want. I feel it needs to
be a little lighter, so I'm going ahead with
a little more white. Also, as you mix more colours, the paint might get thicker, so you can lightly
dip your brush in water and then
continue with the mixing. Now that the color looks good, let's first mark
the ground area. So I'll slightly sketch
it here in this manner. And above that, we'll
have the clouds forming. So I loosely outline the
area using the same brush. You can very well refer to your reference image to
understand the shape, but it doesn't need
to be very precise at this stage because we are
just starting it out. So that's the reason we are just blocking out the space for the clouds and we'll
be refining it later. So for now, focus on creating a soft rough outline
with this color. And now that the
outline is already, we can start filling the
remaining area using this blue. Here, I'll be adding some clouds so there
is no need to extend this blue all way down to the ground on the left
side, particularly. Make sure the paint is spread
evenly across the canvas. Since the surface
is quite textured, it's easy to miss a few spots, so take your time and cover it properly with enough paint. As I'm using a stretched canvas, I'm also painting along the sides to give it a
clean finished look. Now, before we move
on to the next step, if you notice any area
that needs retouching, you can go over them again
using the remaining paint. And with that, our
blue sky is complete.
4. Painting Clouds: Next, I'll fill this cloud area. So I'm going directly ahead with some
white on the canvas. So using a flat brush, I'm giving a quick layer of
white over this empty space. As I mentioned earlier, on this side, I'll
just add some clouds. You don't have to
define them now, but you can simply
fill this space first. Now to define them, I'll take some white and use
a smaller flat brush now. So using this, you can
first define the outlines. As you can see, the
paint is not fully dry, so I'm able to blend it toward the inner part
of the cloud this way. I know it's not possible for every part because here
the paint seems loose, but I don't mind blending them into inner side
wherever it's possible. So as you go defining
the details, in case of the paint is loose, you can simply
blend them inward. Also on the palette, don't let the paint dry. Just spray a little
water over it because we'll need
this color anyway. You can then continue defining the clouds using
the white paint. You can check the reference
for a clearer idea. It doesn't have to
be exactly the same. Just create some curved shapes like this to define the borders. That would simply do. So take your time to fill in the shape
and me you once it's done. Now that this part is complete, I'll also add a few clouds
here in this corner. So don't use water
while doing this. Simply brush the paint onto the corner this way to
get that cloud effect. Once done, move back
to the main cloud. And here, imagine there is
a cloud shaped like this. So if this is the first cloud, then this becomes
the second one. To define them clearly, I'll take a previous color, but I'll darken it a little. So if you find it too dark, simply mix white
into the mixture. First, define the shape
of the first cloud using this dark color because
the area behind it would appear slightly
darker due to the shadows. So you can go ahead
and use this color to define the shape of the first cloud that we
initially mentioned. And if your previous
color had dried, you can go ahead and
mix a new batch again. Now, using this
color, I'll shape the cloud and then fill
the top part this way, not completely to the
top, but, you know, simply wherever I
find the shadows, I'll just add this color
and mainly don't extend it to the very end where
it's kind of pure white. So find the dark areas and then mark them
using this colour. We'll be repeating the same
in the bottom part as well. Now, before the paint dries, take some white, and
without going too far, gently blend this
darker color into the plain white base which
we had painted earlier. This way, take your time
and blend the white with a darker colour and create
a smooth transition. So this part is almost done. Now for the bottom cloud,
I'll repeat the same process. Also, don't forget. Since I'm working on a stretched canvas, I'll be covering
the sides as well. And as you can
see, I'm not using any water while
working with acrylics, because unlike Gauche acrylics
are much more forgiving, so you can always layer them
in case you do any mistake. Now for the bottom
part of the cloud, I'm adding a bit more of violet and keeping it slightly darker than the
rest of the cloud. So let's fill this area with a slightly darker shade that
leans more towards violet. So using the same color, I'll just blend in some shadows here and there in the lower part, especially. Now I'm switching to a bigger brush for
this blending part. For blending, you can very well use white like
how we did earlier. And for the bottom portion, I'm using straight horizontal
strokes like this. So wherever required, you can retouch to get the values
right for the cloud. Feel free to use a reference
in case you are confused. Again, for the
bottom, I'm mixing a little more violet
into this mixture. As I mentioned earlier, we'll continue with
horizontal strokes like this. And most importantly, you
don't have to overdo it. A slight touch is
more than enough. Now, I'm using this
darker color to extend the bottom part as we don't require this much
area for the land. Oh next, while this part
dries and before we highlight the main
cloud using pure white, let's go ahead and
mark the land. For which I'll be taking yellow, white, green, brown and black. Now, let's start with a base
color for the ground part, for which I'll be
using these colors. So here's a quick tip. Whenever you want to mix greens, don't go directly with the
green available in your paint. Instead, mix it using different proportions
of black, yellow, and the existing green
to get a variety of olive green in case
you need a darker color, or you can add in white and more yellow to make it more lighter. So using these colors, I have mixed to get the
dark olive green color. And with that, I'll be
adding the ground part. As mentioned, I'll also be adding the details on
the sides as well. Now, I want this colour to be a little more light
for which I'll be adding in some yellow and white to the mixture to get
a lighter version. Now that I feel the
sky must be dry, let's go ahead and take some white to finalize the details. So using this white, I'll mark those areas that
we initially left. You can first define
the borders this way. To be precise, I'm using white, and I'm blending in those light areas into
our shadow parts. Now, for the bottom
part, as I mentioned, I'm not using water. Just directly add a few strokes
like this horizontally. That would work. On the sides, I have added a few strokes
like this to show the wind. Apart from the borders, we are simply creating small
shapes here and there to add some definitions
to the sky and the clouds. And I repeat, don't
overdo this process. Use white only where
it feels necessary, and you can also refer to the reference for a better idea. So once you finish the details, let's stop it here and
move to the final part.
5. Painting the ground: So previously, we completed the base layer for the ground. So now let's go ahead with the final details of the ground. For that, I'll be
adding a rod at the very bottom for
which I'm mixing white, black, and some brown to
get a light gray color. And for this part, I'm going ahead with a thin round brush. So using that, he can make a thin stroke like this
at the very bottom. I lighten it slightly and then add one more layer
to finalize it. Now, I'll go ahead and mix
Ole green again using yellow, white, black, and green. So using this, you can
redefine the ground. To darken it, I'll add
a little more black. So the trees in our painting won't cross a certain height, so I'll keep them
around here because our main focus in this
painting is the clouds, and due to its perspective, the trees appear quite small. Now I'm adding an
electric pole here. As you can see, instead
of using straight black, you can mix it with
a lighter color from your palette and then go
ahead with the details. I'll now add another one slightly taller than
the previous one, and we have another one. Apart from that, we'll also
have two more on both sides. Next, let's also add a
road in this direction. I'm indicating it with a diagonal line using
the light gray color. So this shows that the
road is turning inward. Now using the same palette, I'll take some brown and add a few buildings
in the background like this on both the sides. Next is adding
details to the trees. So I'll take a dark olive
green color and add details like this on those lines which we
had initially drawn. It doesn't have to be
very well defined. Just focus on the overall
shape. That would actually do. If the color looks too dark, you can always lighten it by mixing in some yellow and white. Now using this lighter version, I'll just add in
some more trees and also highlight the trees
that we had just painted. Also, instead of using
just one typical green, you can go ahead and
mix different shades of it to define the trees
that we are painting. So here I'm adding more
trees using the same method. Once that's done, to balance it, I'll redefine the
ground once again. And mostly, while
painting trees, keep the top portion slightly lighter as those areas
catch more sunlight, hence it would be much lighter than the remaining
part of the tree. And in case if you
didn't notice, whenever I'm working
on the front, I'm also continuing the same on the sides of
the canvas as well, even though it's not
visible right now. Finally, I'll use a darker ive green to define the
ground for one last time. Now, to make the
road more visible, I'll mix the gray
color once again. Here I'm keeping it much more lighter than
the previous one. And for that, I'm using a bigger flat brush to
define it more clearly. So using this color, you can define the road once again and also don't forget the road that we made by cutting a diagonal. Once that's done, let's
connect the electric lines. For that, I'm using
the sakura pens. You can simply connect
the lines lightly. So the main reason
I'm using a pen is because my hands
are a bit shaky, so I'm not very confident using paint for such fine lines. And since the poles
are quite small, a pen generally works. Finally, if you want to adjust anything else,
you can go ahead. So here I'm actually darkening
the trees a little more. And apart from that, I'm also adding a little details
here and there. And with that, we're finally
done with our project.
6. Thank You: That we have come to
an end of this class. Thank you so much to each one of you for joining me
and painting along. I truly hope the class was
informative and the process was enjoyable and
you'll learn something new about acrylics
and painting clouds. Now, once you have
finished your painting, don't forget to take a
few good pictures of your art and upload it in
the project gallery below. I'm really excited to
see all your creations, and you can also find
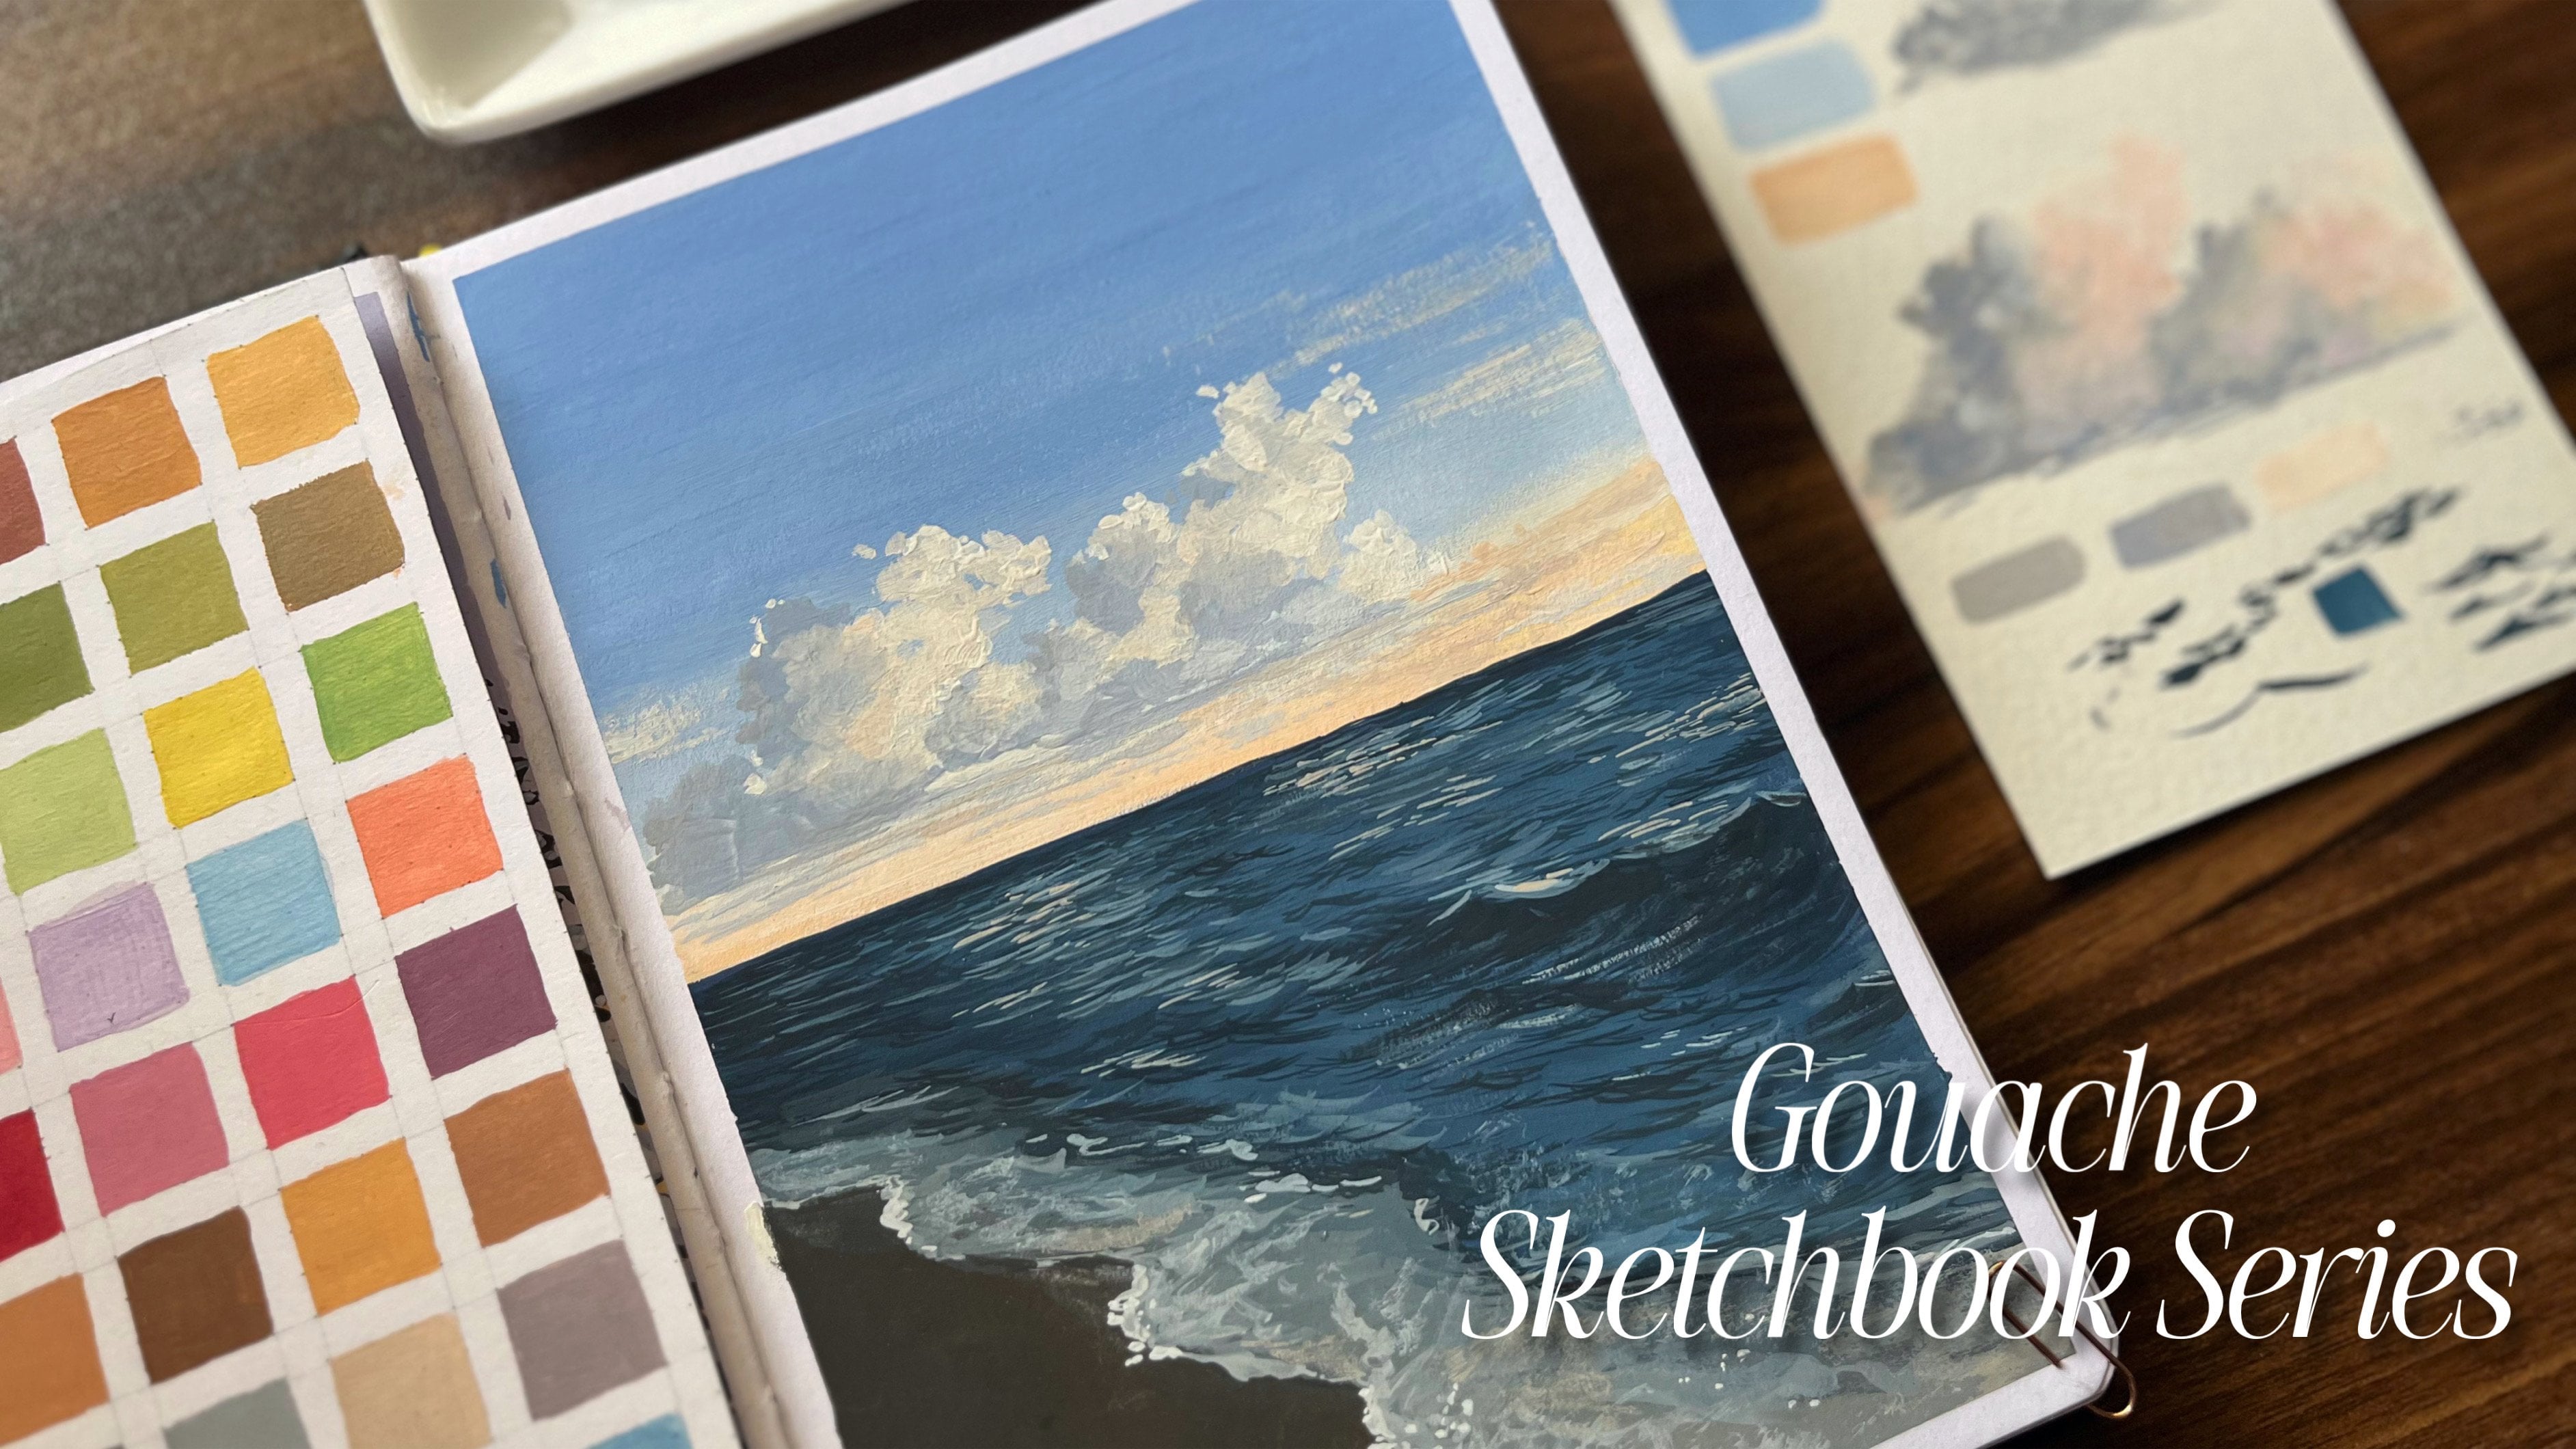
the reference image attached in case you want to go through it again
while you're painting. And if you have any
doubts, questions, or even feedback, feel free to drop them in the
discussion section. I'll be always happy
to help you out. And if you have
enjoyed this class, do consider leaving a review. It really helps other students
discover the class and also support me in creating more classes like this for you. Once again, I want to thank
you all for being here, and I'll see you soon
in the next class.
 Anagha Sivadas, Artist, India