ACEO Mini Painting | Let's Paint Retro Botanical Shapes in Gouache | Holly Tomas Art | Skillshare

Playback Speed


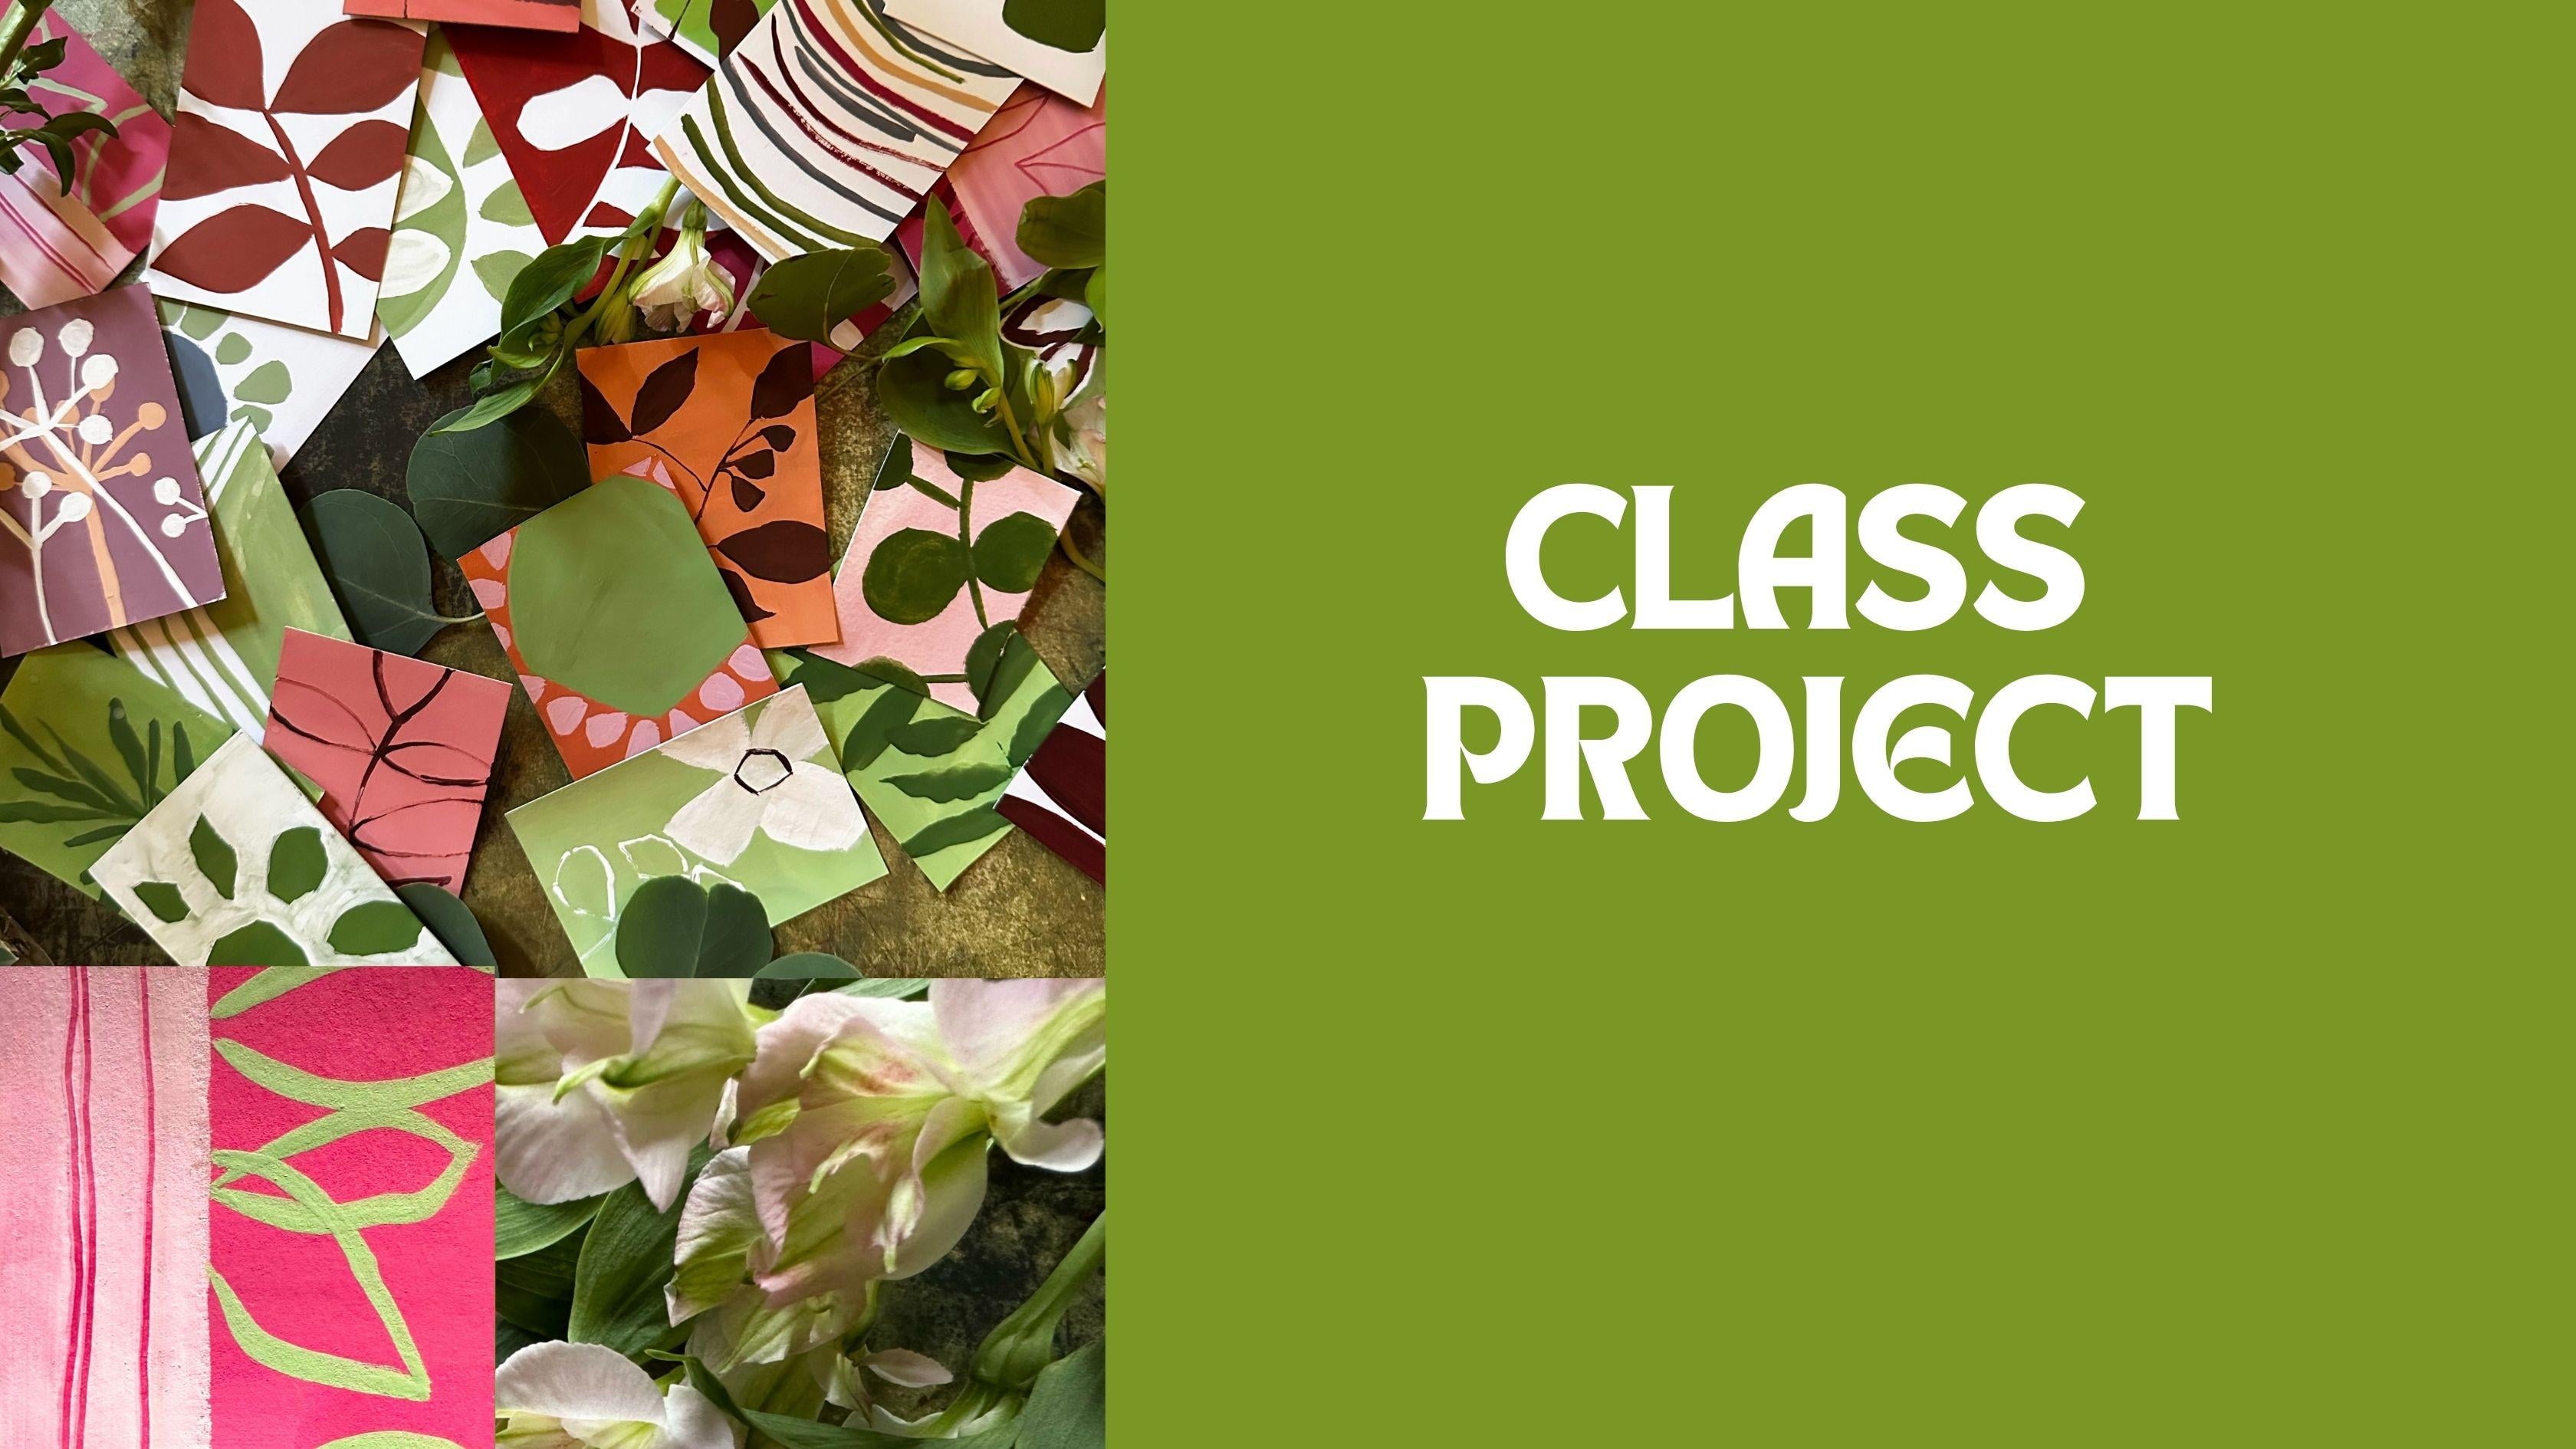
1.0x


  • 0.5x
  • 0.75x
  • 1x (Normal)
  • 1.25x
  • 1.5x
  • 1.75x
  • 2x

ACEO Mini Painting | Let's Paint Retro Botanical Shapes in Gouache

teacher avatar Holly Tomas Art, Watercolour | Gouache | Mixed Media

Watch this class and thousands more

Get unlimited access to every class
Taught by industry leaders & working professionals
Topics include illustration, design, photography, and more

Watch this class and thousands more

Get unlimited access to every class
Taught by industry leaders & working professionals
Topics include illustration, design, photography, and more

Lessons in This Class

    • 1.

      Welcome!

      1:50

    • 2.

      Class Project

      0:54

    • 3.

      Creating Our Backgrounds

      1:08

    • 4.

      #1 Green Leaves On Pink

      2:03

    • 5.

      #2 Stylised Daisy on Ochre

      3:16

    • 6.

      #3 Maroon Leaves On Ochre

      2:22

    • 7.

      #4 White Flower On Green

      3:09

    • 8.

      Thank You!

      0:26

  • --
  • Beginner level
  • Intermediate level
  • Advanced level
  • All levels

Community Generated

The level is determined by a majority opinion of students who have reviewed this class. The teacher's recommendation is shown until at least 5 student responses are collected.

22

Students

1

Project

About This Class

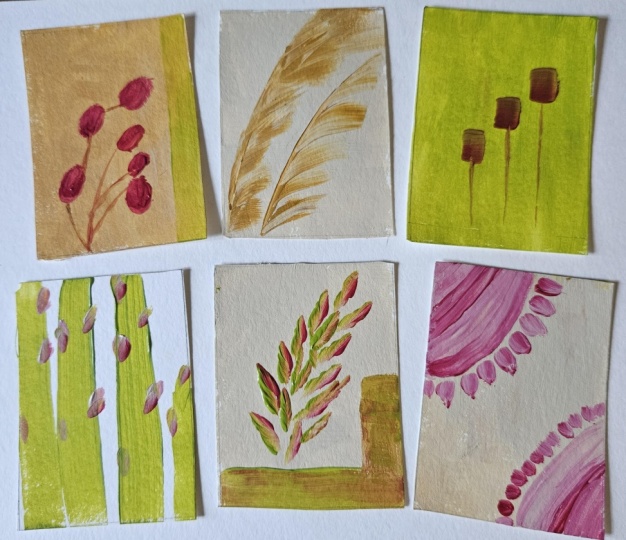
If you're like me, you will have seen images of this style on social media or pinterest. They've always grabbed my attention. So, I thought why not create some small 2.5inch by 3.5 inch paintings.... also know as ACEOs! (Art Cards Editions & Originals) a clumsy title to describe mini paintings!

Mid Century Botanical shapes were typically clutter-free, consisted of flat planes of colour, asymmetry & bold outlines. 

Welcome to ACEO Mini Painting | Let's Paint Retro Botanical Shapes in Gouache.

We're going to focus on Mid Century Modern Art with a touch of Scandi in this short form class. Creating simple bold floral and leaf patterns, with Acrylic, Acryl Gouache, Gouache. Although you could mix watercolour thickly with white gouache too!

I'm excited to share this class with you because I have always been drawn to Mid Century shapes, and its simplicity of form.

This class is perfect if you're looking for:

  • a simple but effective way of creating cute ACEOs, which you could then sell on Ebay/Etsy or give as gifts to loved ones.
  • A quick, easy and enjoyable way to explore a new art style, without any stress! These mini painting really are very freeing, in terms of time and energy.

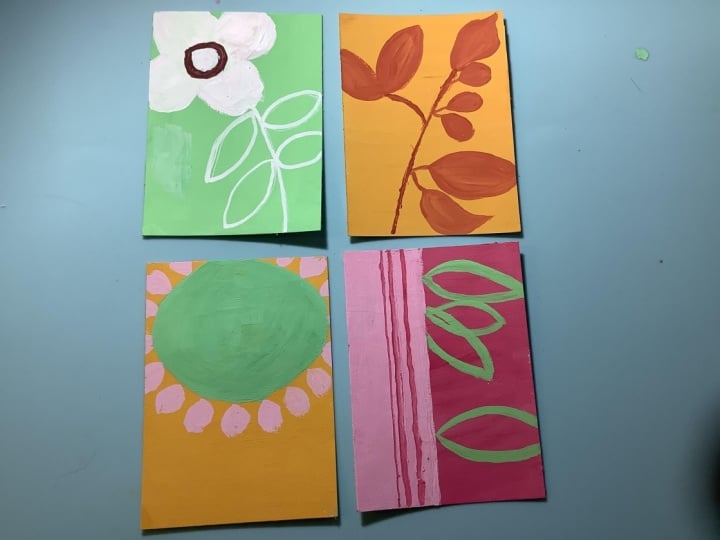
I'll be sharing practical tips on mixing a cohesive paint palette & painting 4 little studies:

#1  Green Leaves on Pink

#2  Daisy on Ochre

#3  Maroon Leaves on Ochre

#4  White Flower on Green

You don't need to have any experience of painting! Follow along with me in making simple botanical shapes.

All you need is:

Paper (watercolour, sketchbook, maps or book pages) or you could buy pre-cut cards:: Pre-cut ACEO (2.5inch x 3.5inch) cards

Paints: I used Gouache, but I would recommend Acrylics if you have them (I can't use them due to an allergy!) or, you could mix Watercolour with white gouache, watercolour or Dr Ph Martin's Bleedproof White, or similar.

Red (I used Alizarin Crimson)

Green (I used Sap Green)

Orange/Ochre (I used Gold Ochre)

White

Brushes:

I used a size 10 & size 2 Round (I love Escoda brushes)

I used a skewer for mark-making and a chalk pen for the White Flower centre.

By the end of this class, you'll:

  • Feel more confident in mixing tints
  • Have an introductory understanding of mid century biomophic art
  • Have a little menagerie of cute ACEOs to frame, give as gifts or start selling!!

Have Fun!


Meet Your Teacher
Teacher Profile Image

Holly Tomas Art

Watercolour | Gouache | Mixed Media

Teacher

Hello, I'm Holly :O) I am so happy to have you here!

I'm a Skillshare Teacher, recently selected for the Skillshare Rising Teacher's Programme. I paint flowers and leaves for the most part, particularly wildflowers, as I am surrounded by so much inspiration, living, as I do, in rural Scotland.

I love exploring new techniques, and I'm very keen on finding brush strokes and media which make painting just that little bit less challenging for us, whilst gently broadening our knowledge.... I always say 'easy but effective' is the way forward! My classes are mostly watercolour and gouache, but I also delve into mixed media & leaf printing.

I have a humble little mission statement :0) .... 3 facets which are really important to me, when I am considering cla... See full profile

Level: Beginner

Class Ratings

Expectations Met?
    Exceeded!
  • 0%
  • Yes
  • 0%
  • Somewhat
  • 0%
  • Not really
  • 0%

Why Join Skillshare?

Take award-winning Skillshare Original Classes

Each class has short lessons, hands-on projects

Your membership supports Skillshare teachers

Learn From Anywhere

Take classes on the go with the Skillshare app. Stream or download to watch on the plane, the subway, or wherever you learn best.

Transcripts

1. Welcome!: If you're anything like me, you will probably have seen images of mid century modern art on social media or Pinterest. They've always grabbed my attention, so I thought, why not have a little exploration together? This is the second in my ACEO series, where we delve into creating mini paintings. A CEO stands for art, cards, editions, and originals. There tends to be only one guideline, and that is that each painting is 2.5 " by 3.5. Hi. I'm Holly, and I work from my home studio in East Lothian in the Lowlands of Scotland. Welcome to this short form class, inspired by mid century modern art with a hint of scandy, which is typically clutter free and consists of flat, blocky, botanical shapes. We'll be creating our own backgrounds with the colors of green, pink, and ochre. And in our class project, creating four cute ACOs, which are designed for you. This class is perfect if you're looking for an informative, relaxing and fun project. And by the end of this class, you'll have an introductory understanding of mid century art and have four unique ACOs, which you can give away as gifts, frame, or start selling. So when you're ready, let's get started. 2. Class Project: For our project, you can use your favorite watercolor paper cut down to size or buy pre cut cards, and I have left a link to those in our About section. As for paint, you can use acrylic, acryl gouache. Gouache. Or even watercolor if you mix it with white gouache or dot pH Martin's bleed proof white. You could follow along with me and paint motifs I've created or do your own thing. And don't forget you can share your class project with the Skillshare community in our projects and resources area under the class. And on the right, you'll see submit project. 3. Creating Our Backgrounds: Let's start by mixing a green tint. I'm using sap green and white. I've chosen to use a flat brush because I find it the easiest brush to use when you're covering larger areas. Next, let's mix our ochre. And I'm using gold ochre and white. You could use any of your favorite orange or burnt oranges. I love this color. And then finally over to our pink. I'm using azarin crimson and white. You can choose any red or pink and mix with white for a tint. And 4. #1 Green Leaves On Pink: So let's use a pink background, and I've just mixed up a pink tint with the Alizarin crimson and white. I've switched to my half inch flat brush, and I thought, why not paint a border here? So let's bring in some white over the pink background. Trying to be a little neater there. And then pick up a skewer or anything that will make a scratching mark, and let's draw a few lines whilst the paint is still wet, and that reveals the pink underneath. Then let's add some of our green. I'm using a sap green and a little bit of white. And using a small round brush, let's mix a tint. What I thought would be nice is just to create some very simple leaf outlines. I'll do that one touching that one, but slightly smaller and not going off the page. I want them all to be just slightly different. And then let's go over that one, create a larger leaf here. Tidying up there. And then maybe one here. Slightly jolty movement, just to create that mid century vibe. And then I'm just going in to tidy up the edges. Super. Love that. Should it be this way? No, I don't think so. I think it's Yeah, I'm gonna stick with that. 5. #2 Stylised Daisy on Ochre: So let's go to our sap green and add some white. So we're creating a tint. Let's move over to a flat brush if you have one. If not, a round brush. It's just easier with flat brush to create that blocky feel. Big block of color. If you're using acrylic, you'll have less trouble because the coverage will be really smooth. If you're using gouache, like me, then we might need to do a couple of layers. Let's see how it goes. So let's add some white to the Alizarin crimson and switch to a small round brush. And I'm using a size two. And then let's do some really cute petals. And I like that, but it's not showing up as much as I would like, so let's add a little bit more white. And then we don't want these really to be like petals. So I'm thinking of them more like a stone shape, and they can all be slightly different to each other, slightly bigger, smaller. Do one here off kilter a little bit. So cute. I love painting these. Very sweet. Going off the page with these two. That's also a strong element to mid century art like this, asymmetry and motifs that are almost too big for the page. That's one thing I do enjoy about this style. I just a couple of hints of petals at the top there. That is so sweet. I love these colors together. Let's now add a little bit more paint to the center. So just white and sap green again. And then I'm just going to carefully go over this here. Again, a flat brush is really good for paintings like this. It makes keeping your edges sharp, much easier. And also, obviously, the coverage is going to be a lot better. And the paint's already drying, which is why it's a little bit patchy, but we have to work with the elements that we have. Yeah, I think that's nice. I quite like that effect, actually. Very cute. 6. #3 Maroon Leaves On Ochre: This time, let's paint on our ochre background. And let's mix together the gold ochre and Alizarin crimson. And that's also picked up a little bit of green. And then get our skewer and using the blunt end, let's just create some stems. One main one and one going off here. I've gone down to a size two round brush just so I have a bit more control. And then let's just do the outline. It's so much easier, and then we can just fill in within the edges. Let's do some cute seed heads. So I'm thinking of these as just triangles with maybe then just slightly curved edges and one last one here and just curving those edges. Just find it easier to think of it as a triangle, and then you can shape it a little bit, if you want. A nice flowing movement. And then just filling that in. Thick paint. Might be nice to do a leaf here, and I'm making this one a little bit more angular. And a little one here. With a slightly turned up tip. I really love these bold outlines. And then let's just create some tiny little stems going out to the seed heads. Finishing touch there. And that's our number three painting. 7. #4 White Flower On Green: Then for our last one, let's go back to a green background. And I want to stay with the blocky look. I'm going to put down some more white to make sure I have plenty of it. And I've done an outline in I think it's just a chalk pen, and then let's create. Again, thinking of a stone shape rather than a petal. Going off the page. Now, I want these to kind of join in the middle. So I'm going to start a little way in. This one I'm thinking of just as a large triangle. And I want that to join with that petal in the middle. So beyond the page into the center there. I Love that petal. I am using loads of paint here. It's just so hot that it's very hard to manage. The gouache. It's getting quite patchy. But actually, you know, looking at it, I really like it. It's got its own character. And again, I just want the edges of the inner petals all to meet in the middle a little bit. I love that. That's so cute. So now just get any pen that you use, posca pen or a Nibal Cigna. I'm using a chalk pen there just 'cause that's what I had close to hand. And then let's go back to our skewer. The blunt end of the skewer again, and we're going to make some character full leaves. I really love the unevenness that you get with using a skewer like this. It's so unique and unpredictable because you don't quite know what you're gonna get. I really like that. Just twisting it around a little bit when it runs out of paint. And now I think just something bold for the center. Let's mix a lovely deep red. And I guess it's closest to a perylene violet. So if you ever need a periviolet and you don't have it in a tube form, just pick a red and add green to it, and it will immediately darken your color. Love, love, love. Absolutely love that. I think that's my favorite. 8. Thank You!: Thanks so much for joining me. I hope you've had a lot of fun and that you go on to create more in this style. Don't forget you have the option to share your project in our projects and resources area. And if you have any questions, you can start a discussion. Take care, and I'll see you again really soon. Bye for now.