Transcripts
1. Welcome!: Hi, and welcome to Mimos. In this class, we're focusing
on form over palette, using gouache, but as always, you can use watercolor
for this technique. I'm using hot press paper, but your favorite
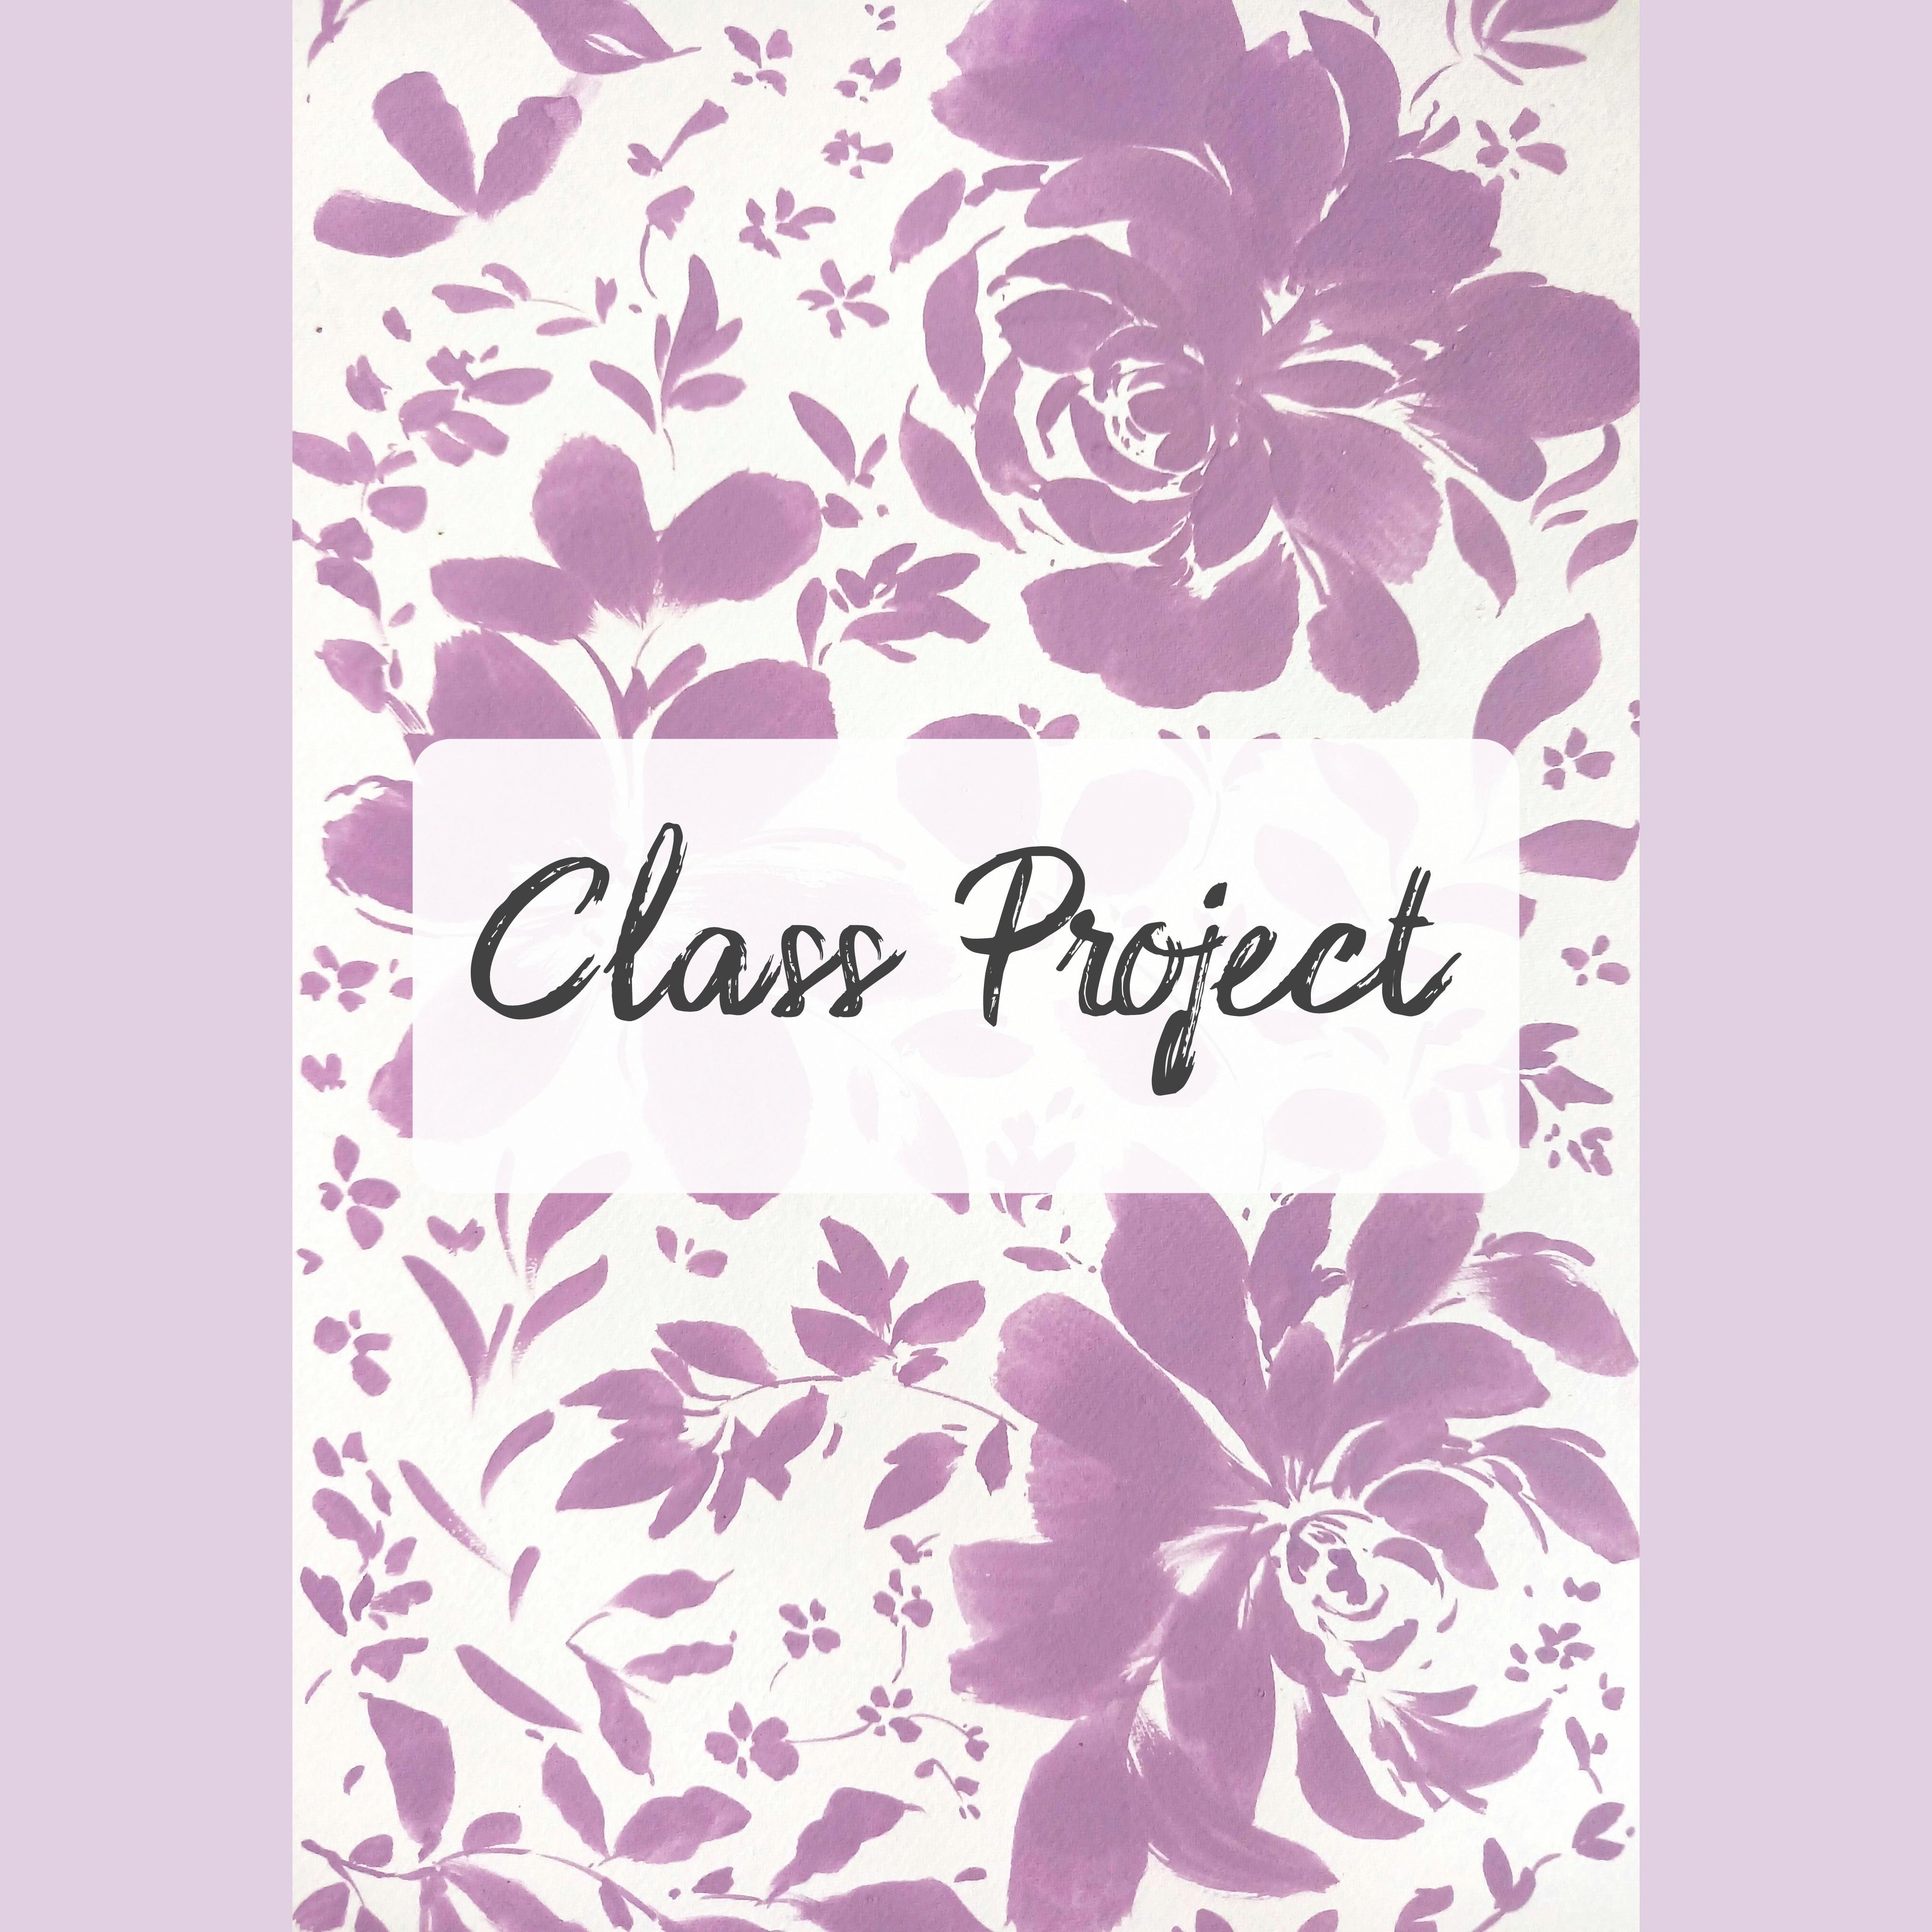
watercolor paper would be great for this class. I've chosen wisteria,
but of course, you can choose any
color you like. Working with just one
color can be very freeing, and it will allow
us to concentrate solely on the petal
and leaf shaping. So what are we going to be
doing together in this class? Well, firstly, we're
going to mix up our color to get the correct value for
this style of painting. We're then going to go
through a few practice runs, exploring our focal,
petal and leaf shapes. And also our cute little
filler flowers and leaflets. The shape of the flowers
is a little complex. For the longest time, I could not get the hang
of peony shapes. It felt like there
was a secret society of peony painters and I
couldn't find the door. So in our practice runs, I'm going to share
with you how I finally understood
what the secret was. And it's all about bringing
the brushstrokes up to one focal area at the
base of the flower. I've designed this class for those of you
who may have done quite a few watercolor
projects now and just wanted to try gouache,
maybe for the first time. And just a wee reminder, you can use watercolor for this. What we do is just use
it in a thicker style. If you'd like to access
subtitles from my classes, it's just here under the video
next to the volume button. And subtitles are
available in English, German, French,
Portuguese and Spanish. I enjoy every aspect of
making classes for you. By far, my favorite is chatting with you and
seeing your work. So if you'd like to
upload your project, you can find it in projects and resources underneath the class. Then on the right, you'll
find submit Project. And I'm also on Instagram
and following a lot of you. So please tag me in any work that you post as I don't
want to miss anything. So let's move on with the class.
2. Materials : So let's start off with paper, and I'm using my favorite
fabriano artistico, hot press. But any paper for this
project would be great. This is a large pad, so I actually just
cut it down and measured 20 centimeters by 30. I bought this cute pad
from arch or arches, which is hot pressed as well, and I thought it
would be really sweet to do the warm ups on it. If we look at color,
I have the wisteria, which is Daniel Smith squash, and also titanium white. If you don't have
white and you have buff titanium, that
would be great as well. What I wanted to say here, you can do this class
with watercolur. You really don't need
to have gouache. And if you wanted to
experiment further, what I would recommend is
buying the titanium white, and then you can add
your watercolor to it, and it will keep the
properties of the gouache. But I often use all
watercolor for this style. For those with allergies, I found that the
Daniel Smith brand is actually tolerable. I have no problem with it. If you wanted to use a set of pan paints, you
can't do that. It will just need a lot
of working up so that, you know, you have a
very thick consistency. I'm using this soap dish
because I love them. They're just so
wonderful for gouache. Because we're going to
be mixing up a lot of pigment to last
the whole project, it's a perfect little
receptacle for that. And moving over to brushes, I have size ten, scoraPrao, which is
my favorite brush and a size five memory point. You could go down to a size four or three, whichever you prefer. Just a smaller rounded brush
with a tip would be great.
3. Paint Value Swatch: So I'm just going to
put down some wisteria, and, of course, you can
use any pink or any color. In fact. It doesn't
have to be pink. And I'm just going
to draw that out with a very small
amount of water because I want to
demonstrate what it looks like in its almost neat form, and it's very thick
and very opaque. Then another drop of water. And let's see what that looks like next to the first swatch. And you can see it's
just a little bit of paper showing underneath. Me water still. And
you see even more. And at this stage, a
lot of gouache painters like some texture and they like to see some of the
background come through. Now we're getting into
the watercolor range. This is the great thing about gouache is that you can use it, and it's very pigmented form or, as you would, a watercolur. Still more, and you
can see that the paint is starting to travel across
the page a little bit. And then just some neat
water to pull it out. So we've got the very
pigmented range on the left, slowly adding water until we get to very watery
watercolor consistency. And we can drop in a little drop of
paint there and you can see how much
it's traveling now. I would normally use it around
the first three swatches, depending on what I
want, whether I want full coverage or a
little bit of character. So you can see here
that I've used it on these leaves in a slightly
more watery consistency. So some of the paper
does show through. But the second swatch, I think, is probably where I would start.
4. Paint Value: Petals: So let's try this
with some petals. And I've got the very
neat wisteria there. And I'm going to add
the tiniest touch of water just to get it moving
as we did with the swatch. And because of its thickness, I am having to work hard to
pull the petals through. We could definitely use
it at that thickness. Adding a little bit more water. And I'm going to spread out
the bristles of the brush because what I want to see there is that I can
actually do that. When the paint's very thick, it's very hard to spread out
the bristles of the brush. And I think that's the
consistency that I would probably work with as there's some
freedom in the brush stroke. So a little bit more,
and you can see it's getting a lot easier to
pull the brush through. You get some page
showing through, and sometimes I quite like that. Another drop of water. And you can definitely now
see the page underneath. This feels like
the midway between a very thick gouache
and a watercolor. So I would say any of those first four flowers
would be good for this class. And now you start to see
the brush stroke more. You often see this
with watercolor, where you start off and the paint collects in
the middle of the leaf. And that's very common with hot press paper in particular. So you can definitely use
gouache in a watercolor form. And you can use
watercolor as a gouache. Using a gouache in watercolor
form means you don't get exactly the same translucency because gouache is
inherently opaque. And on the flip side, I've noticed when I use watercolor as a
thicker gouache form, it's a little shiny. You kind of lose that
lovely chalky experience that you get with gouache. And finally, loads and loads of water on this and
very little pigment. So you can see that
gouache works right from that very thick side of the spectrum right through
to the watercolor area. So in terms of this class, I do feel the second
third and fourth value is going to serve us best.
5. C Curves, Scribbly Leaves & Tiny Daisies: So I'm starting with my
size ten round brush. And I'm just going to make
some little curly petals. And I want to get a little
bit of movement in these, but it's pretty
much the tip down. Fan out the brush, and
then up again to a tip. You can still get some small
movements with the size ten, but I'm just going to move
down to a size five now. A Just little sea curves. And then just some tiny little
embellishments to these. So we just practice that
on a smaller level, practicing the center
of the flower and how we're slowly
going to build up the petals around it,
getting slightly larger. Here I'm up to my
size ten again. These make lovely roses
just as they are. And let's move over
to leaves now. We're doing a very similar
shape to the petals. So once you have
the first one down, we're just following
with successive strokes, leaving a little white
space in the middle. And then we can go ahead
and add our little stem. So if we do this again, but much more quickly, it's really satisfying,
but also you find that usually the motif has
a little bit more movement. Adding a little stem and
some finishing touches. So sweet. I love these. I also really enjoy painting
these little daisies. So these are just four
or five petaled daisies. And then I do little Vs
and maybe a dot or two. They're very cute
for full of flowers. So you can turn your page around just to finish off these petals. Or you could do a
mixture of strokes going up into the center and
then out from the center. Then I do little
three petal flowers, some dots, some little
V shaped flowers. You can see how much
they add to the leaves that we've just laid
down. So pretty.
6. Pinnate Leaves, Dainty Leaf Sprigs & Broad Stroke Petals: So let's do some slightly
larger leaves now. Tip down, fan out the brush, and up to a tip again. That's a quick movement, and here I'm going
to wiggle my brush. Nice, longer strokes
towards the bottom. And I'm just moving down the size of the
brush for this stem. And I'm going to do
really quick leaf here, and I really like the mixture of swift and slow
movements here, of all the different leaves
we have on the page. These are wonderful. Once you kind of get into
the flow of doing them, they're really
effective and they bring a lot of
expressive movement. So for these nice fatter
leaves with a blunt edge, we're going to really
flare out our round brush. And flaring it out
creates that blunt look. This is why round brushes
are so versatile. So again, down,
flaring the brush out, give it a wiggle, which will spread out the
brussels even more. And we'll do something like this for our class
project where we're interchanging
between peonies and a looser shape like this. And just continuing to do
these lovely broad strokes. Little dots in the middle. And if you want, you can
always just add little petals. And I'm just adding
some wiggly lines around a couple of the petals. So I'm going to do a three
petaled flower here, which is facing out to the left, creating these lovely
little brush marks by bringing the brush up very quickly at the
end of the movement, and it almost finishes
off the center for you. So just doing another take on the leaves that we did
in the middle top there. And then these tiny
little dot shaped leaves coming off the branch. Little filler flowers which will really be useful when we
join our class project. And I'm just practicing
a center here again, little dots and lines, curves. I'm bringing all the petals to that point underneath
the center there. So I know I'm not
going to go far wrong, and I'll cover this
more in Part four. I'm just slowly building up the s curves upward movements. And I'm just going to add another one there in the middle. I often use these
leaves as a way of curving round
existing motifs. Super easy to do. Tip down and then actually run your
brush along the paper. Just doing some little
scribbly leaves. And some more of those
very quick ones. Oh
7. Side Sweeps, Fronds & Two Stroke Leaves: So I'm going to
practice a side sweep. And again, this brings about
a slightly blunter shape. It's a very organic shaped leaf, and I often use the
side sweep in my work. Adding a wee stem. I'm just adding an
unhurried leaf here. So let's practice that again. And we can create these leaves
with two strokes or one. Nice side sweep,
round leaf there, and then pushing
upwards to the stem. Okay you see, I'm just shaping the leaves and adding
tiny touches to it. This time, I'm laying
down the stem first. And I'm going to do these
lovely loose leaflets, with the leaves going in different directions
and little dots. Tiny leaves. Really
a pleasure to do. And I find these easier
to do upside down. So just scribbling with
the brush, really. And I'm pulling some leaves out from the stem and some towards. I do like the dd dot or two. And I'm just adding some
tiny little extra stems. And let's do one the
right way round. They're very similar to the other leaves
that we did where we were making descending brush
marks, but more expressive. So laying down a
stem first again. And let's do some
two stroke leaves. I do love these. They remind me of grains, oats, and wheat. But they could be any
plant you want them to be. And you can see
we're building up quite a variety of
different shapes here. And I'm painting the leaves just in slightly different
directions. That always adds a
sense of movement. So now let's move on to part
four Peony flower heads.
8. Slow & Quick Peonies: So I just wanted to show you this really neat
technique with peonies, starting off there
with the center. Here, I'm going to
make a little circle. And what we're going to
practice is bringing all the petals to that circle. So even if they
don't quite meet, they're going to be
pointing towards there. This is the secret to
painting a good peony. It took me a while
to figure it out. I used to get a little
bit overwhelmed with the complexity of peonies. But if we just practice
this technique of everything meeting
at that point, it just suddenly
clicks into place. I'm just adding some sea cubs at the top of the flower here. And we're doing a mixture
of the larger petals, smaller petals and
little marks and lines. And here is a wiggly version of the petals that we practiced
in the previous lessons. Little wiggly side sweep. Adding little embellishments. And I like to add
on little petals to the existing petals, all leading to that point. So let's have a go at
going really quickly now. So up to that point again, everything to that point. So practicing moving quickly prevents too much head chatter. We get an unfiltered access to the intuitive
part of our brain. And each peony has
its own character. You never really know
how it's going to look at the end,
and I love that. Just adding more s curves there, some little lines, some
little extra petals. A popping those bubbles, and let's just draw down
a little stem and do some very quick leaves in the style of the ones
that we've just practiced. A couple of tiny little leaves and maybe a little sprig
of leaves up here. You could decide for
yourself whether you like a slower movement and
just a slower pace, or if you like expressive
very quick movements. And I'm just faffing about
here with my petals, which probably don't need it, so there we have it
slow and quick peonies. And there's that guiding point in the middle where we started.
9. Our Class Project - Part 1: So let's start off by
making a sea curve, and we're just going
to add these on top of each other smaller
and larger strokes. And on some of them become wiggle brush just to
create a lovely line. Now, we're bringing everything
into that one spot. I realized when I was learning this technique that that's
what I was missing, really, was that
all of the base of the petals need to come
into the middle there. So I'm going to have it facing
downwards and then just slowly building up
the smaller petals and adding finer
details as well. Just using the tip of the brush. Now let's do the little center. Tiny little sea curves. I'm just building
up the petals here. So if we turn a page around, let's do a few
strokes together to make a three faceted petal, I guess we could call it. H You can see everything is pointing towards that main center of the flower. And we can just keep swapping between our size
ten and size five. Let's do those little
leaves that we practiced. And little throwaway
daisy flowers. A few more little
curves in a center. And I'm back to my size
ten I'm just swapping because I don't want to get
too small, too cramped. This whole project is about larger brushstrokes and
then finer little details. So let's join this all up now. I just create the
front petals there, which defines the
direction of the flour. Now let's go into a very
quick set of leaves. These are quite expressive, but you can take your
time as well over them. And now let's do
our second flower, and we're going to fan out the
brush as much as possible, just to bring some
larger petals in. So for this next petal, let's flare out our
brush and then lift the brush really quickly towards
the end of the movement, and it provides this
lovely dry brush effect. It means that you don't
actually need to do many details in a
center because you've already laid down those
lovely little brush marks leading into the middle. And I just want to add a few little details
here into the center. Just extending some of
the petals like adding lines and then doing little
scribbles in a center. That's smaller than I
think I wanted, really, so I'm just going to add a little three
petaled flower here, and that will just increase
its size a little bit. I just wanted it a tiny bit
smaller than the first motif. I let's do some more of
those pinnate leaves again. Just bringing in that glossary of leaves that we practiced. And then our little
daisy type flowers. Now, I really like the dot
on the end of that line, so I don't want to
lose that entirely. Just these little
throwaway marks, I think, that make the piece. And then a third motif up here. I don't want it to
be too triangular, so I'm going to take
it out a little bit. And I'm starting off with that very easy quick center
of little lines and dots. And I'm starting off with the size five round brush
and those s curves. I quite like adding on bits to the petal after I've
done the first stroke. You can always embellish them. A few little lines,
a few curves. Am I just going to
slowly build up from the center going up to the size ten now so that we can put in some larger strokes. And although we are coming to the same point of the petal, the petals can change direction. The base of the petals are
what we're looking for here, making sure that they're
all finishing at or pointing towards that
spot that we practiced. Nice big brushstroke here, similar to the second
motif underneath. And then just pulling
round smaller petals, little additions to the petals. Another big stroke here, flaring the brush right out. And then I'm just
spending a wee bit of time bringing them
right into the center. I find it easier to work
quickly with these things. Otherwise, it becomes a
little too practiced. So let's go really
out here to do some very swift
expressionful movements. And you can see just how
easy it is to go around, add little bits of detail. And a beauty of gouache
is if you don't like it, you can paint over it
to a certain degree. Just wanted to bring out the
flower a little bit more. So I'm just adding some petals over the petals that I've just done
just to extend them. And I would just wanted them
to be a bit larger and for this flower to be a little more open than the first motif. Okay, now let's go in
with some larger leaves, flaring the brush out
and just bringing those up to a nice little stem leading to that third motif. And then down again, I'm making sure that the direction
of the leaves changes. And let's do some larger ones of these ones that we practiced. I do love these, and
I'm going to make this one a little
bit more sketchy, just to bring a little bit of
free flow to the painting. I sometimes do find
it easier to paint leaves upside down. U
10. Our Class Project - Part 2: So back down to the size five. And let's do a smaller version of the one that we've just done. These are like little
echoes of motifs. They don't have to
be exactly the same, but it's a similar technique. Almost scribbling, really here. So I'm just setting
up some stems there and doing a small cluster
of leaves here as well. You can do these in an expressive
way or take your time. So what we're doing is really paying attention to the fact that we have our larger motifs. We have the medium sized
motifs in the leaves, and then we have these little
filler leaves and flowers. That's my favorite bit. Let's do some little
daisies here. So I've got a little hint of
these daisies up at the top, middle, and the bottom left. And now I'm just
going to add some here so that the
pattern is echoed. And I'm just adding some more of those four or five petal
flowers and some Vs and dots. So I'm using the very
tip of the brush here to do some fine stems. I don't feel like they
all have to match up. Mm. And to finish those off, I'm just going to add
a little wiggly leaf and some of those very
gestural leaves here. And you can see,
I'd like to go back into the main motifs and
just keep adding details. And there I go again on just
adding some finer details. So I'm just pausing
to make sure that the leaves are all going
in various directions. So mixture thereof, tip, flare, tip again, and
a little side sweep. Just continuing to add
some filler leaves. And I think I'm going to just flesh out these
petals a little bit. I just want to do,
like, a little scribbly line around the edges. So So you can see there's a
composition forming. And let's do some
wavy leaves here, the two pronged leaves
that we practiced. I really love these
because they really add flow to a painting, and we've got some
tight little shapes there with the small daisies. So it's quite nice
to alternate between more precise brushstrokes and very free flowing fluid ones. And it fills up that
space beautifully. I think if we went
in there and just carried on doing
tiny little daisies, it wouldn't look as balanced. So this is just pushing
down and flaring out. And what that gives us is a
blunter shape, petal or leaf. So even though this
is a round brush, when we flaring out like that, it gives us a very
different shape. And let's repeat that two pronged leaf motif
over here as well. I quite like the way that
it works on the edges. M I think these are my
favorite leaves to paint. Wiggling your brush
every now and then, I think, adds movement as well. I don't want this
to be too rigid. It's along the lines
really of folk art. It has some elements of that, but I wanted it to be kind of a little
more flowy, as well. Mm I'm just taking time to go around and
add little gestures. And then here, let's do
our little V leaves. We're just placing
them randomly. And then we'll start to add
some very delicate stems. You might even want
to do this with a dip pen or with a
very small liner brush. M, I'm just adding
those little dots. So looking over again, I think it's always
good just to pause. And what I'm doing
now is I can see that this is forming
into a rectangle, and I can almost
envisage the edges now. So I'm working with those edges by adding some little daisies. And because to the right there, we have some medium
sized leaves. We can get away with doing
lots of little details now. A tiny little sprig of leaves. So at this stage
of the painting, we can start to see
whether there are any remaining gaps that
we might want to add to. I can see a white space here, so I'm just going to do some more of those V shaped leaves. Some of the little dots. O. Just bringing down
this larger leaf here, just to fill out that corner. It's the way of
creating a painting without feeling you have
to take things off. That's kind of a loose edge. I think they are my
favorite thing to do these little daisies. And I might just bring a couple down towards this flower head. Neatening up the petals. So after looking it over, I'm not happy with the
center of that first motif. I realize that the center isn't facing downwards
as I'd like, so I just want to go
in and add a couple of small brush strokes
to the center there. I'm just color checking because I've just had to
mix up a little extra. So to make this middle
facing downwards, there needs to be more
petals around the center. I just want to shape it. It's very difficult
to go in and make these minor adjustments
without doing too much. But already, I feel
that's a little better, and I just want to now do some last minute adjustments
to the inner petals. Just adding some tiny
dots to the center. So because the third motif is a little looser,
quite like that look. So I'm just going to
get my size ten round brush out and just extend
a couple of the petals. And you can see there that the consistency is not as
thick as the original petal. So I'm just adding a
little bit more wisteria. It would be easy for me just to demonstrate when things
are going really well, but I think it's
important to share these things because sometimes we want to make adjustments, things don't fall
the way we want. I'm in danger of
adding too much, so I'm just going to be very careful with
each brushstroke. And I think that's it.
11. Thank You!: Thanks so much for
joining me in this class. We've looked at how
to mix squash to the right consistency for this thicker but
fluid brush flow. We've practiced larger
and smaller brush strokes with a size ten and
five round brush. Explored the versatility
of a round brush, not just for making rounded
leaves and petal shapes, but also producing
blunter shapes by spreading out the
bristles of our brush. We've slowly built
up a composition, and we've done this in
most classes by keeping in awareness the 70 2010 ratio. Whereby, our composition is
made up of 70% large motifs, 20% medium, and 10% small
filler florets and leaflets. But most of all, I
hope you've had fun. As always, my aim with
all of my classes is to provide content which is
informative, fun, and relaxing. So I really hope I've been
able to do that for you today. So thanks again, and
I'll see you over in discussions or on Instagram. Bye bye for now.
12. Giselle - Bonus Lesson: A Oh oh
 Holly Tomas Art, Watercolour | Gouache | Mixed Media