Wisteria: 15 minute Beginner Level Floral Study | Holly Tomas Art | Skillshare

Playback Speed


1.0x


  • 0.5x
  • 0.75x
  • 1x (Normal)
  • 1.25x
  • 1.5x
  • 1.75x
  • 2x

Wisteria: 15 minute Beginner Level Floral Study

teacher avatar Holly Tomas Art, Watercolour | Gouache | Mixed Media

Watch this class and thousands more

Get unlimited access to every class
Taught by industry leaders & working professionals
Topics include illustration, design, photography, and more

Watch this class and thousands more

Get unlimited access to every class
Taught by industry leaders & working professionals
Topics include illustration, design, photography, and more

Lessons in This Class

    • 1.

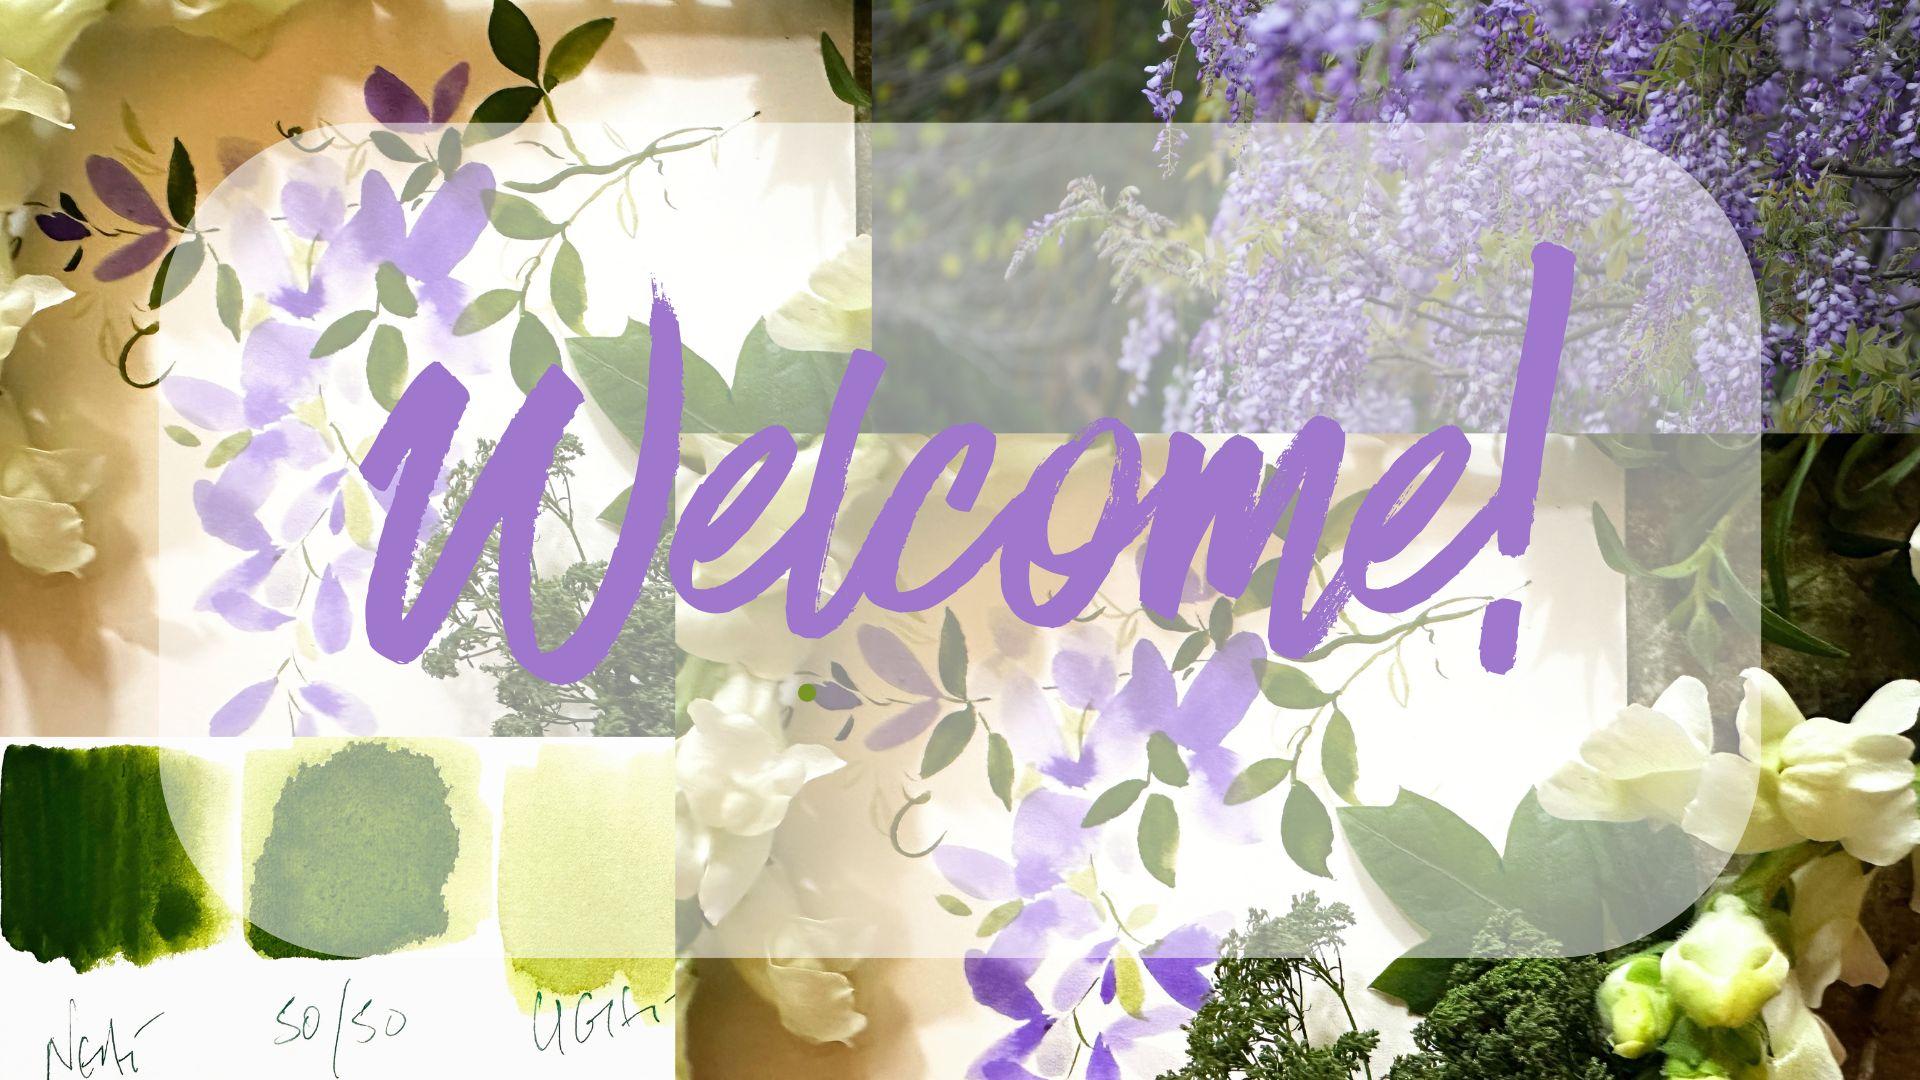
      Welcome!

      2:37

    • 2.

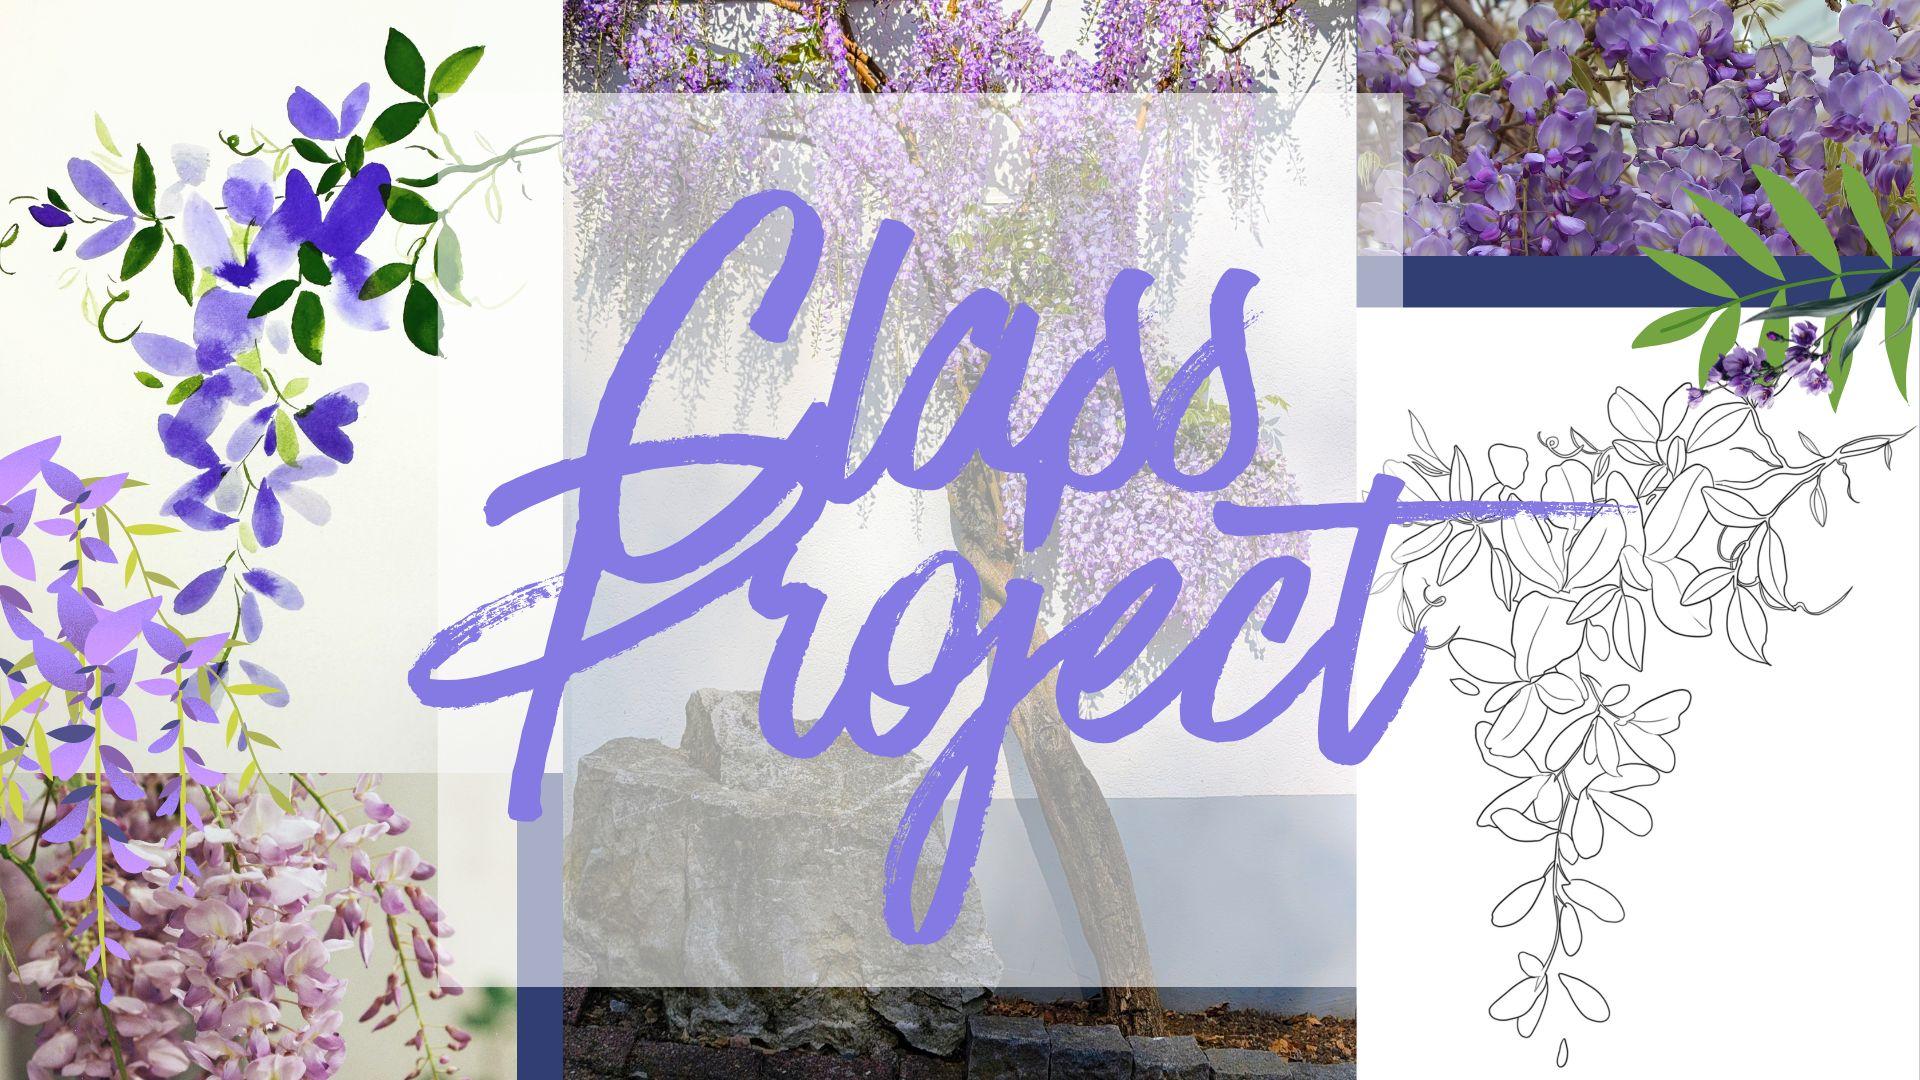
      Our Class Project

      1:32

    • 3.

      Paint Value & Brushwork

      3:41

    • 4.

      Painting Our Flowers

      2:44

    • 5.

      Painting Our Leaves

      4:40

  • --
  • Beginner level
  • Intermediate level
  • Advanced level
  • All levels

Community Generated

The level is determined by a majority opinion of students who have reviewed this class. The teacher's recommendation is shown until at least 5 student responses are collected.

32

Students

2

Projects

About This Class

Accessibility: Subtitles and class transcript are available in our class subheadings. Subtitles are also available in several languages!

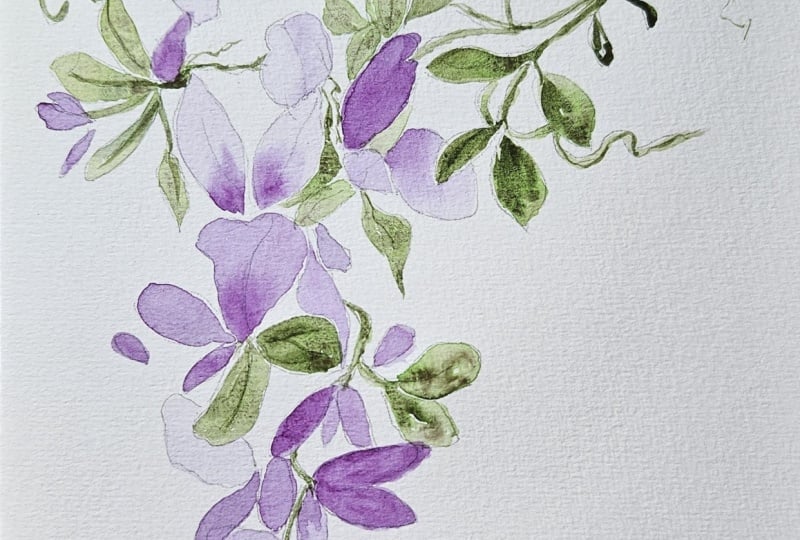
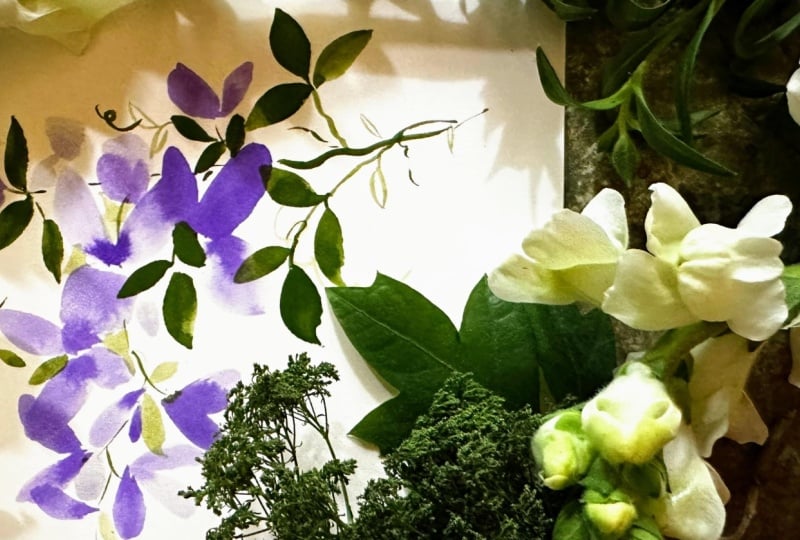
Painting simple flower shapes is a wonderful way to express yourself and expand on your glossary of flowers. 

Wisteria belongs to the pea family, which happens to be my favourite plant family (Fabaceae), which includes sweet peas, Laburnum, Medicks, vetches. Close to where I live, there are vast crop fields of millions of pea plants stretching out in a complex maze of tendrils and sweet little white flowers.

In native Asia, its meaning is steeped in signifying good fortune, wealth, and lasting bonds.

In Victorian Britain, it signified passionate love, but because of the nature of its intermingling, vigorous vines, it warns against tipping over into infatuation & obsession.

This class is perfect for:

  • New to painting students
  • Those dealing with chronic illness
  • Those of you wanting to expand on your understanding of flower form & add to your glossary.

By the end of this class you'll have a simple Wisteria study and will have started on your journey into making art an accessible & nourishing part of your painting practice.

So, let's get started!

Meet Your Teacher
Teacher Profile Image

Holly Tomas Art

Watercolour | Gouache | Mixed Media

Teacher

Hello, I'm Holly :O) I am so happy to have you here!

I'm a Skillshare Teacher, recently selected for the Skillshare Rising Teacher's Programme. I paint flowers and leaves for the most part, particularly wildflowers, as I am surrounded by so much inspiration, living, as I do, in rural Scotland.

I love exploring new techniques, and I'm very keen on finding brush strokes and media which make painting just that little bit less challenging for us, whilst gently broadening our knowledge.... I always say 'easy but effective' is the way forward! My classes are mostly watercolour and gouache, but I also delve into mixed media & leaf printing.

I have a humble little mission statement :0) .... 3 facets which are really important to me, when I am considering cla... See full profile

Level: Beginner

Class Ratings

Expectations Met?
    Exceeded!
  • 0%
  • Yes
  • 0%
  • Somewhat
  • 0%
  • Not really
  • 0%

Why Join Skillshare?

Take award-winning Skillshare Original Classes

Each class has short lessons, hands-on projects

Your membership supports Skillshare teachers

Learn From Anywhere

Take classes on the go with the Skillshare app. Stream or download to watch on the plane, the subway, or wherever you learn best.

Transcripts

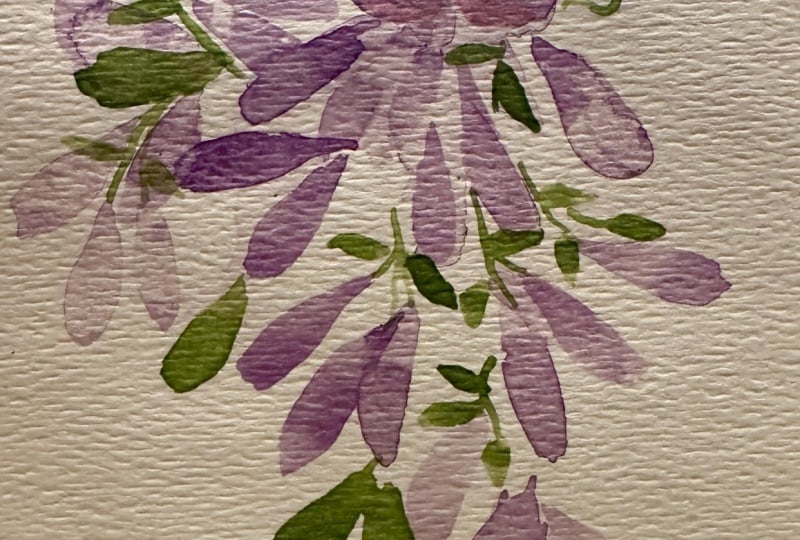
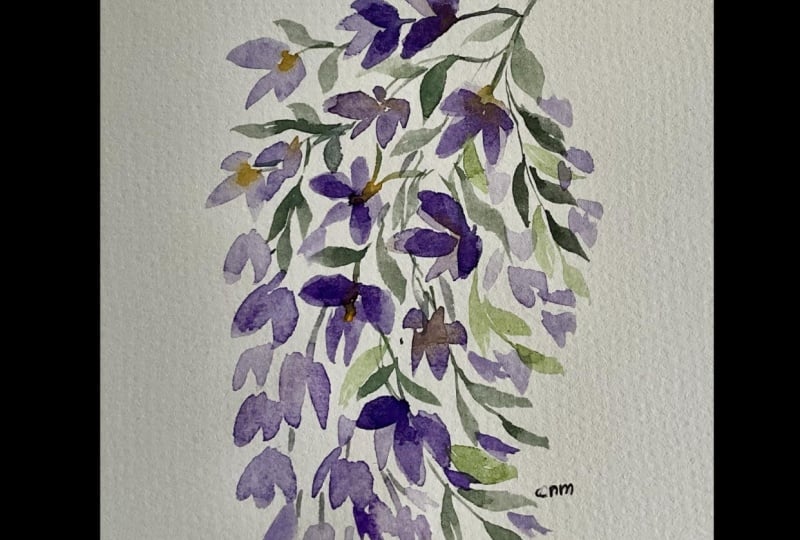
1. Welcome!: Painting simple flower shapes is a wonderful way to express yourself and expand your glossary of flowers. Today, we're painting Wisteria. Wisteria belongs to the Pe family. Which includes sweet peas, Laburnum, vetches, and close to where I live, vast crop fields with millions of pea plants. Hi, I'm Holly, and I teach from my home studio in East Lothian in the Lowlands of Scotland. I'm fairly eclectic and love to paint loose watercolour, mixed media, gouache, and even dabble in some crafts. I'm passionate about making art affordable, so I often create mini paintings, which I sell over on Ebay. A huge welcome to Wisteria, 50 minute beginner level flower study. I'll be sharing practical tips on paint value and brushwork. Wisteria on first glance, seems like a very complicated flower to paint. So I've chosen just to concentrate on a small sprig. I wanted to make this class accessible in terms of time and energy, as I know some of you are dealing with chronic illness or are finding it hard to carve time out of busy family and work life. You don't need any experience for this class, as I've given you the option to download a PDF file of the outline of the Wisteria. This will free you up just to focus on familiarizing yourself with Wisteria form and paint value. All you need is your favorite watercolour paper or sketchbook and choose your favorite purple and green. And this can be a watercolour, gouache, or ink. By the end of this class, you'll have a simple Wisteria study, feel more confident about paint value and taken steps towards making floral studies a more accessible and nourishing part of your painting practice. So when you're ready, let's get started. 2. Our Class Project : For our class project, we're going to start out with a practice run mixing different values of paint and running through our brushwork. Before heading over into our class project and creating our Wisteria study. In the class, you can access subtitles, and there's also a full transcript. I'd love to see your projects. Many of you have told me how much you get out of sharing your work. It's not only a great way to connect with others, it's an invaluable source of inspiration, tips and advice. So when you're ready to share, you can head over to our projects and resources area. On the right, you'll see submit project. You can add a title. And then upload your work from your desktop. Once you're happy with that, you can hit Publish. If you want to start a discussion about the class, you can do this under the videos, and you can also ask me specific questions and don't forget that I've supplied a downloadable PDF outline of the Wisteria study. 3. Paint Value & Brushwork: Et's have a play around with paint value. So starting off with very neat color, four drops to the well next door to it, and that's our mid value 50 50. Adding several more drops now. And we get this very light value. So neat paint, 50 50, and a very light mix. Let's do the same with our green. So straight in, hardly any water, very neat. And then three or four drops of water, and that's off 50 50, and then five or six drops more, and we get our very light value. Let's practice opera strokes now. So let's start off with just a straight line and then like a half oval, and that's a really typical Wisteria bud shape. And then let's try side sweeps. And up. So I'm putting the tip down, but then I'm pulling the brush up full length on its side. And then if you wiggle your brush and push down just a little bit more, you'll get a broader petal. Let's move over to our green. And we're going tip, belly, tip, tip, belly, tip, and just keep practicing that. And let's try it upwards. Two stroke leaves now. Let's practice stems. And we're going to use just the tip of the brush. Try not to push down and just stay on the tip, and I tend to create mine with very swift movements. And then our tendrils, and again, staying on the tip of the brush. You can see here that if I push down on the brush, we get a little bit of a thicker line. So let me show you now how you could do the whole class with just a size two or four or six round brush. All the same strokes that we did with the filbert, and half the hassle if you just want to stay with one brush, dropping in a little bit of neat paint or ink to the bottom of the paler flowers. And this is fairly neat ink here. And our side sweep strokes and adding a little bit of necla and you can just carry on practicing until you feel really confident. 4. Painting Our Flowers: Get your choice of purple, and I'm just putting a few drops of the ink in a well. And then I've chosen olive green, and that's squash. Let's add some water to our purple. I've added three drops. So this is like a 50 50 mix. Straight line and then just pulling round a half oval shape. And then one side sweep up for the base petal. And then we'll drop a little bit of ink wood colour in the middle of the flour. Stew a small flour to the left. And then I've added more ink for this one. So this is as deep a value as we'll have. And then I like to add just a petal of water next to a very pigmented petal and just allow it to flow a little bit. And m very light value here, so mostly water, a little bit of your color. Let's move down and create the little buds, using the side of my filbert. These are a 50 50 mix. Just making those two a little darker. Then using a side of the filbert, let's add some small buds. Drop in some neater purple. And let's touch on translucency here. We've got that very light petal, and then I'm adding a 50 50 petal over the top. But 5. Painting Our Leaves: Over to our leaves. And let's pick up our round brush. I've got a size two, but you could use a size four or even a six. Tip belly tip just as we practiced, and that's a two stroke one, and another one here. And then one may be just drooping down towards the flowers. Let's add a little stem. Little wiggly line. And some branches coming off. And then two stroke leaf again, and one to the side. And I'm using my gouache green almost neat here. You could definitely use watercolour in the same way. Another one here, one going over a petal there. Mm. Let's mix a mid value now, a 50 50 mix, and let's add some smaller leaves around the petals that we have. And then our main stem. I tend to do these quickly, and a trick is to keep on the tip of your brush. Try not to press down and make them very quick and fluid. And a little stem coming down here with a leaf. 0203. This is now a light value. I've added a lot of water, and let's do some little accent leaves in amongst the flowers. They don't really have these little leaves as the plant grows down, but Attica looks really nice against the purple. And then here I'm just coloring in a little bit of the background. I'm not thinking of them as leaves, but just really very pale green that suggests leaves behind. Back to our 50 50 mix, and let's add a little bud there. Very light value here with lots of water, very pale. I love to do this once you've got the main petals down just to fill them out a little bit. Now, M is kind of going off to the left, which is absolutely fine, but I'm going to just add a couple more flowers and buds to balance it out a little bit. Light value green again. And let's add some tiny little details. You will have seen me do this in other classes. It's just a hint of leaves outlined with our round brush. I think they look really cute. And it just takes them a little bit out of just your normal flower study and brings in a little bit of fun. Now to tendrils. So I'm mixing a 50 50 again. And very hard to see there, but just doing little squiggly cooks grew patterns. And again, try not to push down on your brush and just stay on the tip. And I think that's it. It's so easy to overdo these things. But I'm happy.