15 Minute Roses | Expressive Translucent Gouache & Watercolour
 Holly Tomas Art, Watercolour | Gouache | Mixed Media
Watch this class and thousands more
Watch this class and thousands more
Lessons in This Class
-
-
1.
Welcome!
1:14
-
2.
Translucent Petals
1:58
-
3.
Stamens & More Pigmented Petals
3:10
-
4.
Expressive Leaves
2:45
-
5.
Highlights
1:41
-
6.
Finishing Touches
3:48
-
-
- --
- Beginner level
- Intermediate level
- Advanced level
- All levels
Community Generated
The level is determined by a majority opinion of students who have reviewed this class. The teacher's recommendation is shown until at least 5 student responses are collected.
85
Students
2
Projects
About This Class
Welcome to this short form class! where we'll be concentrating on fluid expressive brush strokes and translucency.
I've had requests about this method from you, thank you! So, I felt it was time to get us started, and what better way to approach this but in a short form, gentle, non-stressy class!
This style does take a wee bit of practise, and I can prove to be frustrating at first.
So, let me take any frustration away, and create a little bubble where we can practise in a fun, less-threatening way.
We will be using predominantly white, as this will enhance our appreciation of dark and light.
These are great on tinted or black paper, but you could always follow along using white paper and use a darker hue to practise translucency with. It's easier on tinted paper, though, as we are going to be working with the paper to provide the background for our translucent brush strokes.
What we'll be covering in class:
How To Use Paint Value:
- Lightness and Darkness: Value describes how light or dark a colour is,
- Contrast:The difference in value between different areas of an artwork creates contrast, which can be used to emphasise certain elements or create a sense of drama.
- Depth and Form: By using background translucent petals and more pigmented foreground petals
- Mood and Atmosphere: Value can also be used to evoke different moods and atmospheres. For example, a painting with mostly dark values might feel somber or mysterious, while a painting with mostly light values might feel bright and cheerful.
- How To Create Fluid, expressive brush strokes using a flat or filbert brush.
- How to use highlights to create contrast and a bit of drama!
- Learning when less is more (sometimes quite challenging to know when to stop lol)
This Class is For:
- Those who are looking for a zero-stress class
- Those looking for a beginner-level expressive Rose floral style
- Those wanting to explore translucency
- Those who need a short form class due to life-demands!
- Those experiencing creative block; this is a great way of finding your mojo and getting things moving again, in just 15 minutes.
Enjoy!!
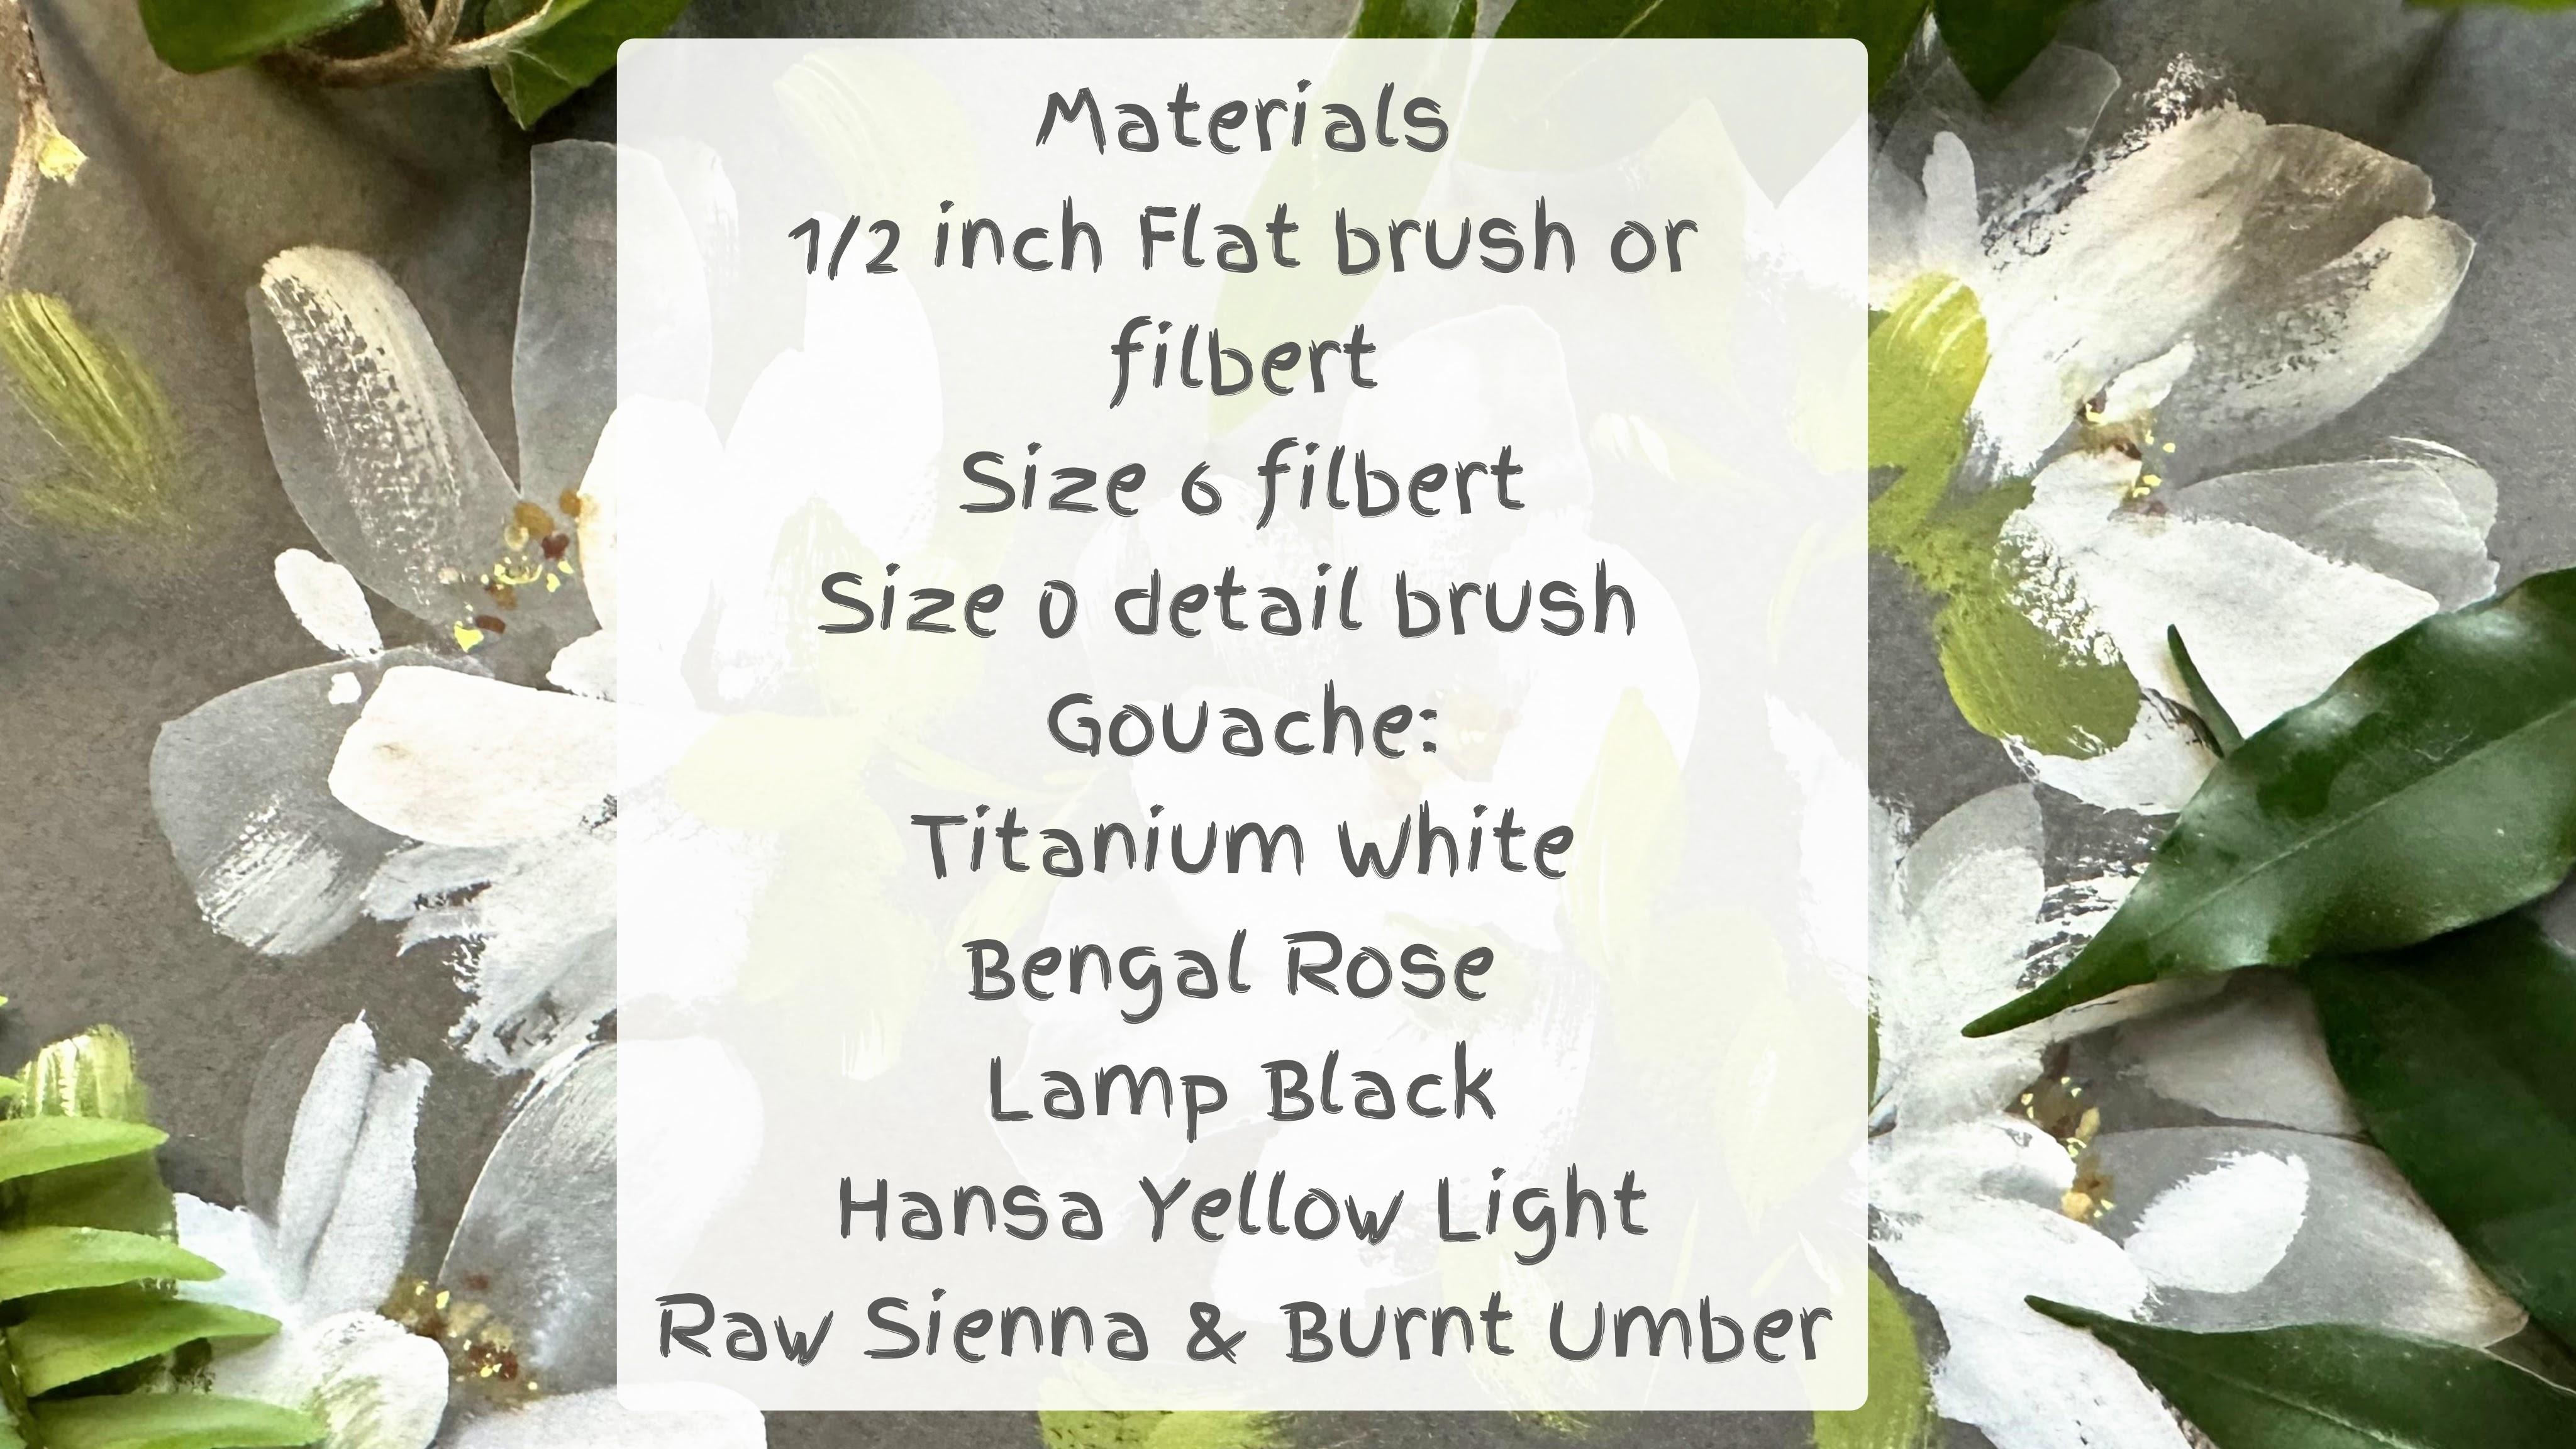
Materials:
Fabriano Tiziano pastel paper (or black watercolour paper like Stonehenge or black/grey sugar paper)
Meet Your Teacher

Hello, I'm Holly :O) I am so happy to have you here!
I'm a Skillshare Teacher, recently selected for the Skillshare Rising Teacher's Programme. I paint flowers and leaves for the most part, particularly wildflowers, as I am surrounded by so much inspiration, living, as I do, in rural Scotland.
I love exploring new techniques, and I'm very keen on finding brush strokes and media which make painting just that little bit less challenging for us, whilst gently broadening our knowledge.... I always say 'easy but effective' is the way forward! My classes are mostly watercolour and gouache, but I also delve into mixed media & leaf printing.
I have a humble little mission statement :0) .... 3 facets which are really important to me, when I am considering cla... See full profile
Hands-on Class Project
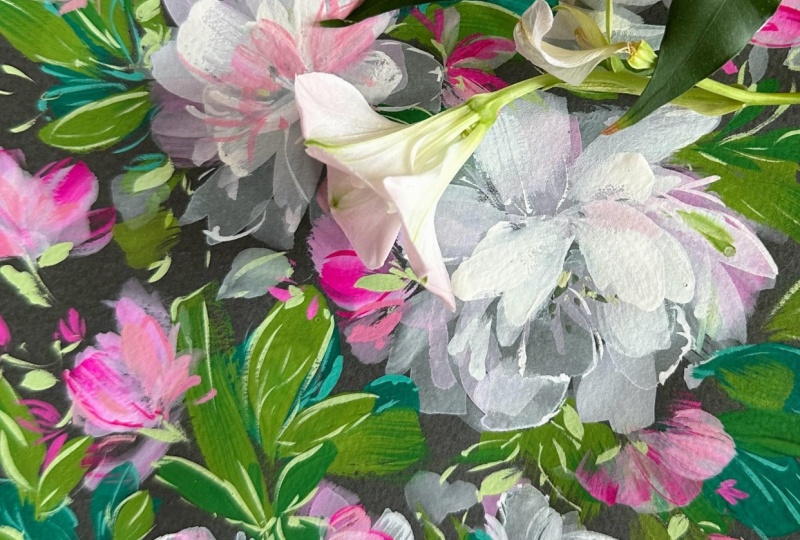
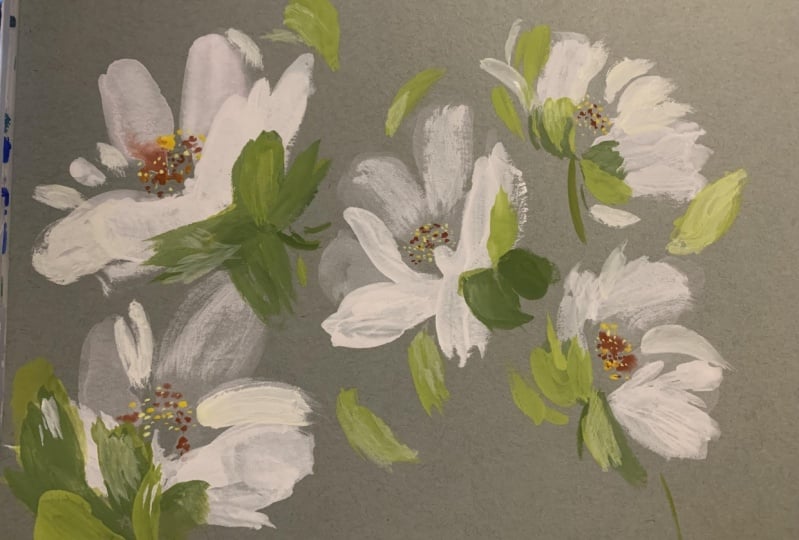
Follow along with me as we use white to create a 3 dimensional look! You may want to bring in more colour, but I purposely chose only to use white and green with a tiny hint of pink, as this pares back to just the necessities, and simplifies the approach.
I encourage you to practise lots before embarking on the study, maybe just on copy paper or inexpensive sugar (construction) paper.... just to familiarise yourself with your brush and what it can bring you..... from watery petals through to grungey dry-brush effects.
In particular focus on choosing just the right amount of water to pigment to create your translucent petals.
You could tape off a large piece of tinted paper to give you various study 'spaces'. Because sometimes moving between a few studies simultaneously can help keep us loose and the painting, fresh
Class Ratings
Why Join Skillshare?
Take award-winning Skillshare Original Classes
Each class has short lessons, hands-on projects
Your membership supports Skillshare teachers
Learn From Anywhere
Take classes on the go with the Skillshare app. Stream or download to watch on the plane, the subway, or wherever you learn best.