Transcripts
1. Introduction: Hi, I'm Sir Wade, and welcome to this
study hall session, where I'm going to show you how to block out your first pass of animation using a layered
workflow inside of Maya. Specifically, I'm going
to be animating a jump. All you'll need to
follow along is a character that you'd
like to animate. Technically, you can use
any software you want. I'm going to be showing
you how to do it in Maya. With that, let's get to work.
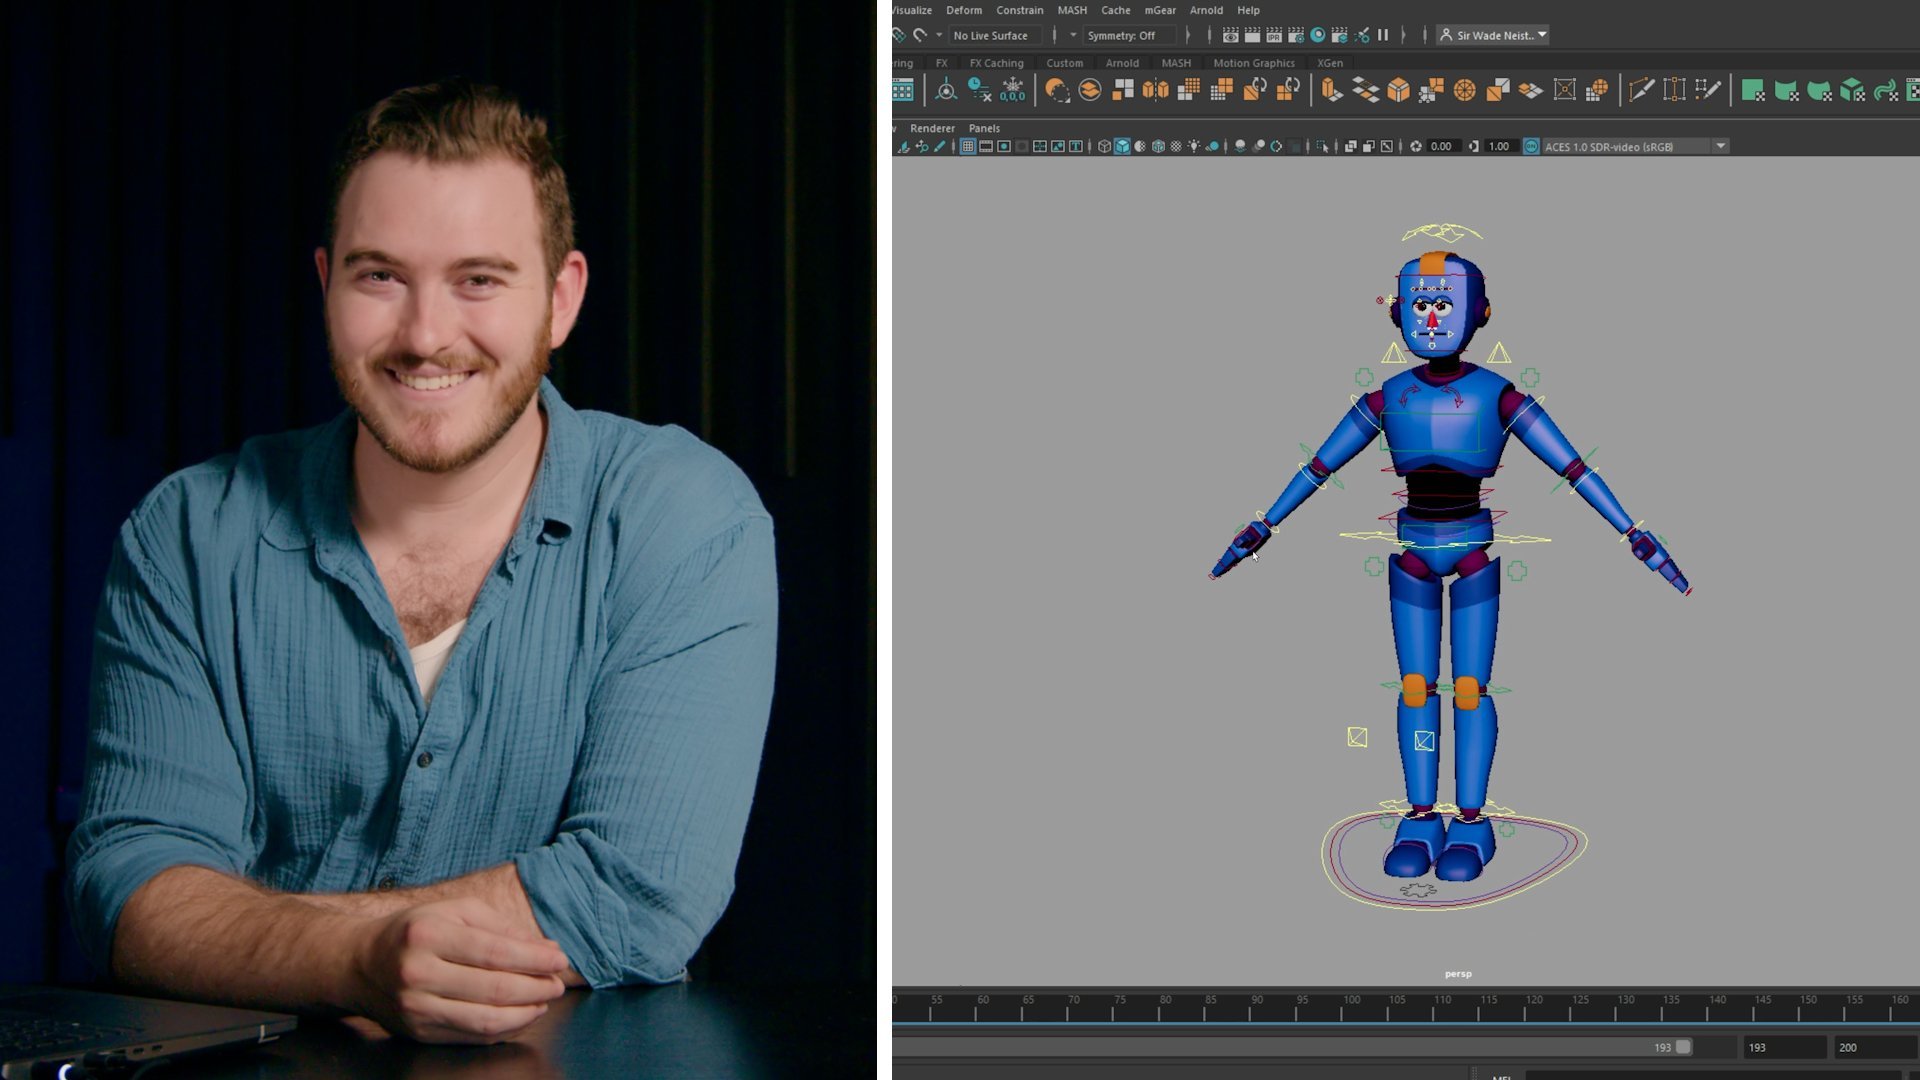
2. Practice: Pose Your Character and Begin a Layered Workflow: Jumping right in,
the first thing I'm going to do is
I'm just going to set my character a full key on
every control that I can see. All I've done to
set this up before we start here is I just
brought in the character, made a little environment,
and I'm going to leave the character
in place for the first six frames or so. That's not a specific number, but I just want to have
the character not move for a few frames so we can see where they're at
before they start moving. It gives me some room to
mess with stuff later. All I want to do right
now is start moving the main hip control
and just start roughing in the general idea
of what I want to happen. Right now, I just want the character to squat down
and get ready to jump. We're going to
anticipate the action. There is one thing I want to tweak with this
character's settings. Depending on the rig
you're using, you may or may not have
this as an option. But on the head control and somewhere around
the arm controls, you can check whether
it's the shoulders, the arms, or some
settings thing. Some rings will allow you to
adjust where the rotation, and the translations,
what they're following. We call that parent
space or follow aligns or space switching. There's all kinds
of different names depending on how
the rig is set up. But what I want to do
is make sure that when I rotate my character's hips, I don't really want the head
rotating with the body, I'd like it to actually
just look straight ahead, regardless of the
rotation of the torso. If you have that option great, that's what I've
set up here so I don't have to counter-animate
the head constantly. From here, I'm just
going to rough in a few general poses, just get the general
idea of what I want. I'm going to start
moving the arms. In a second, I'm going
to move the shoulders. I'm not concerned with
the pose looking amazing, I just want to convey the idea of what my shot
is going to contain. As I continue just doing this, I'm going to make sure
that every time I set, any large keys like this, I'm going to just set a key
on the entire character just for the convenience, I suppose, of making sure that as I scrub around,
nothing changes. Now, this is a
hybrid workflow at the moment because I'm not necessarily
doing pose to pose, but you can see I am focusing on a few core poses to
help tell the story, and I'm going to start
breaking it down beyond that. But I'm trying to
keep the number of controls that
I'm working with fairly limited to begin. I'm just going to
keep doing that. Just keep posing this out, and I'll give you
some more tips in a second. At this
point, I've blocked out the idea of having the character squat down
and begin the jump. But I'd like to start layering it a little
bit more detail. I'm going to grab the hips, and I'm going to
add some key frames on just the up and the down. Before I have the character drop into their anticipation
for the jump, I'm actually going to
anticipate the anticipation. I'll have the character lift up a little bit to indicate that
we're about to drop down. I'll start with the hips
and just move that up at a key-frame to create that, and then I'll think about
how that's happening. Maybe the character
is just going up on their tip toes to
make that happen. I'll grab the feet and I'll use the foot roll, whatever the
control might be called. In my case, it's
called the smart roll if you're using the
same rig as me, but it's often called
some foot roll. I'll just have the character
raise up on their toes. This will allow me to motivate that action with
some other part of the body. What's cool is if I start taking note of what I'm doing with these
different controls, if I start offsetting them, they don't happen on
necessarily the same frames, I can start to play
with the timing. I'm going to have
the toes actually precede the hips
by a little bit. It feels like the feet start to lift up before the
hips start rising. It'll make it feel a
bit more offset and it'll begin to feel
a bit more organic. As I continue to work
in this layered way, I'm not really trying
to keep consistency, from pose to pose, from key to key, all
these different frames. I don't need the
different body parts to all have keys on
the same frames. This is really where the
difference comes in of working like this versus the traditional
post depose method. It allows me to
work really loose, work really rough, and just play around with
different things. It can be a bit hard to know what to do, so you
just trial and error, just move keys around,
make them bigger, make them smaller, see
what it looks like. You're constantly scrubbing. I don't tend to hip play
and pause very often, I like to save the perception of the full shot for when I'm really trying
to evaluate everything. But I'll scrub and just look at these different
areas of the body. I'll just keep messing
with the feet. As soon as the feet
come off the ground, I want to make sure that I turn off all those roll controls. I don't want the toe roll stuff to be happening while
the feet are airborne. I'll allow that to happen until the feet
come off the floor. I'll pretty much zero that out as soon as I
get to that point, and then I'll just deal
with regular rotations. Again, this is just my
preference of working. You can do this with whatever
controls you'd like, but this is just
how I've learned to work and how I keep
track of things. As we get further
into this process, don't forget that Maya
has motion trails. I'm in the animation shelf at
the very top of the window, and there are a variety of
tools in here we can use. Motion trails is one of
them, and I'm going to continue to use that
as we work here. [FOREIGN]
3. Practice: Hips and Torso: [MUSIC] Now that I've gotten
the character to actually land after
doing the jump, one of the things I want
to try and focus on is making sure the character doesn't feel like
they hit a wall. I don't want the
character to have all this forward
momentum only to stop dead the moment
they touch down. I've got my motion tracker
on my arc tracker, just to visualize, to help see what the
path of the hips are. I'm going to mess
with the up and down and the forward and the back of the
character's hips, and I'm going to just
make adjustments. This is definitely
an area where I want these two curves to be
offset from each other. I don't want them to have the same maximum point or minimum point on
the same frames, or it'll feel very linear. If I adjust just the
up and down and for the back one at a time
and I tweak them, every time I make an adjustment, I can see what that's going to create in terms of the
arc of the character. I'm managing two things, not just the path through space and the idea of their momentum, but I'm also trying to maintain a sense of weight and
balance of the character. I want to make sure that
the character's hips and torso stay mostly centered and stable
over the feet because the feet are
the thing that's actually going to support
the weight of the character. If I go way far forward, the character's
got to fall down. If I don't go forward enough, they might fall
backwards off the ledge. I'm trying to keep track of the position of the hips relative to the
position of the feet. In addition, just focusing on the momentum and the energy
of this part of the shot. Again, it's a lot of trial and error. You just
change things. Don't be afraid to
delete keys, move keys, make different decisions
than you maybe had started with, and
just try things out. One of the things that
I'm definitely going to come back to in a second, and I'll deal with this once
I'm happy with the hips, is I want to adjust maybe where the feet are because I'm
starting to look at this pose. I'm starting to
feel like the feet are a little too far back. It's where I put
them at one point, but I'm not sure I'm happy with that for this whole action. I'll probably mess with
that in just a minute. But right now, I'm
focused on the hips. Try to stay on one
thing at a time, just to make this feel while
it's fresh in my head. I want to make this feel
the way that I like. I'll play back, I'll scrub and make some adjustments until
I'm pretty happy with it. I'll keep doing this and one last tip for you
is the motion trail, the arc tool inside of Maya. It's an object that you can
actually select and modify. If you go into the
attribute editor, you can change a lot of
the settings for that. I like to set it to alternating frames so you can
actually see the spacing from frame to frame of these different controls that we are tracking through space. [MUSIC] Now, at this point, I've done
a lot of work on the hips. I've messed with the feet. I've added a little bit of stuff just to
different controls, but I haven't really messed with the upper part of the torso. This is something that
if I don't do this now, I might forget to
do it entirely. This is one of the
most important things with body mechanics
is to make sure we separate the torso
into two components. The hips are one part, but
the chest area is another. We don't want the
whole torso to feel stiff and fully connected
the whole time. We want to break that up. Imagine the hips as
one bouncing ball and the shoulders and chest area
as another bouncing ball. Kind of the way the
flour sack animations, if you've ever heard of the
flower sack animations, it's a common way to
learn 2D animation. You have the hips and the chest as two different sources of the
character's weight. I want to add some drag
and overlapping action and break the joints a little bit so that there's that separation of the spine, and it feels like we have
weight not just in the hips, but also in the upper
part of the body. These should feel
connected to each other, and typically the chest area will do whatever
it's going to do a little bit after the hips
have done what they're doing because the motion will ripple outwards from
the core of the character, outwards from the
hips, and that will come from the hips,
then to the chest, then to the head
out to the arms, and that flow of energy should allow for some
amount of overlap to exist. This is one of those things
where I just tend to move and rotate the chest
just to see what I like. It's something that I'm not
going to get to attach to, I'm typically going to move some keys around
and try some stuff out. If I don't like it,
I'll just delete it. I'll try again because I'm
just roughly blocking it in. It does not have to take
a really long time. Now, I will point
out at this point that for this
particular exercise, I'm showing you how the workflow works in a complete vacuum. I never did any planning. We didn't do any reference. We have no poses to look at, and that would help a lot. I would recommend
that at this point if you're trying to figure out, what are the shoulders doing? What is the torso supposed to
look like on these frames? This is where we should
look at reference. I wanted to show you what
it could look like to find that and explore that
without having reference, which is just this trial
and error process. But if we are trying to
work more efficiently, it would definitely
help to have something to look at to inform
these decisions. Whether or not we're doing that, we definitely still need to have this separation of the
chest and the lower body. [MUSIC]
4. Practice: Arms and Shoulders: Now, up to this point,
I've neglected the arms. The arms are not that important
for the overall jump. Well, that's not
entirely fair to say. They're not important for the
overall idea of our jump. But in terms of the mechanics, the arms are a big part of creating momentum
for our character. If I turn on the arc trackers, I'm going to set
them on the hands. I'll arc-track the hands. The arms don't really look
that great right now. The arc trackers will
help show us why. Not only is the speed and the timing a little bit fast for some of these changes but
the arms just jitter around. They don't have a lot of
consistency or pattern. They don't have a lot of flow
with the overall motion. Again, this is something that reference would have
helped us with, because I could just pose out
where the arms should be in a couple of frames and
that would help shape where they'll traverse
through space. But since I'm going rogue here, I'm entirely just
making it up as I go, this arc tracker is
going to show me where my different
decisions are conflicting, and I can start to fix that by either manually
adjusting my graph editor, which I've had open this whole
time, if you've noticed, just so I can have
a rough idea of what my curves are looking like. What I'm going to do is
I'm actually going to use the tween machine
function of animBot. This is a plug-in
that you can use for Maya that I talked about in
one of my Skillshare courses. I highly recommend this plug-in. It doesn't come with Maya, so these little
colorful buttons down below on the bottom
of my screen, you won't have those
there by default. Those are, again, animBot. But you don't have to use this. I'm using it as a way to speed
up the process of having those arm controls blend between previous and
adjacent keyframes, basically, just
giving me something in-between of other
decisions I've already made. That will help smooth
this out quite a bit. But as I work, I'm
just trying to make the arms not feel so jittery and make them feel like they have the same type of flow as the rest of the body. As we continue on, I'm
going to start making sure that those
arms have momentum, that they have weight, that when the
character lands they actually sag down
towards the floor, and when the character
starts to stand up, I want to actually have
them reach out in front of the character to balance him. As if he was putting
his arms out in front of him
to not fall over. Don't forget the shoulders. The shoulders are one of
the most important parts of body mechanics and
using the arms in general. I need to make sure, after I mess with these arms, that I go back and adjust the shoulders to support
whatever it is I'm trying to do. I'm just going to keep
working on that for now. [MUSIC] Now, as I
play this animation, I noticed that the beginning
is a little bit fast. The whole dropping down and
anticipating the action, I didn't leave enough
frames in there to actually really notice and feel that anticipation and feel
that energy building up. The character just
dips down and jumps. It's a little just quick. Here's an idea of how you
might re-time something. I'm going to do what's
called book-ending, which I talk about in several of my classes on Skillshare, where I set a key on everything before and after
I want to make a change. That way I can safely adjust
what's in the middle. In-between I'm
just going to move the keyframe group as a whole, and I'm eventually just
going to look in there and try to blend the motion. I'm looking at individual
curves and trying to make sure that they still
have the original flow, the original timing
that I had in mind, but just trying
things out to try to keep that organic
offset and overshoot, and things like that between
different parts of the body. My goal here is essentially just to slow down this one section, but I don't want to slow
it down consistently to make the character feel
like they're in slow motion. I just want to make
different parts of the action take a little bit longer than they
did a second ago. That's looking better. If we hit "Play", this is
our first path of animation. You can see that it's not done. It doesn't have to be perfect.
It's just a first pass. It's just our blocking,
but using this workflow, as opposed to pose-to-pose, will allow us to just rough stuff in really
quickly and you get to see the overall idea of
your shot pretty rapidly. Hopefully, this gives
you a good idea of how a workflow like this
might work better for you if you are more
motion-focused versus pose-focused because you
can blend the two together, but this is something that
I really like working, and I hope you'll enjoy
it as well. [MUSIC]
5. Session Completed : Thanks for tuning into
this study hall session. I hope you enjoyed it, and you got something
great out of it, be sure to show your work in the project gallery down below. I'd love to check it out,
and I'll see you next time.
 Sir Wade Neistadt, Animator, VFX Artist, Creator