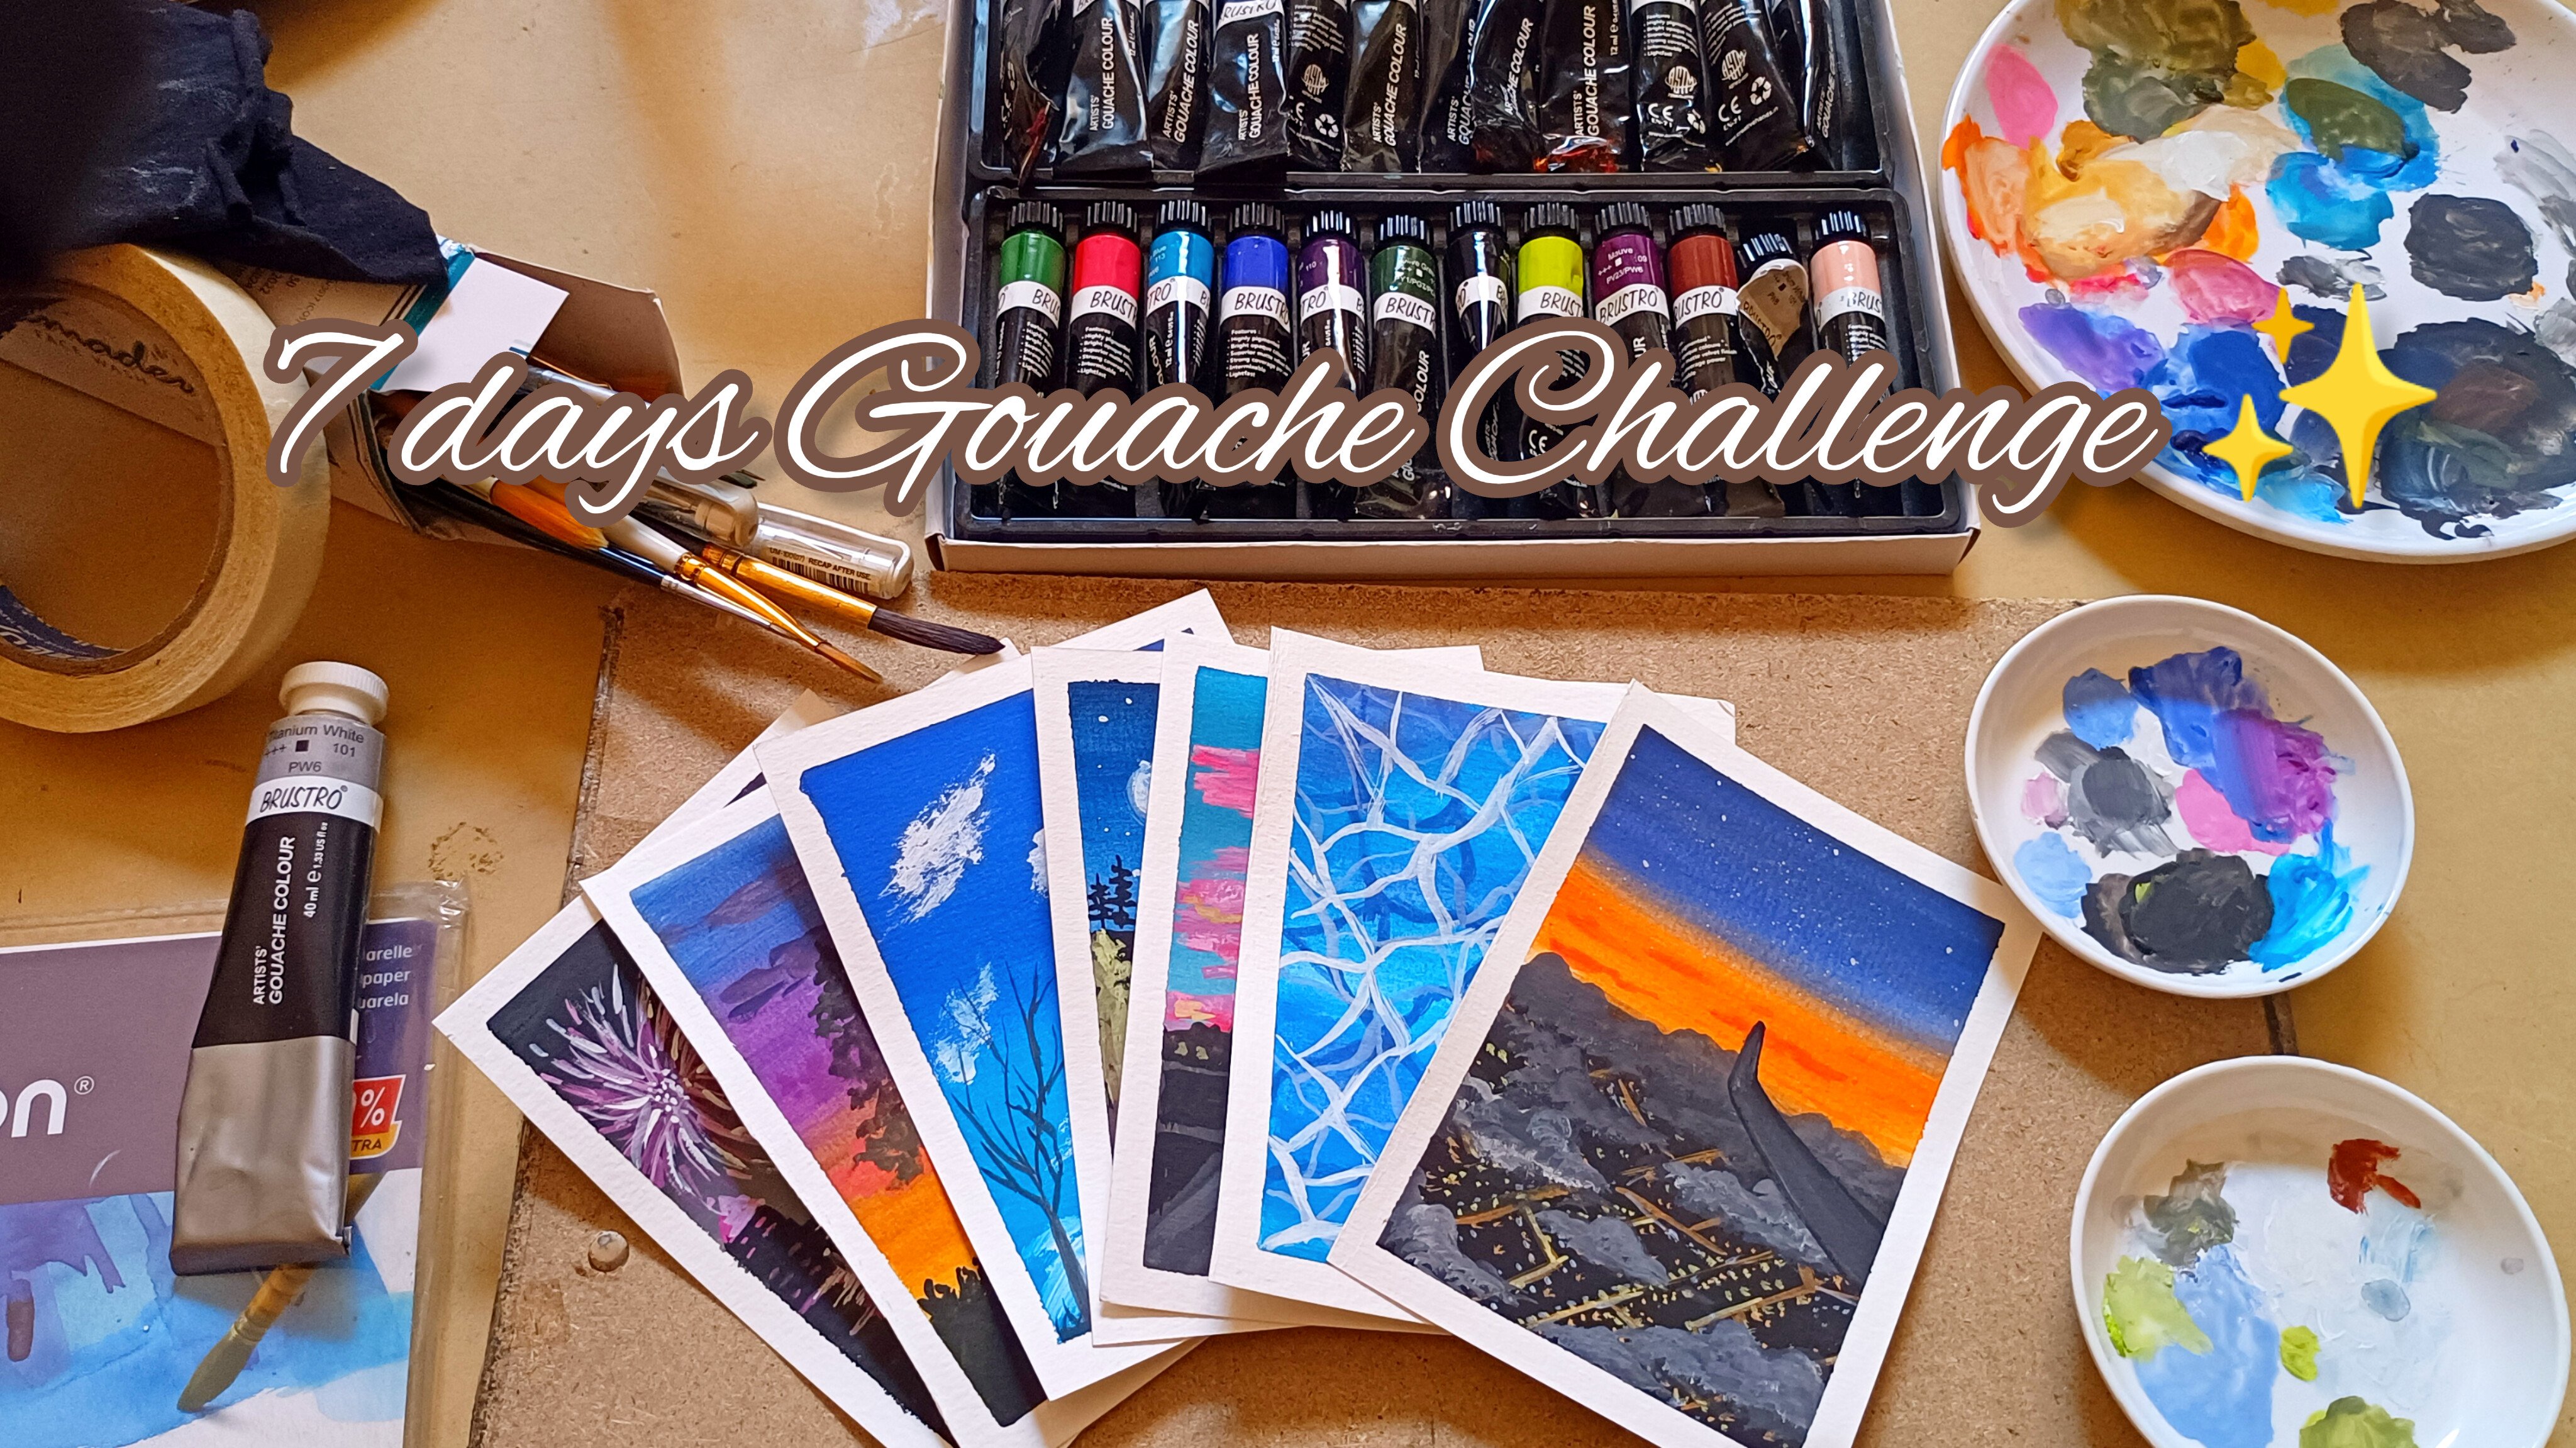
Transcripts
1. Introduction : Ethics is a branch of
philosophy that describes the beauty of
nature, the artist. This is not a
watercolor teacher, and today we will be
learning three easy, aesthetically pleasing paintings
in very few basic steps. Using wash. It does big enough friendly. Anyone can join this class who was looking
forward to learn them. Let me tell you
about gourd wash, a water-based medium,
which can be used as a watercolor, as an acronym. It can be reactivated
very easily. It has similar advantages
like watercolor, as well as accurate. So it can be used for Redis techniques and
various paintings. I welcome you all to
my brand new class, Joining me now, and let's create this beauties and
experiences, this medium.
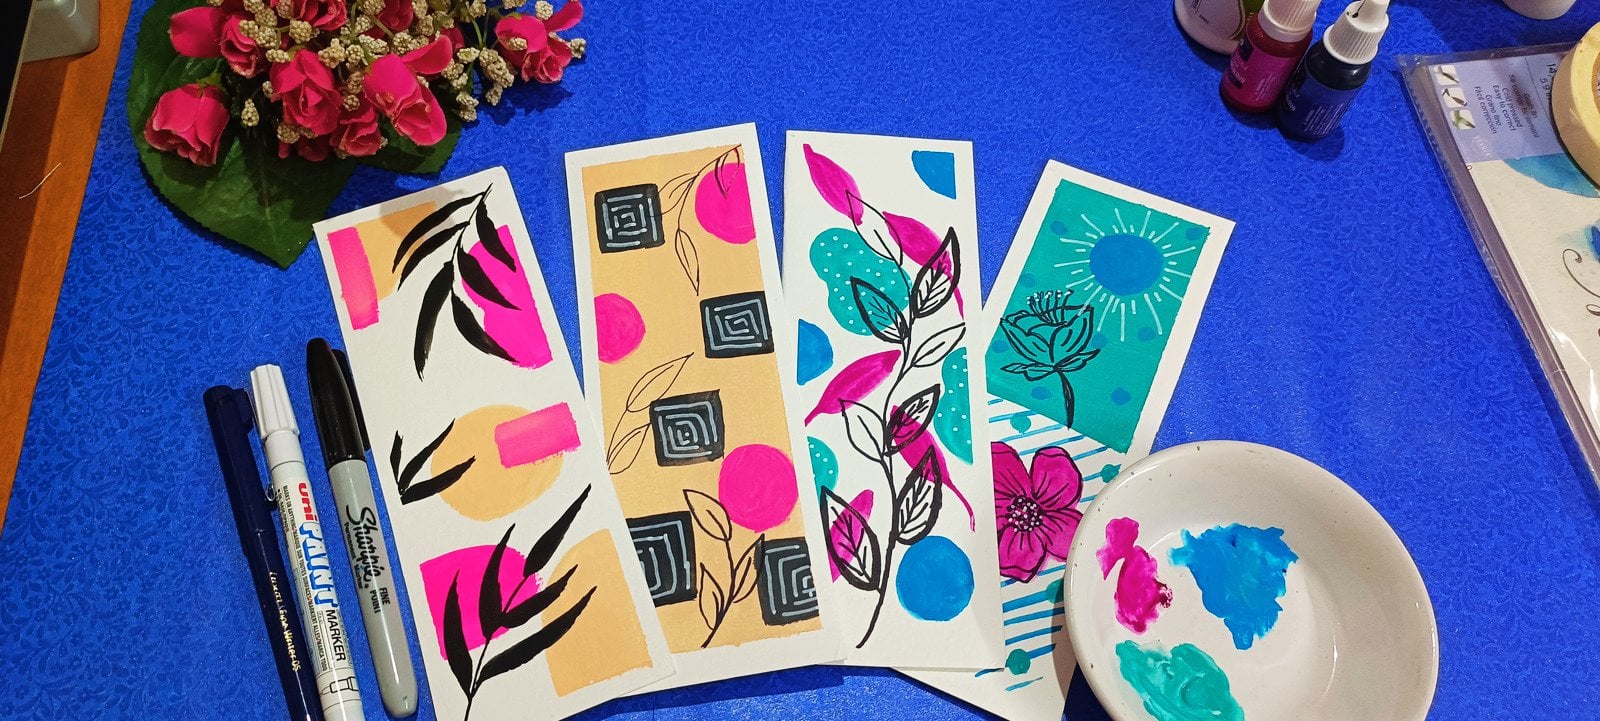
2. Materials Required : For making this painting, the materials required is Bruce, true, artist, grade
gouache, Carlos. Carlos. We require
along with that, I'll be using cans and
300 GSM watercolor paper, which is of size, which we will divide it into
an E6 and go postcard size. And then 300 GSM because I
want to take people with that, I'll be using a flat brush, size ten round brush off site. And point B. Now the brush already
thin liner brush up until masking tape, jar of water, keep water one, you get easily dirty. Another one will be helpful. Along with this, I'll be using
mixing palette and tissue. Don't worry if you
don't have one. Just use watercolor with white, acrylic or poster
Carlo or even gouache. White goulash is commonly
used by watercolor artists. Colors I'll be using for
making these three paintings. More ceratin blue,
white, sap green, olive green, black,
rose, brown, orange. And a loop. You will
be seeing how I do it. Now. I'll say if I size
and then live either, as you can see, I'm equally dividing it. And then using two, I'll be cutting this
into two halves and using one of each painting. This is an A6 size
watercolor paper. Along with this, I'll be
using a hard cardboard behind so that the table
doesn't get messy. As you can see, there are two
equal halves of the paper. Let's begin by painting the, grab your supplies,
and let's start.
3. Aesthetic Landscape Painting : Welcome to the first painting, 33 are going to paint this
incredibly beautiful and aesthetically
pleasing painting for making this painting for sleep, Let's take down the paper. Here. I'm using 300 GSM
watercolor paper and the regular masking tape. If you feel the
tape is too sticky, make sure you use it couple
of times on the genes fantasies onto the
rough plot surface. This causes the
stickiness to reduce, which prevents the
stripping of the paper. Once I must the tape
around the people, I tried to seal it
off with my fingers, just like I did this and show that the paint doesn't lead
beyond the taped surface. Also, make sure you tape it
around in a straight line. Or it might be an issue
with the framing. Your background. I am using a bat hard
cardboard sheet to prevent the paints to fall onto the table and make it messy. You can use any waste cardboard or a hard book behind the paper. The Carlos I'll be
using for painting. Suddenly in blue, More, which is 80% purple and
rented person thinks these two colors are readily available in the
brushstroke company, which is already so esthetic. These two pins, I call
it as a static combo, which looks perfectly so
good with each other. Along with this,
I'll be using white, sap green, olive green,
black, and scarlet. When everything is ready. Let's dive into
the actual class.
4. Class Project 1: Let's begin with the
painting process. I'll be using a flat brush
for painting the background. Using wet on dry and using sand. And I'll be going in a back-and-forth motion and applying it into the background. On 1 third of the people. Make sure you are using
more similar to accurately, I mean to say is applied
in a thick that big form. By now you must have
understood bad board as Smokey medium applied with
regards to the watercolors. And let me look living water. That's the macrolides. So make sure you reward. Now, I will be combining
more with white space. And then the second half of the people back in lab before will be blended
with the blue color. So it will deliver
differentiated. Now, blend all
these three shapes together to make it
as smooth background. As you notice how I'm blending
this in one direction, we can move on to blend. Now some of the more I'm like, taking a different color now makes all look
nice together. More said, when all the land very smoothly and there's nothing you can
differentiate this three colors. I haven't blended properly. This is, I'm going to make
clouds in the background. Let's now shift into round
brush making the clouds. I'll be starting from the
extreme top right corner. Then. I've had the mall with settle
in blue without mixing it with white so that it
gives up that broken shade. Now, I will paint
all this Cloud one by one from the corners
and some in-between. The upper one and the new ones. I disliked the pen line. I'm making a cloud in a left to right diagonal motion
and also dabbing. I'm not maybe it around, so clock nano, if you want, you can go ahead. But I want this to be looking
like an illustration. I just want it to
look like a realism. In fact, I'm giving a slight extra lines so
that it looks to you. And as I go down, I'm shifting it into
the purplish shade that is more blue and white. A bit of light. As you
can see as I go down and this making the clouds
very far apart. Now, I'll go on top of the cloud with a lighter shade called the previous mixture, the main Google Cloud. And I didn't go and add
highlight on top of the clouds. And you're in there in between. A normal white mark. But very lucky. You just want to highlight
that it gives meaning. Now I'll also add Carlo cloud and
the purplish shade to make it feel at the time to carefully observe how
I made this solute. And bottom being picked. Practice couple of
times on a rough paper before painting it onto
the actual painting. This tree is actually
facing the sky. On the ends of the branch
are facing towards the sky. This means the painting
even more beautiful. And once you have seen, then you go ahead and factor
out onto the schedule, can then go ahead
and head on back to being fully absorbed first and then painting,
there's no heartbeat. So what is slowly and
slowly and then painted on actually preventing any sort of mistake is a
smaller round brush. And carefully the tip of the brand and
also the beetle, the branch or back
into the trunk. And be very careful and
being patient, doing that. This is water, the actual
highlight of the pain. So be patient and got this. One litre done, I'll be
shifting to dry round brush. You can use any brush. Bristol are quite apart. I'm using all
proper round brush, but no bedding dry brush for using it as a
stippling method. As you can see, keeping the brush and appointee
perpendicular manner. I'm going ahead and dipping my brush onto the paint and
just dabbing the paper. As you can notice, there's like Britain's fighter, but there is an effect
shown onto the paper. Closely. I have used
olive green bean. So the second round will
be with the sap green. You can go head by making it black and then olive
green and sap green. This will make the leaves
even more high level. But here I'm just using
olive green and green ideas. Don't want any brighter effect. I'll be using a mixture of green with wipe, make them leave. Now, but shifting into a smaller brush and
appoint the one. I'm just going to add leaves at the extreme corners
with Sap green. Now with a mixture of
sap green and white. Just go ahead and add leaves. Once that is done
using the same brush, I'll go ahead and make
white patches onto beliefs which really
represent levels. Adding many such wide or broad
and wide and bolts of me. Onto this, I'll add
rows Carlo and make some spirals to represent
it as a floral design. These white dots will help the flower color to
highlight a lot. That's why I'm doing it
forthright and then rose onto it. As you notice, I'm not adding
rose color everywhere. I'm just leaving white coat and I'm just going
in a spiral manner. You can just practice
with your brush onto a rough paper
before doing it. But it is very tiny, so that doesn't even know. Nachman can just make sure you leave some whitespace here. This, I'll go ahead
and add some more white mixed with Carlo. Just to make it more
highlight there. In the rules, this
has still drying. I'll go ahead and make
a moon and stars using appointed or C-shaped type
moon and appointed dots. Which represents does this
blended with the edges? So it doesn't look
above a straight line. Try as much, as
many as possible. Now, I'll go ahead
and died it wide. Make it. I liked the
new dose Biden's. By Lord, please. One last time before you
remove your masking tape, washer this out to me. You can eat a lot of
stuff cluttered, ma'am, you will love it in
this garden bed. I'm going ahead and adding paint and gobbling up all my mistakes. Let's remove the masking tape. Now. This is the most part of every painting. Removing the masking tape. Make sure you remote
in a slanted manner of those governments to
sticky use a hairdryer, lowered onto the tape
and then remove it. That will make those stickiness
to radios and help you remove the masking tape without tearing the paper and
ruining the painting? Yeah, I got to put
that on the calendar. And the nipple, you say y'all
being built into the class. I love you, but I'm so bad. I can turn them on Thursday. See you in next class.
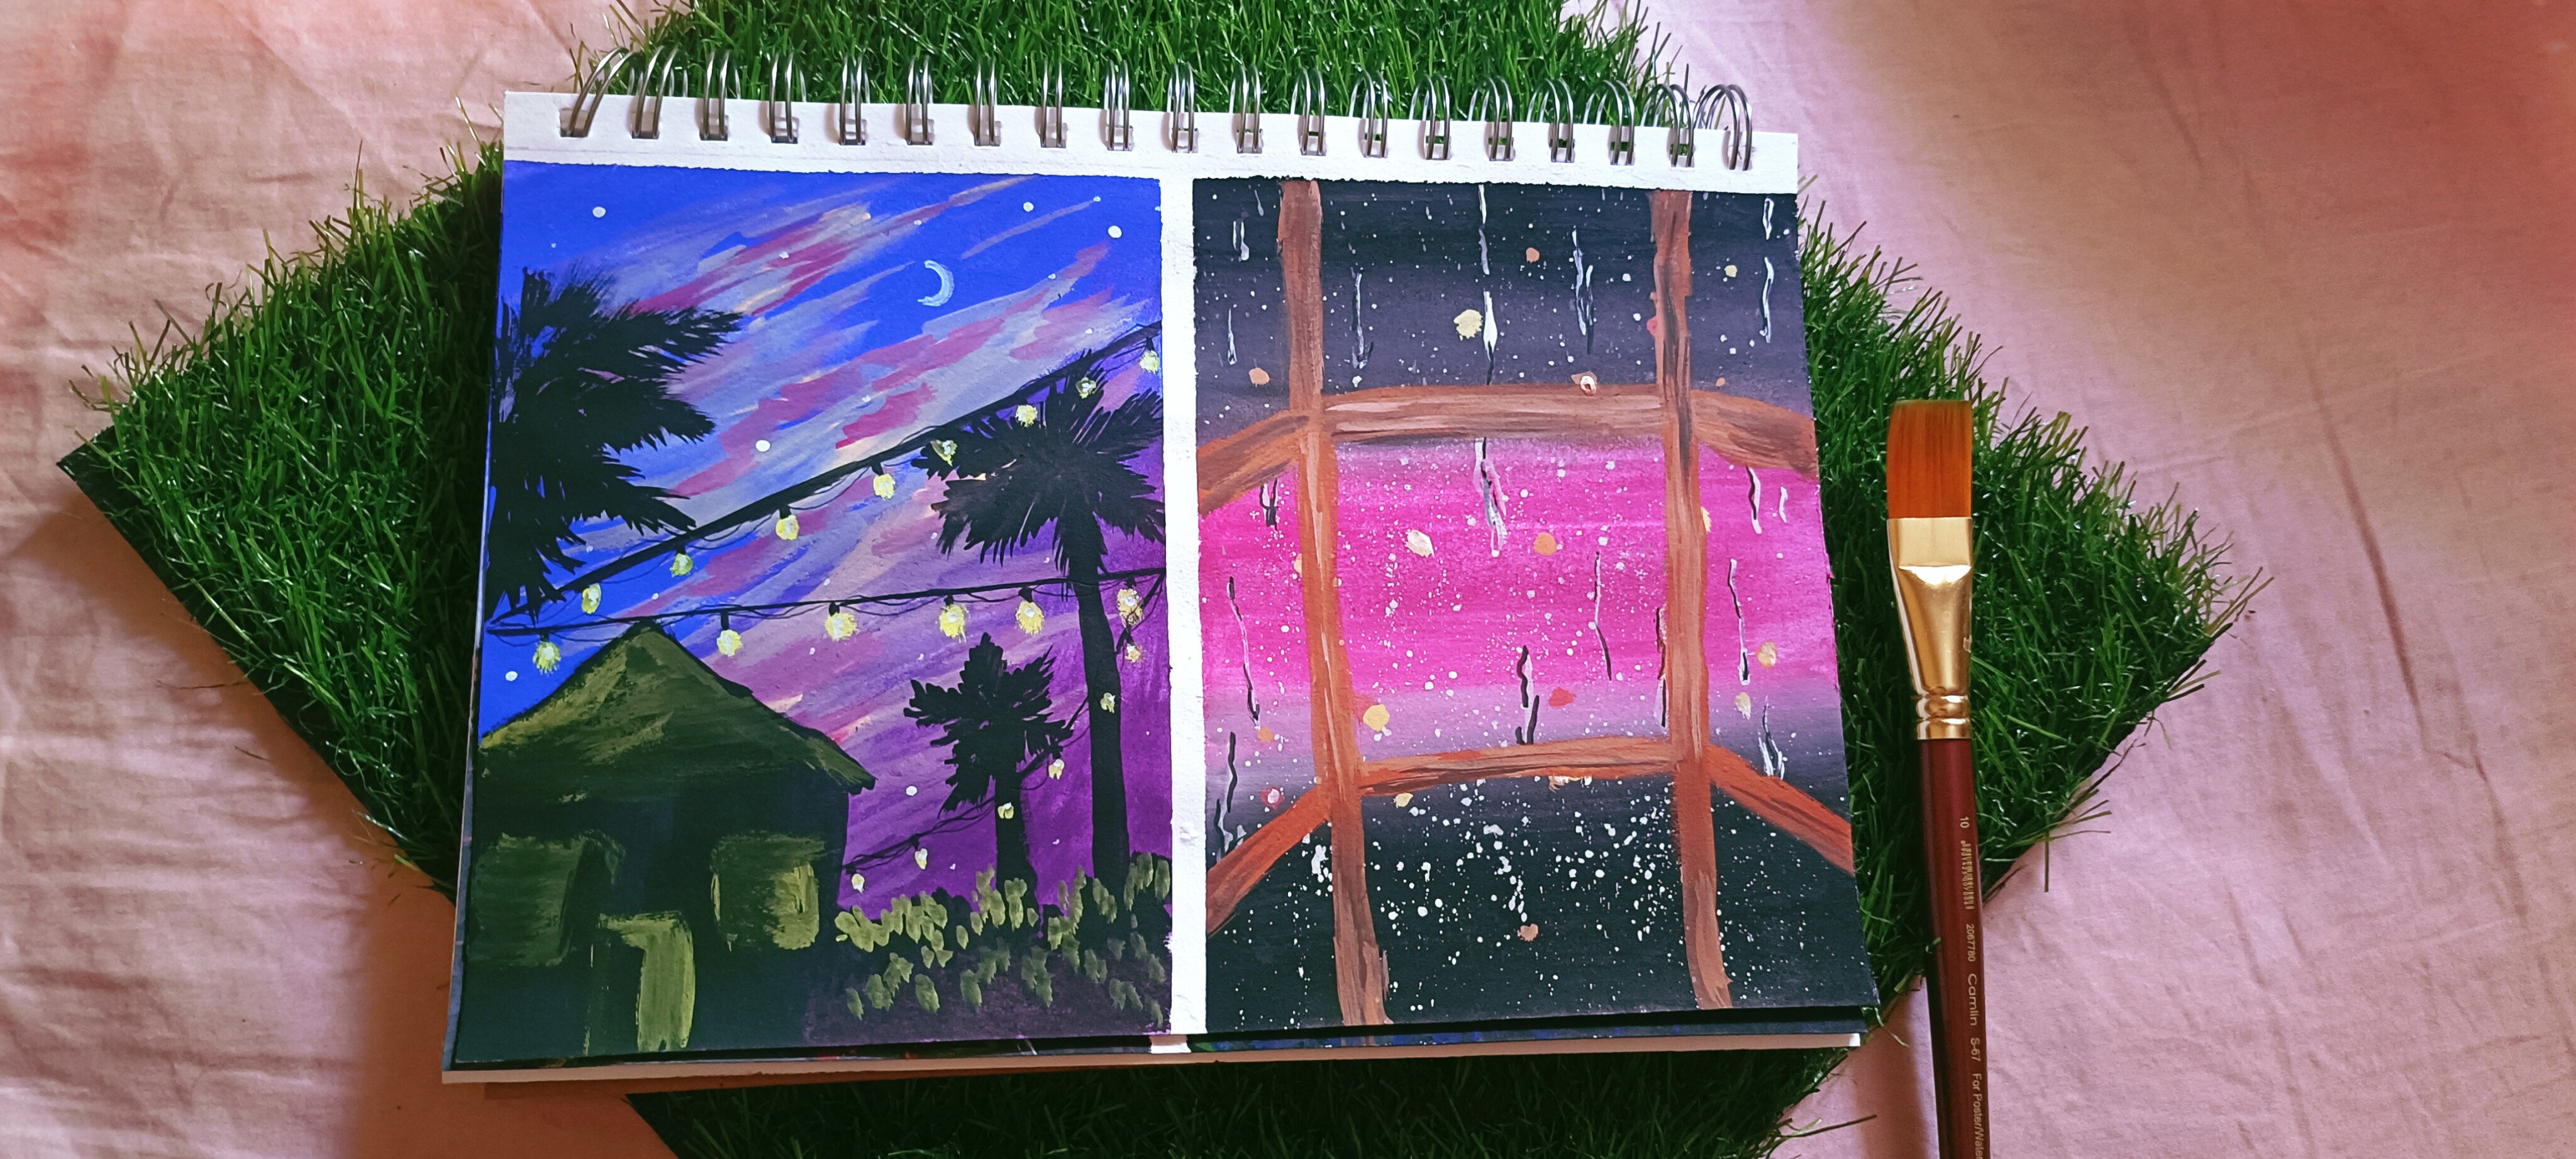
5. Night Sky Painting : Welcome to a new class. Today we are going to learn how to painless awesome
night sky painting. Looking at deep down the
people, they didn't. I will explain you the painting. This is a Dustin I mean, uh, 19, the red, the sun has gone down. So it's almost a sunset that the lower half of the beam and above is complete night covered with plants with this
beautiful background. The greenery. The corner
which gives seven natural, is that it wipes. Let me now tell you the colors
required for the painting. I'll be using the
same colors which I use for my previous paintings. That is steadily more sap green, olive green, black,
wife, rose color. And now I'll be using
low, medium and low. Grab your supplies. And let's get started
with the painting.
6. Class Project 2 ( Part 1): Let's begin with that. Is that a painting? For this painting, I'll be using a flattened
size ten brush. Then also 300 GSM
people. As you all know. I'll go ahead and
painted in blue are the Gulf most part of the people going
back-and-forth motion, applying at the corners as well. I'll go and apply it
in a thick consistency so it looks okay,
not translucent. And then I'll go ahead
and mix more with white and blue mixture and
then apply below the loop. So it looks more purplish Carlo and looks like a
night Skyping thing. So once this is done,
blended properly, especially at the corner, you can see a bluish tinge to the purplish mixture
gives a nice wide. Now I'll go ahead
and mix bit of mall with a lot of light to
make copies of more. And then apply it in the
lowermost part of the painting. And blend all these
three together to make it more natural and
makes sure All Sky. Next, I'll mix more million. And I'll mix it properly and applied onto the
publishing that this builds to shade media does gifts and oranges while the paper is wet. I have applied it
to where it looks more off a piece to Lauren
rather than a bright orange. Now, I'll go ahead and
apply more of foreign, describe that as 1
million, maybe a little. Blend them properly. So that does give some smooth mixture
of all the followers. Now, I'll go ahead
and add a low data, made a low skies onto
the painting vertically and add Mendelow and
dragging and dabbing motion. As I go up, I tried to make the LO with
white to make it bright. Now I'm breakup and apply it
onto the pole of the thigh. As you all can see
that I haven't blended them properly
in the ground. That is because I have
just done eat the person. That is just because
I know the clouds will covered up the borders. Whichever. Applying more clouds look
so beautiful and nice, steady, steady. Onto the blue. I'll mix more with blue
and then apply it. You can go ahead and apply in with white mixture
onto the blue. But I'm just going
with blue anymore. Onto the low clouds
and adding a bit of a sheen that There's will
move inmates with a low. The Duffy defining the clouds. Now using stippling
method that they're using a dry brush or a brush. I'll go ahead and add
black color onto it. And keeping the brush
in a perpendicular. Dabbing though. Brush onto the
paper gives us the slinky. You don't know the test. And then I'll go
ahead and add it in 34 numbers. As you can see. Once the black is done, I'll go ahead and
add olive green. You can do it once the
blacklist completely dry, but I'll go ahead and add olive green when the
block is still wet. And I'll just leave some gaps of black and then
apply olive green. I'll apply olive green towards the left side rather than
going to the right one. You will see the
reference later. Make sure you use
no water or very little while being fingers. And then I'll go ahead
and applied Sap green leaves a bit of space for
the olive green to be shown. You'll see the difference liter, as I'm telling you would
see the differentiator. You'll see all the three sheets giving light and dark color. As you can see, there is like light cloud area and the
doctors and the right side. Now I'll shift to a point
on that and add leaves. You can go ahead and
add what's happening. Something's getting blended
with the background. Scene. Follow them doing
green, mixed with white. Highlight the common law and add those leaves
and leaves on Google's own diamond.
Don't mess up. One's the ballpark is done. I'll go ahead and add leaves into the lower part of the idea. And lower buttermilk get more of a darker green
rather than the bot. And you can see the attune has one line and down
has a good doctor. Afterwards and go ahead
and add white ground. So four flavors. Depends on your boys, how big or how small the light. Once you do, add
rules when mixed with white on the glories
of the things. You can go for an older fit. I'm adding the rose
colored manner. You can also go ahead
and do that on gaba. Third light comes
in when I do this. No, keep adding
spider on the plot. Lindsay, how bloomed
up it looks. One is the flowers
and leaves are none. I'll go ahead and
move on to the Cloud. As you can see, I'm doing
CC button half moon. Although I'll add
some stars with me. You can go ahead
and keep moving. I'm going with this, the thumb pointing thoughts. You can go ahead
and make Nyman she starts completely depends
on your creativity. Once that is done, I'll go ahead and
add more floors. Since I realize there's a video, go ahead and begin the
painting in that ETL. Adding more leaves the code. I removed the masking. Afterwards. I'll go ahead and apply more and make
it more beautiful.
7. Class Project 2 ( Part 2): Now I'll slowly remove
the masking tape. You might have heard my tips and tricks in my previous painting. One more depth as that
remove the teeth in a slant manner so that
the paper doesn't report. And after I removed the day, I realized there's a
space for which we will cover up later after
moving though. Isn't it looking? So
let's add some more. And some dark roses
without glide. Does directly applying rules. Then a mixture of
blue and white. The input as many as you want. And it couldn't be
better if you put a lot of roses onto this. It looks almost wound. Fast-forward this, but as you can see that the rose color is
giving her darker shade, which means these roses are behind our inner shadow effect. The rules. Florence. Go ahead and make some
rules with white. Biden's onto it. I can see almost
highlighting that color. I'm using a very
pointy sharp brush and you can drag this
onto a rough before. And then Laura, that's
a very good spider. Once that is done, I'll go ahead and
make some leaves. You can use a lighter or
darker shade of green. I prefer you to use in our watery consistency so
that it looks shadowy. And make sure to share
your class project. Below. That's it for this painting. Thank you for watching. See you in the next class.
8. Garden Pathway Painting : Coming to the last painting
of this das be painting this beautiful path within extract load that can
be used as a CMO. I just taped down the People and we'll go ahead with the
sketching the next five.
9. Class Project 3: This painting is going to
be a real time painting. So follow me along
and let's draw and paint this on the
lessons which we learned in the first two
classes will apply onto this painting and made
this beautiful painting. The extra stuff
which I have added, you might have understood, because it's really simple. And by following this
painting every step, you might have understood
how to paint this. Though things like
shadow, pathway, the falling leaves, the side, grass, grasses and all. I hope you enjoyed this
real-time painting. I would love to see
your class projects. Make sure you share them. The class project section. If you have any doubt, you can come down so
that I can reply. All the techniques we have
used in the first two classes, we have glide your wet
on wet, wet on dry, stippling, rose making of
Florida making everything. I would also love to see
if you have recreated any other painting
using these techniques. And also my method of painting, the masking tape slowly. I hope you enjoyed painting
all the three paintings. And also this
real-time painting.
10. Thankyou : Hey, we're finally done with all the three
class projects. I hope you enjoyed
painting along with me. Make sure to share your paintings in the
class project section. And I would love to see them. And if you have any grays, you can just coming down in the discussion box so
that I can answer them. If you want to be
connected with me, then you can follow
me on Instagram. My handle is there. Thank you for
watching and follow me for more upcoming
classes on skill share. Until next class. By keep painting
and keep learning.
 Arbia Sultana, Art Educator