

Learn How To Resize A Layer In Photoshop the Easy Way
Find out how to easily resize layers in Photoshop with these key techniques, tips and shortcuts, all without sacrificing quality.


As any photo editor or designer will tell you, Adobe Photoshop is a powerful tool that offers a plethora of features for creatives of all kinds. From removing objects to replacing colors, Photoshop can handle just about any task.
Among Photoshop’s diverse set of tools is the ability to resize layers, a feature that can play a crucial role in shaping the composition of your design. To find out how, delve into the reasons to use the Photoshop resize tool, explore ways you can resize layers without losing quality and get useful tips for optimizing your design process.
5 Reasons to Resize a Layer in Photoshop
When you know how to resize a layer in Photoshop without losing quality, you can customize and polish your projects in countless new ways. Here are some of the compelling reasons why you might want to leverage the resize tools Photoshop offers:
- Improving perspective: Adjusting the size of a layer allows you to experiment with different perspectives, which can create depth and add visual interest to your design.
- Achieving balance: Resizing elements can help you achieve a harmonious balance within your composition, and allows you to emphasize or downplay certain elements while maintaining a cohesive overall design.
- Adding text: Knowing how to efficiently resize layers makes it a breeze to quickly accommodate and adjust text elements. This ensures your text fits seamlessly into your design without either overwhelming the viewer or getting lost in the visual hierarchy. (Hint: Learn how to add fonts to Photoshop to perfect your text elements even further.)
- Saving space: Resizing layers is an effective way to optimize space in your design. It helps in compactly arranging elements without compromising the overarching aesthetic, and can allow you to easily fit multiple elements into a single design.
How to Resize a Layer in Photoshop Without Losing Quality Explained
You know the potential benefits of resizing a layer in Photoshop, but how can you do so without sacrificing quality? Here are two easy and effective methods you can master in a matter of minutes.
1. Free Transform
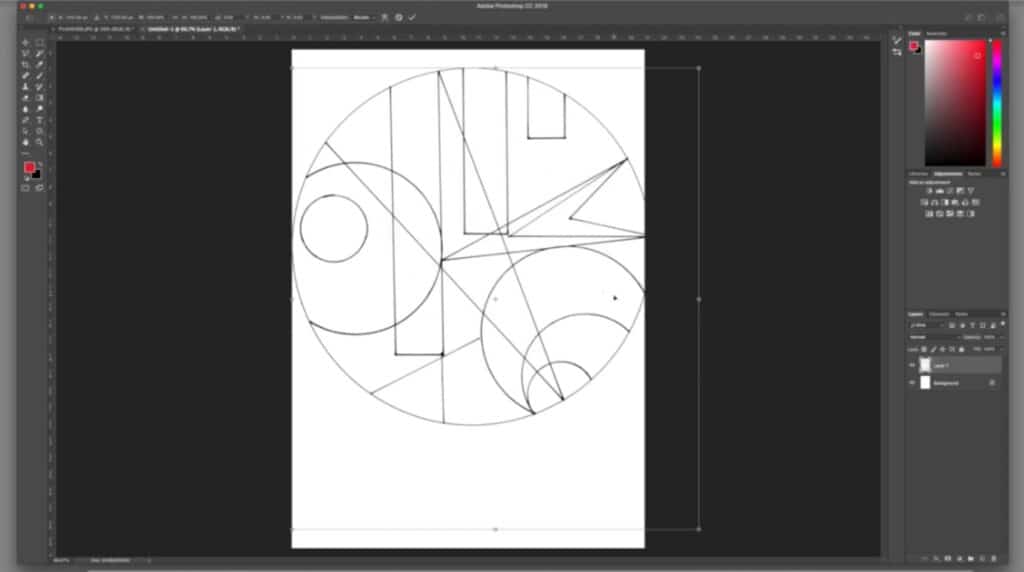
The Free Transform command in Photoshop lets you rotate, skew, distort, apply perspective and—most importantly for the purposes of resizing a layer—scale.
To use it, select the layer you want to resize, then choose Edit > Transform (or press Ctrl + T on Windows or Command on Mac). Next, drag one of the layer’s corner handles to adjust its size.
Pro tip: Photoshop scales layers proportionally by default, which means you can resize your layers without worrying about distortion. But if you want to change that setting, you can simply click the Maintain Aspect Ratio button, which is represented by a chain link icon in the Options bar.
2. The Move Tool
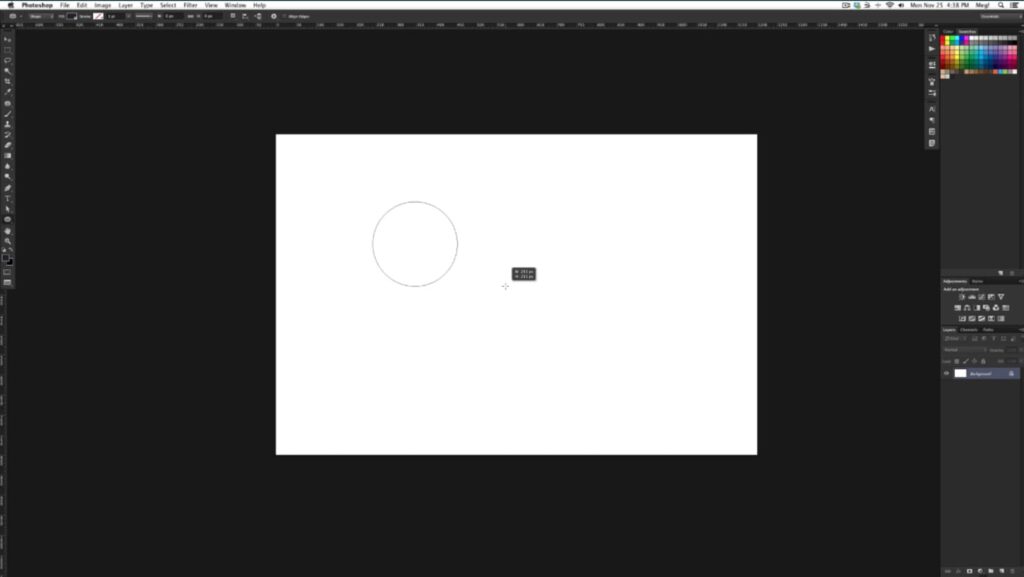
If you want to resize a layer while maintaining precise control, the Move tool can help.
To get started, select the layer you want to resize, then select the Move tool from the right-hand toolbar (or press the V key on your keyboard). Next, click Show Transform Options in the Options bar. Click the box surrounding your selected layer, and enter the dimensions you want it to resize to.
Pro tip: You can right-click inside the percentage field to change the unit of measurement—options include inches, pixels and centimeters.
Useful Tips For Resizing Layers
Go beyond the basics and use these advanced tips to resize layers quickly and accurately in Photoshop:
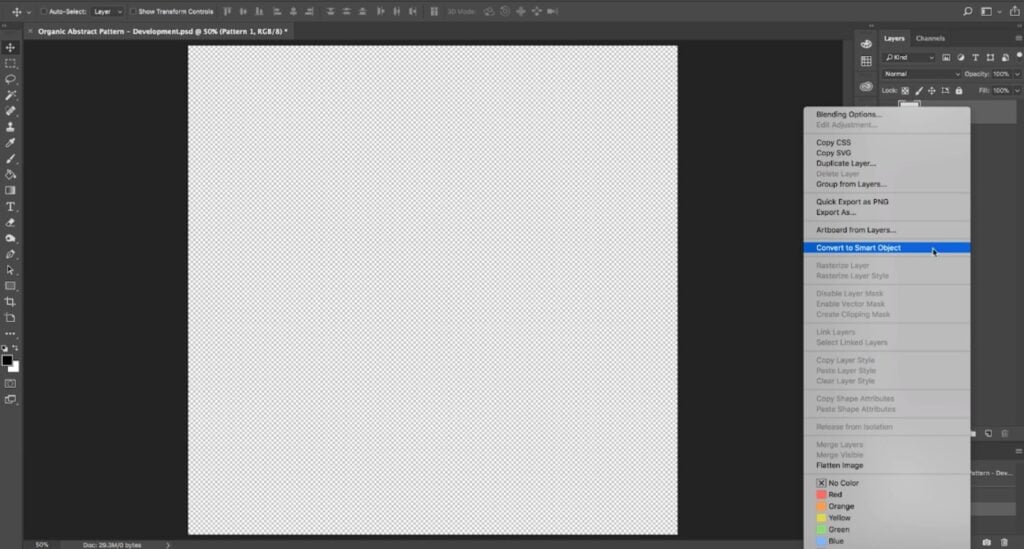
- Use Smart Objects: Before resizing a layer, you can convert it into a Smart Object to preserve image quality and make reversible, nondestructive edits. To do so, just choose Layer > Smart Object > Convert to Smart Object. Now, you’re ready to scale your layers up and down worry-free.
- Utilize snapping: Enable Photoshop’s snapping feature to automatically align resized layers with guides, grids or other elements in your design. To turn on snapping, choose View > Snap. If a checkmark is visible, snapping is enabled. Next, use the submenu to choose which elements you want your layer to snap to, such as guides, the grid, slice boundaries or the document’s edges.
- Learn keyboard shortcuts: When you know which keyboard shortcuts to use and when to use them, you can enjoy a much faster and more efficient resizing process. If you’re not a fan of Photoshop’s default keyboard shortcuts, you can even create your own custom shortcuts to suit your preferences.
Resize Your Design Layers Without Losing Quality
Whether you want to edit portraits, create graphic designs or fine-tune your family photos, knowing how to resize layers in Photoshop is essential.
Experiment with different methods, embrace the tips provided and elevate your design game by resizing layers without compromising quality. And when you want to continue honing your Photoshop skills, our vast library of online Photoshop classes is ready when you are.
Related Reading:
Carrie Buchholz
Carrie Buchholz is a freelance writer who lives in Northern Colorado with her husband and dog.
Try Skillshare for free! Sign up for a 7 day free trial today!
Get Started- Unlimited access to every class
- Supportive online creative community
- Learn offline with Skillshare's app


