

How to Remove Objects in Photoshop? A Complete Guide
Need to clean up a photo? No problem. Learn how to make unwanted objects disappear like magic with Photoshop’s arsenal of easy-to-use tools.


Is there a distracting element in your otherwise pristine photo of a scenic landscape, or even an unexpected photobomber plaguing your family picture? If you know how to remove unwanted objects from images, you’ll be able to solve either of those problems in a snap.
Luckily, Photoshop provides a variety of tools to make object removal a seamless process. Learn about the various tools available, each one’s applications and how to choose the best method for your specific editing needs.
How Hard is It To Remove Objects in Photoshop?
If you’re nervous that removing objects in Photoshop is so complicated you’ll need a graphic design degree to do so, we’ve got great news: It’s not nearly as daunting as it may seem.
That’s because over the years, Photoshop has evolved to include sophisticated features that drastically simplify the process, even for total beginners. These tools allow users of all skill levels to effortlessly eliminate undesired elements from their images, typically in just a few minutes or less. To get started, you only need to learn what those tools are and how to use them.
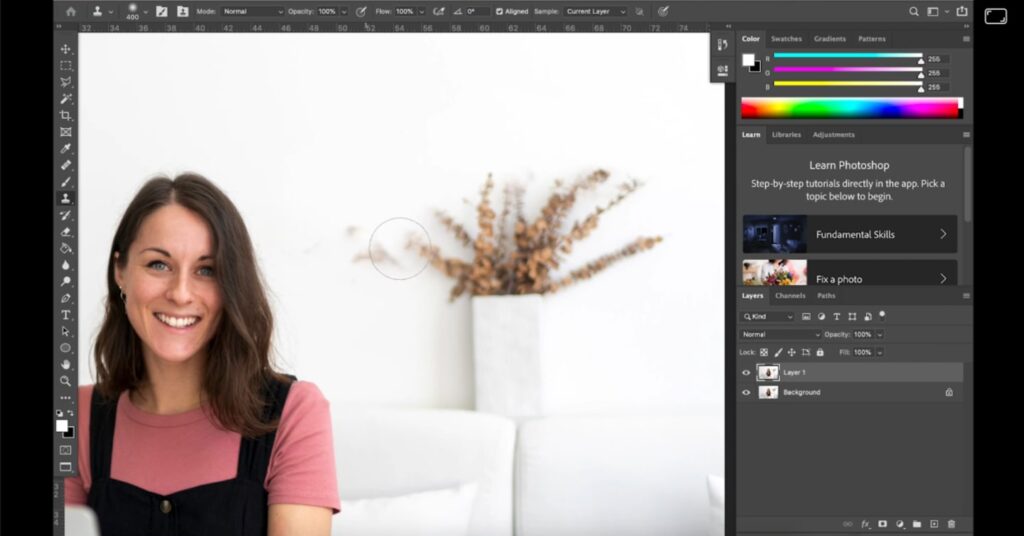
Tools to Remove Objects from Photos in Photoshop

From the intelligent algorithms of Content-Aware Fill to the precision of Healing Tools and the versatile capabilities of the Clone Stamp, discover the array of options that allow you to remove objects with finesse, precision and speed.
Content-Aware Fill
This robust Photoshop tool automatically fills in the selected area with content that matches the surrounding background.
To use this tool, select the area you want to remove using the selection method of your choice, such as the Magic Wand Tool. Right-click on the selection, go to Edit > Fill, and choose Content-Aware Fill. Now, just use the Content-Aware Fill workspace to tweak the image as you see fit.
This tool is particularly effective for removing large objects or blemishes seamlessly.
Healing Tools
Photoshop's healing tools are a set of powerful features designed to correct imperfections, blemishes and unwanted elements in images, providing consistent and natural results in the process.
These three healing tools are widely used for retouching and enhancing photographs, and each can effectively remove objects from your photos:
Healing Brush
The Healing Brush tool allows you to repair imperfections by blending them with the surrounding pixels. It works by sampling pixels from one area and applying them to another, preserving the texture and color of the target area. This tool is excellent for retouching blemishes or small objects, providing a natural and seamless result.
To start using it, just select the Healing Brush tool from the toolbar and click the brush sample in the options bar to set its parameters. Next, Alt + Click on Windows (or Option + Click on Mac) to set your source sampling area. Finally, drag your cursor anywhere in the image and release the mouse button anywhere you want the sampled pixels to replace the unwanted ones.
Spot Healing Brush
The Spot Healing Brush is a more automated version of the Healing Brush and doesn’t require you to set a source sampling area. With a simple brush stroke, it intelligently analyzes the surrounding pixels and automatically replaces the imperfections with content that matches the background. It is particularly useful for quick fixes when retouching portraits.
To put the Spot Healing Brush to work, simply select it from the toolbar, then adjust its size and hardness to suit the object you want to remove. Be sure the brush options are set to Content-Aware and Sample All Layers, then click or drag your cursor over the unwanted object to erase it in seconds.
Patch Tool
The Patch tool is an extension of the Healing Brush and provides more control over the source sampling area. It allows you to select a specific region from which the healing information is drawn, making it useful for retouching small objects or imperfections while maintaining the texture and details of the surrounding area.
To use it, select the Patch tool from the toolbar. In the tool options bar, set the Patch option to Normal, and select either Source or Destination depending on what you’re trying to do. Making sure the Patch tool is selected, draw a border around the area of your image you want to replace. Then, drag your selection to the part of your photo you want to replace the undesired object.
Clone Stamp
Functioning like a digital paintbrush, the Clone Stamp tool allows you to select a source point in the image and replicate it precisely elsewhere, helping to cover unwanted objects, blemishes, or imperfections seamlessly. This tool is invaluable for tasks that require detailed and controlled duplication, such as removing distracting elements, replicating textures, or eliminating undesired portions of an image.
To reap the benefits of the Clone Stamp tool, begin by selecting it from the toolbar. Hold the Alt key on Windows (or the Option key on Mac) to bring up the tool’s crosshairs. Click the area you want to serve as your source, adjust your brush settings as needed, and paint over the unwanted object.
Remove Tool
The Remove tool is a relatively new addition to Photoshop's arsenal. First introduced in 2023, it uses artificial intelligence to analyze the image and precisely remove any unwanted objects by blending them with the surrounding environment as seamlessly as possible. It's a quick and efficient tool for object removal and is especially useful for those who don’t want to fiddle with settings.
Using the Remove tool is a breeze: just select it from the toolbar, use the Size field to select a brush that’s a tad larger than the object you want to remove, and brush over the object to see it vanish before your eyes.
If you’d prefer, you can also use the Remove tool like a lasso by looping it around the object you’re removing.
Content-Aware Move
The Content-Aware Move tool lets you select an object and move it to another location while automatically filling in the original space with content that matches the background. It's a versatile tool for rearranging elements in an image, providing a convenient way to adjust the composition while maintaining a natural and cohesive look.
Best of all, it allows you to move parts of your image without needing to create, organize and shuffle between multiple layers.
Start by selecting Content-Aware Move from the toolbar. Adjust the options bar as needed, select the object you want to move, and drag it to its new location.
Choosing the Best Photoshop Object Removal Tool
Photoshop provides a diverse set of tools for object removal, each with its own unique strengths. The Content-Aware Fill is great for larger areas, for example, while the Healing Brush offers pinpoint precision for detailed retouching. Understanding the strengths and functionality of each tool makes it possible to choose the best method for your specific editing needs.
Whether you’re new to Photoshop or have been using it for years, the software’s array of handy features ensures that you’ll have the right tool at your fingertips to achieve flawless object removal in your images.
Looking to master the rest of Photoshop’s many features? Skillshare’s graphic design resources and online Photoshop classes are ready to go when you’re ready to learn.
Carrie Buchholz
Carrie Buchholz is a freelance writer who lives in Northern Colorado with her husband and dog.
Try Skillshare for free! Sign up for a 7 day free trial today!
Get Started- Unlimited access to every class
- Supportive online creative community
- Learn offline with Skillshare's app


