

Landscape Photography: Capturing Wide Open Spaces
Enchanted by distant horizons, rocky coastlines, cloudscapes, and majestic mountains? Delve into the world of landscape photography.


Just as portraiture captures the likenesses of people, landscape photography portrays the environments around us. And whether you prefer craggy mountain ridges, rugged coastlines, city skylines or bucolic meadows, landscape photography has something for you.
But why stop at appreciating the fine art of landscape photography from a distance when you can create your own? All you need are some key pieces of equipment, a landscape to photograph and a few tutorials to help your images shine.
What Is Landscape Photography?
If you’ve ever seen prints by Ansel Adams or Michael Kenna, then you’re already familiar with the work of some of the most famous landscape photographers in the world.
But in the interest of defining it further, landscape photography is the art of capturing scenes of the world around us. It often focuses on expansive views, vast open spaces and the mesmerizing interaction between land, water and sky, and aims to portray both the appearance and mood of a particular landscape, evoking emotions and inviting viewers to connect with nature and imagine themselves in a different environment.
It should be noted, though, that while most landscape photography can be categorized as nature photography, that’s not true for all landscape shots. After all, landscapes can contain city skylines, suburban sprawl, farmhouses, industrial buildings, and a variety of other man-made features.
So no matter what types of landscapes surround you, you can transform them into stunning frame-worthy photographs.
Landscape Photography Equipment
With smartphone cameras as advanced as they are, more people can practice landscape photography than ever before. But if you’re committed to getting truly spectacular results, you may want to invest in some dedicated photography equipment.
Although the choice of landscape photography gear may vary depending on personal preference and budget, there are a few essential items every aspiring photographer should consider:
- Camera: A digital single-lens reflex (DSLR) or mirrorless camera will provide the versatility and image quality needed for landscape photography. Look for a camera with a high-resolution sensor and manual controls. But remember the best camera for landscape photography is always the one you have on hand, so don’t refrain from taking photos just because you don’t yet have the “perfect” camera.
- Lenses: With wide angle lenses, you can effectively capture expansive scenes and emphasize the sense of depth. You can’t go wrong with a focal length between 14mm and 35mm, although longer lenses can be helpful for compressing perspective or capturing specific details.
- Tripod: With its ability to maintain steady shots, enable long exposures and facilitate precise composition, a sturdy tripod is an indispensable tool in landscape photography. Look for a tripod that’s lightweight, durable and easy to carry in outdoor environments. And if you can find one that folds down small enough to fit in your backpack, even better.
- Filters: Neutral density (ND) filters and polarizing filters are essential accessories for landscape photographers. ND filters reduce the amount of light entering the camera, enabling longer exposures and creating silky water effects. Polarizing filters, on the other hand, help reduce glare, increase contrast and enhance color saturation.
Types of Landscape Photography
There are as many types of landscape photography as there are types of landscapes, which is to say the possibilities are practically endless.
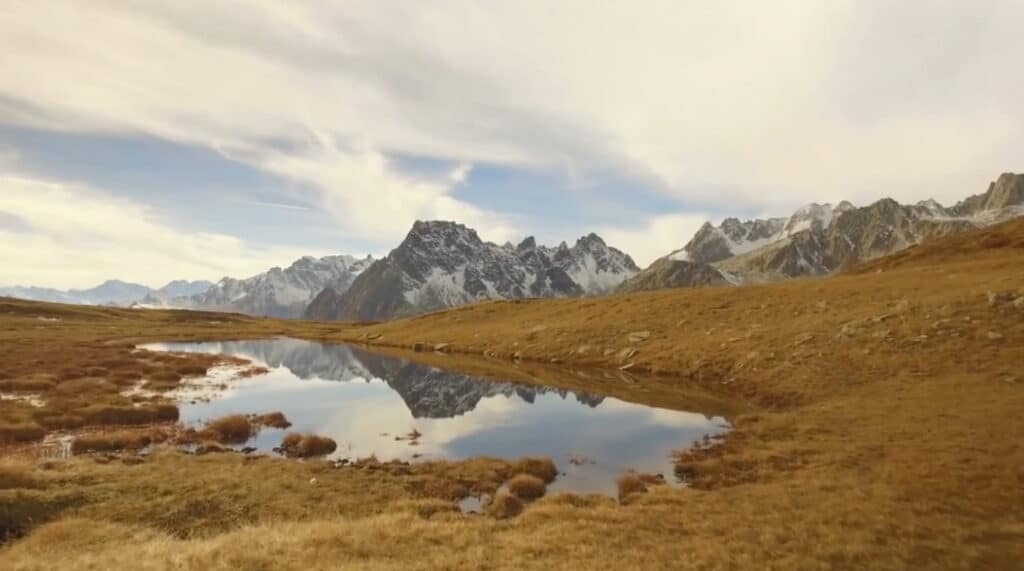
Mountain Photography

Majestic peaks, rugged terrain and dramatic vistas make mountain photography a popular subject. The challenge lies in capturing the scale and beauty of these magnificent natural features while also considering light and weather conditions.
Urban Photography
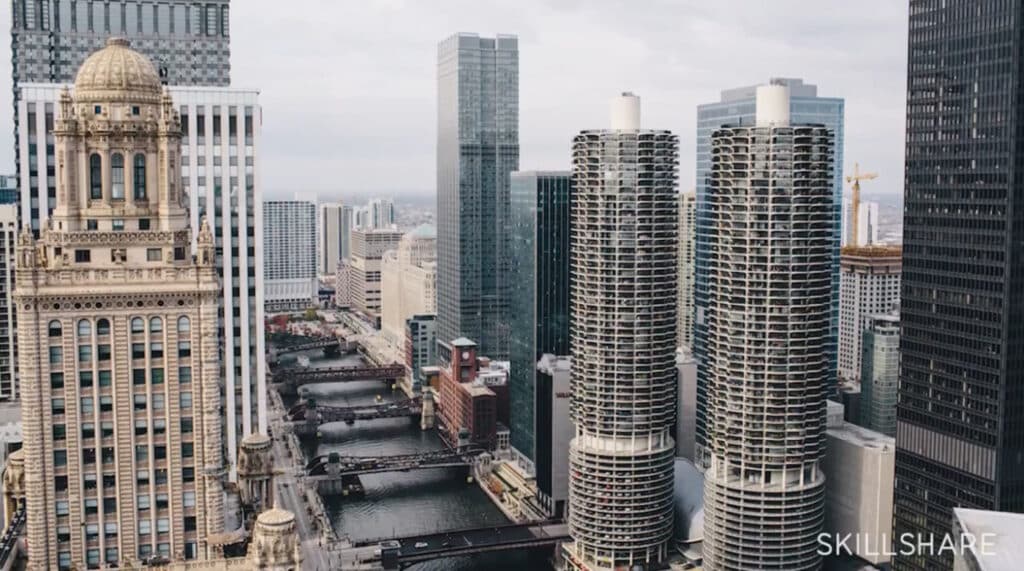
Urban environments offer a unique blend of architecture, human elements and natural surroundings. Photographing cityscapes during the golden hour or at night can result in stunning images that showcase both the conflict and harmony between the urban and natural world.
Forest Photography
Forests are a treasure trove of photographic opportunities. Enchanting woodland scenes, cascading waterfalls and lush canopies—all can be found within the confines of the woods. Successfully capturing their tranquility in your forest photography requires an eye for detail and an understanding of natural light.
Coastal Photography
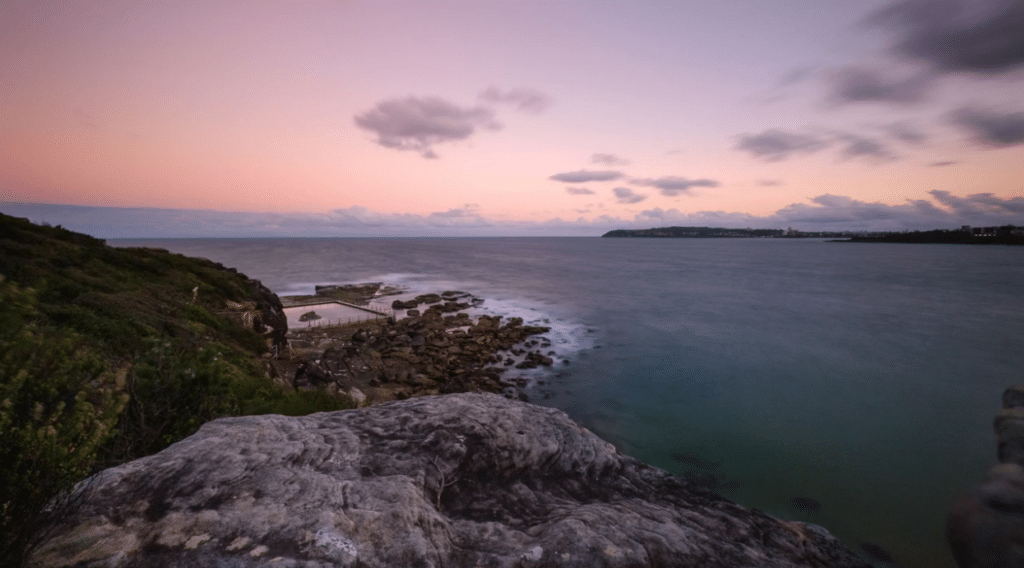
Seaside landscapes offer a diverse range of scenic possibilities, including picturesque sunrises and sunsets, crashing waves, serene beaches and rocky shorelines. Composing images that convey the vastness and power of the ocean is key to creating compelling beach photography.
Landscape Astrophotography
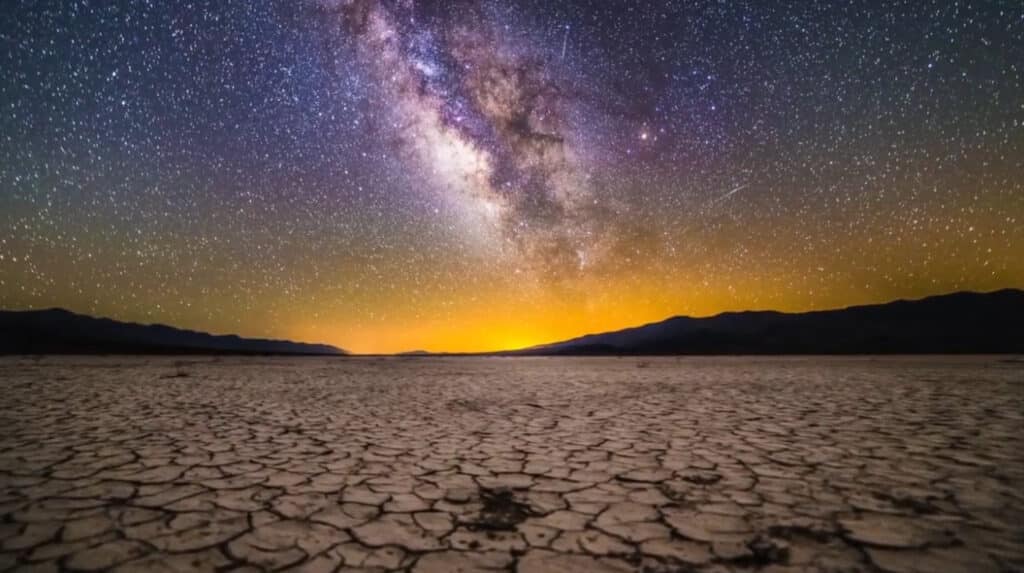
Combining elements of landscape photography and astrophotography, this genre focuses on capturing celestial bodies as they whirl above our terrestrial landscape. This branch of astrophotography requires patience, higher ISO camera setting know-how, plus basic knowledge of astronomy and long-exposure techniques to capture the night sky in all its glory.
Cloudscape Photography
A dark thunderhead, fluffy cumulus or low-lying stratus—all can be subjects of cloudscape photography, and all can contribute to stunning landscape photos too. To photograph clouds accurately, you’ll need to use the appropriate lens filter, shutter speed and aperture.
Desert Photography
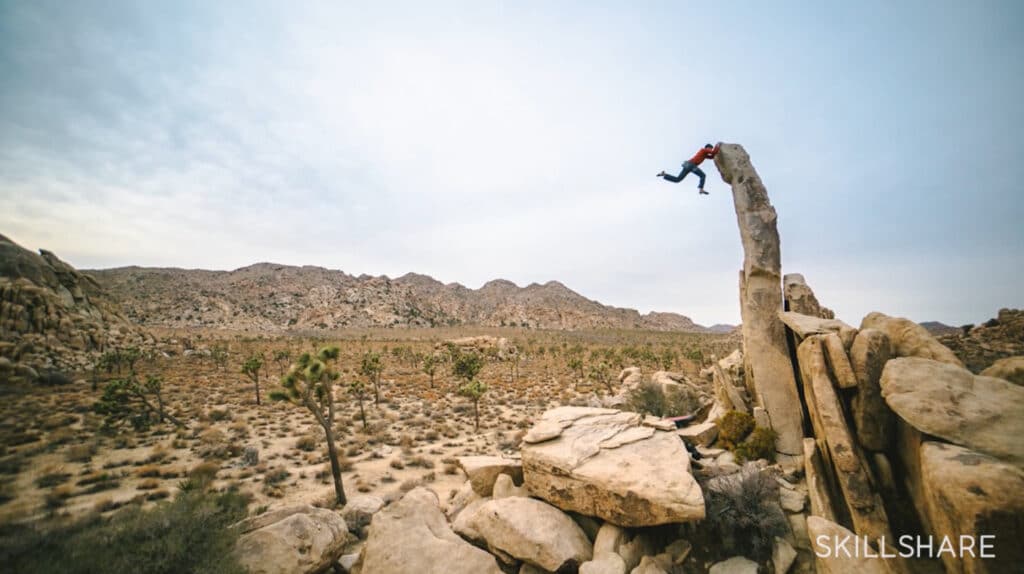
Far from being, well, deserted, desert landscapes are teeming with life and nature waiting to be captured. Your desert adventures can feature plants, wildlife photography, landscape images, sunrises and sunsets, rock formations, open expanses of sand or all of the above.
Bodies of Water
Rivers, streams, creeks, ponds and waterfalls can all provide a visually intriguing addition to your landscape photos. Be sure to experiment with different times of day, since the way sunlight reflects off of water can greatly affect your results.
Landscape Photography Tips
Anyone, even beginner photographers, can take higher-quality landscape photos by implementing some basic tips and tricks.
Plan, Research and Scout
Before heading out, research your chosen location to understand its best viewpoints, weather conditions and potential hazards. Even better, scout out the location by going there in person and taking some practice shots. Be sure to consider the direction of light, sunrise and sunset times and any specific features or landmarks you want to include in your images.
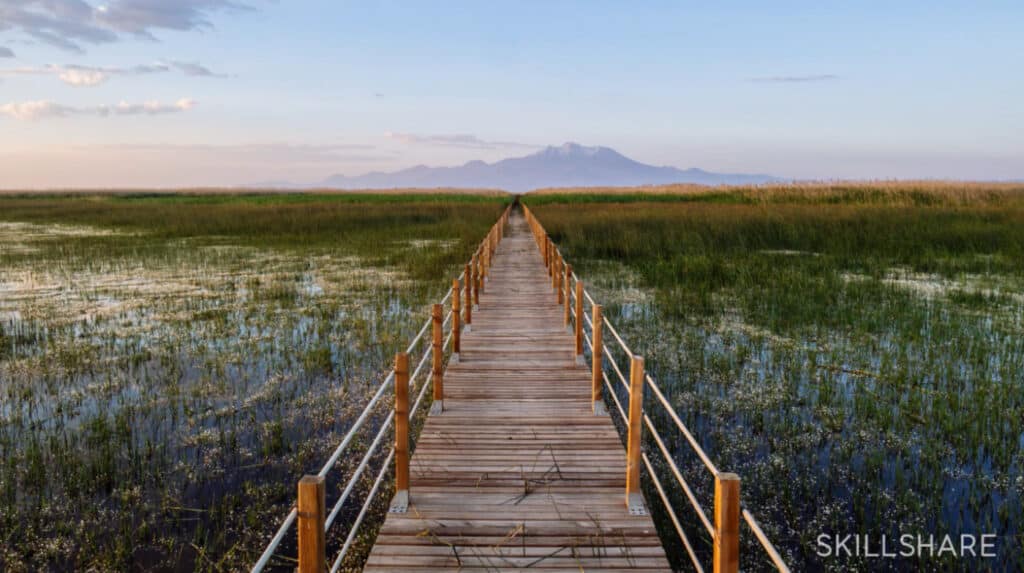
Study Composition
Pay attention to the principles of photo composition such as the rule of thirds, leading lines and foreground interest. Experiment with different angles and perspectives to create depth and visual interest in your photographs.
Use a Tripod and Filters
Whenever possible, use a tripod to ensure sharpness and stability in your images. Also experiment with different filters, such as ND filters for long exposures or polarizing filters to enhance colors and reduce reflections.
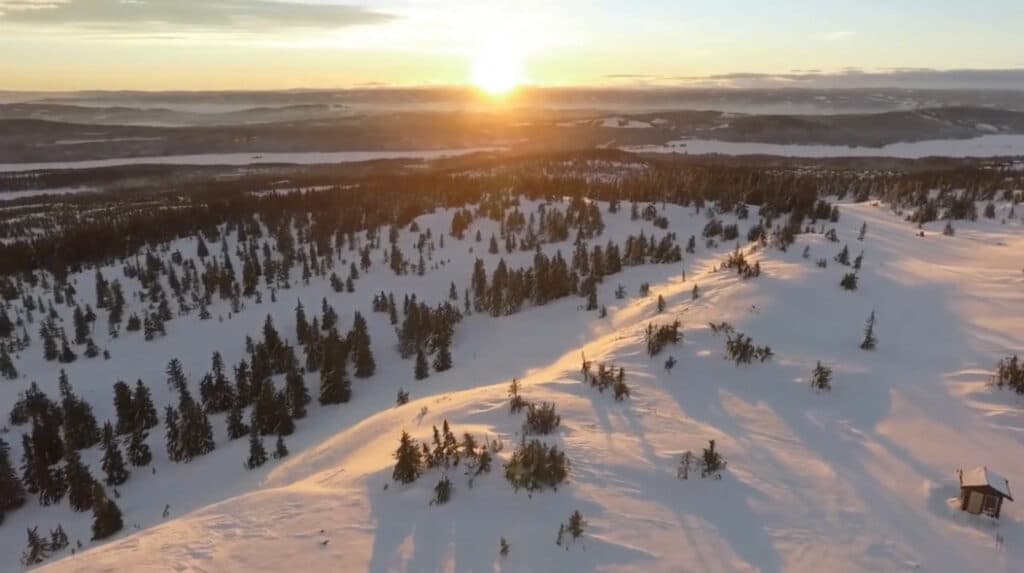
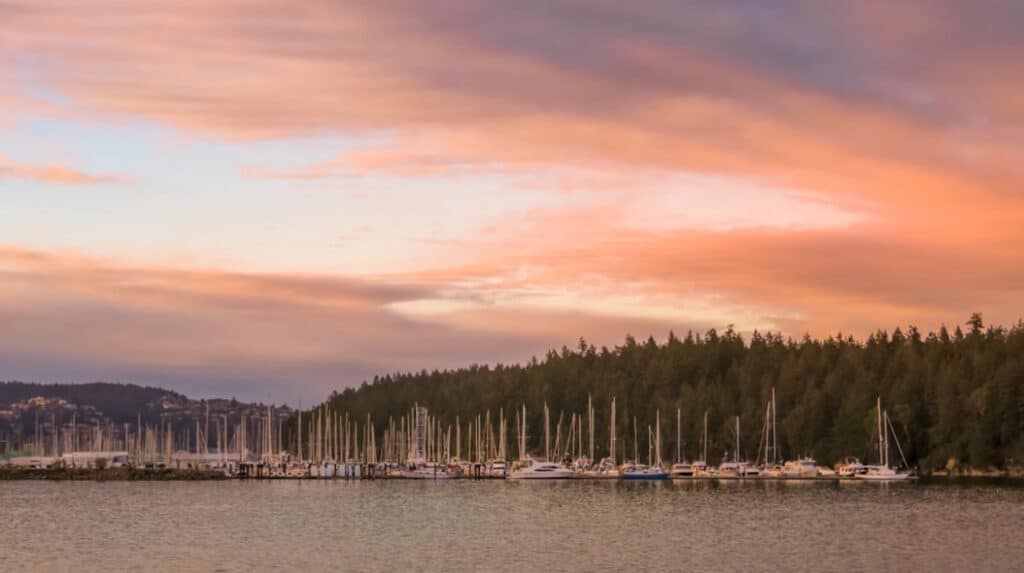
Prioritize Golden Hour and Blue Hour
Take advantage of the soft, warm light during the golden hour (the time of day immediately after sunrise and before sunset) to capture glowing landscapes. The blue hour, which occurs just before sunrise and after sunset, lends a magical and ethereal quality to your images.
Get To Know Manual Mode
Landscape photography requires both patience and persistence in equal measure. Wait for the right moment, revisit locations under different conditions, and be open to spontaneous opportunities. Sometimes the most remarkable images are created by photographers who are willing to wait and explore.
Master Depth of Field
In landscape photography, a large depth of field is often desirable to ensure that both the foreground and background are in focus. To achieve maximum sharpness, set your camera settings to a small aperture (higher f-stop) and keep your focus more close-up, about one-third of the way into the scene instead of the full frame.
Learn Patience and Persistence
Landscape photography requires both patience and persistence in equal measure. Wait for the right moment, revisit locations under different conditions, and be open to spontaneous opportunities. Sometimes the most remarkable images are created by photographers who are willing to wait and explore.
Landscape Photography is All About the Big Picture
Landscape photography is about more than just preserving the perspective of the viewer’s eye. With practice, dedication and the right techniques, you can use it to transport viewers to places you’ve stood and scenes you’ve witnessed.
So grab your camera, venture out into the great outdoors and unleash your creativity to capture the splendid landscapes hidden in your corner of the world.
Carrie Buchholz
Carrie Buchholz is a freelance writer who lives in Northern Colorado with her husband and dog.
Learn Photography with Skillshare — Start Your 7-Day Free Trial Now!
Start Your Free Trial Today!- Unlimited access to all classes
- Hands-on classes with pro photographers
- Learn offline with Skillshare's app


