Transcripts
1. Introduction: Hi, my name is Kelly and I'm a photographer and digital artists here on skill share. Today I want to show you something really exciting. In this class, we're going to head into Photoshop and I'm going to be able to show you three incredible methods in order to be able to change your skies. We all have those photos is sitting in recycling, but in 4D Lightroom that have blown out Skies or less than ideal cloud formations. Something wasn't working, whether wasn't working. And you're not really sure what to do with those photos until today. I'm gonna show you how to be able to change these photos in a matter of seconds. Two beautiful, dramatic skies for photos that you absolutely love, you would be amazing if all of our photos that we took were like this and didn't have to be Photoshopped in the same way. They had the clouds, the sky was cooperating, everything was just working. But we all know that in reality, this isn't always the case. And then we have photos like this where our skies blown out, where something's just not working in the sky that we like. We can control certain things. We can control where our location, we can controller camera's settings. However, we can't control the weather, we can't control the skies or the clouds. Today I'm going to show you methods, techniques, tools in Photoshop that is going to be able to change the way that you look at your photos when you're out there and you don't have the most ideal sky, you don't need to stress about it because you know now that you're gonna be able to go home, take it into post-processing and change it into something that you love. And we have those photos that have a clear blue sky and they are perfect the way that they are. And as wonderful, however, not all photos are like that and some really just need that added extra touch in order to make it perfect. Each lesson is going to show you a different quick and easy method to be able to change your clouds depending on the sky, the skyline that you're working with. And then at the end I have a bonus method for you and I can't wait, I'm super excited by that. So make sure you stay tuned until the end of the class. Once you finish this class, you are going to have the skills, the knowledge, the tools to be able to take your photos and your composites to the next level. It's going to be amazing. It, it opens a whole new world of possibilities for your photos. Imagine being able to take those photos that you thought were lost forever, ones that cannot be recreated, and being able to restore them into something that you love. You're gonna be able to change that in a matter of minutes and seconds. So take those photos out of your recycling van, out of your Lightroom and let's get started. Yeah.
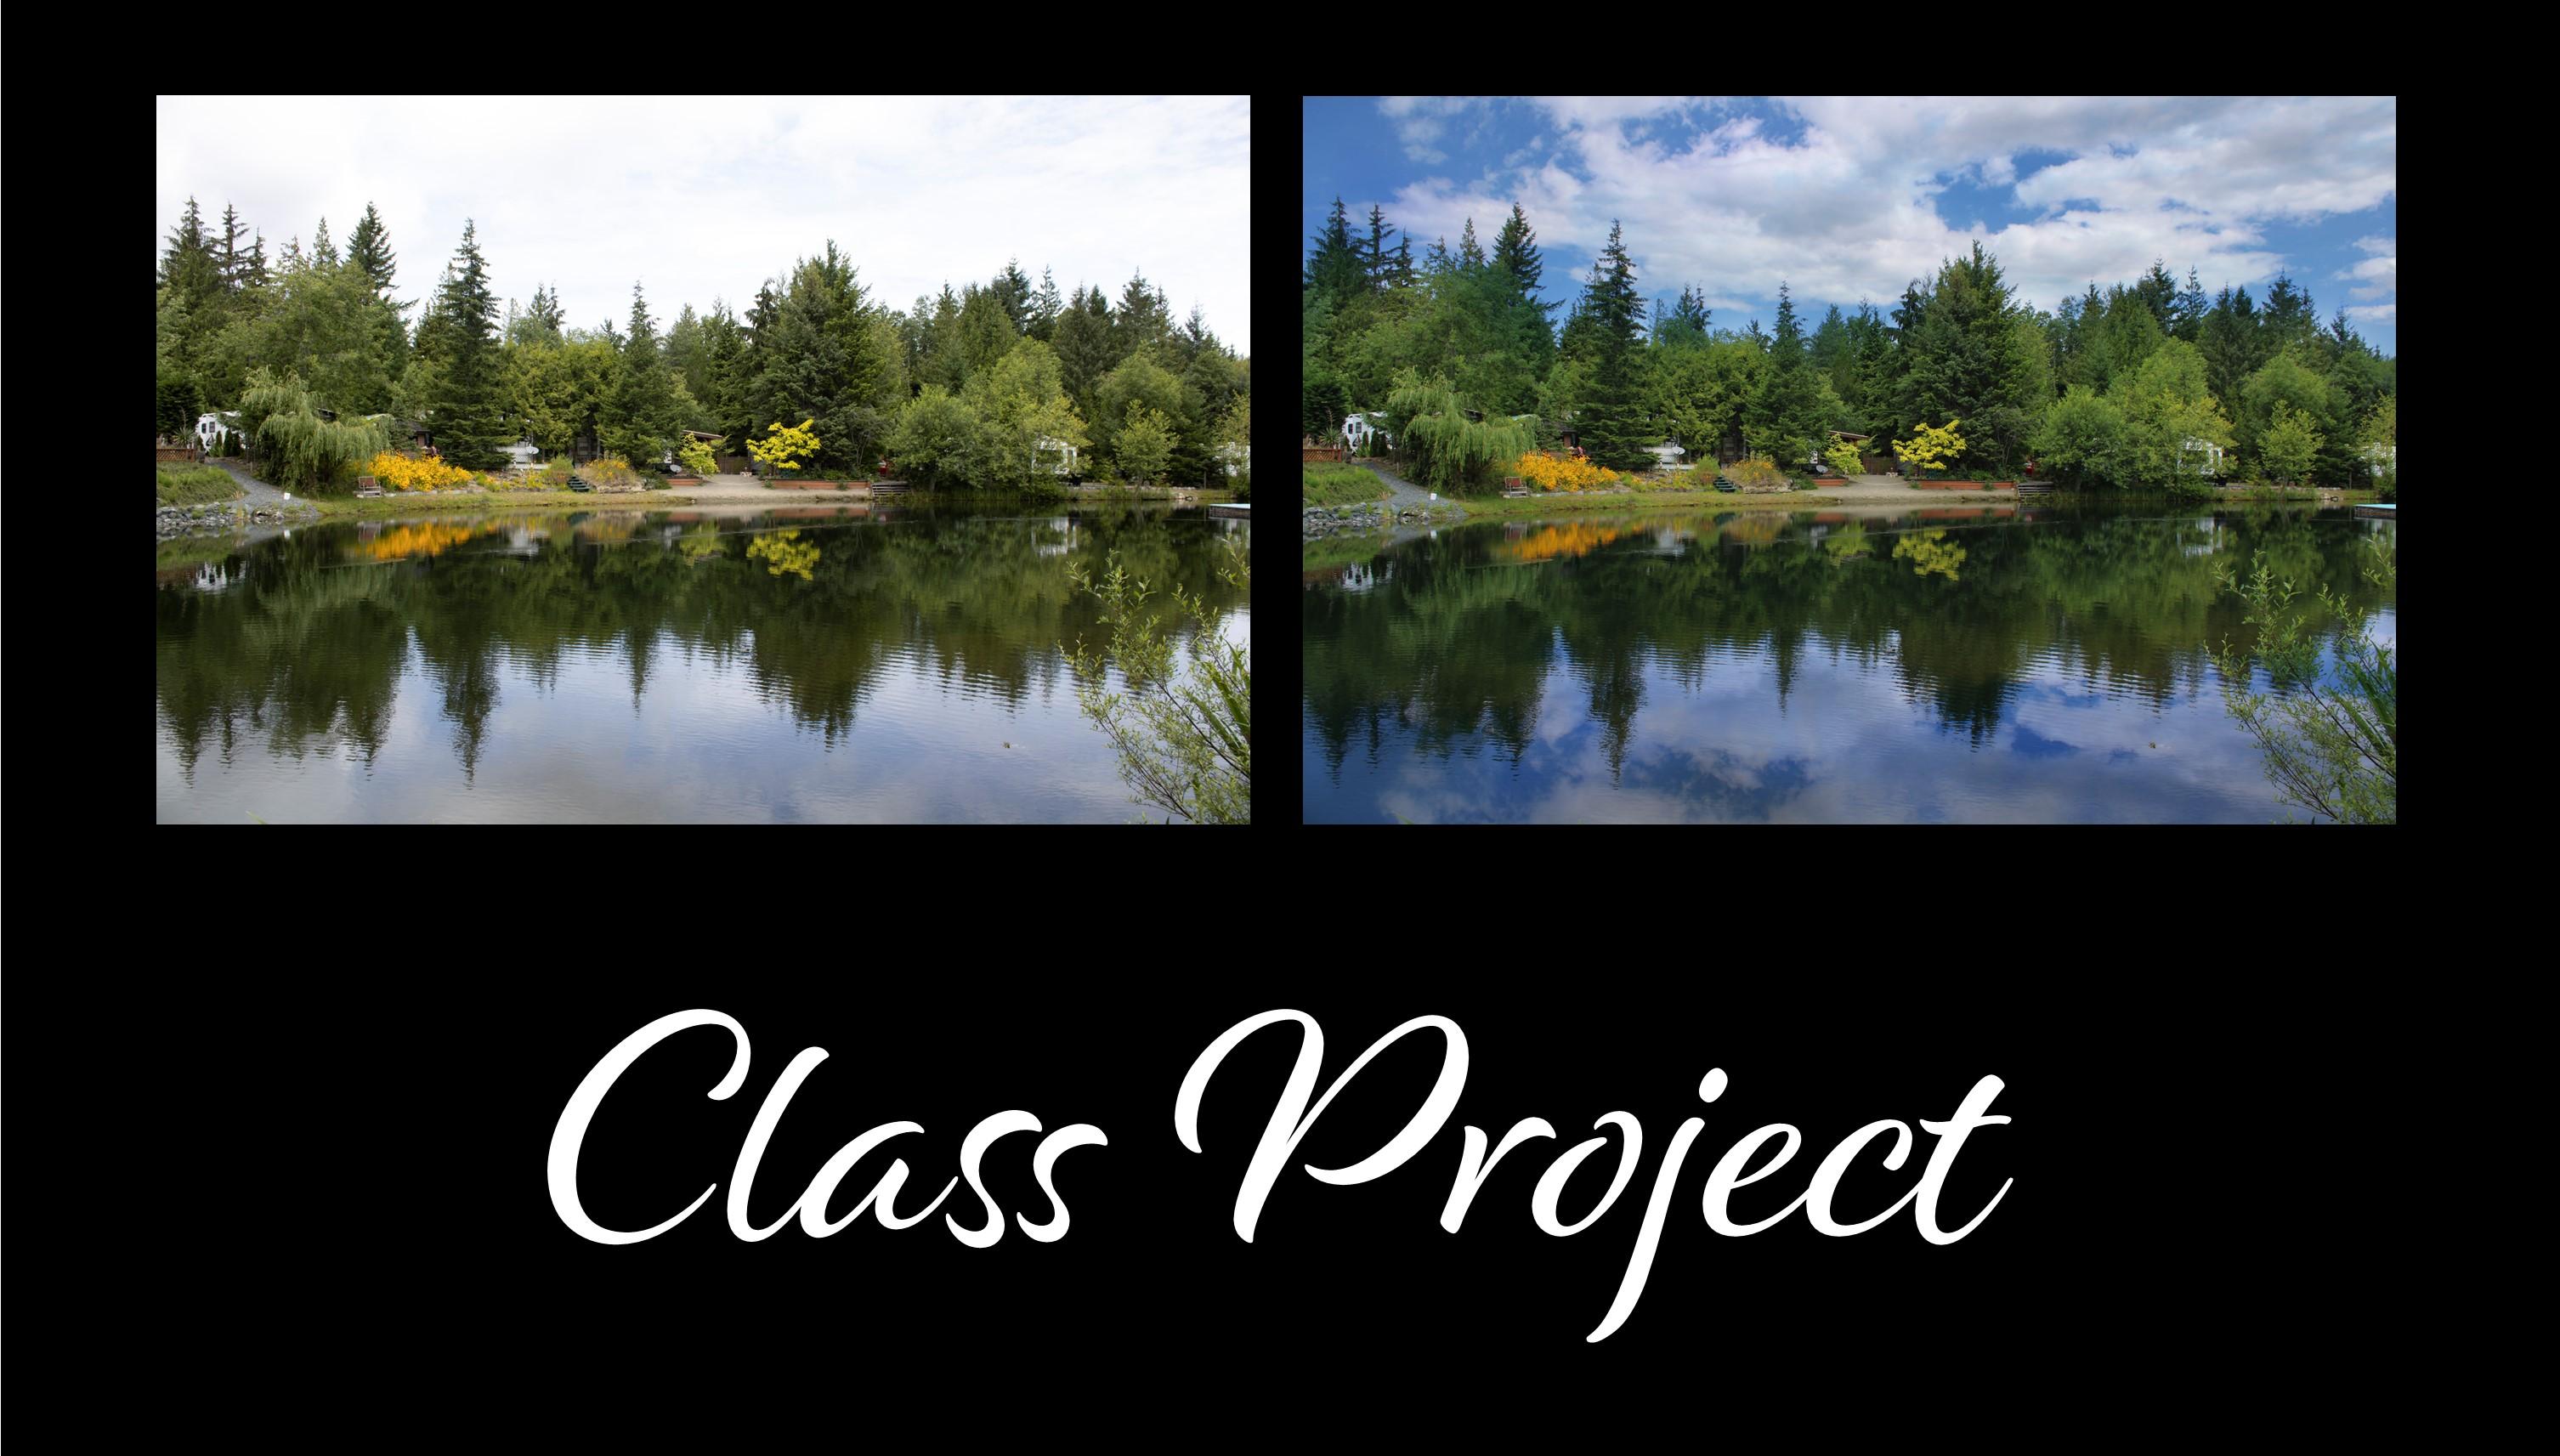
2. Class Project: So for this class project, you can take any foreground and sky and were going and use one of the methods that we've discussed today to create your new picture, you can choose any one of your photos that you would like to alter. I you can blend it with one of your photos on a stock photo or two of your photos if you've been taking pictures of Skies. And or you can use the resources that I'm going to pose at the end. I hope that you post the pictures into the gallery so we can see if you can do a before and an after picture just so that we can see the dramatic difference that you have in your photos. Right?
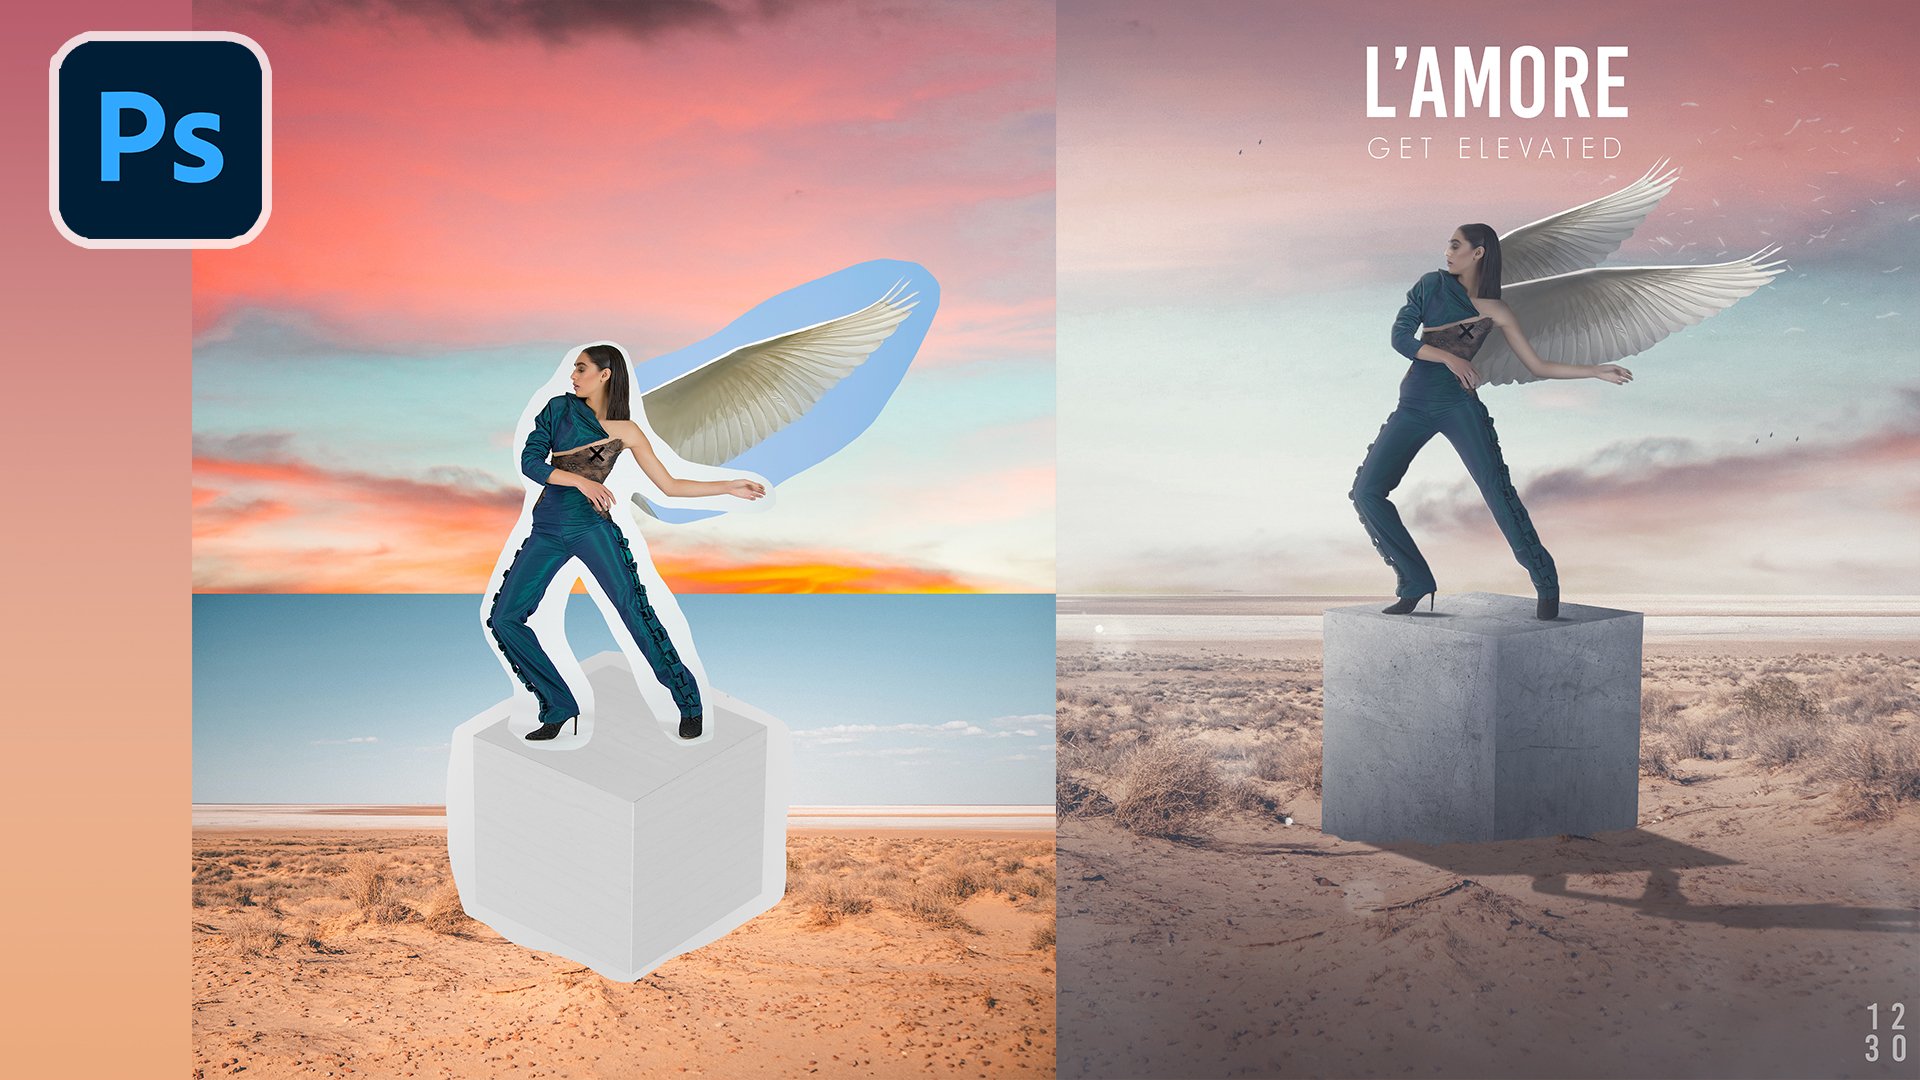
3. Lesson One - Brush Erase: In this lesson, we're going to learn about the masking am brushing is a really quick and easy method to be mobile of take your two photos and blend them together. Ok, so here is the background image that we're going to use to create our dramatic sky. This is again, the simple mask and brush technique. In order to create dramatic images are dramatic sky images. So we're gonna take this picture and we are going to make it look like this picture. And it's really only going to take a couple of minutes. It's really easy. So what we're going to do here, and we got our sky picture, and I've got our background image here. I'm going to come over and click on the icon here that unlocks this layer. And then I'm going to map to the Move tool because I want to take this and take it over into our background image. If your, if you're using a different sunset picture and you've got some bottom stuff happening here for this image, you might want to just crop it up so that you have basically just below the horizon for your picture. So I'm going to click on shift and pull my most button down. And I'm going to keep holding both buttons and drag it up to my background image. And then I'm bringing it down. And then I'm going to let go of both. Now here I want to transform the picture, which means basically that I'm either making it bigger or smaller and moving it around. So I want to make sure that my image is the same size as my background. So I'm just holding down the Shift key in order to keep it in the same dimensions that it was. And now I want to move this because I want to bring it up to where I think where the horizon is for this picture. So I'm just looking right here in this area to make sure that I'm lining up the horizons the same. Once that's done, then I'm going to come up and click the check mark here because I'm done transforming that image. So the next thing that we're going to do is prevented bring this layer. Let's make the sky layer. And I'm going to bring in our sky layer and we're going to bring it down to low or background. Oh, I have to click unlock here. So we're going to bring the sky down so you can't see it. And now we're going to go to our background layer, or we'll call it foreground layer, I guess. Since that's what it is now. And then we're going to, sorry, I click on that on our foreground layer for coming down to this little rectangle box that has a circle in it. And what this is going to do is create a mask for this layer with them, with the mask selected. So you Here, if I click on each one, there's like a white little box around it that tells you what is selected. And so anything that any adjustments that you're going to make, it's going to affect whatever layer it is that you've got selected. So I went to select the mass. And then we're gonna come over here to where our paint brush. And we are going to select black, Make sure it's black. And then we're going to change our opacity down to probably though, maybe 15% and our flow down to maybe but 5%. Let's see what happens there. Now for your PI brush, if you, it's a little like mine is right now, or it's way too big. You can use your square brackets in order to be able to change the size of your brush. And then what we're going to do, again, mascot selected, black is selected and your paint brush with a soft, soft brush. Not the heart, our enzyme, we're going to just go across or sky. I might need to make this a little bit more iron capacity and a little bit higher. But 30 C, What happens there? So as you can see, the sky from behind in our other picture is now starting to come through. I chose this sunset picture with this foreground because we have all of this same color that's happening in our foreground that was naturally there from the sun that was setting before. So he can might increase a little bit more here. You could just keep going at the same. But for the sake of time here, for the video, and make sure that I'm doing this in a timely manner. So what you're basically doing this, you're just going across your sky. And as you're doing this with your paintbrush, where you can see what's happening in this mask over here, you can see it's starting to get grayed out. That means is it's basically erasing that portion of this layer that's happening, which is in turn unveiling the sky that's blowing. So you can keep doing this for as long as you like until you get that. The effect that you want if you keep going. And the more that you keep doing it, more, the layers of the paintbrush are going to happen and you are, the more you're going to see your sky coming through, you can definitely increase your opacity a little bit more if you want to. But somebody would, let's try that and see what happens here. Just to make sure we're getting a lot of that skyscraper flow near a little bit more. And so basically this is exactly what you're doing. And then I'm probably going to bring down my brush a little bit more so I can get closer to these mountains out, going too much into the mountains because as you do that, you're going to be erasing some of those mountains and we do not want that. I think that makes him too dark. Can just keep playing with it until you are happy. We're happy with the sky, and this is really how easy it is. Now if you've made a mistake here and you gone too much C over here, I think this is a little bit too much. You can just click on this little icon here, it switches it to your white. Basically you only work in black and white when you're working with your mask. And what that's gonna do is basically just erase the black brush that we just had in the mask. And it's going to bring back the original picture. There. We can see it's lot more smooth in there. Over here. And there you have it. It's really that simple. Okay. So we went from this sorry. We went from this to this in just a matter of minutes. So again, when you're choosing your background and your sky layers, try to be mindful of the lighting and the colors that are in your foreground and your background. They don't always have to match exactly. You can do a little bit of play with that, with brushwork in the shadows and lighting and color tones. But for the most part, you do want to try and come a little bit close in order to make it look really realistic. So this is why when I saw the oranges here, I wanted to make sure that my sons that had those same kind of G coral colors along with it in order to make it look like it's the most realistic and that you've taken the picture just as in it. So let's move on to our next lesson.
4. Lesson Two- Select and Mask: In this lesson, we're going to learn how to use the magnetic glasses tool and the select and mass to be able to isolate your foreground in order to add your sky into the background. So this method is more for if you don't have a straight across horizon, Ebell, mountain peaks like here. A little bit something that's a little bit more complex than we're going to do the select m mask method. And then we're going to use the copy and paste into layer in our sky and our mountains. So what I'm going to do here is I'm going to select the magnet, the last Sue magnets tool. And I'm going to start up at the top of the mountain. Here are the edge. So in this sense is I'm just gently movie My most align. And it is actually selecting the outline of my mountain. So I'm going to go across New Photo. And I'm just gonna go slowly. So make sure to pick up all of the little edges. This is a really cool when you can't really use the Select a mask tool here because it's not going to select a wide range of your photo. It would only select maybe the people on the boat at this one. So you do need to use a different method of selecting. So I'm just going to go across this whole thing. You know, it's okay for the corner is we're gonna fix that up. So and go back to my starting point and clicking on it. And what that's done is it has selected my sky. So I don't want my sky selected. I want to everything else liked it. So what I'm going to do is come up to select inverse. And what that's done now as selected everything outside of my sky. And now I'm going to go to my come up here to the top and hit Select a mask. So what that's done is masked out my sky. As you can see. I'm going to increase my opacity of my mask here. So you can see a little bit easier. And I'm going to zoom in a little bit. So control plus zooms n. So as you can see here from where I've got my selection, we've got some things that are not quite masked out as nicely as we would like. We've got this corner up here that wasn't masked out at all. So we need to clean this up in order to make sure our edges are really nice. So the first thing I'm gonna do is come over to the brush tool. You'll see it's a solid circle with a paint brush. And I'm gonna come over here and o and stick the minus. And up here. And just mask that out because we don't want that. The next thing we're gonna do is we're going to come over to our detail brush here, which is right above that one. Boy this is going to do is align the edges, it's going to clean up are the edge of our mass. So I've just got a smaller brush here, and I'm just going to hold them my mouse button and go along my edge. Weight this is gonna do. He can see is that selects the fine details around the edge that we didn't that weren't selected with them. It's going to print out along the mountain edge just to make sure everything's cleaned up really nice. And once I'm happy with the selection and I think that all my edges are nice and clean here. I'm going to hit OK. And then I'm going to hit my mask down here, which is the rectangle but the circle. What that's done is it's created a mask, so I'm gonna zoom out here. So control minus. So what it has done as basically taken away a little over a sky, which is perfect. This is exactly what we want. So we've gone from this to this, and now we are ready to add our sky. So I do want to add a bit curves into here and make it a little bit darker. So what I'm going to do is click on My there's like a little circle down here is like a half circle and that's our year Adjustment Layer icon. And I'm gonna go to curves. And then we're just going to bring down this line just a little bit. I just wanted to deepen those colors and the saturation a little bit there. Perfect. Okay, so now that we've added the curves layer to our photo to make it a little bit more intense, intensely saturated. What we're going to do now is create a new layer. So we're gonna go with our little box and our plus sign here. And we're gonna bring it back down underneath our mountain. And then we're going to go to File Place Embedded. And that's going to bring up your file folders. So you're just going to click on where your sky is. And that is going to embed it right into your photo. So when you click on a place embedded like this, it automatically does the Free Transform for you. That's why you see the x and the border around it. So now you can actually play with the size of it. And where you want your clouds to be. Keep bringing up higher thinking and they bring it up a little bit higher here just because I want to have a little bit more of the smaller clouds there. And then you click on your checkmark. And just like that, you have your background of clouds. Now when you're doing this method, often you'll see that your, your foreground is quite sharp against your sky. And typically when you're taking a photo, it doesn't look like that. So what we're going to do is come over here to there's three little dots. Is going to bring up your menu. And we're going to use the blur tool. So it's a little rain drop there. And what you're gonna do is select your mountain or your foreground layer. And you're just going to use this tool to go all along the edging and it's just going to create a slight blur along the edge, which just blended into the background just a little bit more. And it looks a little bit more natural that way. So there you have. It goes from this to this in just a matter of minutes.
5. Lesson Three - Brush Presets: In this lesson, we're gonna talk about Brush Tools. Specifically unique brush tools that actually look like clouds. This is the fastest and easiest way to be able to add dramatic clouds do your sky. So if you only have a short amount of time to be able to edit photos to make them look amazing. This is really the quickest way to be able to add just that little bit of extra sky. So the first thing that we're going to do is add a new layer. So we're going down to our box with our little plus sign to add this layer. The reason that we do this is because you could add the clouds directly to your background layer. However, you're not going to really be able to adjust them at a later time unless you have them on another layer. So that means whether you want to erase them or move them or change the size, you're going to have to have them on a new layer in order to be able to do that. So I'm just going to lay or name my layers here just so it's organized. The, you have a few options here. The first one is to be able to create your own clouds. I am gonna do a class on that at a later time on how to create your own cloud brushes and other brushes. However, I have included a couple of cloud brushes in the project resources so you can import those into your Photoshop to be able to use that for this lesson along with his picture. If not, you can also purchase cloud brushes from other digital artists and photographers that you know, there's quite a few out there and have a full set from Kelvin designs, which I absolutely love. And I use often. But you can choose, you can choose to use the clouds that I've given you. If you don't have any cloud brushes at this time, to be able to complete this lesson and then decide what you wanna do at a later time. So once you've imported your cloud brushes into your Photoshop, you can select the brush icon over here. And then when you go into your precious, you're gonna be able to see them marked in your precious. So the first one that I'm going to use this cloud six. And as you can see, it's quite large, so we don't want it quite this big m just going to bring it down a little bit. And then you just, it's really this easy. You make sure you've got your white selected here. And many just place your clouds where you want them to be and you click on your mouse and done. And now you can choose the intensity of the clouds that you want by just keeping your mouse in the same spot and clicking on it. So if you want a more faded Cloud, you can just click on it once. And if you want a little bit more drama than intensity, then you can just carry on clicking on your mouse. Now I'm going to choose the next month or next clouds. Our clouds ten. So you just go back and select it again and again. You can use your square brackets to be able to choose the size of your cloud. And so as you can see, there's a little bit faded. So if you wanted more wispy clouds, that kind of thing, then you can do that or you can increase your intensity by just continuing to click on your mouse button. Now if I decided, you know, wine is too much and I just want a really simplistic picture. What I can do is just click on. Make sure I've got that layer selected and use my erase, erase brush. And this is why we put it on the new layer so that we can just erase. If I said, you know what, I wanted to erase at, I love this little cloud here, but I want to change the position of it. Then I can go and select that from my precious. So if I decide, I just want to have 11 cloud sitting in the sky with my tree. And I can just, I can do that now. But also, you can also switch it like flip, flip it over whichever way you want to have it. And you can also hit on me this little icon here that here move TO without the arrows. You can also alter it. So you can see I little arrows are able to move it around here. You're Mary habit. And you can use even just these two brushes to create clouds in your skies from altering different parts of the brush. So you can actually have different variations of what this cloud looks like. So this is just with toothbrushes and being able to change change up what, how that looks, just by where I place it in the photo. And just want to show you here quickly. If you have a set of clouds and the max that you can have for our cloud brush size is 5 thousand. So if your photo is anywhere over 5 thousand, you're going to have to do a little bit of adjustments here. So this is one of the Cloud brushes that I have from Calvin designs. What I would do is click on my cloud just like that. And I need to go and select that, have that layer selected and then control T, which selects that layer for me. And then I hold down shift and I, and my most button. And then I just drag out my clouds so that it fits into my scene like this. Now it's fully the size that I need. And you can see now that clouds are in the trees there, which I do not want. So I'm gonna go over to my Erase tool thing and I just use a soft brush here, up ground brush. Select that layer of clouds. Nation my brushes. Other than that. And be able to just quickly erase those clades that have had if the tree there. And really it's got fast and easy.
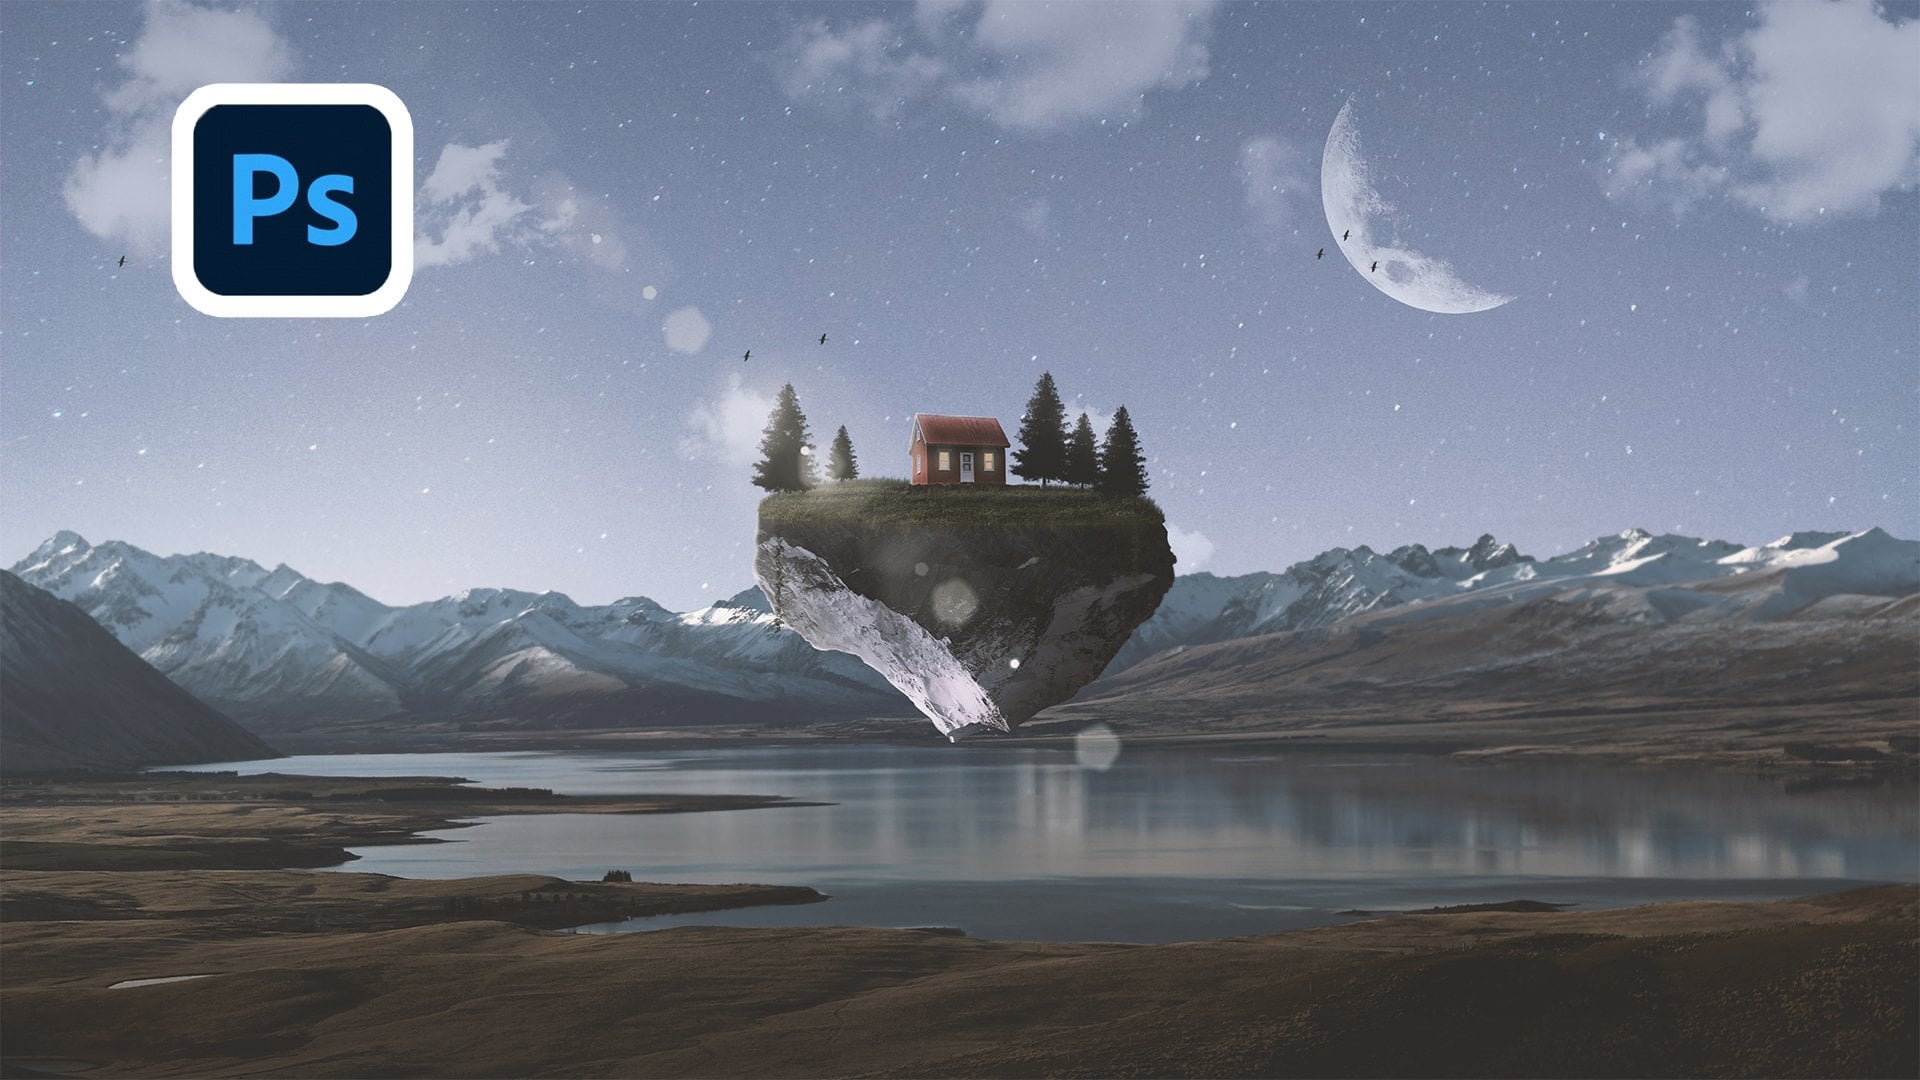
6. Bonus! - Sky and Water: Okay, so this is the method that I'm most excited to share with you when you have a sky and a water reflection. And you need to have that dramatic cloud in both your sky, in your reflection and how to do that. I learned this when studying was surgery Meli, who I absolutely love and adore and as an incredible landscape photographer. And this is his method, and I absolutely love it. It works perfectly. Okay, I am super excited about this method. I am, I've been looking to find a way to create that perfect reflection in the sky. And after being able to study and follow surgery Meli, I have been able to find this way and I'm super excited about this method. So this is a great, if you have any kind of water reflection in your photo, you want to have your clouds and your water reflecting the same. So what we're gonna do is we're going to, this is our photo we're going to use for this lesson. And this is what we are going to create in a matter of minutes. It's just unbelievable, but to me I'm super excited about this. Okay, so let's go to our background. What we wanna do is not have our ocean and it we just want the horizon. So when you're choosing your photo, make sure you got just, you gotta photo that has a really minimal horizon. You don't want to mountains and trees. We are going to crop this. We're going to come over to our little square and we're going to crop up so that we don't have the ocean in our background. If we've got this little tiny little thing in the corner, not a big deal. We'll be able to erase that out afterwards. So I'm in a click OK or literal checkmark, sorry. And so this is what we're going to use. So now what we're going to do is unlock our layers so it's not a background anymore. Click on our Move tool, which is the four arrows pointing in each direction. And then hold down shift and are most button. And we're going to drag it up. And into our photo. Now again, we want to find where that horizon line is. Now one way you can do this, you can certainly do this and trying to figure it out, you can also lower the opacity of the picture that you're using. And then that shows you the background. And they can also help you place where you want to have your picture. So I also want to make this a little bit bigger because it's not. Here we go. Now it's fully fat, it just suddenly line they're perfect. Little bit. Now, I'm going to bring that back up to full capacity or full opacity. Now what we're going to do is we're going to create another layer for this one. So what you can do is you can drag this layer down, holding your mouse button down and onto your plus sign. And what that does is it creates a calculator for you. So let's put this one as sunset. Top. Sounds that bottom. So what we're going to do with our sense that bottom is up here. You'll see that there's couple arrows. This is how you can flip your photos. You can flip it horizontally and vertically. So we are going to use this one here. And we are going to flip it upside down. And then we're going to use our arrow here and our pursuit to write this down. Because we want these two to match exactly just like that. And now we're going to select both by hitting control. So we've got our bottom unselected and we're going to hit Control constructor top ones. So this slice both. And then we're going to right-click and you'll see there's a merged layers. And you click on that, which makes these two are the same. So if I click my background, you'll see this here. If I'm moving this all around, it's all moving as one. Ok, now comes the fun part. And next what we're going to do is select our sunset picture or a sunset glaze sunset layer. And we're going to come into our, You'll see here, we've got out where it's right beside opacity, you'll see there's a normal, this is this dropdown menu as far blending modes for the layers. We're gonna use the drop down menu. And we're gonna go to multiply. And just like that, look stunning picture, we bet exact reflection and the water exactly what we want. So now you can see here a little bit we've gotten some reflection in the mountains and this is what we need to clean up now. So what we're gonna do is create a mask on the Sunset layer using our mask to a, which is the rectangle with the circle. And then we're gonna come over here and get our brush and are black. So we're going to use a soft brush. Make sure some set is selected and then our mask square is selected, TLC the white border around it. And again, to make your brush smaller, you can use your square brackets. And what we're gonna do here is we can lower the opacity and the flow here. We don't need just super-strong, we just wanna get rid of those details. So what we're gonna do is just click on it. But that's gonna do is just reveal the mountain, mourn your back. Take it some of it, the details of that sunsets. Right in our mountains here. To get rid of this, we're going to just do the same thing. Look over to my white here because I don't want too much showing. Kinda go back and forth and play with it. This is one method of being able to kind of embrace it and just kind of got some white in your teams. Just keep playing with it until it's blended out. The other option is to move our horizon up slightly. And that takes it right out of there. And then come back to our brush. And I'm glad to see race this horizon line you got going on here. The mask is really awesome to be able to hide things and bring things out. Layers split, that's just going to do is erase that line we had in our and there you have it. That's exactly how you to your clouds, your dramatic clouds in the sky, and your reflection in the water. Here's another quick example I just wanted to show you. I'm just gonna do another one to see you can see exactly how it works in multiple ways. So I'm just going to take out my clouds here and cropping that. I'm selecting my move tool. And candy shifts and I'm gonna move it over to my new picture here. See how I, I love this picture on the lake and my skies outbound. And I was super disappointed because I really love to know how the trees were reflecting on the lake. And now I have an ability to be able to change this so quickly. And then I'm going to take this layer and I am creating a new layer. And this is going to be flipped. We are going to control and so we can merge these two layers. And then we are going to go to multiply. And just like we have a brand new sky and reflection in the lake. So as you can see from this to this has now taken what used to be a picture that was sitting in my recycling bin basically thinking, I'm not really going to be able to salvage. Sky has now become a photo that I will be happy to post. So what I've done is I've created a mask on here again. And what I'm going to do is just go in with my black and go through here might increase my capacity and flow. Because this is a bigger space. And I'm just gonna go in here and brighten things up. And also, what that's doing is taking away any of the clouds that might've been showing through into my trees here and into my reflection. So let's get that out, clean that. And now just with a quick few minutes of editing and knowing how to use the techniques and the tools in Photoshop. I've been able to restore this photo and bringing new life to it. And now I can actually use this picture.
7. Final Thoughts: Well, you did it. You have all of these amazing skills and knowledge should be able to change your photos. You have four unique ways to be able to create beautiful sky images, water reflection images. Now you can take all of those photos that you have sitting there that you didn't know what to do with because he didn't love the Sky. And now you have a whole new collection of images that you're going to be able to share. I hope that you'll share one of those methods with us in the project gallery or several, I can't wait to see what you've created. So remember to do the before and after picture so that we can see the dramatic difference that you have created with your photos. I take many, many pictures of Skies whenever I'm out and about. Even if my foreground isn't the best, it hasn't have anything exciting or interesting in it. If the sky works, I'm taking pictures of it because I can use those in the future for other pictures that I loved the foreground and don't like the sky, or if they're really distinct cloud formations and I'm going to be able to create brushes with them. So as a general tip, I would suggest, whenever you've got really cool skies, take pictures, let them keep the moment of folder so that you have a collection of stock. Sky's going for you and then you'll be able to the future. I hope you'll stay tuned for further classes on compositing and I have so much more I want to share with you. Thank you so much for joining me in the class. So until next time, keep editing, keep compositing, keep taking an amazing photos, and I will see you next time.
 Kelly Theresa, Artist and Photographer