

How to Use AI in Photoshop
Discover how to use AI tools in Photoshop to enhance your editing skills. Learn about its automated features, time-saving tips and more!


Photoshop has long been celebrated as a leading tool for image editing, and it offers unparalleled versatility and power to designers, photographers and hobbyists. With the integration of features that are powered by artificial intelligence (AI), Photoshop has become even more advanced, and it's easier than ever to save time, achieve high-quality results and bring your creative visions to life.
Ready to take Photoshop's AI features for a spin? Up ahead, you'll explore how AI in Photoshop works, learn how to use the powerful tools it offers and get some quick tips for making the most of them in your work.
How Does AI in Photoshop Work?
In photo editing, AI typically refers to the use of intelligent algorithms that can interpret visual data, predict outcomes and automate tasks that once required manual input. AI is trained on vast datasets of images to recognize patterns, objects, textures and lighting, which enables it to perform tasks such as selecting complex subjects, filling in missing details and enhancing images in ways that are both realistic and creative.
Adobe Sensei is the core technology that drives Photoshop’s AI features. Some of the most notable ways Adobe Sensei enhances Photoshop include:
- Object recognition: Identifies specific objects, people or areas within an image for accurate selections and edits.
- Contextual analysis: Understands the surrounding elements of a selection to produce seamless fills and edits.
- Style matching: Adapts colors, lighting and textures to ensure that edits blend naturally with the original image.
- Pattern prediction: Predicts user intent based on editing history and applies adjustments accordingly.
AI technology in Photoshop shifts the paradigm from manual, time-intensive processes to automated, intuitive workflows. Here’s how it makes a difference:
- To select a subject, users would traditionally need to use multiple selection tools to manually select the subject before spending a significant amount of time refining the edges. Now, tools like Select Subject or the Object Selection Tool can accurately perform the same task in seconds.
- To remove unwanted elements or fill in gaps, users would traditionally need to have advanced cloning and blending skills. Now, features like Content-Aware Fill can intelligently generate realistic fills without requiring manual input.
- To apply artistic effects or retouch portraits, users would traditionally need to perform detailed layer work. Now, tools like Neural Filters make it possible to quickly apply advanced effects with customizable sliders.
AI-Powered Tools in Photoshop

By automating complex tasks and offering intuitive features, these tools empower you to work smarter, not harder. Here are some of Photoshop's most innovative AI tools, and how you can use them to elevate your workflow.
Content-Aware Fill
What it is: The Content-Aware Fill tool analyzes an image's surrounding content to intelligently fill in selected areas. It even automatically blends the new fill with the rest of the image, creating a seamless and natural-looking result.
How you can use it:
- Remove unwanted objects: Eliminate distractions such as power lines, trash or people from the background of a photo.
- Fill gaps in images: Repair missing or empty areas, such as those created by cropping, stitching panoramas or retouching.
- Smooth out edits: Fill spaces with textures and colors that match the surrounding areas to ensure edits look cohesive.
- Perform quick retouching: Streamline tasks like removing blemishes or fixing minor flaws in an image.
Step-by-step guide:
- You can select the object or area you want to remove using a selection tool, such as the Lasso or Marquee Tool.
- Go to Edit > Content-Aware Fill.
- Use the workspace to adjust the sampling area and preview the results.
- Click OK to apply the changes.
For example:
Imagine a scenic beach photo with a stray person in the background. With Content-Aware Fill, you can quickly remove the person, leaving a clean, uninterrupted shoreline.
Neural Filters
What it is:
Photoshop's Neural Filters are tools that allow you to apply advanced edits and effects to images with just a few clicks. Powered by Adobe Sensei, these filters use machine learning to analyze images and make intelligent adjustments, transforming photos in ways that were once complex and time-consuming.
How you can use it:
- Enhance portraits: Smooth skin, adjust facial expressions or add subtle makeup to improve portrait images.
- Make color adjustments: Use the Colorize filter to convert black-and-white photos to color or adjust color tones to match specific moods.
- Perform a style transfer: Apply the style of one image to another, such as by giving a photo the style of a painting.
- Restore photos: Bring old or damaged photos back to life by removing scratches or enhancing clarity.
- Get creative: Try fun and imaginative effects, such as changing the season or combining two different landscapes together.
Step-by-step guide:
- Open an image and go to Filter > Neural Filters.
- Select a filter (for instance, Skin Smoothing or Colorize) and adjust the sliders to customize the effect.
- Preview the result and apply it to your image.
For example:
Instantly convert a black-and-white photo into a fully colorized version with the Colorize Neural Filter.
Select Subject & Sky Replacement
What it is:
Photoshop's Select Subject and Sky Replacement tools are designed to simplify and enhance the process of selecting and editing specific parts of an image. Both tools leverage Adobe Sensei’s machine learning capabilities to easily and precisely perform complex selection tasks.
The Select Subject tool uses AI to analyze an image and automatically identify and select its main subject, whether that's a person, animal or object.
Similarly, Sky Replacement automatically identifies and replaces the sky in an image with a different one, such as a vibrant sunset or a clear blue sky, while adjusting the rest of the image's colors and lighting to match the new sky.
How you can use Select Subject:
- Isolating subjects: Quickly separate the subject from the background for further editing or compositing.
- Background adjustments: Apply effects or edits specifically to the background while leaving the subject untouched.
- Object enhancement: Make targeted edits to improve the subject's appearance and help it stand out from the background, such as brightness or color adjustments.
How you can use Sky Replacement:
- Enhance landscapes: Replace dull or overexposed skies with more engaging ones to create more visually appealing photos.
- Create dramatic effects: Add dramatic or artistic skies to evoke a specific mood or atmosphere.
- Streamline your workflow: Quickly adjust skies without needing to master complex masking or blending techniques.
- Mix and match skies: Take photos of skies while you're out in nature and then incorporate them into the photos of your choice.
Step-by-step guide:
- For Select Subject, click Select > Subject to automatically select the primary object. Refine the edges as needed.
- For Sky Replacement, go to Edit > Sky Replacement, choose a sky from the presets (or import your own) and tweak the editable adjustments in the Layers panel.
For example:
Transform an overcast day into a golden sunset by replacing the sky in a landscape photo.
Object Selection Tool
What it is:
While Select Subject is used to identify an image's primary subject, the Object Selection Tool can be used to identify and isolate just about any object or region within an image. By intelligently analyzing the content, it allows users to make quick, precise selections of objects or areas, which significantly simplifies the editing process.
How you can use it:
- Isolate objects: Quickly select individual objects, such as a person, car or piece of furniture, for editing or compositing.
- Separate objects from their background: Remove a background without the need for complex manual selection techniques.
- Refine your compositions: Adjust or reposition objects within an image, such as when repositioning a framed art mockup within a scene.
- Make selective adjustments: Apply color, lighting or texture changes to specific objects without affecting the rest of the image.
Step-by-step guide:
- Select the Object Selection Tool from the toolbar.
- Click and drag over the area containing the object. Photoshop will automatically refine the selection.
- Modify the selection as needed in the options bar.
For example:
Highlight a single flower in a bouquet to make it more vibrant than the rest of the blooms.
Generative Fill
What it is:
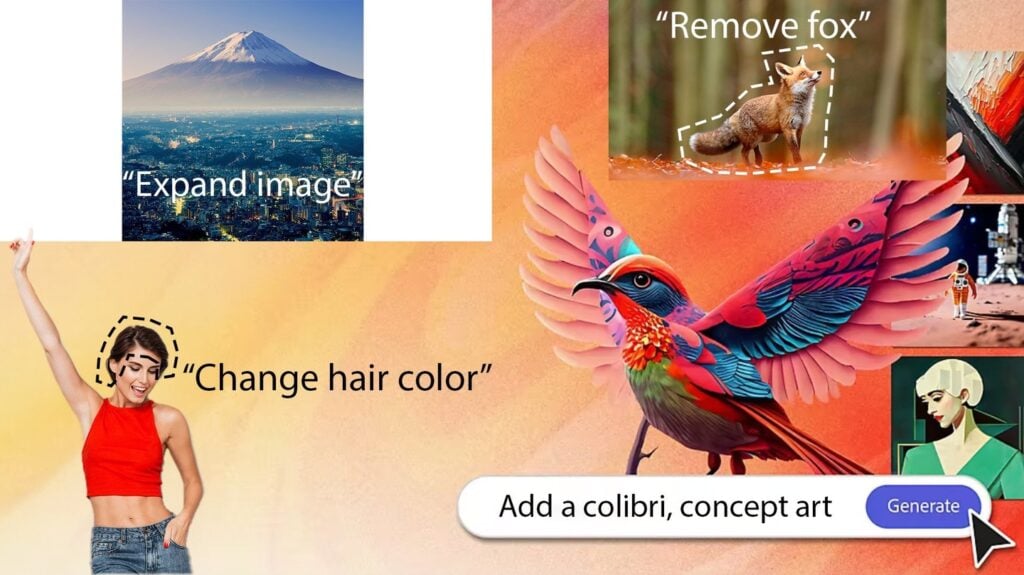
The Generative Fill tool allows you to effortlessly add, remove or modify elements in an image using text-based prompts. This tool leverages Adobe’s generative AI technology to analyze the context of an image and produce realistic edits that seamlessly blend with the existing content.
How you can use it:
- Add elements: Introduce new objects or scenery to a photo, such as by adding a tree, a person or furniture.
- Erase flaws: Remove unwanted objects, like blemishes or distractions, with contextually appropriate fills.
- Expand your canvas: Extend the edges of an image by generating new content that matches the original.
- Embrace experimentation: Use imaginative prompts to create surreal dreamscapes or abstract scenes.
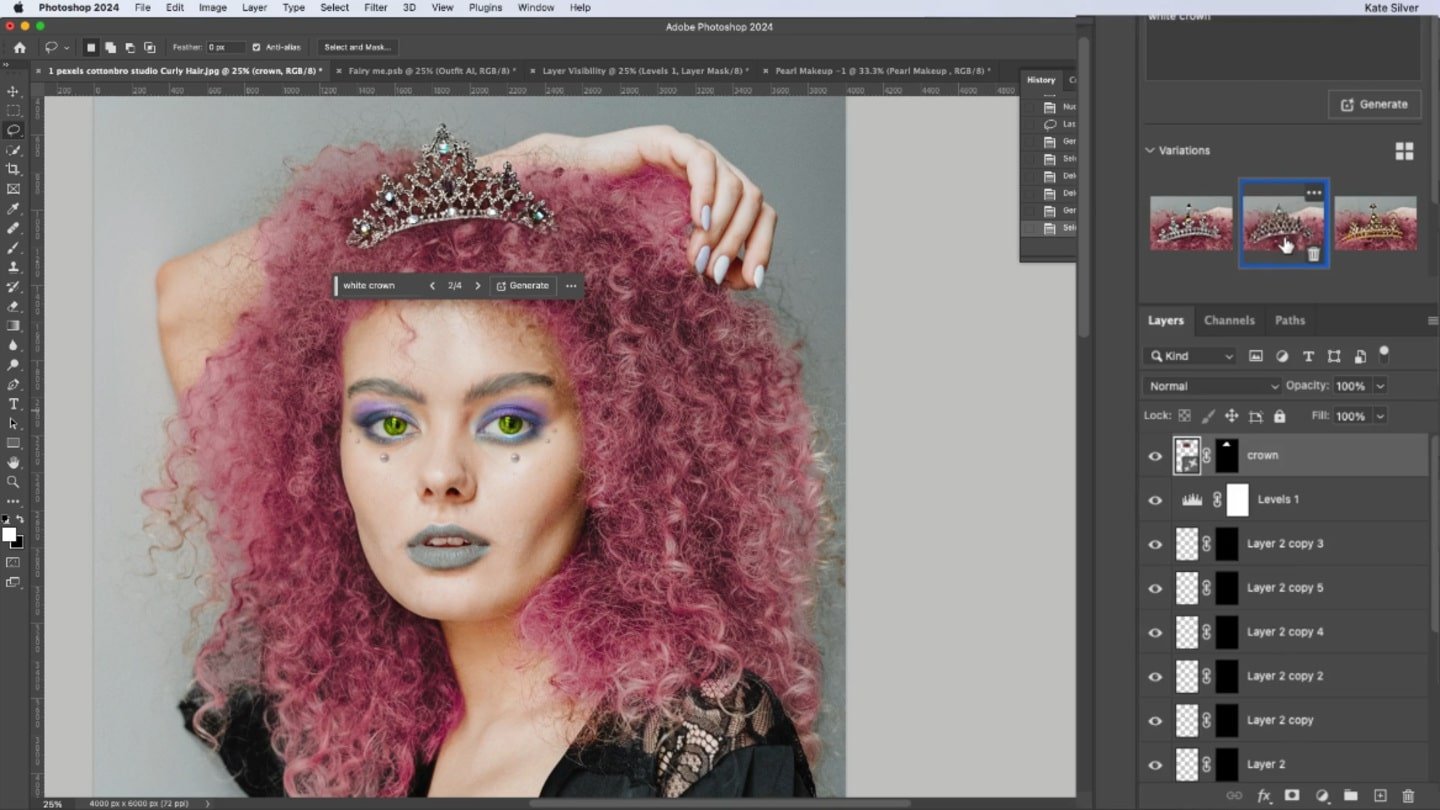
Step-by-step guide:
- Make a selection using the tool of your choice.
- Select the Generative Fill option that appears in the Contextual Task Bar.
- Enter a prompt that describes what you want to add or remove.
- Click Generate to preview the results and choose the option you prefer.
For example:
Expand a photo’s canvas and add new background elements to create a larger image.
Why Use AI in Photoshop?
There are plenty of reasons why you might want to use Photoshop’s AI-based features, but these are some of the most compelling:
- Efficiency: Just like Photoshop’s keyboard shortcuts, its AI tools can expedite repetitive or time-consuming tasks to speed up your workflow.
- Precision: Achieve highly accurate selections and edits, even with intricate or complex details.
- Ease of use: Even if you're a Photoshop beginner, you can use the software’s AI tools to implement advanced effects and techniques.
- Creative freedom: Quickly go where your creativity takes you by experimenting with new styles, effects and compositions.
- Consistency: Maintain uniform results across multiple images or projects.
- Enhanced retouching: Perfect portraits, remove distractions and enhance details with minimal effort.
- Problem-solving: Fill gaps, remove objects and repair images in seconds with tools like Content-Aware Fill and Neural Filters.
Limitations of Using AI in Photoshop
Like any other set of tools, Photoshop’s AI features aren’t without their drawbacks. Those can include:
- Learning curve: While Photoshop's AI tools and workflows are designed to be easy to use, new users may find some of them initially challenging.
- Dependence on algorithms: AI tools rely on predictions, which can sometimes produce less-than-perfect results.
- Creative limitations: While AI aids in automation, it may lack the nuanced creativity and intuition of a human editor.
- Ethical concerns: Overuse of AI in photo editing can raise questions about authenticity and misrepresentation.
- Overediting risks: AI tools can make edits look too perfect or artificial, which may compromise an image's natural look.
- Inconsistencies: In complex scenarios, AI may struggle to interpret user intent or accurately handle intricate details.
- Customization challenges: Some tools may lack the fine level of control or personalization offered by manual methods.
- Risk of dependency: Over-reliance on AI features might limit your ability to learn how to execute traditional editing techniques without AI's help.
How to Get the Most Out of AI in Photoshop
If you do choose to use AI in your Photoshop projects, make sure you reap all the benefits it has to offer by:
- Staying updated: Regularly update Photoshop to access the latest AI tools and features.
- Learning through tutorials: Explore Adobe's official tutorials and online courses, as well as expert-led Skillshare classes, to understand and master Photoshop's AI tools.
- Experimenting with tools: Test different AI features on various types of images to explore their capabilities and see which images they work best with.
- Combining techniques: Use AI tools in tandem with manual editing techniques to achieve more personalized and professional results.
- Customizing settings: Adjust AI tool parameters (for example, by tweaking the sliders in Neural Filters) to fine-tune the results for your specific needs.
- Using layers: Apply AI edits on separate layers so you can easily compare the before and after.
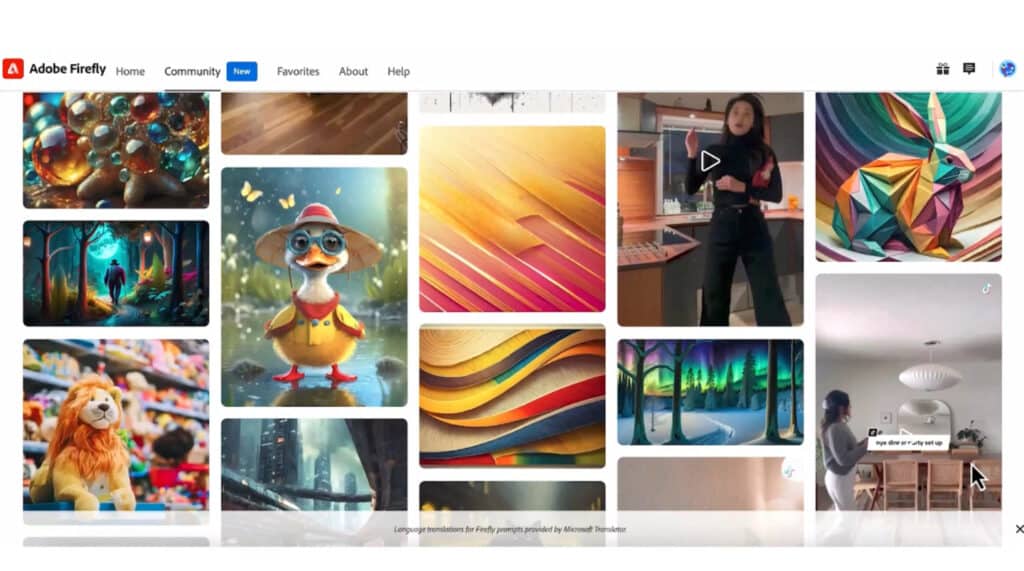
- Engaging with the Photoshop community: Join forums and groups where users share tips, techniques and feedback on Photoshop AI tools.
- Understanding the limitations: Recognize when manual editing is necessary to achieve the best results.
Take Your Photoshop Experience to New Heights
Photoshop's AI-powered features are nothing short of game-changers, and creatives like you use them every day to save time, achieve better results and get inspired. Whether you’ve been using Photoshop since it came in a cardboard box or you're a complete beginner, you can use these tools to take your edits up a notch (or two).
Ready to hone your Photoshop skills even further? Skillshare's extensive library of online Photoshop classes is here to help. From Photoshop fundamentals to advanced illustration editing techniques, our expert teachers can teach you what you want to know.
Related Reading
Carrie Buchholz
Carrie Buchholz is a freelance writer who lives in Northern Colorado with her husband and dog.
Learn Photoshop with Skillshare – Start Your Free 7-Day Trial Now!
Get Started- Unlimited access to all classes
- Hands-on learning with Photoshop pros
- Supportive online creative community


