Transcripts
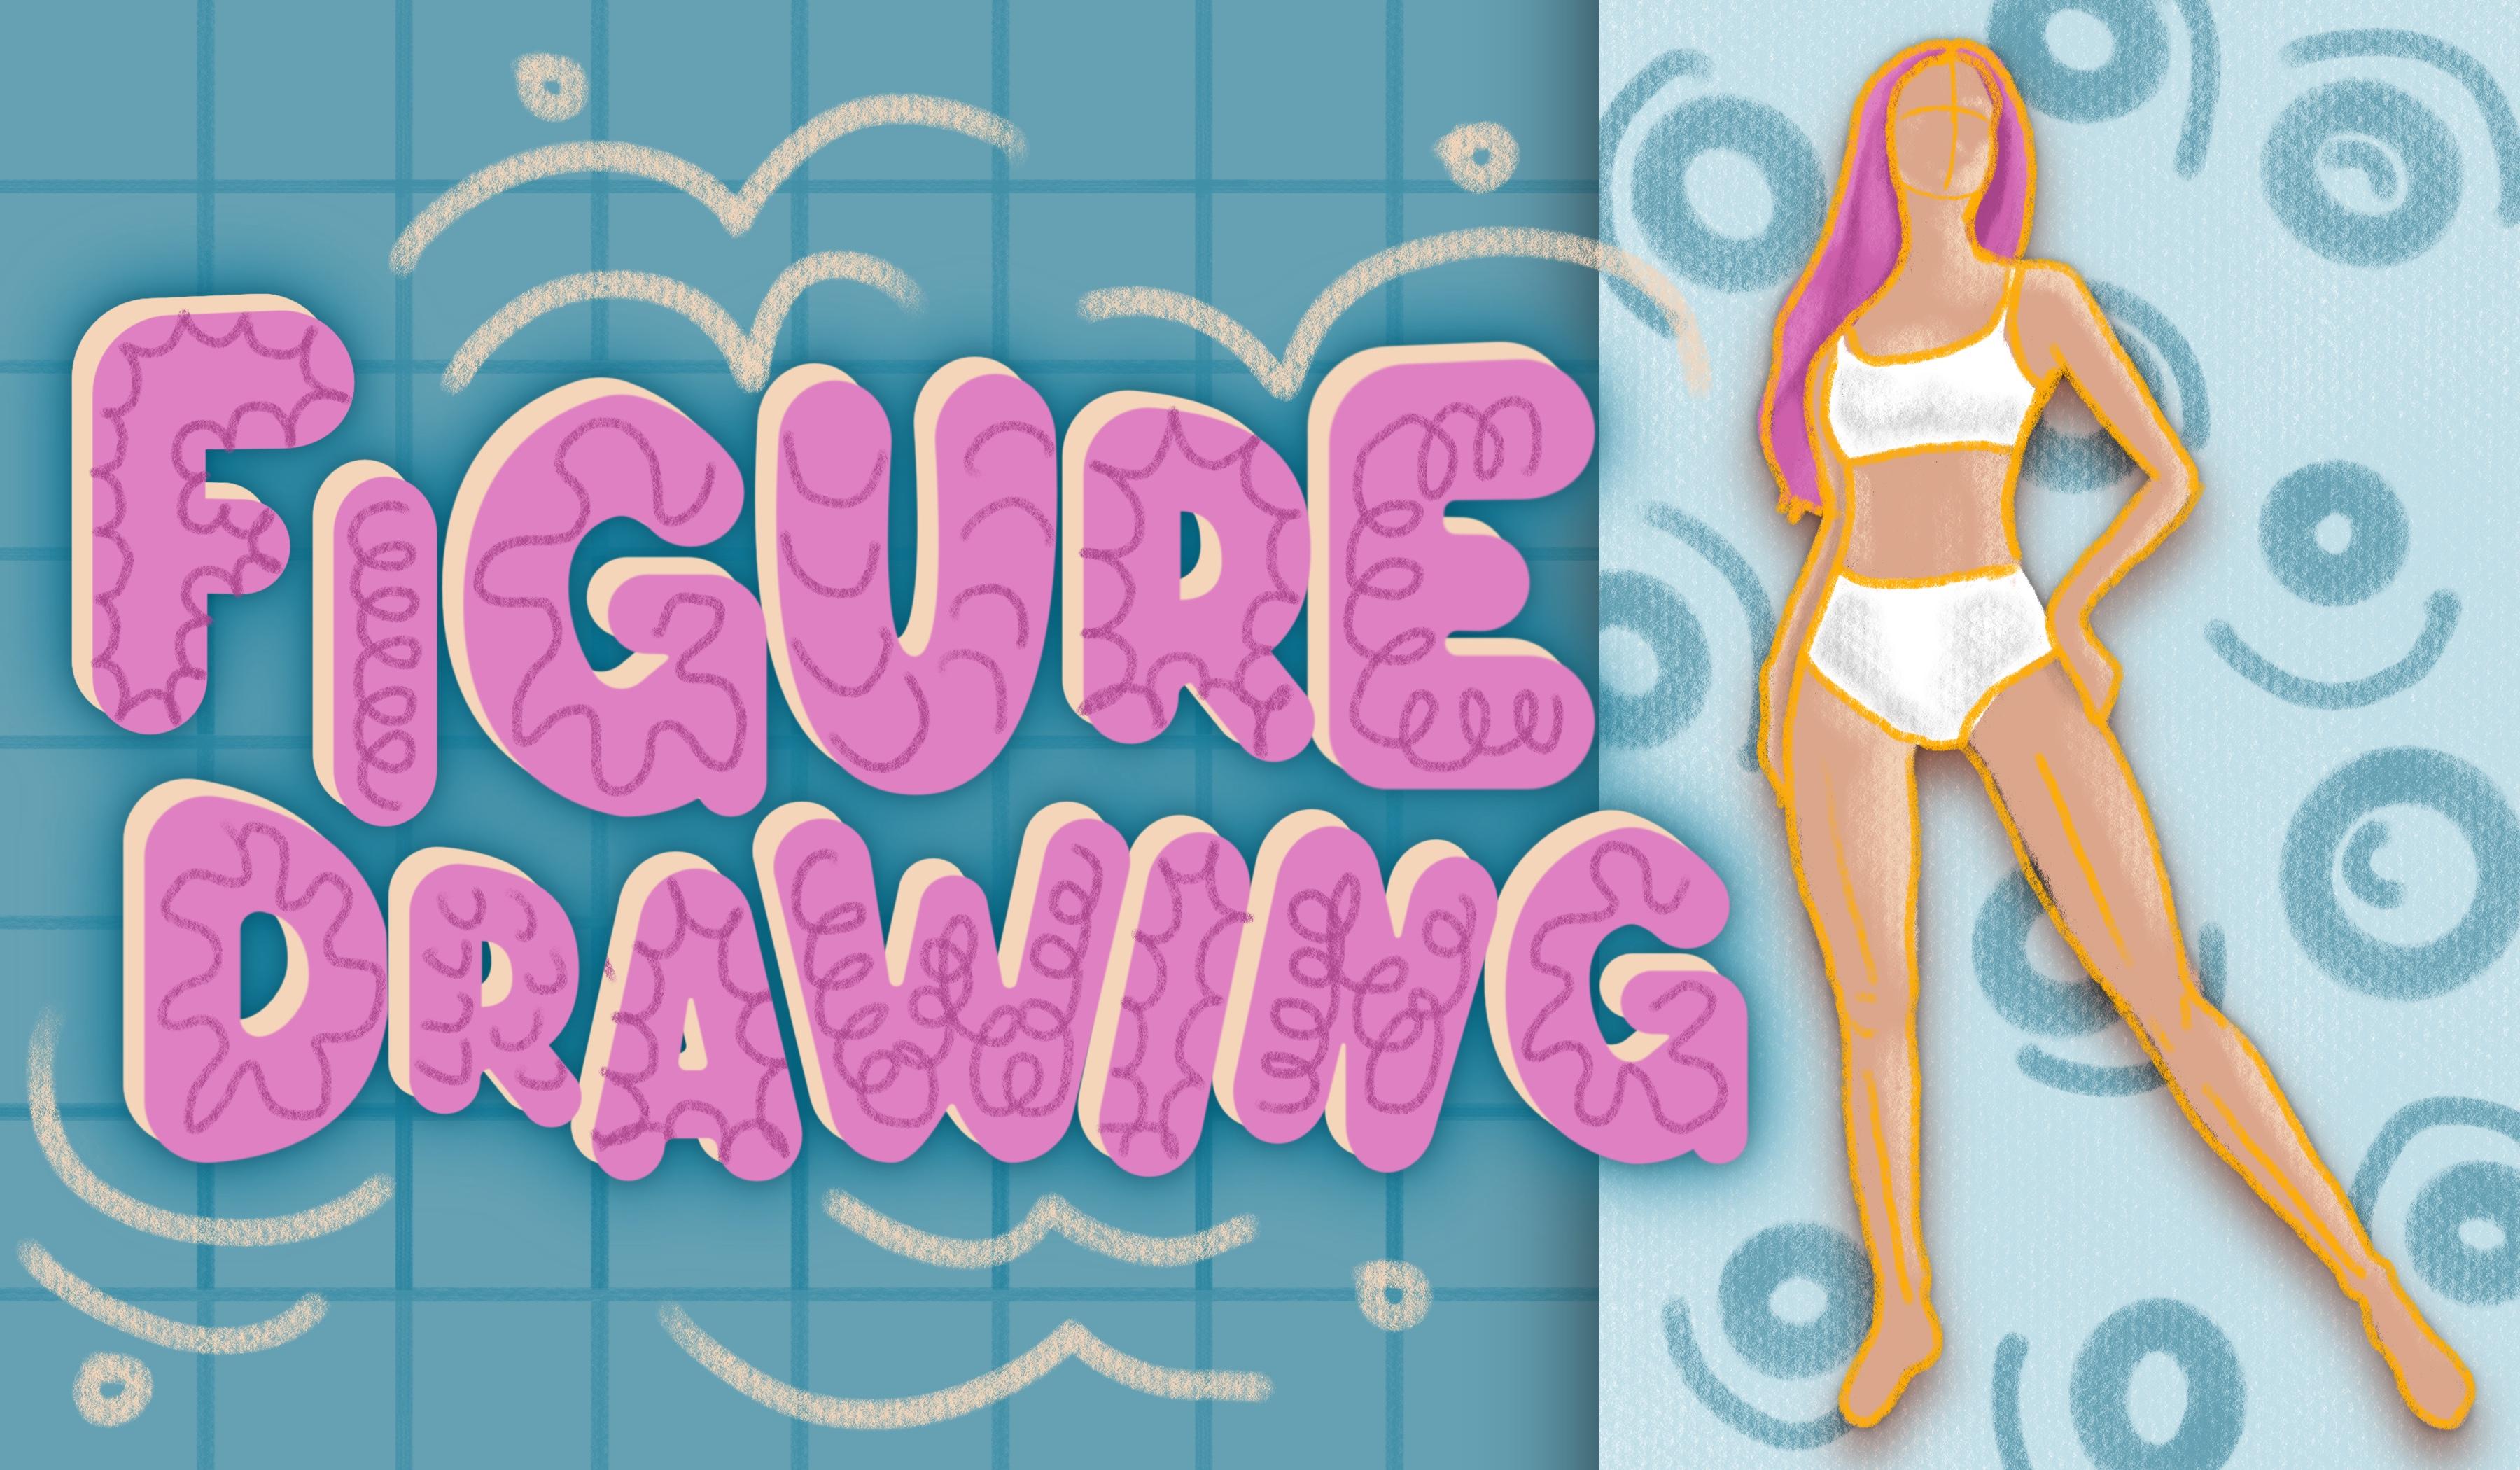
1. Welcome!: Artists, are you interested
in learning figure drawing? Drawing me in this
class where we create a sketch together step by step. This class is beginner
friendly because it requires no prior
knowledge or practice, which means even if you've never created a
figure sketch before, you can definitely
take this course. I'm Victoria and I'm an artist and teacher here on Skillshare. I spend most of my time drawing realistic subjects
such as humans, animals, and landscapes,
and of course, I also love to draw figures. What of the technique
that I show you today, you will be able to
create all figure pross no matter how complicated. The first lesson, we
start with the head. We begin by estimating
the size of it and simplify the head by using
basic shapes to outline it. Next, we move onto the torso. First, we compare
where the shoulders begin relative to the head. Then we estimate the
remaining torso details. In the third lesson, we
move on to the legs. This is my favorite
lesson because I really like the technique we
use to create the legs. First, we draw a line through the middle of the
upper and lower legs. Starting with a line helps us estimate the poles and
length of the legs. Then all we do is create the
outlines around the legs. Finally, using the
same technique, we create the arms and
finish off by going over our entire sketch and darkening the lines
we want to bring out. Each section of the class takes about 10
minutes to complete. The entire process will be
broken down into smaller, manageable steps, and
I will guide you from the first line down
to the very last. I am beyond excited to share
this technique with you. I use this method for all
of my figured drawings, so I hope you will find
it useful as well. I cannot wait for you
to doing inoay's class, so let's get started and
create some art together.
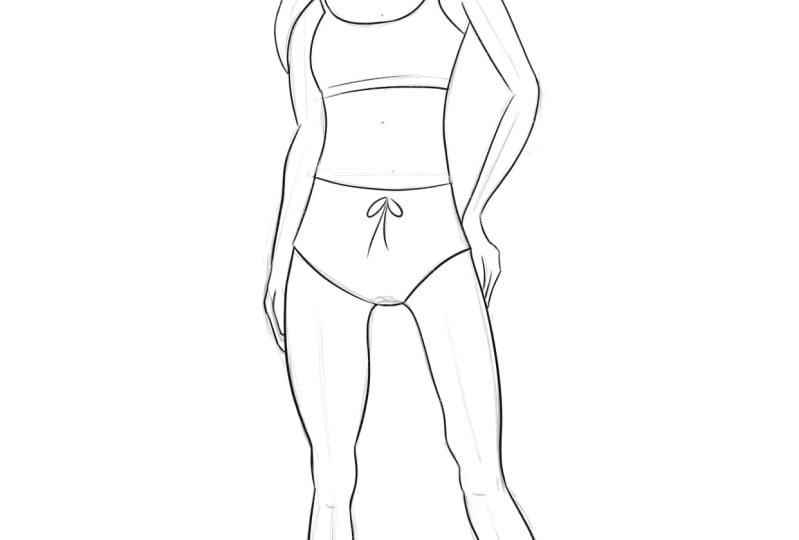
2. Head: Hi students, I am
so happy that you decided to join
me in this class. I'm very excited
that you're here. I hope it's going to be fun
and also useful for you. So let's get started. So I quickly would like to tell you a little bit
about the materials. There's really not
that much to it. All you need is a
pencil and paper. I choose to just
drove a color pencil. I'm not scared about erasing
because when they draw, I just draw very lightly. And if I'm unhappy with a line, I just ignore it, and the
ones that I'm happy with, I make them a little bit darker. And then I think it
also looks a bit cooler when you
use color pencils. So that's my pencil of choice, but feel free to use graphite, anything that you like reading. And then yes, paper and
pencil, that's all. Now let's move on to
drawing the head. Now, before we even
start with the head, I would like to show
you a few tricks. The first thing that I do
whenever I draw any figure drawing is I decide how
tall my figure will be. Let's say that I want the head
of my subject to be here, and I want the legs, the bottom of the
feet to be here. Now, the reason why I create these lines is for two things. The first one is that if we start drawing the
head over here, by the time we get to
the bottom of the feet, we could find that we just
run out of room on the page. This just gives us
a little bit of space just in case we go over. Now, also this line is
if you don't met it, exactly, it's completely fine. But if you do go over it, then you have a little
room for error over here. Then the second reason why I
do this is because it helps me visualize my figure once
I already have the height, the intended height in here. I can start to imagine what my figure will look like now that I've established
the height. I like to describe this
technique as a puzzle. I start off by
drawing one thing, so I started off by
drawing these lines, and I'm just going to
assume that they are correct and I'm going to aim
to make my figure this tool. Now that we have the height, we are going to
use the height as a reference point for
things going forward. Now this will make sense as
we go through the technique, but I'm trying to explain
it already at this stage. This is step one,
s, two reasons, two reasons one because it gives us room fore
and second reason. Um, is because it just helps us visualize the pose already
within those lines. Now, the next thing that I do. Again, I also do this with every single figure
drawing is I try to estimate exactly
where the middle between these two would be. I say it would be about here. I hope this is right.
I'm looking at the paper and angle, but
from my perspective, it looks like it
would be about here, so I'm going to make this
line very, very light. Top of the head, bottom of
the feet, and the middle. Yeah, we don't want this
to be too dark because this is not going to be a part
of the figure in the end, but we want to be
able to see it. You might wonder why
am I doing this? The reason why I'm doing this
is because when you have a figure standing
straight like this lady, of course, this doesn't apply if you're
taking the picture from the top or if the person
has their legs folded, if they're sitting
in the chair, things like this, it doesn't apply. But when the figure
is standing straight, this line tends to
be on the hips. I am going to now find exactly where this line is
on the reference photo. If we draw a line,
we'll find that it's like at the
bottom of the hips, which checks out in
our situation as well. Now we know that between
this line and this line, we're going to have
to fit our torso and everything above
the torso chest, head, and then right below this line is where
the legs are going to go. Again, it just helps you
break up the distance. Also another thing is that I feel like it's easier to estimate a distance
that's shorter. For example, it's much easier for you to be able to see
between here and here, how many inches that would be. That would be about 2 ". But if I draw a line from here all the way to the
other side of the paper, Then you might still
guess with some accuracy, but it's not going to be as precise as a shorter distance. This just makes it easier for us to measure everything
to make sure that the proportions are exact or as exact as they can be when you're still
eyeballing things. Now we can actually
start drawing the head. Now, as I said,
this is a puzzle. I'm going to ignore
this last line for now. I'm just going to focus
in between here and here. We're going to create everything between these two lines and then The legs once this is done. Now I'm going to try to think,
where should the head be? Should the head be over here,
should it be like this? I'm trying to find exactly where the position of the
head should be. Between this line and this line, I try to imagine how many heads would I be able to fit between
here and here. Again, this is us
measuring the distances. Now, in a proportional body
that's standing straight, as I said, not from the top, not sitting down, just
like standing straight in a normal straight pose
from a front angle. You're going to be able
typically to fit about three, 3.5 heads between
here and the hips. Of course, there's
always a little bit room for error, so we
still have to check. I think in this
situation, we are going to be able to fit about 3.5, maybe even slightly over that, about 3.5 heads
between here and here. Now we're going to draw a little fractions in
between here and here, we're going to try to
divide it into 3.5. I have one, two, 3.5. That seems about right. One, two, three, and a half. Maybe it's a little bit bigger than a half,
but it's fine. Between here and here
is going to be a head. Now that I have
the height, I can also roughly estimate
the width of the head. The head is going to be just
again, we're estimating, it's not exactly
going to be perfect, but it's going to be very, very close to the reference. Now that I've done
the height, I can see the width of the face alone
would be about this wide. Now that we have the width, we can just draw in the very simplified
shape of the head. I can see her draw line
is something like this. She looks like a doll, I made this image using AI because I didn't want to use a picture
from the Internet, and she looks like a
doll, so my apologies. But we won't be drawing
the face anyway. I'm just simplifying the shape. I can see I can see two lines
one down and then back up, and then a subtle line up. I'm trying to keep my
lines light for now because when we go
in with the details, we're going to make all of these little curves on a
cheek bone on her draw line, we're going to make them
a bit more precise. For now, we'll just
keep everything light because we're still
going to be going over this and those lines are
guessing right now, they're not too
accurate at this point. We've got one here,
and then Now, in this class,
we're not going to be drawing the facial features. It's tough to get very
good facial features on the scale so small. We're just going to create lines just to show the viewer which direction
the face is looking in. It's looking a little bit
to the side like this. Also her eyes are about here and this you can immediately see now that I've
got those two lines, the second line is right
through the middle of her eyes. Now that we've got
these two lines, it just immediately gives more information about the head. Something about
this, I don't know, it's like a magic trick. So, here's our head. I know I'm looking crazy right
now, but it's good enough. So now that we've
got the rough shape, we can go ahead and be a little bit more
precise with our line work. I guess add all the little
curves we've missed. We are just tracing around
the outlines of the head. So that's pretty much all
we'll do for the head. We'll just draw
the hair and then we'll move straight
onto the Torso. So we'll do bit by bit. So hopefully, we'll
learn gradually, and it won't be too
overwhelming of a process. Now I'm just trying to
see how wide is the hair. I'm looking for
example, at the edge of her hair over here and
the edge of her face. I'm just trying to
gauge that again. It's like the hair
is not so important because she can
have puffer hair. But still, it's good practice. We'll try to get
everything exactly as it is in the reference. And then we'll I
guess we'll draw the rest of the hair later when we do the torso because her hair is falling over it and it's falling
over the arms, so maybe we'll just finish
of the hair in the end. But we just want to get
the actual shape now. So the top of her
hair over here. This is good enough
for her head. How about we give her a neck to? I'm looking at where
the neck comes out. Trying to look at the
length of the neck to. It seems to be about here. So now the head is done, we
are ready to move on to the. I will see you in a second.
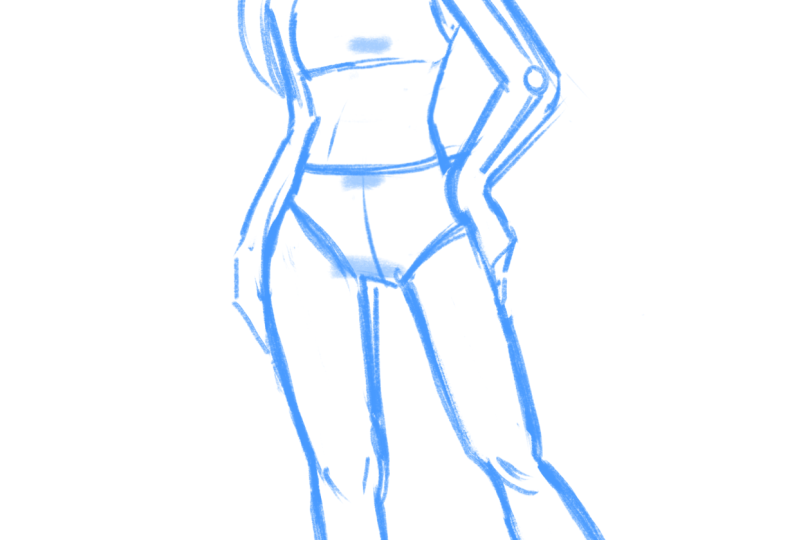
3. Torso: Welcome back, we're ready
to do the tool cell. Now we can begin by I think I actually might have made her
neck a little bit too long. I'm just going to bring
this arch up a tiny bit, and we can begin by just
drawing the shoulders in. I'm not going to draw the arms. The arms will do at the end, but we'll draw the shape, just the top of the shoulders, and I'm trying to see how
far out the shoulder goes. We'll complete it in a second. But so far I can see this is roughly the curve
of her shoulder. Then on this side,
it's more of a shadow, but It goes down like this. The first thing we can do is we need to know that the
shoulders need to be in line. It looks like her shoulder
on the right side, it's higher because she's
got arm up on her hip, so the shoulder is
going up a little bit. But if you draw a line, it would be something like this. On this line, she's going
to have her co bone, so you can do a very
faint line for that. Then we'll just finish of
the curve of this shoulder. And we can complete her
hair while we're at it. And then her hair is actually falling over her
shoulder on this side. So just draw the shape of the shadow. It goes
straight down. So now you're just looking
at the angles, okay? Now, the next thing
that I would like to do is draw the top
of her sports bra. You can compare the angle of
the sport spur to something. Find something that you can
use as a reference point. For example, if we look
at the collarbones, the top of her sport
sp is in line. It's parallel to
her collarbones. Of course, it covers, but if it was a straight line,
it would be parallel. I'm trying to see
how much space is there between the
collar bones and this. We'll find a point. For example, I'm
looking at her neck. It looks like her neck is a similar height between the bottom of her chin and
the top of he collarbones. It looks like a similar distance to the top of the collar bones and the bottom of her sports
bras, something like this. And then I'm just following
the angle of her strap. This part is obstructed. But
it's something like this. Her hair is pulling
over it so we can't see. This is the top of her bra. Now I'm already seeing that this line that we
made in the middle, it's going to be slightly off. It's good that we gave ourselves some space at the bottom, because I will personally definitely exceed that which
happens a lot, that's. Now, it looks like the the height of he is about the same as between
here and here again. It looks like you can divide
it into one, two, and three. It's all about a
similar distance, and also Her sports bra, you want to get the
curvature g as well. Now I'm trying to see because drawing the angle
and the height, we can already estimate that, but how do we know how
far wide we have to go? I'm looking, for example,
on this left side, we can see that where the
bottom of her bra ends, it's more or less
in line with this. If you had a straight line, imagine you have a
grid over the image. Then this straight
line would touch both this area and this area. I need to keep going until those two areas would
be roughly in line. Would be one side, and then the other side will
do the same thing. We're comparing this right side. It looks like maybe
it would be in line with the top of a
spaghetti strap. If you do a line going
all the way down. Maybe a tiny bit to the
right of that about here would be the
other end of a top. Then we'll complete the shape. It's not exactly
a straight line, it curves a tiny bit. Okay. Now I'll just draw
this little piece of right underneath her arm pit, and then
we'll leave the arms. We're not going to complete
the arms just now, we'll leave those,
but we'll just complete the rest of hers. Now I'm just looking at angles. So I can see almost like
two lines on her stomach. One goes down just a tiny
bit. And then it curves. It's very subtle how it curves.
It goes down like this. And then we can
connect. Her shorts. I'm trying to see because
now her body kind of curves. She's got a bend at her back. And then so if I'm looking at this line on the top of her, I'm trying to see where the
angle changes direction. So it's about here like this. Okay. Maybe I should have even
gone a little bit further. The last thing we'll do
is we'll draw her shorts. Now I'm trying to estimate
how much distance is there between
here and her crotch. It's definitely going to be taller than this
distance here. Maybe it's actually
similar to this distance. I'm going to try to take this and use it as
a reference point. It looks like the crotch
would end about here. It looks like it would be pretty parallel to this line here. Maybe like a tiny bit to the right of that because
her body's turning. So like this. And then
very simple line. Now, her hips go out, of course, so it's going to be
a line like this. Basically, you're just trying to use as much as you can from what you've already done to compare everything else to it. You don't really need to
understand anatomy to do this. What you just have to be
good at is measuring things. Then for example, I measured
where this should be, and then knowing this, I can start to visualize
the rest of the hips. That's the technique. You sing as much as
you can and then you're filling out the
rest of the information. I'm looking roughly
at the width of this. This is so small that I don't really need to compare
it to anything. I can just eyeball it. Then it looks like the top of shorts right
here at the bottom. It looks like on the
reference point, like it's in the middle. Between here and here,
if you were to draw a straight line, it
would be in the middle. This right side, do you see what I mean, this point right here. It would be exactly
in the middle. That's what I'm trying to get. Now I'm going to draw
a line a curve rather. I think I drew the head too
big right in the beginning, and it totally threw off this line here in the
middle, but that's okay. As long as we're comparing everything to what we've
already done, that's good. But this is still a great reference point to
have nonetheless. This side. Now this part of shorts, if we draw a straight line, it's more or less in
line with this point. This part of her shorts is a
little bit higher than this, and I think this is going to be a tiny bit higher as well. But it's more or less in line. And then that curve looks a
bit like a straight line, but there's a tiny
curve going through it. Looks like this. Now we
can complete the details. We can make some of our
lines stronger once you're happy with how
everything's looking. Because I'm also learning
to draw little details, little bows. Okay. So now, this is all
tools are done. So the next thing
that we're going to do is throw all the legs, so I will see you in this and
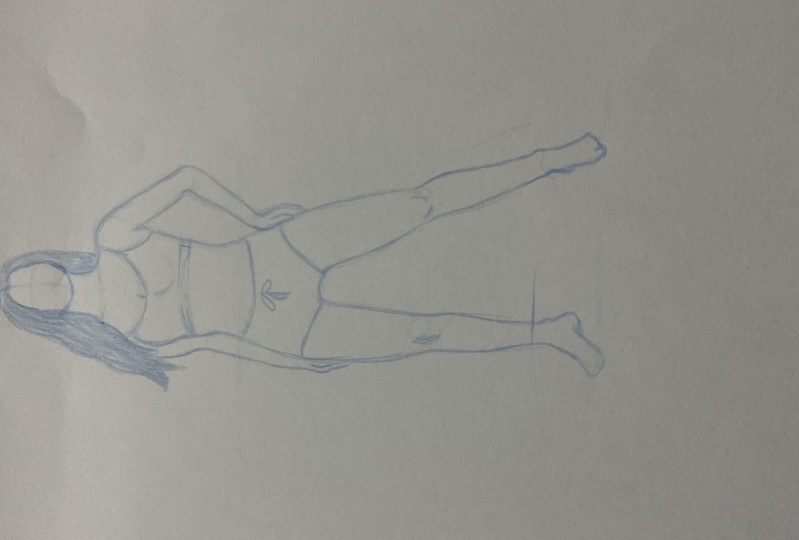
4. Legs: So now we are ready to
move on to the legs. My technique for
legs is actually a very similar
technique that we're going to be using for the arms. Essentially, what we
do, it's very simple. We imagine that we can
almost x ray the legs, so we look for the
middle of the leg. The long bone in the thighs and then the long bone in the
lower leg in the cuff. We'll do a little x ray
and we'll just draw a line representing where
that bone would be. Yes, ignore this line. I've definitely gone over
my estimated figure bottom. But anyway, this is going to be about the height
for the knee. You can see this is roughly
the middle of the leg and the middle of the leg would be to the left of this area here. This is how you maintain
your proportions, you just look back and you see if you had lines where
those lines would reach. This would be this leg
and then the right leg, knees are going to be similar. Maybe this leg is slightly
bent and she's sticking out. The knee looks like it
goes a tiny bit lower. And it's at an angle like this. Her legs are also parallel.
They are slightly. This one goes slightly more to the right, just slightly there. We'll create those
two lines and that's the top half of our legs, and then the bottom half, we'll leave a gap
slightly for the knee. And you'll see where we're
going with this in a second. Now, this lower leg, it starts to angle a little bit more in a
different direction. It goes a little bit straight. It doesn't go entirely straight, but something like
this, perhaps. Almost straight
down, but not quite. However, this one, it angles
even more towards the right. You see, it's not
a continuous line. Sometimes the angles, even
if a leg is straight, those angles may vary. You have to look
for this carefully, and you're drawing this
line just up to the angles. You see it's very
good that we use this line here in the beginning because now I'm going to be approaching the
edge of my paper, but we still have a bit of
room, so that was good, even though it didn't work out and our figure didn't end here. We still have a tour of space. So you can now slightly see where her legs would
be just looking at this. Now, it's very easy. All you have to
do is just create the outlines around those bones, just the outlines of her legs. This is exactly in the middle. Now look, you're going
to have the thigh. It's going to go,
it's pretty curvy, all the way down until we
get to above the knee. This is the gap for the knee. You can see goes down like this, and then this part of the leg, you can see the little curve. And then it curves back. Now, what you want to do with the legs is that in general, they narrow as they go down. Sometimes I see,
people would have the leg thickness remain
the same throughout, but that's not
entirely accurate. You really want to
make sure that you, you keep narrowing
as you go down. That's of course not
consistent because for example, here at the knees, it's a little bit
slimmer than it would be at the calf muscle. Then we go down. Then there's
straight line, quite, but almost Then we go back down. And you can see there's a nice curve here at
the bottom of the leg. Then we have the We'll actually draw the feet in a second and draw the other leg. You can see this looks
pretty accurate. Now we'll do this next one. Yes, her knee is bent,
which means that this thigh is going to be
slightly closer to the camera. That's why this leg appears
a little bit longer. Keep that in mind. You don't have to start at the top and then
keep going down. You can just help yourself. Maybe you want to create this
bump above the knee first. Okay. And now the lower leg. We've got the name. And then it narrows a lot when
it gets to the ankles. And that's the legs and now
we'll quickly do the feet. For the feet, you can start
off by blocking in the shape. You can see it first
just goes down and then above that,
you have the ankle. You almost have you almost have those two
parallel lines over here, and then you have the heel. Then something like this. It starts off as a
very simple shape, and then you don't need
to draw the toes because that would be
really tough to get accurately because
that would drawing is in such a small scale. But you can just create
those little bumps in there. And then you can go ahead and reinforce the leg,
the lines you like. And then this other leg. This one's facing
forward a bit more, so you can see both
sides of the ankle. Angles are very tricky to get because they're
very small bumps, so you don't want to make
them look too crazy. We can see that this foot. It's again a very similar shape, but you can see it widens because we are looking at
the foot from the front now. So you can maintain that angle goes down on the
side, like this. Let me have foot and that's it. You can also just outline the
big toe if you want, or you don't have
to do anything. Then we will reinforce again the outlines that
we are happy with. Maybe enhance some bumps here on the outlines
if you haven't. You can also create some
shadows on the knees, some simple lines to
show some detail. And that's it. That's
your legs done. I hope this was easy to follow, and now we will move
on to the arms.
5. Arms: Now time for the arms, and the technique that
we use for this is very similar to the
technique that we used for the g. Again, we begin by x raying the arm. We look for the bone that would run right through
the middle of the arm. For example, let's
start with this one, this one is very, very
close to her body. You just imagine that
you're basically drawing a line right through
the middle of her body. You can see that her
elbow reaches maybe that alfway at the
height of her stomach. I would say it goes
to about here, and then her forearm
begins here. You want to just save a
very small gap at the elbow and you want to go down
all the way to the wrist, which I guess is just
beyond the shorts. There's two lines, and we can't see some of the shoulder because it's
obstructed by the hair. We'll just go as far
up as we can see, and then we'll do the
same for this arm. Her arm is raised, she's resting on her hip, her elbow is going to
be raised as well. Her elbow, if we imagine a line connecting the elbow
to around her stomach, it would be somewhere
about here, I suppose. This would be roughly
the height of her elbow and how
far out would it go? Maybe if you connect. If you create a straight line from this part of her leg
all the way to the elbow. It would be about here. Maybe her elbow
would go like this. And then it goes back
down to her shorts. There's a x ray done, and that it's very simple, we just do what we
did to wave the legs, so we just create the outlines. It's more or less a
straight line going down. It has a small curve
on it like this. And then her hair continues. I'll just finish off
her hair over here because it's hard to imagine the arm without
the hair on top of it. And for her hand,
you just want to create a simple outline. Something similar to what
we did with the feet. We don't need to draw
the individual fingers, but just the shape. And then we have this u Mm. And then this had goes up
slightly. And back down. And now we're just
going to reinforce all the lines that
we want to keep. Okay, so this is how you draw the figure. I hope you enjoyed. I hope this was an
easy to follow, and I hope you're able to create it without using anatomy. Thank you for watching,
and I will see you in the.
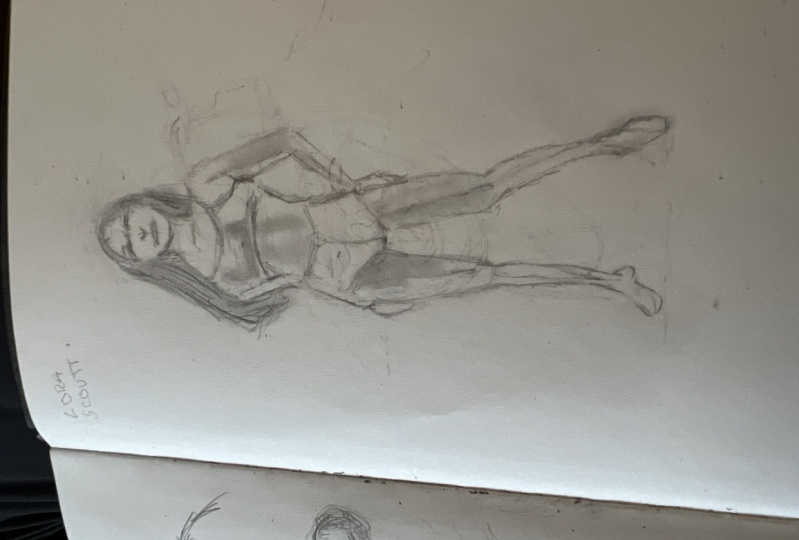
6. Final Project! : Congratulations on
gettingthrough the lessons. Figure drawing is one of the
more complicated subjects, so you should really be
pleased with yourself. I really, really hope that
this technique worked for you. If this was your first time
trying figure drawing, have a go at
creating other poses using different
photo references, using the same technique
that we learned today, and you will get
better and better. If you did enjoy this class, I would really appreciate
a positive review because this would help me get my class out there and find
more students. I would really love to
see a figure drawing, so please upload them
as a class project, and I would love to
give you feedback. If you are interested in
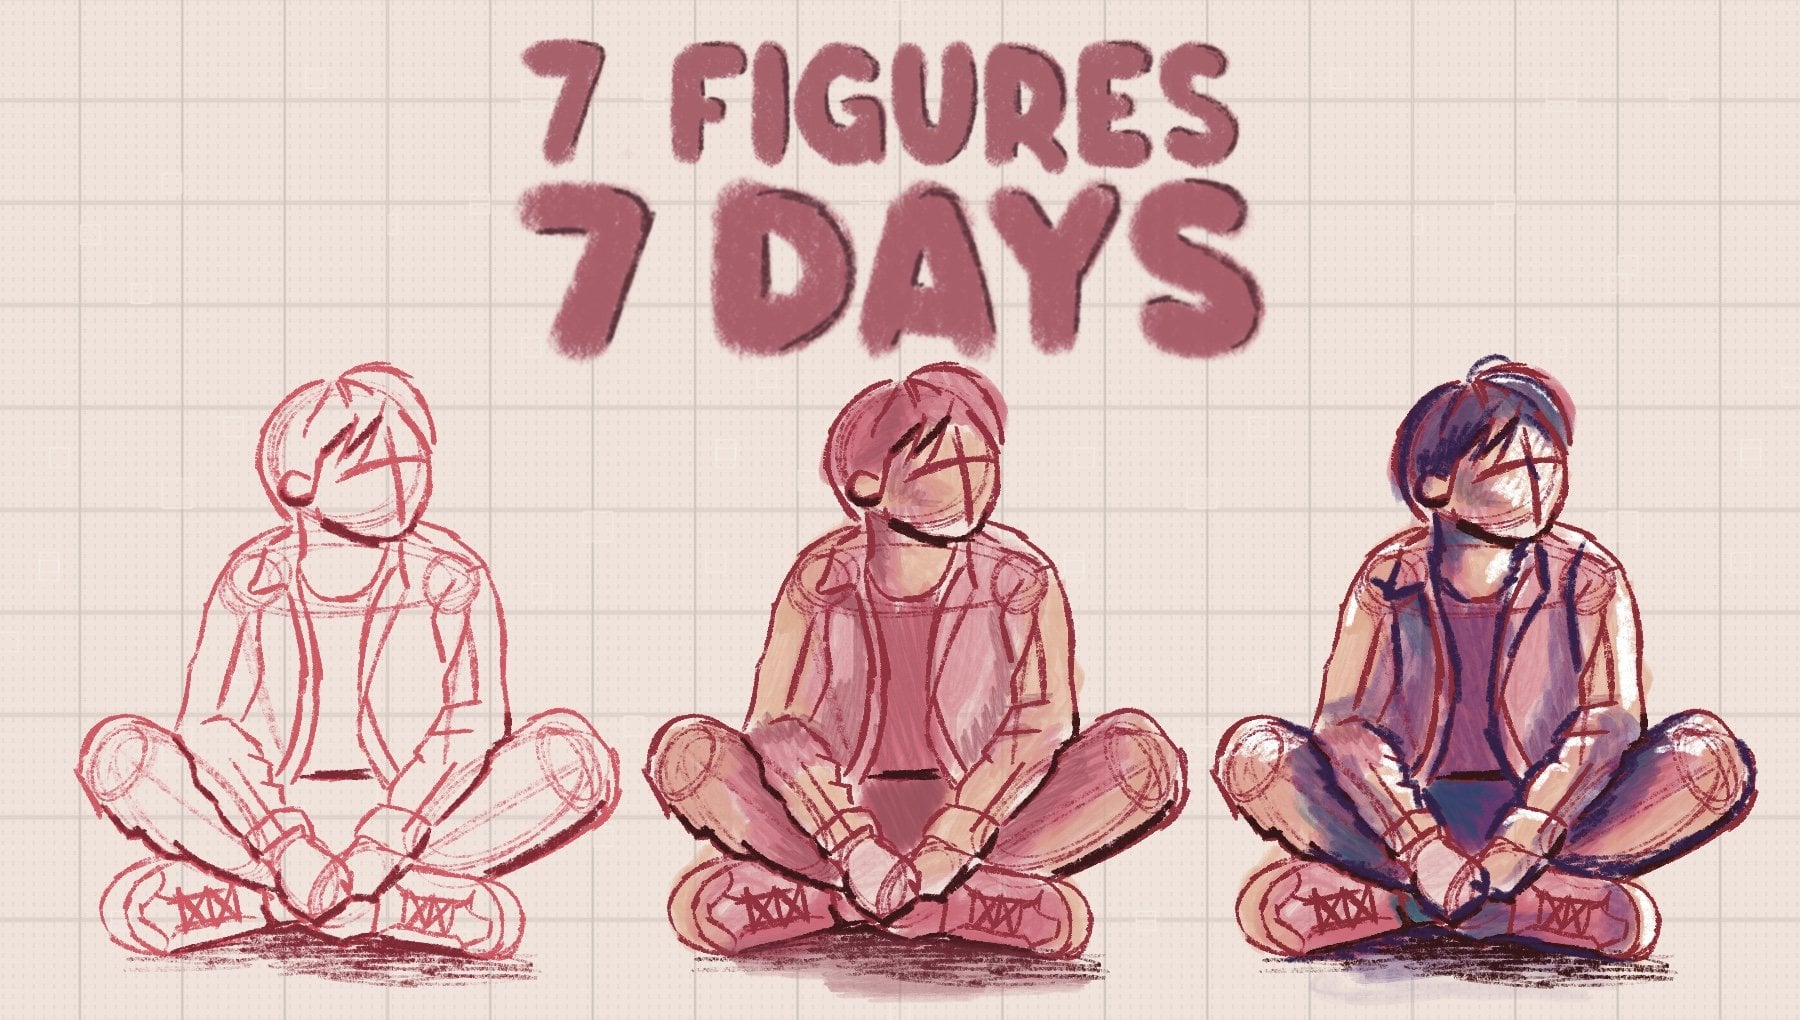
taking this technique further, I have another figure
drawing class where we did a seven figures in
seven days challenge. We start with a
very simple pose, and the figures
slowly increase in difficulty as the
challenge goes on. This class is great if you are trying to get better
at figure drawing because you have
something new to practice each day.
That is all for me. I really cannot wait
to see your art. Thank you so much for following
along and happy creat.
 Wiktoria, Professional portrait artist