Transcripts
1. Envelope Art Intro: Hi, friends. My name is Tammy, and thank you for
joining me today. Today we are doing envelope art. If you have never received a piece of mail
from a friend that had incredible art
attached to the envelope, you're missing out because it is such a joy to receive
this kind of art. I used to do this on
my Christmas cards. I'd love to decorate doodle. And I have been
challenged recently to make a winter themed envelope, and that's what I
have for us today. We're going to do this together. Go ahead and collect
all your scraps of papers and stickers and
maybe even an inkpad. And let's make
some envelope art.
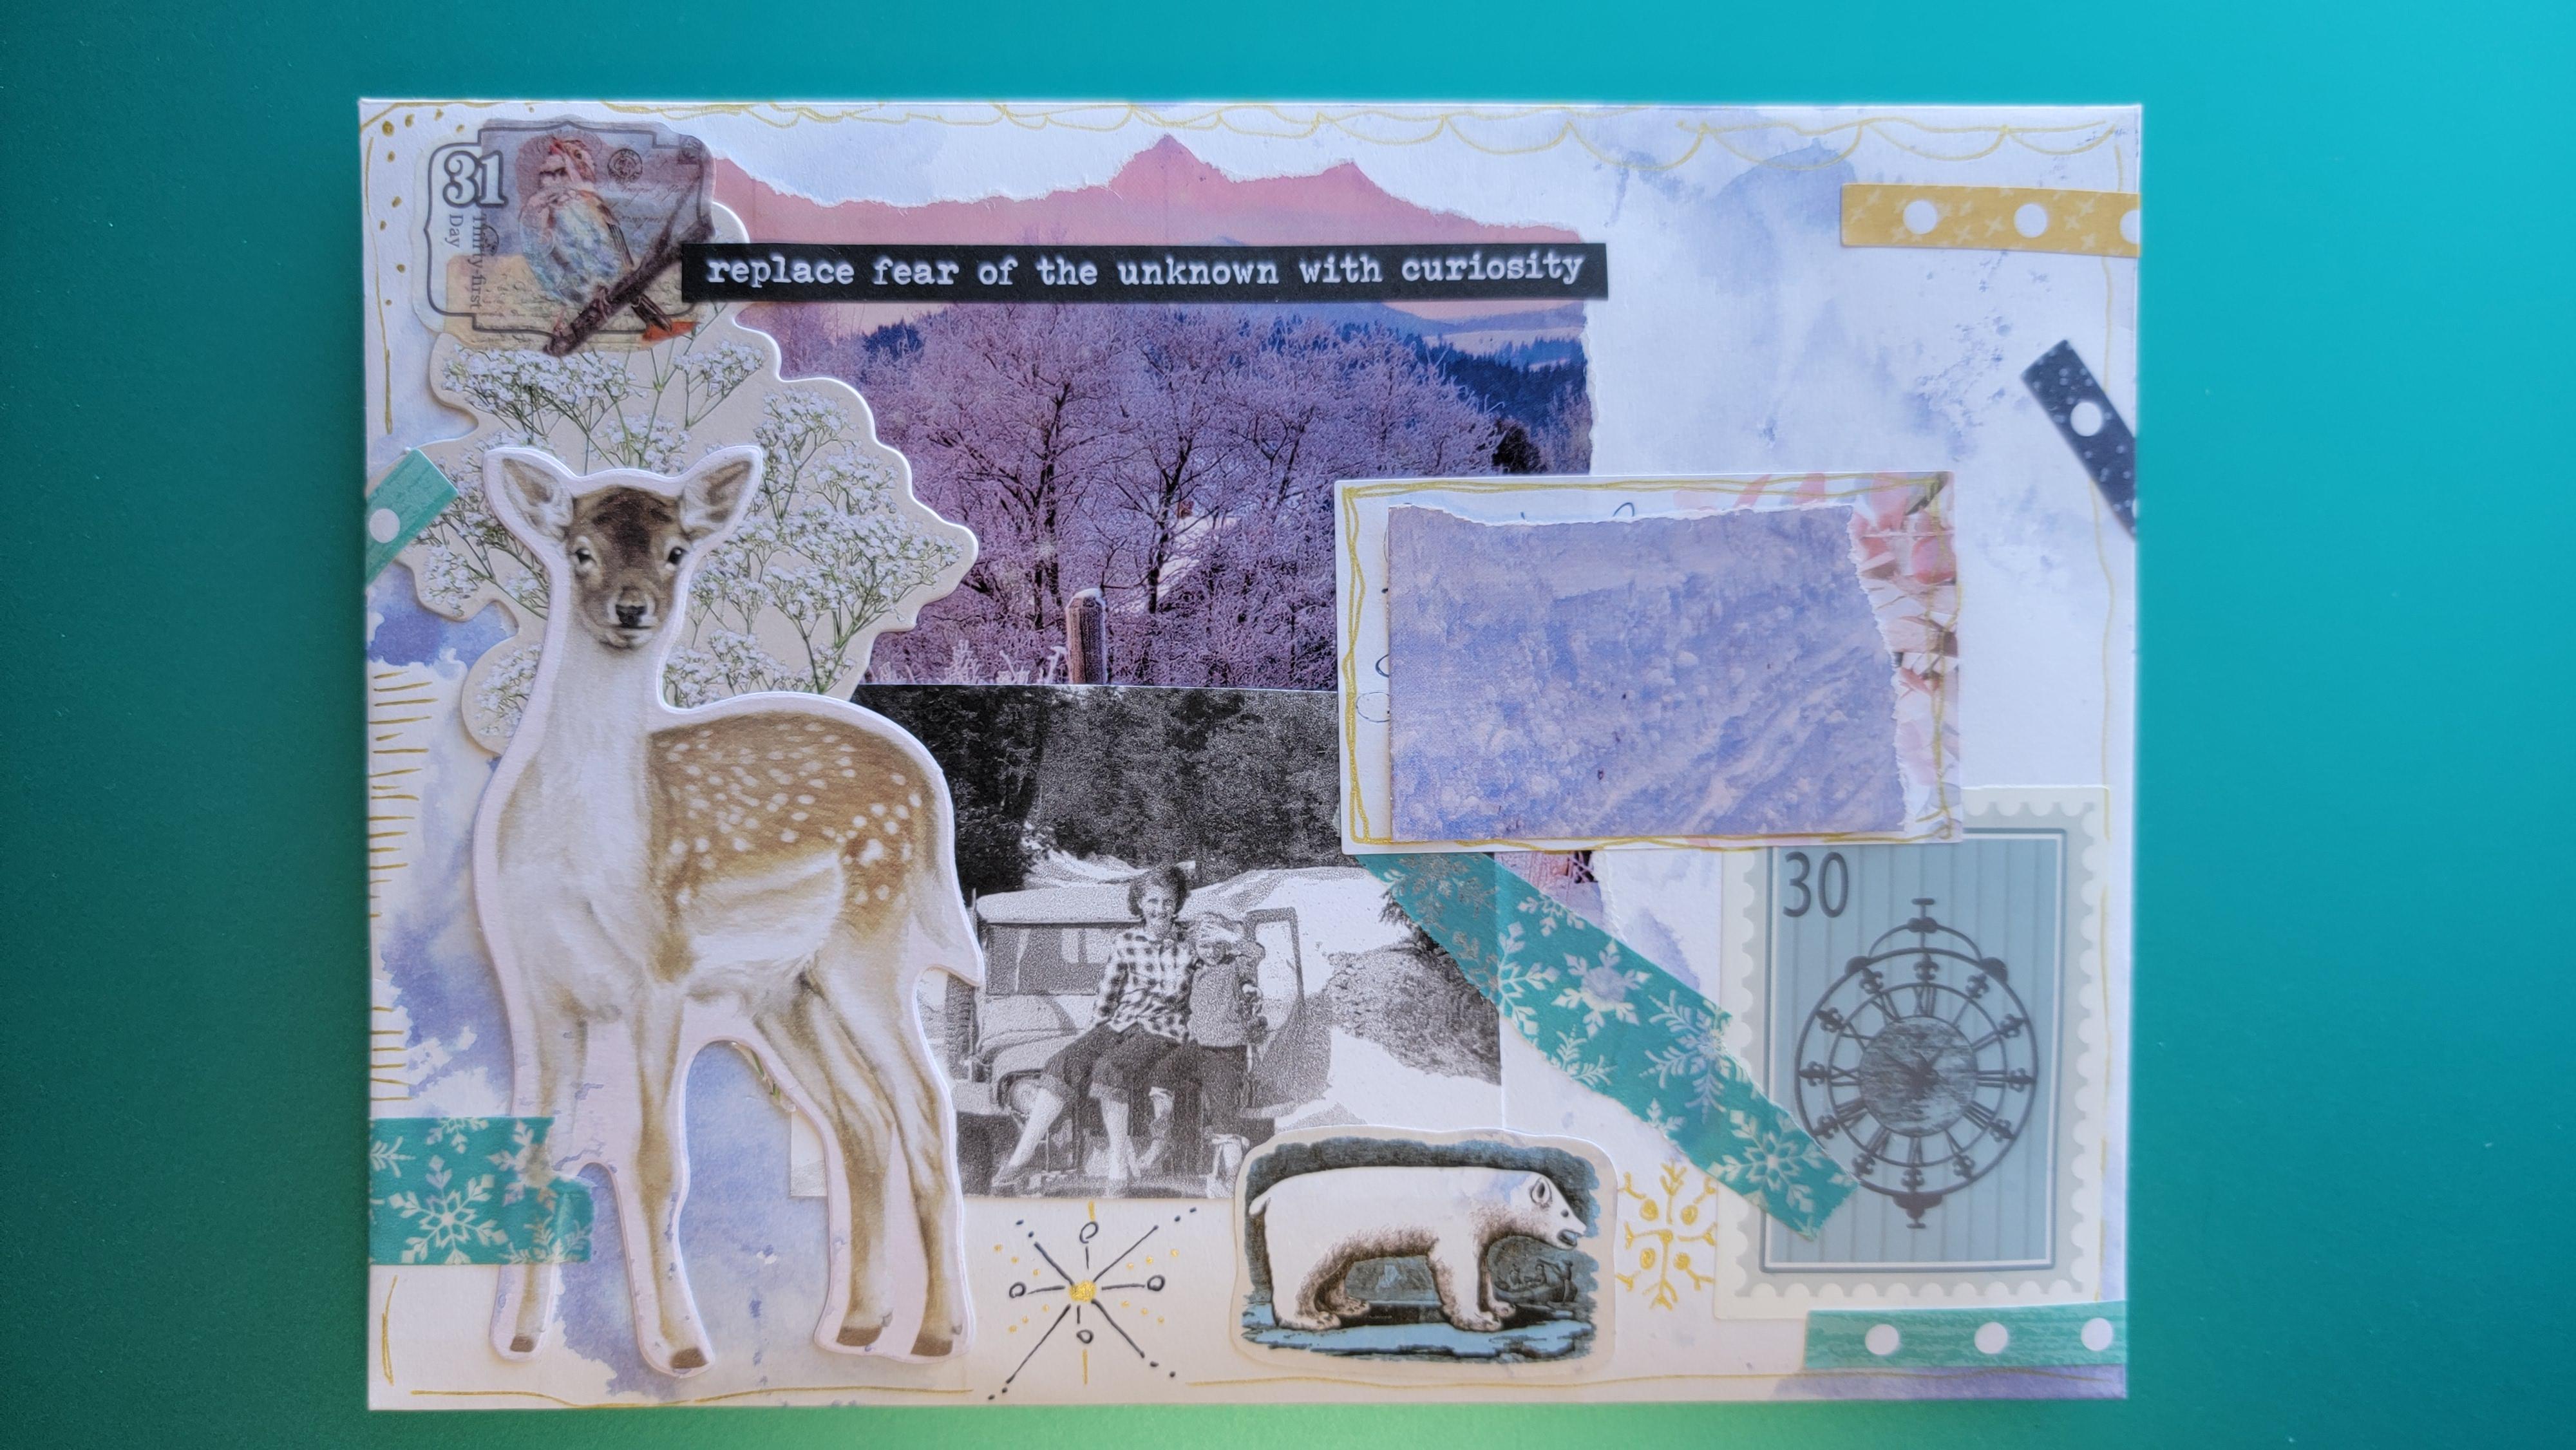
2. Supplies and First Layer: What I have for us
today is an envelope. It's just a plain
white envelope, and we are going to decorate
inside and outside. And I've collected a few things. I have some washy tape samples that are with winter themes. I have blue and snowflake. I have the glue stick that I really love the
Elmers Craft bond. Find some stickers. I chose this because
of the polar bears. I thought those would be fun. I like some vintage
things on here. I'm trying to choose things
with blue and white. I have some papers. I have something that kind
of reminds me of snowflakes. I have some other snow
paraphernalia, inkpad. And if you had a gel
plate, use a gel plate, but I have a piece of
glass and a spray bottle. You can use gel
pens to decorate. I have some text. I have some miscellaneous
vintage paper, but I also have
this calendar page with a beautiful snow image. So these are some
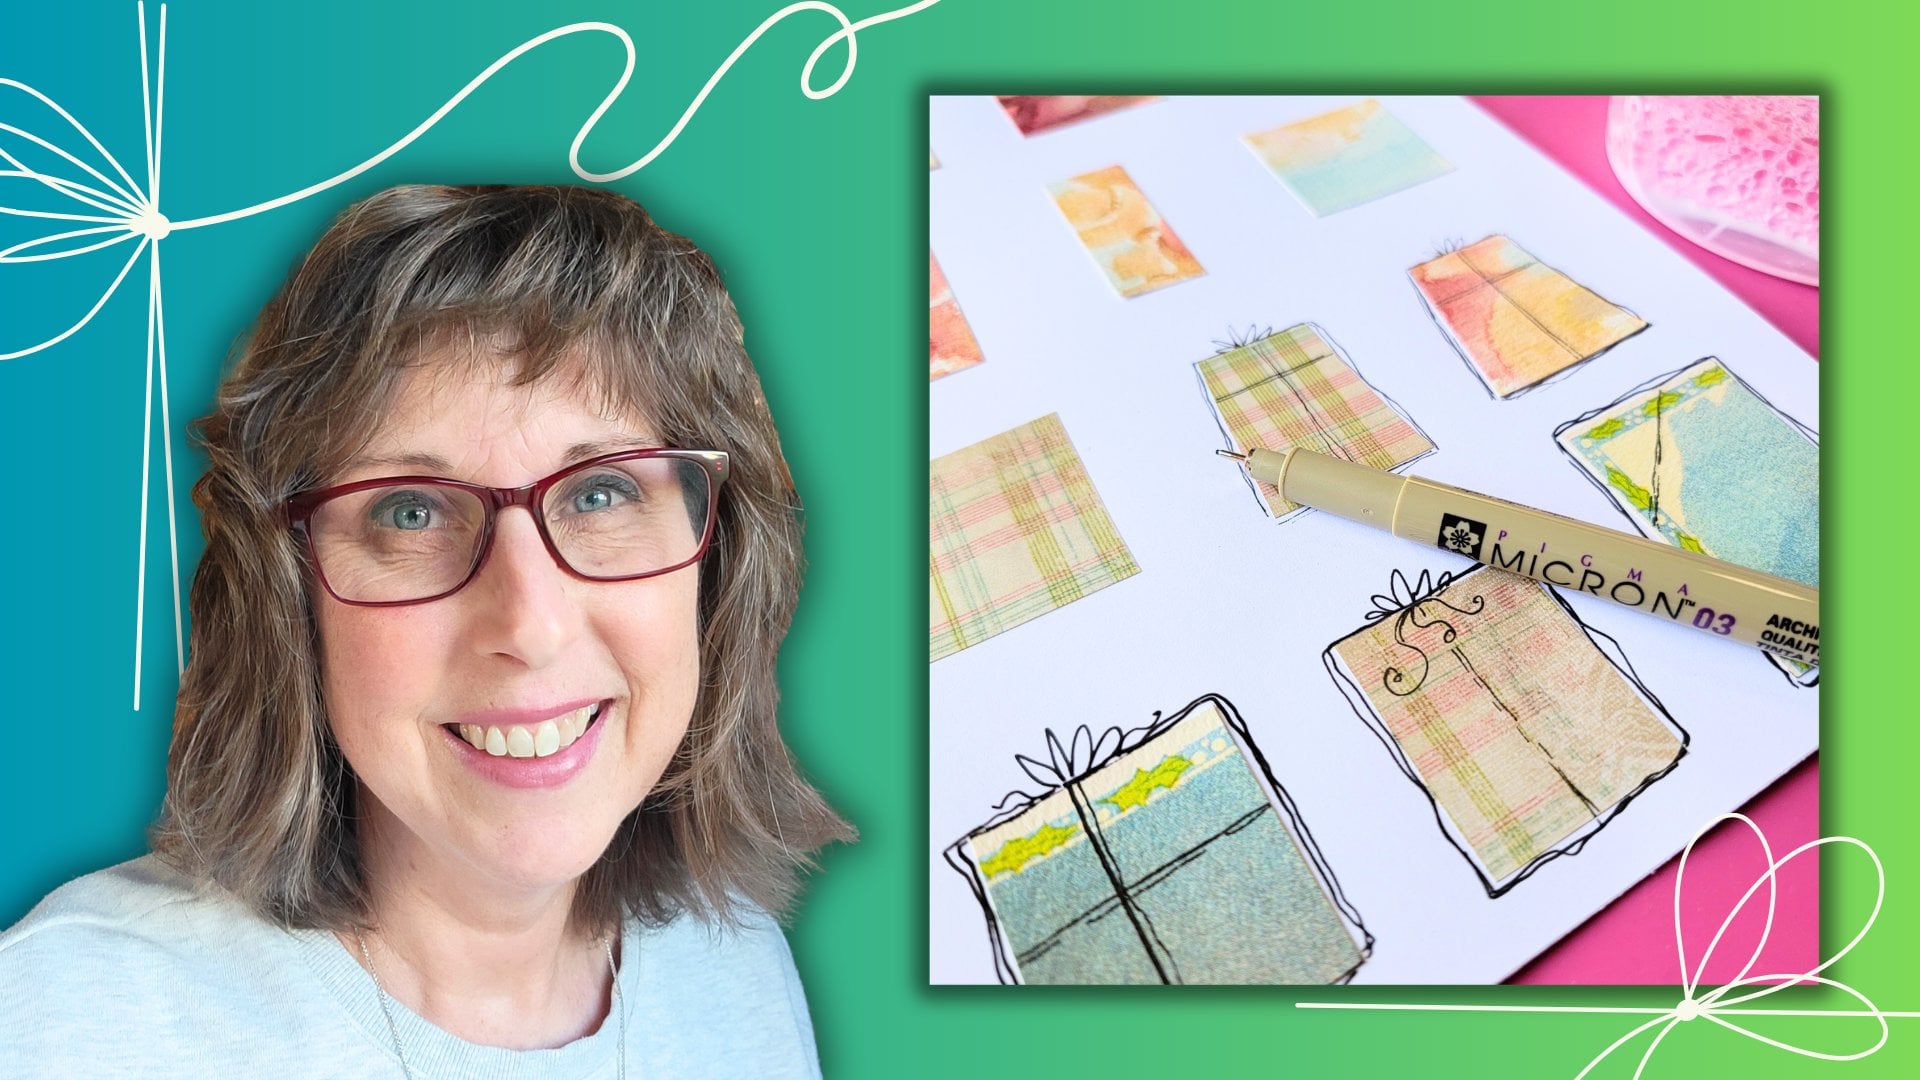
of the supplies. You grab what you have, get your plain envelope. I actually practice a bit
with the ink and the glass, and this is what I came up with. I want to start there. I want to show you
exactly how I did that. One of the biggest
problems people face when they're starting with
the right page is knowing what to do first or how to get over that
white page problem. Have you ever felt stuck just
looking at a white page, it kind of messes with
your head a little bit. Now, you can get envelopes wet. It's okay. Yes, it'll
take a second to dry. But that's what I
want to remember. I love that I made the
sample because it actually put ink on the side that that's
where the name would go. I really want to remember to try to leave
some space there. So I want to get a print on
this side, touch and lift. Touch and lift. In fact, even do the back.
Touch and lift. And we're just making a mess. And that is exactly my point. I want to make a
mess and just to feel the freedom of being okay, getting messy, doing
something new. That is all part of the process
of doing something new. Alright. I'm done. I'm going to set that aside. And this will just take
half a second to dry. Two things I was
imagining when I was looking at my paper
was doing an insert. Have you ever opened
an envelope that had a really interesting piece
inside the envelope? I was thinking maybe even doing this winter scene
inside my envelope. If that sounds cool to you, I want to make that happen. So I think I actually am going
to do this winter scene. It goes right up to that sunset. But I think I want that
inside my envelope. So let's mark this and then get our cutter and trim that up. Have you ever seen my videos of making envelope
art from paper, and you actually create your
own envelope, it is so fun. In fact, save your
calendar pages. They make really fun, ready to go envelopes. Just going to trim up my
calendar page. Let's see here. That's right. Let's take it to the top. In fact, I want to double check. I don't need to go all the way up 'cause that's
where my glue is. But I did kind of want to
see that's pretty sunset. So, boy, things are just bouncing all over the
table today, aren't they? Alright. We can
always trim up later. M and then it was this wide. Alright. Right
there. Here we go. Now, let's trim this up. Make sure my insert will
fit inside my envelope. It's slightly wide. So I just want to trim
that up with my scissors. In fact, I think
I like that post. So let's just take
it right here. I like that this is
a very thin paper. It's not gonna add
a lot of bulk or weight to my winter envelope. And here I'm just
below the glue line. Let's practice
folding. All right. And then we can trim the sides. I'm just gonna do this by hand. I'm not gonna make
this too complicated. Yep, that fits
right inside there. Now, what's great is
these beautiful papers can work really nicely
on the outside as well. Now, what's fun is
all I need to do is really glue this top down. If at any point you feel
like this looks like enough. Like, I love this look. Then you can leave
it or you could doodle snowflakes or Snowman. I'm gonna keep going. I'm kind of excited for this project.
3. Collage Touches: In fact, maybe this tree. Oh. In fact, I think I will. Um, let's do some tearing. I don't know what it
is about torn papers. That always looks so like you really are a paper
crafting artist. Which is fine. It kind of
takes the pressure off things. Being so perfect. They don't have to be at all. This is just you having fun. You experimenting. That's why I love
doing collages. You're just going with the
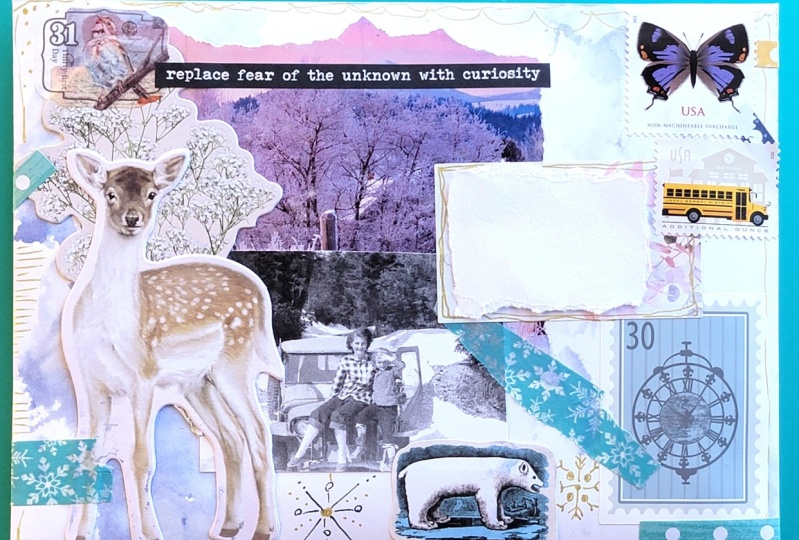
flow and Whoo, having fun. Sorry for shaking you up there. Now, what else do I have? I have my washi tape. I have Now, one of the things I really like to think about
is having a focal point. We may or may not use
all of these things. In fact, I'm really loving
this vintage photograph. I found vintage
photos that a Gosh, now I can't quite recall
where I did see it. But look how it's it's
just so easy to come together and put things in
places and imagine a look. It's Oh, what if this
was on the back? Yeah. We're just
having fun with this. Fact, this I don't know. That just seems to work
for me. I love that. And don't feel weird that your images might be
thick or card stock. I've really never
had an issue with getting my mail
with things on it. You can always insert
your envelope in a clear envelope if you
were really worried about having the most perfect
untouched Um, envelope. That's possible. Just
get a clear envelope. Make your own. I made
a clear envelope once. I used, um, what is that? I used have I'm using the warm hand press if you've
watched any of my videos. Helps get that glue stick extra. Oh, what was my idea? I just lost my train
of thought. Okay. I made with a page protector. And then I sewed around the outside to seal
my package inside. That would protect this, but then you outside. Envelope that was sewn
around the outside. Oh, my goodness.
How cool is that? The only thing about mailing envelope art is you might
need to check your postage. If your envelope
does not feel flat, then yes, you may
have an issue with it going through
the postal system. This is especially in the US. And you have to
add extra postage. So they call that
non machinable. You might need postage
for non machinable. If you want it hand canceled, look for that non
machinable postage. This was such a fun
idea to just stretch the imagination of what it
is you might want to do. I'm looking for that
itty bitty sticker. Here she is. Just because it was blue, I thought
that was neat. I thought it made
a cool addition. Are you getting a winter vibe
on this? I sure hope so. Here, up, up. How about this corner? And then on the back,
that's so cool. Alright. I'm just going to glue half because then when
I put my contents in, I can glue down the other
half. Love that look. And here's the inside
of our envelope. That blue wintry Hey, we, like, covered that up a lot. If that bothers you, let's get a little bit
more blue on there. I think I do. Touch. Yeah. In
fact, I like that so much. I'm going to do some more
on top of my images. Yes, yes, yes, yes. Okay. So here is
my This is waxy, so it's gonna wipe right
off anyway. Maybe. Is there a snowflake. Oh, look at that one. Okay. If you ever do
a washi tape swap, That is how people
like to do it. They put it on playing cards. Because of that waxy part
on the playing cards. Yeah. This is fun,
fun, fun, fun. Should I do another?
I think I should, especially since
I tore so badly. Here we go. Wow. This
one's extra sticky. The only reason I put
glue on my washi tape is because sometimes that washi tape peels up And it's nice to have
that extra glue. Oh, my goodness.
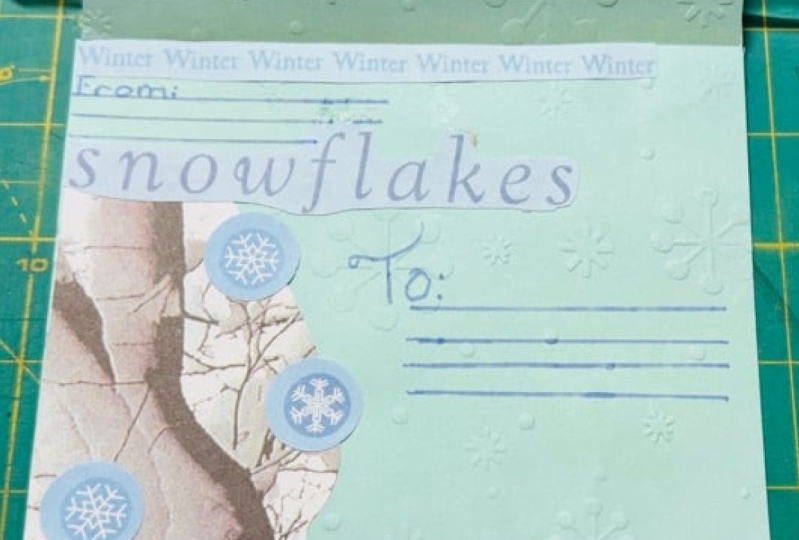
That looks great. Now, you're probably wondering, how am I supposed to do? An address. So let's think about this. Now, you're ready to put the
address on the envelope. What if you had
some little decals that you could put
right on there? Now, if your
handwriting is tiny, this would be a great solution. But if you need a
bit more writing, just use a white
piece of sticker, cut it to size, and then you can use that
as your address label. And there you go. Now, I have generally
written my return address on the back of the envelope instead of trying to
write it on the front. But this is just one idea
of having envelope art. Now, I love this idea so
much that I wanted to just even decorate the
paper of my label. You could do the ends. Make it bit of a
border on there. There you go. And I
can write the address. And there you go.
4. Wrap Up: And there you go. I hope you
enjoy today's envelope art. We did a winter theme
or we just took a plain envelope and
went to town collaging. Inks and papers and stickers. So thank you for joining me. I hope you take up
the challenge of creating some envelope
art for yourself, share it for a holiday or a
birthday special occasions. Thank you for joining
me. My name is Tammy. I would love it if you
would evaluate this video. Let me know if it met
your expectations. Did you learn something new? I need that feedback to help me create more
and more videos. Thank you for joining me.
You all have a great day.
 Tammy Prara, Making Matters