Transcripts
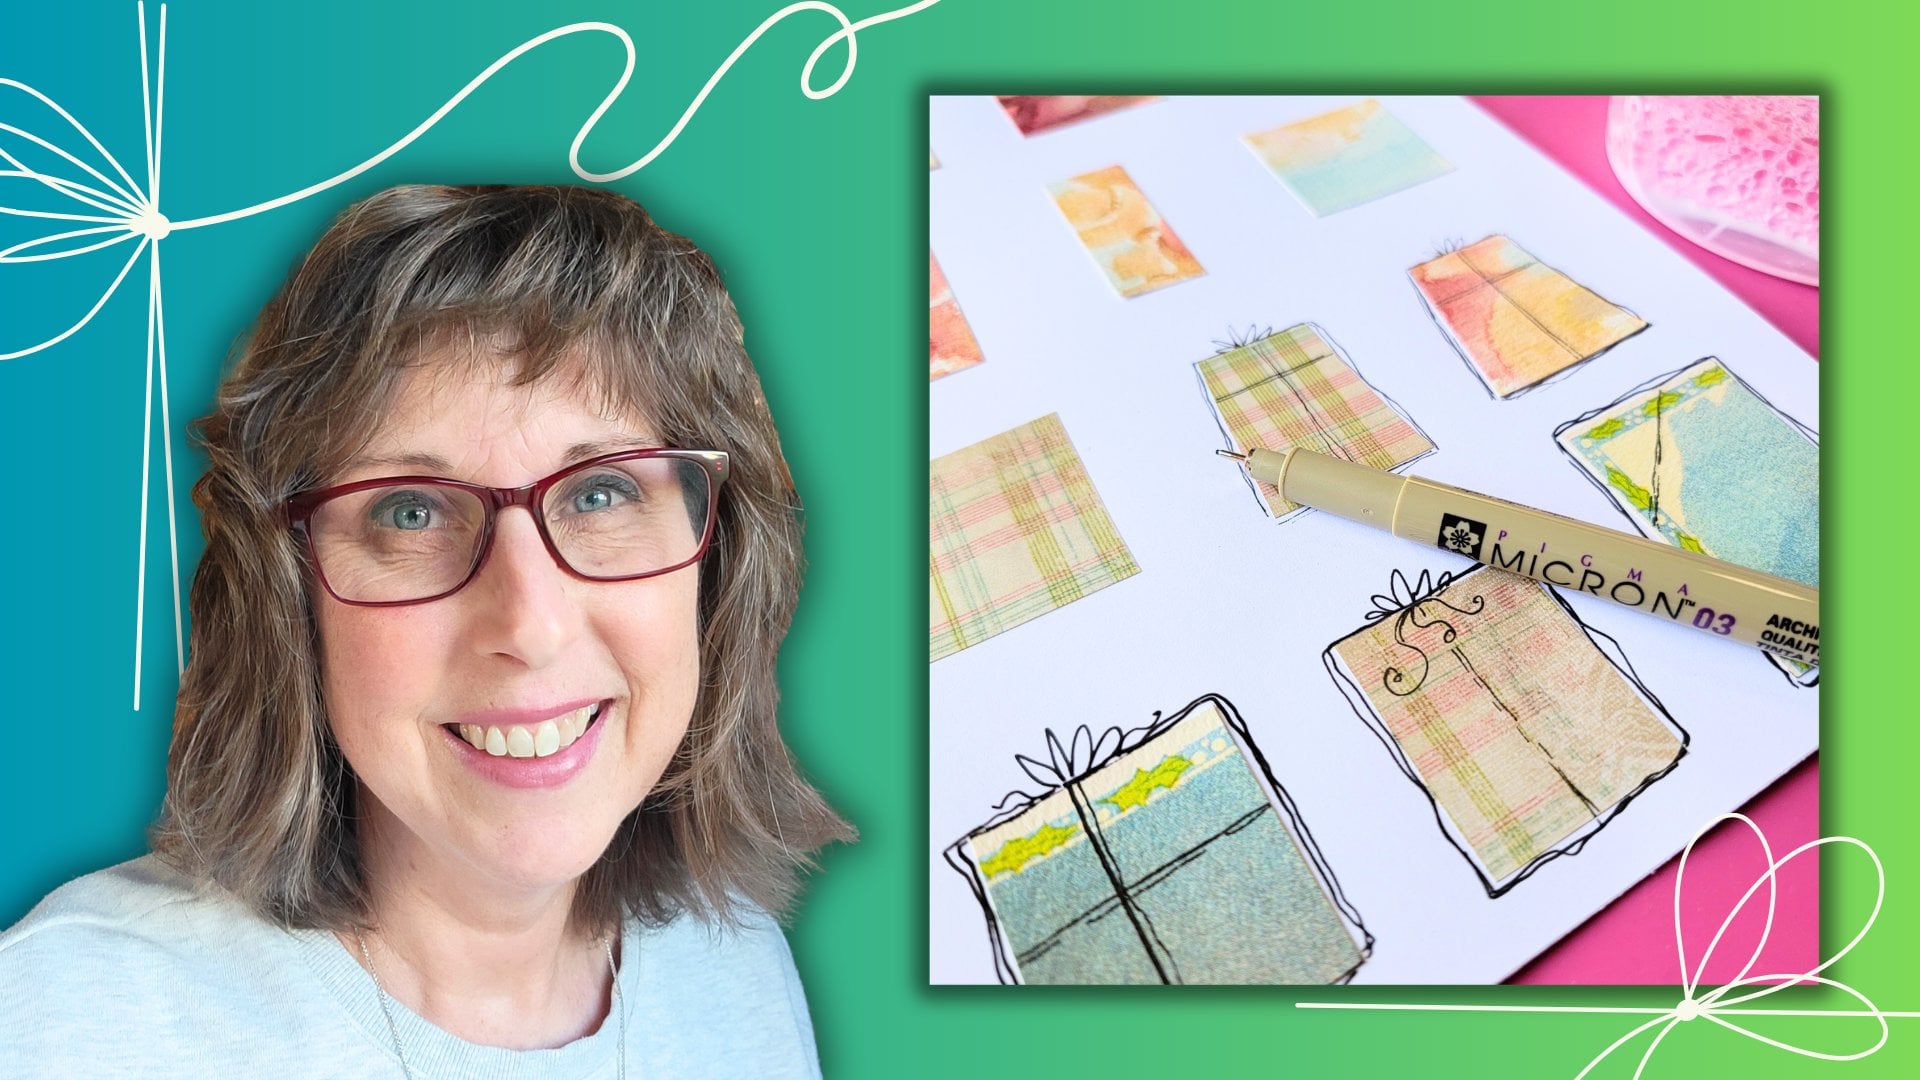
1. Welcome to Scrappy Trees : Hi, friends. I'm so
glad you're here. My name is Tammy, and I
am a lifelong crafter, a maker and a
creative encourager, who's passionate about turning everyday scraps into
something beautiful. I've been crafting
for over 20 years and making handmade cards and
junk journals and collages, and I love participating
in creative swaps. One thing I've learned is this, you don't need a lot
of fancy tools or brand new supplies to create something
joyful and meaningful. In this class, I'm going to
show you how to make simple, charming Christmas tree cards using only what
you have on hand, scrap papers, maybe fabric bits, glue, card stock, and
a pair of scissors. That's it. There's
no die cutter, there's no stress, and it's
an all fun kind of project. It's perfect for beginners or season crafters who are looking
to des stash creatively, whether you're prepping
for the holidays, you're joining a card
swap or you're wanting to create handmade gift
tags and gifts, you'll finish this class
with a beautiful set of cards and the inspiration to keep going. Here's
what you'll need. Paper or fabric scraps
and coordinating colors, card stock or blank cards, scissors, a sharp blade
or a rotary cutter, adhesive like a glue stick
or double sided tape. A ruler, pen, optional inking, or you can even stitch
for some added flare. This is a relaxed,
no pressure class. You'll learn simple but
effective design tips, how to mix patterns, and how to mass make cards without
sacrificing personality. Use this as a springboard
and embellish your way. You can be detashing your stash. You can also find more
of my handmade projects and inspiration on
Instagram and on YouTube. That's why I share
behind the scenes peeks and more crafty ideas. Let's start crafting
and start making something meaningful out
of what we already have. I'll see you in the lessons.
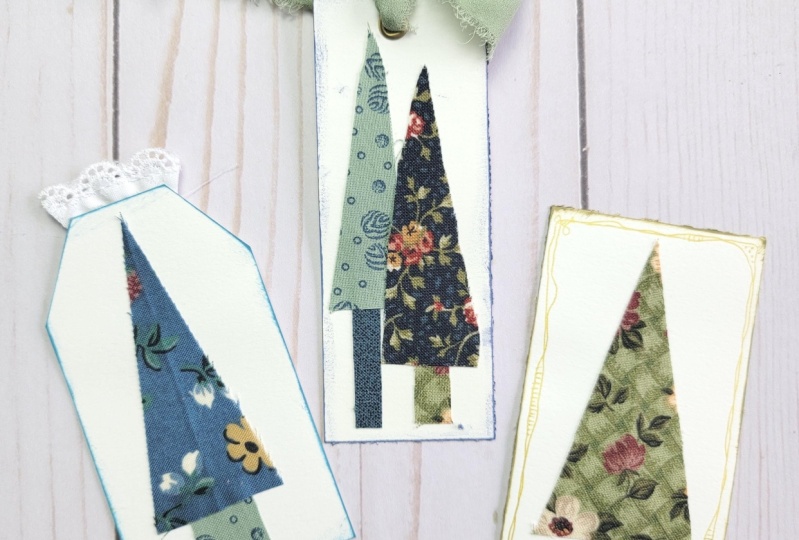
2. Scrappy Trees Supplies: Supplies for these cute cards are fairly simple and I want you to use what
you have on hand. I have an example of using paper and an example
of using fabric, and here's what
you're going to need. For the paper trees, I start with an 8.5 by
11 sheet of card stock. I cut it into two, 8.5 by 5.5 " and we're
going to fold that or a folded card and you really just need three pieces
of scrap paper, maybe four for the trunk and find something that you
like that's coordinating. They do not need to be 12 ". We're looking for scraps
that are 2 " by 4 ". I'm going to set that
aside for the fabric, it's really the same concept. Just a 2.5, I'm sorry, two by four inch scraps of coordinating fabrics and then
something for the trunk. You're going to need
some cutting tools. If you have a paper
trimmer, that's great. Mine's on the blitz right
now and a scoring tool. So markers. I have
double sided tape. This is optional, but I think it's a fun way to
try to make our trees. A ruler, some adhesives. For the fabrics, I'm
using fabric fix. You could use a PVA glue, a very thin tip, or even a glue stick would work. I have a couple inks. In fact, I like to use
makeup applicators to apply the ink when we're going
to edge our cards. I do use a scoring board
and a tool to help scorp. If you don't have
a scoring board, maybe you have a paper
tremor and in this groove, you can use that to
be your scoring mark.
3. Preparing Papers: Uh, as we prepare our papers, there's just a few things
you want to keep in mind. We are starting with
our card stock, and we're taking that 8.5 by 11 and we're turning it in
a landscape position, and we're going to
cut it in half. Now, you can use
your paper trimmer, you can use the ruler
and exacto knife. But once you've got
these two pieces, this will make a folded card, and this is a tip I like to use. I take either my paper trimmer
that's got this edge or I take the Then I just fold it up
and press and I seem to get really good matching on my corners. I love that tip. We're going to take
that will be our base, and then we need three
or four matching papers, and this is why. We're going to
take a triangle of each and the excess will give us half a triangle that we can match and make a different
look of our card. So I've prepared two already. I've got two more strips to go. And if you don't have
a paper trimmer, get a cutting mat or
pair of scissors even, and we're going to get 4 ". These were cut into 2 ", and now we're going to four. Take your sharp blade, make sure it's attached. There we go. I'm holding this to be completely as
straight as possible. And it's a little helpful
if you're standing. You can really press into that. Finishing off that
cut right there. Here we have our scraps
ready to go and our base. But you might want to have a few trunks for your tree
with a coordinating paper, or maybe you have little scraps of paper in a
coordinating color. I really liked having
extra trunk pieces made out of the papers
that I've used. I'm going to keep
this scrap on hand. The backside, it's not
going to work for our look, but maybe you do
have Extra paper. Maybe you like this green
and you want to save that. Those are just little details that you can add to your tree. Now, we're taking our
scoreboard and we just want to take our two inch papers. I'm going to put it on the back and I'm going to score it at 1 " and make a fold. Those little unmatched pieces. Not a problem. I'm going to explain that
in just a minute. I'm scoring here on let's see. No, I wanted it this way. I like that black neutral
better than this color green. This is more of a blue green, this more yellow green. But if you're okay with
matching, that's cool too. But I'm going to do
this basic, this black. Wow, look how off cut that was. Not a problem. Okay. Here we go. Finishing up scoring and
folding, scoring and folding. You know what? I do remember cutting these larger than 2 ". Now, if you wanted to
do my tip of folding, hold it up to the edge. It is a little silly
having a scoreboard, but that's how I would do that. Saves you from having
extra supplies. Now, we're going to cut these. I want to stand for this
part because I need all the leverage I can get
to get this cut properly. We're taking our papers, and this one was
very neatly edged, right? End to end. So we're going to cut our paper from top corner
to bottom opposite corner. Then my ruler can just be completely straight
on that line. I know that I'm getting
exactly where I want my cut. Now, you might feel like you
are a bit of a quilter in this moment because
this exactness is part of what
quilting looks like. I did feel like that when
I was creating these. Matching these pieces,
these scraps together. Here's our first tree. Again, here's the open end. I have a lot of excess. I want the bulk of my
tree here on the inside. Here we go. I've
got it lined up. I'm going to repeat this
process the other two times.
4. Create Your First Card: Now, here's where you
have a decision to make. How to lay out your trees. Do you want three trees, two trees, one tree, and all of that is up to you. Now, because we've cut three, let's go ahead and
put those down. As you can see on this card, I have the trees where
they weren't laying down. In fact, they had some
movement to them. I'm not sure that I love that. I'm not opposed to just
laying them completely flat. Personally, I think you would have some
trouble in mailing. Things get a little smushed
or they're not going to be popping up as you
thought they might. Arrange them, try again, rearrange them, decide
on a color scheme. In fact, I think I do
like the black right now. Let's start with that. I would say the one
that's down and on top, that's your focal point. You could play with that. But putting your
tree trunks down, that doesn't really help. We're going to go ahead
and keep your choice, your favorite on top. You might want a piece
of scratch paper. A lot of people like book pages. I just have more copy paper
than I know what to do with. I'm going to start with my back trees so I can remember
where my placement is. Things never seem to go down exactly how you thought
they were going to be. It's about there. I do want to be mindful of the top and the
edges of my card. Don't forget your warm hand
press to keep that adhesive. Full force working. Now, I actually switched
to this uhutick. I do like it. I
really do like it. I wasn't Elmer's craft bond girl for a long time because
it's accessible. That's what I can get at
our local craft stores. But it had to be the craft bond. And I'll tell you what. I'm going to lay down my trunks first before I lay my last tree. And you know what? I
don't think I like that. So do I want green, maybe? Maybe I'll put the green down. You've got two
sided scrap paper. That is so handy. You have choices, and all
the papers will coordinate. I will say that my
blue paper and this green and black came
from different sets. They're not the best
color combination. Like I mentioned, one's
a little blue green, one's a little yellow green. So I was saying
this hu set stick. I just got it on Amazon
and I am really impressed. It is extra sticky and it
adheres really quickly. I am not a symmetrical
kind of person. I love things that
are off centered. I am more than happy to
experiment with things like that. Wondering if I
want a pink trunk. No. I think I want
a bit of scrap. What else do I have? Oh, that black's okay. Or how about that? Maybe the green. Do I want it? Yeah, I think I'm going to have it not come to the bottom. I will trim that off. I'm going to put this under. Well, I better trim that first. There we go. Okay,
I think we are set. Yes.
5. Creating the Scrappy Tree: For our second paper tree, we are going to use our scraps. Let's see how many combinations
we can make with these. We can match those up. Let's see. I do think I
want a pink and black. We could go back to that. I'm looking at those pine
cones, isn't that cute? Maybe those four
styles would work. If I was going to match this single tree
with the two pink, I would probably switch so that both of my pinks
weren't on the same side, or I could do this
tree with these two. I'll probably do that.
Now, see this wonky cut, and this one's got a flat tip. We can trim these off or we can layer them up and cut that off. The trees can be different
sizes of height. See how my bottoms are
a little different. If you want them
straight across, or if you want them
diagonal going this way, that's all up to you. It's all part of that
quirkiness of paper crafting. Before we get it onto our base, here is my paper tape trick. This double sided
tape is I think helpful in the sense that
it will keep them together. Instead of gluing straight
down to your paper, you have some time
to work things out. It's sticking to my
fingernail here, but I'm trying to hold one side down and about halfway on, I lay one side, and then I'm
matching the other side. You can overlap slightly. But that will hold together and I can play and I can trim, and then I can prepare to
set it down on my card. Let me do I found a
couple more extras. I'm curious how many. I may just save these
for trunks. We'll see. Let's get our double
sided tape. What is this? This is about a
quarter of an inch. I just eyeball how long I need. I'm not going to go
straight up to the top. I want it about in the middle. In case I want to
trim the bottom or I need to do
something to the top. Like I said, it's
just my placeholder. It's holding them together
until I'm ready to use them. Then I can agglue and peel
that and place onto the card. Let me finish these up and
we'll complete our card. Now we're going to decide how
we want our card to look. Do I want these pinks? Which looks really nice. I think I do want to
switch sides though. I wanted to keep those
blue metallics apart. That is really cool. I think
I want to keep that edge, but maybe those can be straight. I am going to trim that up. I'm just looking at the corner, maybe try to reach
the other corner. I came out a little bit
crooked. Works for me. This bottom is pretty good. Like I said, that top
went way off Mark. Let's take a peek at what
our bases should be. Like I was thinking this
pink down here would be pretty. You have to decide. I think I want my trunk. Those spots going that
way are up and down. Yeah, side to side. Now, what trunk for those? Oh. Another black. More pink not. I think I'm going to do these. This time, the trunk will be the stripes
going up and down. Looks like I'm going to have my trunks going all
the way to the bottom. Let's see, one
more matchy matchy or different black,
matchy matchy. That's okay because
that black is hidden. About to the middle
here. There we go. Now all we have to
do is glue it down. I'm choosing to use the PVA
glue only because the tip of the my oh stick
is pretty wide. I just didn't want to
make a mess much too much of getting my strip of
double sided tape off. Here we are. I just
put a big bottle of PVA glue into this tiny bottle. Being mindful of the
side and the top, there's my first tree. I might trim her
down a bit bit more. Whoops. Way too much. Okay. Fantastic. Sometimes pulling double
sided tape can be a chore. And again, mindful
of the top and side. And my last tree Perfect. All right. We've got our
three trees laid down? Is that beautiful. You
could do book pages. You could do magazine pages. You could do traditional
Christmas pages, and you will have the most
beautiful handmade cards. Isn't that fun? I just love
that paper tree effect.
6. Fabric Prep: Oh. Good news about preparing the fabric is you do it
basically the same way. I'm actually going to
use a rotary cutter because I have one and it
seems to work pretty good. We're going to look for, again, two by four inch pieces. The reason for that is it fits
the best on a folded card. Obviously, these
are things you can make larger or smaller
to fit your space. Let's go ahead and look at
these and see how I got it. All right. Let's look at this. It's a little over 2 ". I'm going to trim that up and make my line as straight
as possible on this side. I just move everything?
Come on, now. If you like frayed edges, great. If you want to trim it
up with pinking shears, that would be a great look. I have my rotary look at
me taking off diagonally. Holding it towards
my fabrics moving. Tends to keep the
fabric from sliding, but not everything's perfect. That's why I call
myself a crafter. I don't know if I could
ever quilt in real life. That would be so
stressful to me. Okay. I'm going to cut one piece at the four
inch line. There we go. First one down. Now, two, three, more. Two, three, four. How about what
about I start over here and trim the
raggedy end up. Oh, boy. There. Okay. And how big was this? Three. Okay. That might
make a nice trunk, so we'll definitely save that. You know, I don't know that it matters what
kind of fabric you have. If you've got velvet or canvas, something heavy duty, but I tend to find a lot
of quilting fabric. And it's a lighter cotton
and I'm good with that. I inherited quite
a bit from my mom. I know several ladies who quilt and you can find
scraps all the time. If you're at thrift stores, if you're at estate sales, you might find bags of fabric,
and that's all you need. Think about this. You can make two cards with just this
tiny bit of materials. Now, I thought this was
so cute mostly because it looks like snow on a
dark sky. Let's see. I think we'll go this way. Let me get 2 " off of here. This thimble beerrs fabric was popular in 2000. That's about when my
mom was quilting. A date, 2002 on there. We're going to
take 4 " this way. One, two, three, four, Always close your blades
up. Hello, Ramsey. What is it? The thing that's different about
the fabric then for cutting your triangles is we're not folding it and
it's going to stay. We're not making a score line, but you can do something
called a finger press. Just the heat from
your hand will cause a bit of a
seam on your fabric. We're going to take that idea, crease it with the finger press, and again, on the top corner to the
opposite bottom corner. It's a little trickier. But worth it. I just think, you could cut
triangles all different ways. But this idea I saw online and what I
liked was that it gave you fairly similar size of tree just from your scraps. So that's one reason
I liked this size and this reason for cutting the trees in this
size and in this way. Obviously, do what
you are called to do. If it's a big fat tree, if it's a tall or skinnier
tree, sky's the limit, but here's the
basics and I'm going to cut out my triangles on
the rest of the fabric.
7. Create Fabric Cards: Not every card needs
to have three trees. What if you just had two? I like how these turned out. I think I'm going to do
two on my next card. Decisions, decisions. I said, I love that
snowflake look. I think those might be too similar. What do
you think of that? One idea for placement
that you want to maybe think about
is how we read. When we look left to right, generally sentences will
end with a down voice. That's one thing I think about
when I do my placement is that one tree is taller
and one is shorter, that's great. But where? I tend to have my
taller things on the left and my lower things on the right. Play with that. See if you agree with that idea, and you could make
them closer or wider. I think I'm going to keep
them a little bit wider and maybe this blue
for the trunk. Or I could do opposite trunks. What do you think? I like
that. I think I'll do that. Let me cut something
a little wider for skinny trunk
and a fatter trunk. Again, just depends on
how big your trees are if your trunks are coming
down to the end or are they going to
be up a little bit? Maybe you want your
trunks on the top. Maybe you're going to be
sewing around the outside. Whatever look you
want to achieve, play with it and
experiment with it. Now, the one thing I do
use is a fabric glue. Not absolutely
necessary, but man, I think it really helps. This is fabric fix. It's not fabric tack. I find it to be a little bit longer to adhere than
the fabric tack. As you can see, it's
a little bit more runny than fabric tack. If you've ever played with that, you'll know exactly
what I'm talking about. I like that, it seems to
be very self leveling. It does not create the bumpiness under fabric
you might have experienced. It does dry quickly, but I think I like
fabric tack better. I don't know. I
found this on sale, so I grabbed it, thinking
it was the same thing. It's not. Here he is. Are we going to have
more separation between them? How about right there? Like I said, you could
have frayed edges, pinking shears, all of that
would look really neat. But when you're mass making, which is what I really
purposed to do, to have something
that goes quick, something that if you
just follow the rules, you can make a whole
bunch at one time. You can cut multiple pages, copy the same look
over and over again, and you've got handmade
cards done quickly. Now imagine this as
a birthday card. Or Mother's Day card. What shapes could you do? Flowers, leaves, a simple shape, a leaf and a stem, glued down with fabric, how cool is that? No. I'm going to use the same
trick with the paper tape, two sided tape, as we did
with the paper trees. Yes, it will work. I've done it. I really like that combo. Let's see. This dark. Sure. So we're just mixing and matching everything because I have so many combinations. Yeah. Okay. And again, tear the
length that you need. I lay down on half of your dolable
side of tape. Like I said, it's
just a placeholder. It's going to keep your elements together until you are
ready to glue down. The fabric is so wiggly. Tell you what.
Now, when we glue, we can definitely glue
that tip together. It is not a strong adhesive, so be very gentle as
you're manipulating those. Let me finish tacking these together and we'll
finish making our card. Now, this one has a
lot of frayed edges. I think I might do
some more over here. Let's make a curly
tree over here, right? Something crafty looking. Okay. Let's glue this down and
we will be good to go. Got to be gentle with
this double sided. Getting it to lift on
fabric is more challenging, but can be done, and maybe my next one, I will peel the tape first. Although if you're going to
give me too much trouble, I may just leave
you paper and all. Here we go. Mindful of the edge. There we go. Look. Ramsey's
happy to see somebody. So we pull the tape first? Me, Ramsey. Hey. Fluffing out my tree looks like I've got
some tree branches. What do you think? All right, so we've made our second fabric card just
like how we did our paper. Now we're on to embellishing.
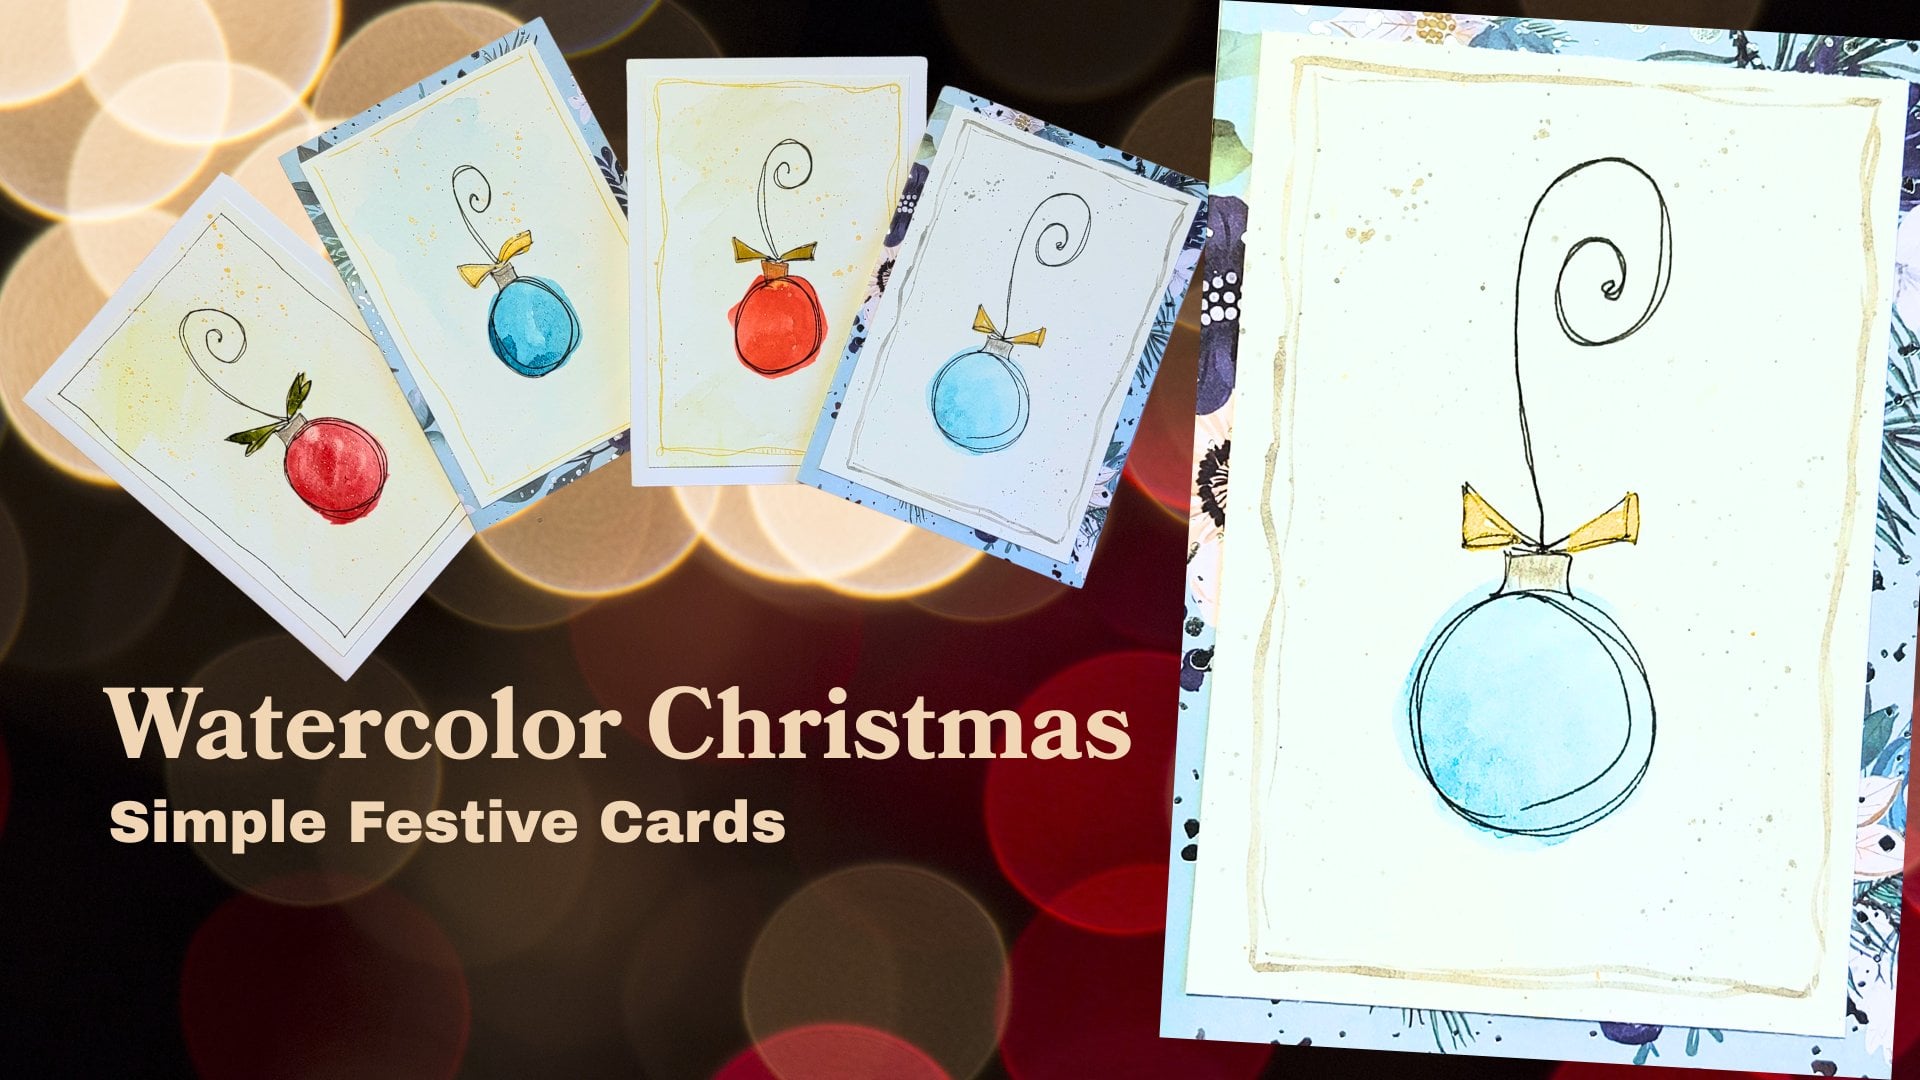
8. Scrappy Trees Embellishing: Now, you have a couple choices when it comes to embellishing. Maybe you want to
add some inking or some sewing or gel pens, outlining there's so many
variations that you could do. You could collage on top. You could splatter paint. But what I'm going to
focus on today is adding some pen and ink and outlining today you can share in your projects all the different other options
that you might go with. Now, for inking, I'm going to use my ground espresso and I actually like to
use makeup sponges. Actually, I think I
might do the gray. Let's do the gray on here. This is what I mean
about makeup sponges. Let's take our paper here. I'm just going to
ink the front of the card distress that edge. Many times I like a harder edge and I will just rub it along
the inking pad itself. I'll show you that
in just a second. All these blues. We're having a blue
Christmas, I think. But if you want a sharp edge, just Brush your ink
pad along the edge. I want to take the silver pen and I'm going to draw around
the outside of the card. Now, if you know my style, you'll know that straight
lines are not necessary. In fact, I get more uptight
thinking about making straight lines than
if I just go for it. I want a craftier look. And so I try to when I go
over the line to not match. I don't particularly like
straight right off the page. That's why I'm weaving in and
out of my line purposely. Now, I'm looking
for an open space. This is one tip I like to share. Find an open space and draw some straight lines
in that open space. Not all of them, some of them. You could change directions. You could also do diagonal. You could do dots. I think I'll put some
dots in this one. I do look for a place. I can do it on all four sides. If I gave myself that
space, let's see here. That one's awfully small. There you go. Now, let's
finish it off with some dots. Make it a snow. It's a stormy day. That gray storm Navy would have looked good on
here, but I don't have a navy. We're using what we have.
I vary the dot size. But start with your large
and randomly place them, and then you can fill
in with smaller. And I would not go all the way down more snow at the
top than at the bottom. Definitely more way at the top. What I like about
metallic markers is that it's such a cool effect. You look at it one way and
then you look at it another way and it's that much
more dimension to it. For this fabric, let's
try some ground espresso. Maybe we'll just rub the edge. Making a very stark line. You see some of that
feathering out from when I got too much ink pad. There it goes. Especially
like it on the corners. Gosh, did I not even do
the bottom? There we go. That's one. Now
we're going to take the black liner and I'm
going to outline my trees with the same agenda of keeping a line that's fairly
wavy, doubling back. So that I will have spaces
to do that bit of doodling. Where we go. You notice this tree does not
have a sharp tip. Maybe you could put a gem
up there, a star up there. A cluster of fabric.
There we go. Again, with your very fine
liner, add some embellishment. Making this extra extra simple. But there's something
about the hand touch because you've added
this extra element. You didn't just slap
something down and go, I think it just means
that much more. This would make a great
place for sentiment. I'm looking to make
something simple that I can replicate ten times, 20 times and have
something that's handmade, something that is going to
be appreciated and enjoyed. For a small group,
maybe you have a women's group or
an event coming up, something you could mass
make on a big scale. There was a time I sent
over 100 Christmas cards. So mass making something on a simple scale
is so important.
9. Project Time: H for your class project, I want you to take on
the challenge of finding some coordinating papers
and cutting them in strips of two by 4
" and then making your triangle and then creating something on a card
base or a tag base. Maybe you want to
make it a gift tag, and maybe it's not
even a Christmas tree, but I want you to find a way
to use your paper scraps up, your fabric scraps up and create something that can be
used as a wonderful gift. Share that with me in
the project section. The more you share, the more other people
can be inspired. That's what I love creating
because the more you do, the more ideas you have. And that's what's important. I want you to experiment
and try new things. It will always look different based on the papers you use, and I can't wait to see it. Tell me about your
experience as well, and I would love it if you would review
this class for me. I need your feedback. I can't wait to hear from you on how this all
worked out for you. So share your projects. I work hard on commenting on each of them because I
love to be inspired. Share that in the
project section, and I will see you next time.
10. Scrappy Trees Wrap Up: As we wrap up our time together, I am so excited for Christmas. It doesn't matter
what time of year. In fact, I follow pages that
actually have countdowns. That's how much I
love Christmas. So mass making early will make the season go so much
smoother. Don't you agree? Go ahead and make your cards, make your tags, maybe make
something that's a gift. You could make this
on a larger scale. You could scale it
down, like I said, and make a cluster
or a gift tag, something that could
go into a journal, so many options
with this one idea of cutting your paper to a specific size,
get that triangle, get the scraps, and
play with them, get them glued onto your card or whatever your
substrate is going to be, and then share that with me. I'd love to see your project and let me know how
you like this class. I need your feedback. Please review this class. That means so much to me, and I appreciate your time Thank you for joining me
and have a great day.
 Tammy Prara, Making Matters