Transcripts
1. Introduction: Hello everyone. I'm
Swaminimhikulkeri. And welcome to my class. I'm an artist singer, an art educator, and a Youtuber. In this class, we are going
to learn watercolor Mandala. On skillshare, I have uploaded many classes related
to Mandala art, and now in this class, we will be learning
watercolor Mandalas. First we will revise
what is Mandala art. Then we'll also learn some
watercolor mandala patterns, which are used mostly in
watercolor mandala artworks. Then we will also learn some basic color
theory after that, some texture patterns using watercolors and create some
mandala patterns on them. We will be also doing a
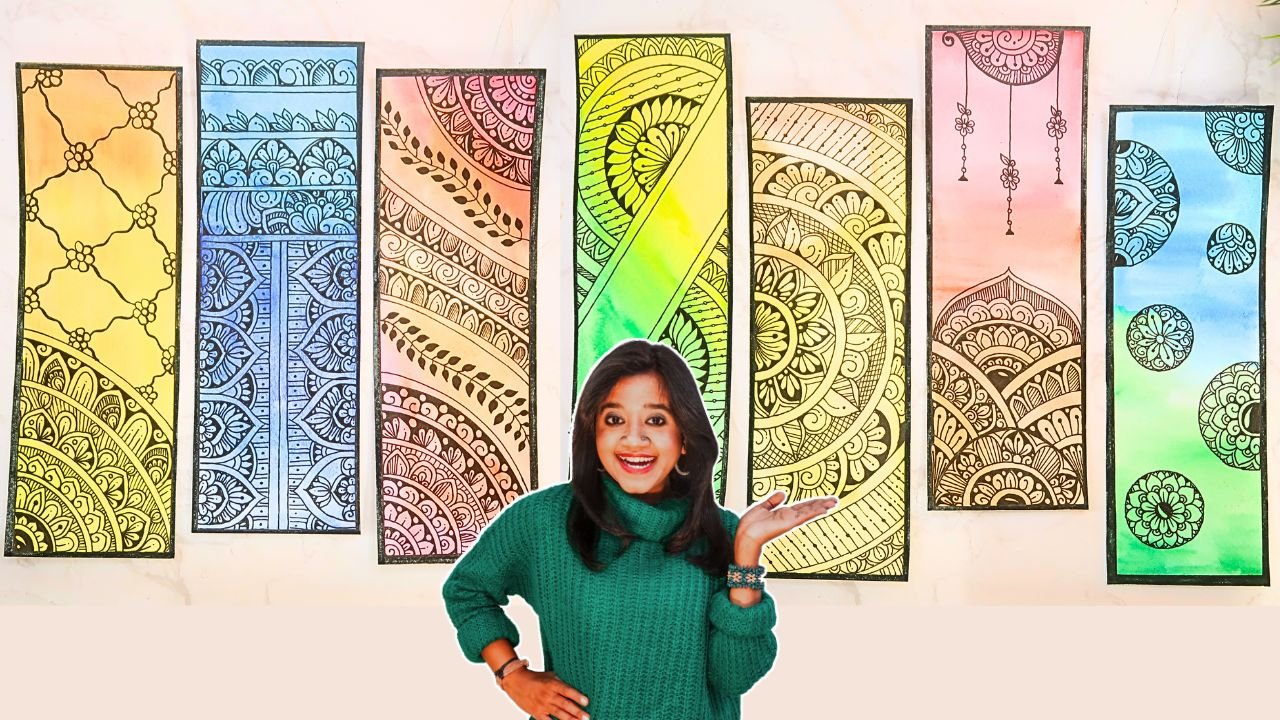
semicircle watercolor mandala. After that, we will be doing Odle watercolor mandala fill up. And at the last we will do a complete watercolor
mandala artwork which will be a
circular mandala. By doing this class,
you will be able to do watercolor mandalas
with lots of ease. You will also get to know
some basic color theories and color combinations in all your artworks
will get improved. So I guess that's it for
the introduction and I'm very good to see
you in my first lesson.
2. Material Needed: Hello everyone. In this class, we are going to learn
watercolor Mandala. First we will understand
what is Mandala art. Mandala is an ancient
meditative art form in which we draw repetitive patterns
inside concentric circles, often termed to as
secarate geometry. I've created many classes on
skillshare about mandalas, and now we are here to
learn watercolor mandalas. For watercolor mandala,
you will need watercolor, handmade pepper of 300 GSM, rounder scale, pencil,
protractor watercolor cakes, brushes a black pen. If you don't have black pen, you can use any pen you have. And that's all you need to create watercolor
mandala artworks, save in the first lesson.
3. Basic Patterns: Hello everyone and welcome to the first lesson of
Watercolor Mandala Class. In the first lesson, I'm going
to take handmade paper of 300 GSM and creating horizontal lines using
scale and pencil. First, we will create
some basic patterns. For the first pattern, I am using pointed petals
and rounded petals. We are going to make a
combination of these two patterns now creating boundary
from inside to each pointed petal and creating a swirl in
each rounded petal. It's a very simple
and easy technique to decorate your artwork, Also adding a slanting line
weight.in pointed petal. For the next one, I'm
creating a leaf shape. Below that I'm going to create a small circle and a swirl. You can see the pattern is looking very beautiful
and very natural. As in this class, we are going to learn some
watercolor techniques. We are trying to create patterns which are
more related to nature and it will look more
lively in all your artworks. For the third pattern, I'm using swirll
as a main element, creating swell in the middle. From left, I'm going to create
a swirll, large in shape. On the right side, I'm creating flower petals inside each petal. I'm creating a small line, also using one slanting line and do to make it more
attractive and beautiful. In the middle, I'm creating small circles and above and filling the white
space in between. For the next pattern, we
are again going to create pointed petals
inside each petal, again creating a boundary
now in the middle, creating swirl from right side
some small rounded petals. For the next two pointed petals, I have created two
vertical lines in the middle and slanting
lines from right side, one slanting line
and do on left side. You can see this combination
is looking really beautiful. For the last one, we
are going to create semicircle pattern
and then creating half swirl pattern now drawing a line from right
side to each rounded petal, and decorating each swirl
with slanting line and dot. Now in this rounded shape, we are going to again, add some small rounded petals
with a line and.in it. And that's how we have created some beautiful basic patterns. See you in the next lesson.
4. Colour Theory: Hello everyone, and welcome to the second lesson of
Watercolor Mandala class. Today we are going to
learn some color theories. So again, I'm using
handmade paper of 300 GSM, and here I'm using
watercolor cakes. You can use watercolors
of any brand you have. I'm also using some
brushes and a rounder. First, I'm going to
create three circles intersecting each other
as shown in the video. Just follow the steps with me. First, I'm using red color. We are giving very basic
tones in any drawing form. Color theory is
really important. I think if you want to
learn any kind of art, you should be aware of
all the basic things which we use in that
particular drawing form. In this class as we are
learning watercolor mandalas, to create color combinations
using water color, you will first have to learn
some basic color theories, which we are going
to learn today. Then on the right side,
I'm giving blue color. While you are coloring,
just keep in mind that your brush angle
should be horizontal. You can just observe
the way I'm holding the brush in watercolor. Water consistency is
really important. Then I'm using yellow color
for the circle below. Again, you can see the
strokes the way I'm giving. Just follow the steps with me. Now the reason we have created intersecting circles is by
mixing red and blue color, we get volet color. Some people say it's a purple, some people say it's a volet. If you take more red, then you will get volet color, and if you add more blue, you will get a purple color. If you are mixing blue
and yellow together, you will get green
color at the last. If you are going to mix red
and yellow color together, you will get an orange color. Now we have created this basic three circles intersecting color
theory design. Now we will learn
some color schemes. First, we are going to
learn cool color scheme. In cool color scheme, we use all shades
of blue and green. As you can see, all the shades are looking really beautiful. Plus each shade is
really different from each other while
creating an artwork. You can also add some white in each color and
create more lighter. Or you can add some
brown color in each shade and create
some dark tones as well. Now, for warm color scheme, we use all shades of
red, orange, and yellow. We also use brown color a little bit in warm color scheme. Again, the same
thing you can add the way you want some
white and some brown to create lighter
or darker shades at the last contrast
color scheme. In contrast color skim, we have to choose an opposite
color of each shade. For red, it's green color. For blue, it's orange color. For violet, it's yellow color. In this basic color
theory class, we have learned
three color schemes. First, we have created intersecting three circles
diagram in which we get to know that how colors
blend together and we get new color mixing
two colors together. Then we have also learn three color schemes which are
cool, warm, and contrast. That's the basic
color theory you will need to create some
watercolor mandala designs. See you in the next lesson.
5. Textures on Different Colours: Hello everyone and welcome to the third lesson of
Watercolor Mandala class. So we have to use watercolor, handmade pepper of 300
GSM, and watercolor cakes. Today, we are going to create some textures on
different colors, and we are also going to create texture patterns using
these colors as well. And then we are going to create some mandala designs
on each texture. First I'm using yellow color and just creating
slanting lines. Just follow the steps
as shown in the video, giving two layers
for each color. Now for the second color, I'm using blue shade and I'm
creating a giggling pattern. You just have to create
an uneven patterns to create a specific texture. You can create any
texture you want. For the next one, I'm using green color and creating
checks pattern. As you can see, the
uneven amount of color is more important when you're creating these textures. At the last, I'm creating
some small portions using dark orange color. Let them dry. Now I'm going to start creating mandala texture on each color. When we are creating
mandala patterns, you should always plan
your designs before. And it's more important when
you are creating a specific, on a specific color. As you can see, we are creating
pattern on yellow color. I'm using more floral patterns as the yellow color
presents a lot of freshness and it gives a very
fresh look to our artwork. Here I have shown some glimpses of the patterns which I
have created as I want you all to create your own patterns for the next one. As you can see,
the color is blue. I'm creating mandala
designs in cloud patterns. Here I'm using round
shapes more often. You can also follow the
design which I'm creating. In all these mandala designs, we are using swirl patterns. Some uneven circles,
long petals, rounded petals, double lines. Now for the next one, as the color is green, so I'm using more leaf patterns. You have to always
remember that if your artwork is
related to colors and try to create patterns which are related to that
specific color. You can also create
patterns like these. First, you will have to
create boundaries of all the main patterns
and then you can create small designs
in each pattern. For the small portions, it's always nice to
repeat one pattern and just create uneven shapes
of that particular pattern. You can also use swirl pattern, pointed petals using boundaries. And that's how we have
created Mandala designs on different textures
using different colors. See you in the next lesson.
6. Watercolour Semi-Circle Mandala: Hello everyone, and welcome to the fourth lesson of
Watercolor Mandala class. Today we are going to create semi mandala using watercolors. So first I am creating
semicircle using rounder. You can take any
size you want of your semicircle Using protractor, I'm creating angles and
then drawing lines. Here I'm using watercolor, handmade pepper of 300 GSM. Now I'm going to start
creating mandala designs. First, I'm starting from
the small semicircle. I'm creating one rounded petal
and four pointed petals. In between, I'm creating
swirl patterns, now creating boundaries
inside each petal. You have to create an
outline, each semicircle. Now in the second semicircle, I'm creating one pointed
petal and one rounded petal. This is an alternate
combination. In between, I'm creating
small rounded petals, or you can also say
small semicircles. In the third semicircle, I'm creating only
pointed petals. And creating boundaries
inside each petal, again creating
semicircles in between. As you can see, the design is looking very symmetrical
and beautiful. In the last one, I'm creating only rounded petals as we have created lines before the measurement
of each pattern. And each shape is correct. Again, I have created
small semicircles in between and creating boundaries inside each rounded petal. Now you have to fill up the white space with
black color in between. Now I'm going to
start coloring using watercolors for these
pointed petals. First, I'm using yellow color. In middle, I'm
giving orange color. Now for these boundaries, I'm going to give
sky blue color. For small portions, you can use zero or one
number rounded brush. I'm giving alternate
combination for pointed petals. I have given red color
for rounded petals. I have given green color for the semicircles. I have given blue color
for big pointed petals. I have given color for
medium sized semicircle. I have used dark orange color
for the rounded petals. I have used blue
color in between. I'm giving green color. The combinations are different and they are looking
really beautiful for middle boundaries,
I have given dark green color in
between of each petal. I have given yellow color. If you want to keep it simple, you can just leave it as it is. If you want to create
more detailed design, you can also add one line and
one.in each yellow space, as I have shown here, that we have created this
beautiful semicircle mandala. See you in the next lesson.
7. Watercolour Doodle Mandala Fill-up: Hello everyone, and welcome to the fifth lesson of
Watercolor Mandala class. Today we are going to create doodle mandala
using watercolors. So basically we are
going to create some random doodle
patterns using mandala. And we are going to fill
them up with watercolors. And we are going to experiment different color combinations
in this artwork. First, I'm creating a rectangle using scale and black pen. You can take any
measurements you want of this
particular rectangle. Now I'm starting to create random doodle
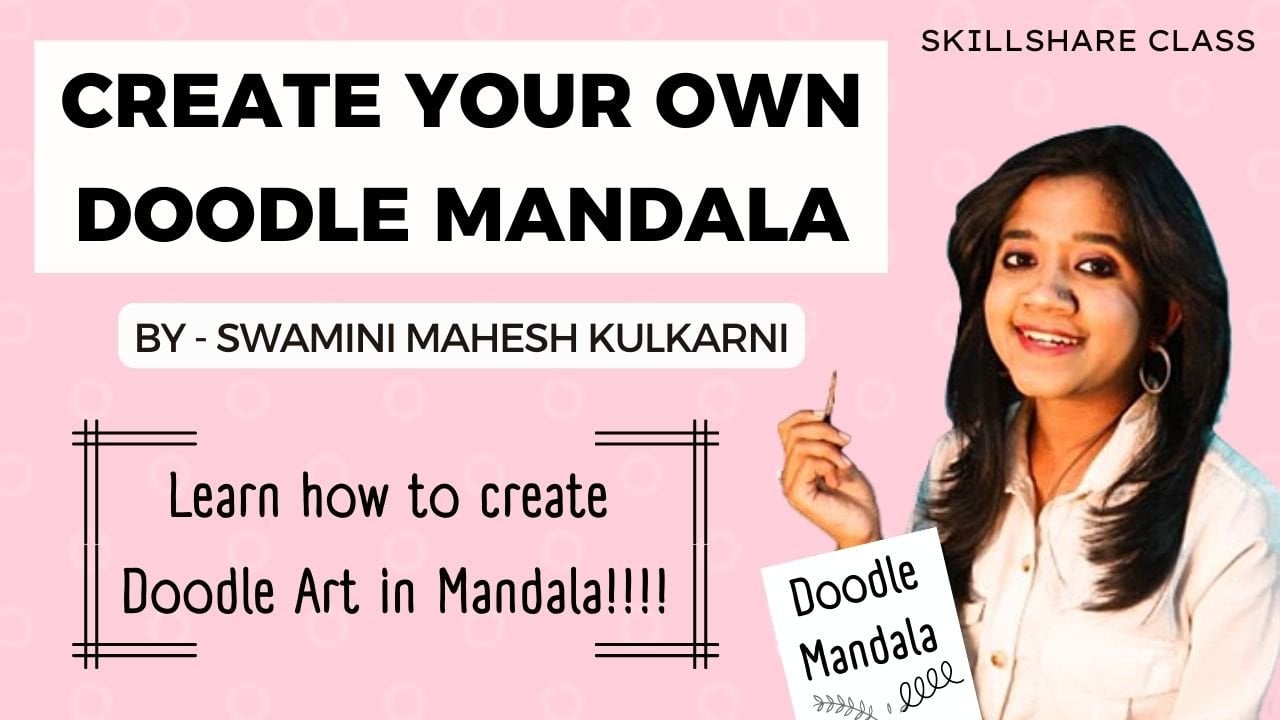
mandala patterns. If you don't know what
is doodle mandala, you can definitely check
out my previous class on skill shell which is
Doodle Mandala class. It will be more easy to
create these artworks. Definitely check out that class. Now one by one,
I'm going to fill these patterns with
different designs. Mostly I'm using rounded petals, Pointed petals, swirl patterns,
and creating boundaries. I'm also filling up
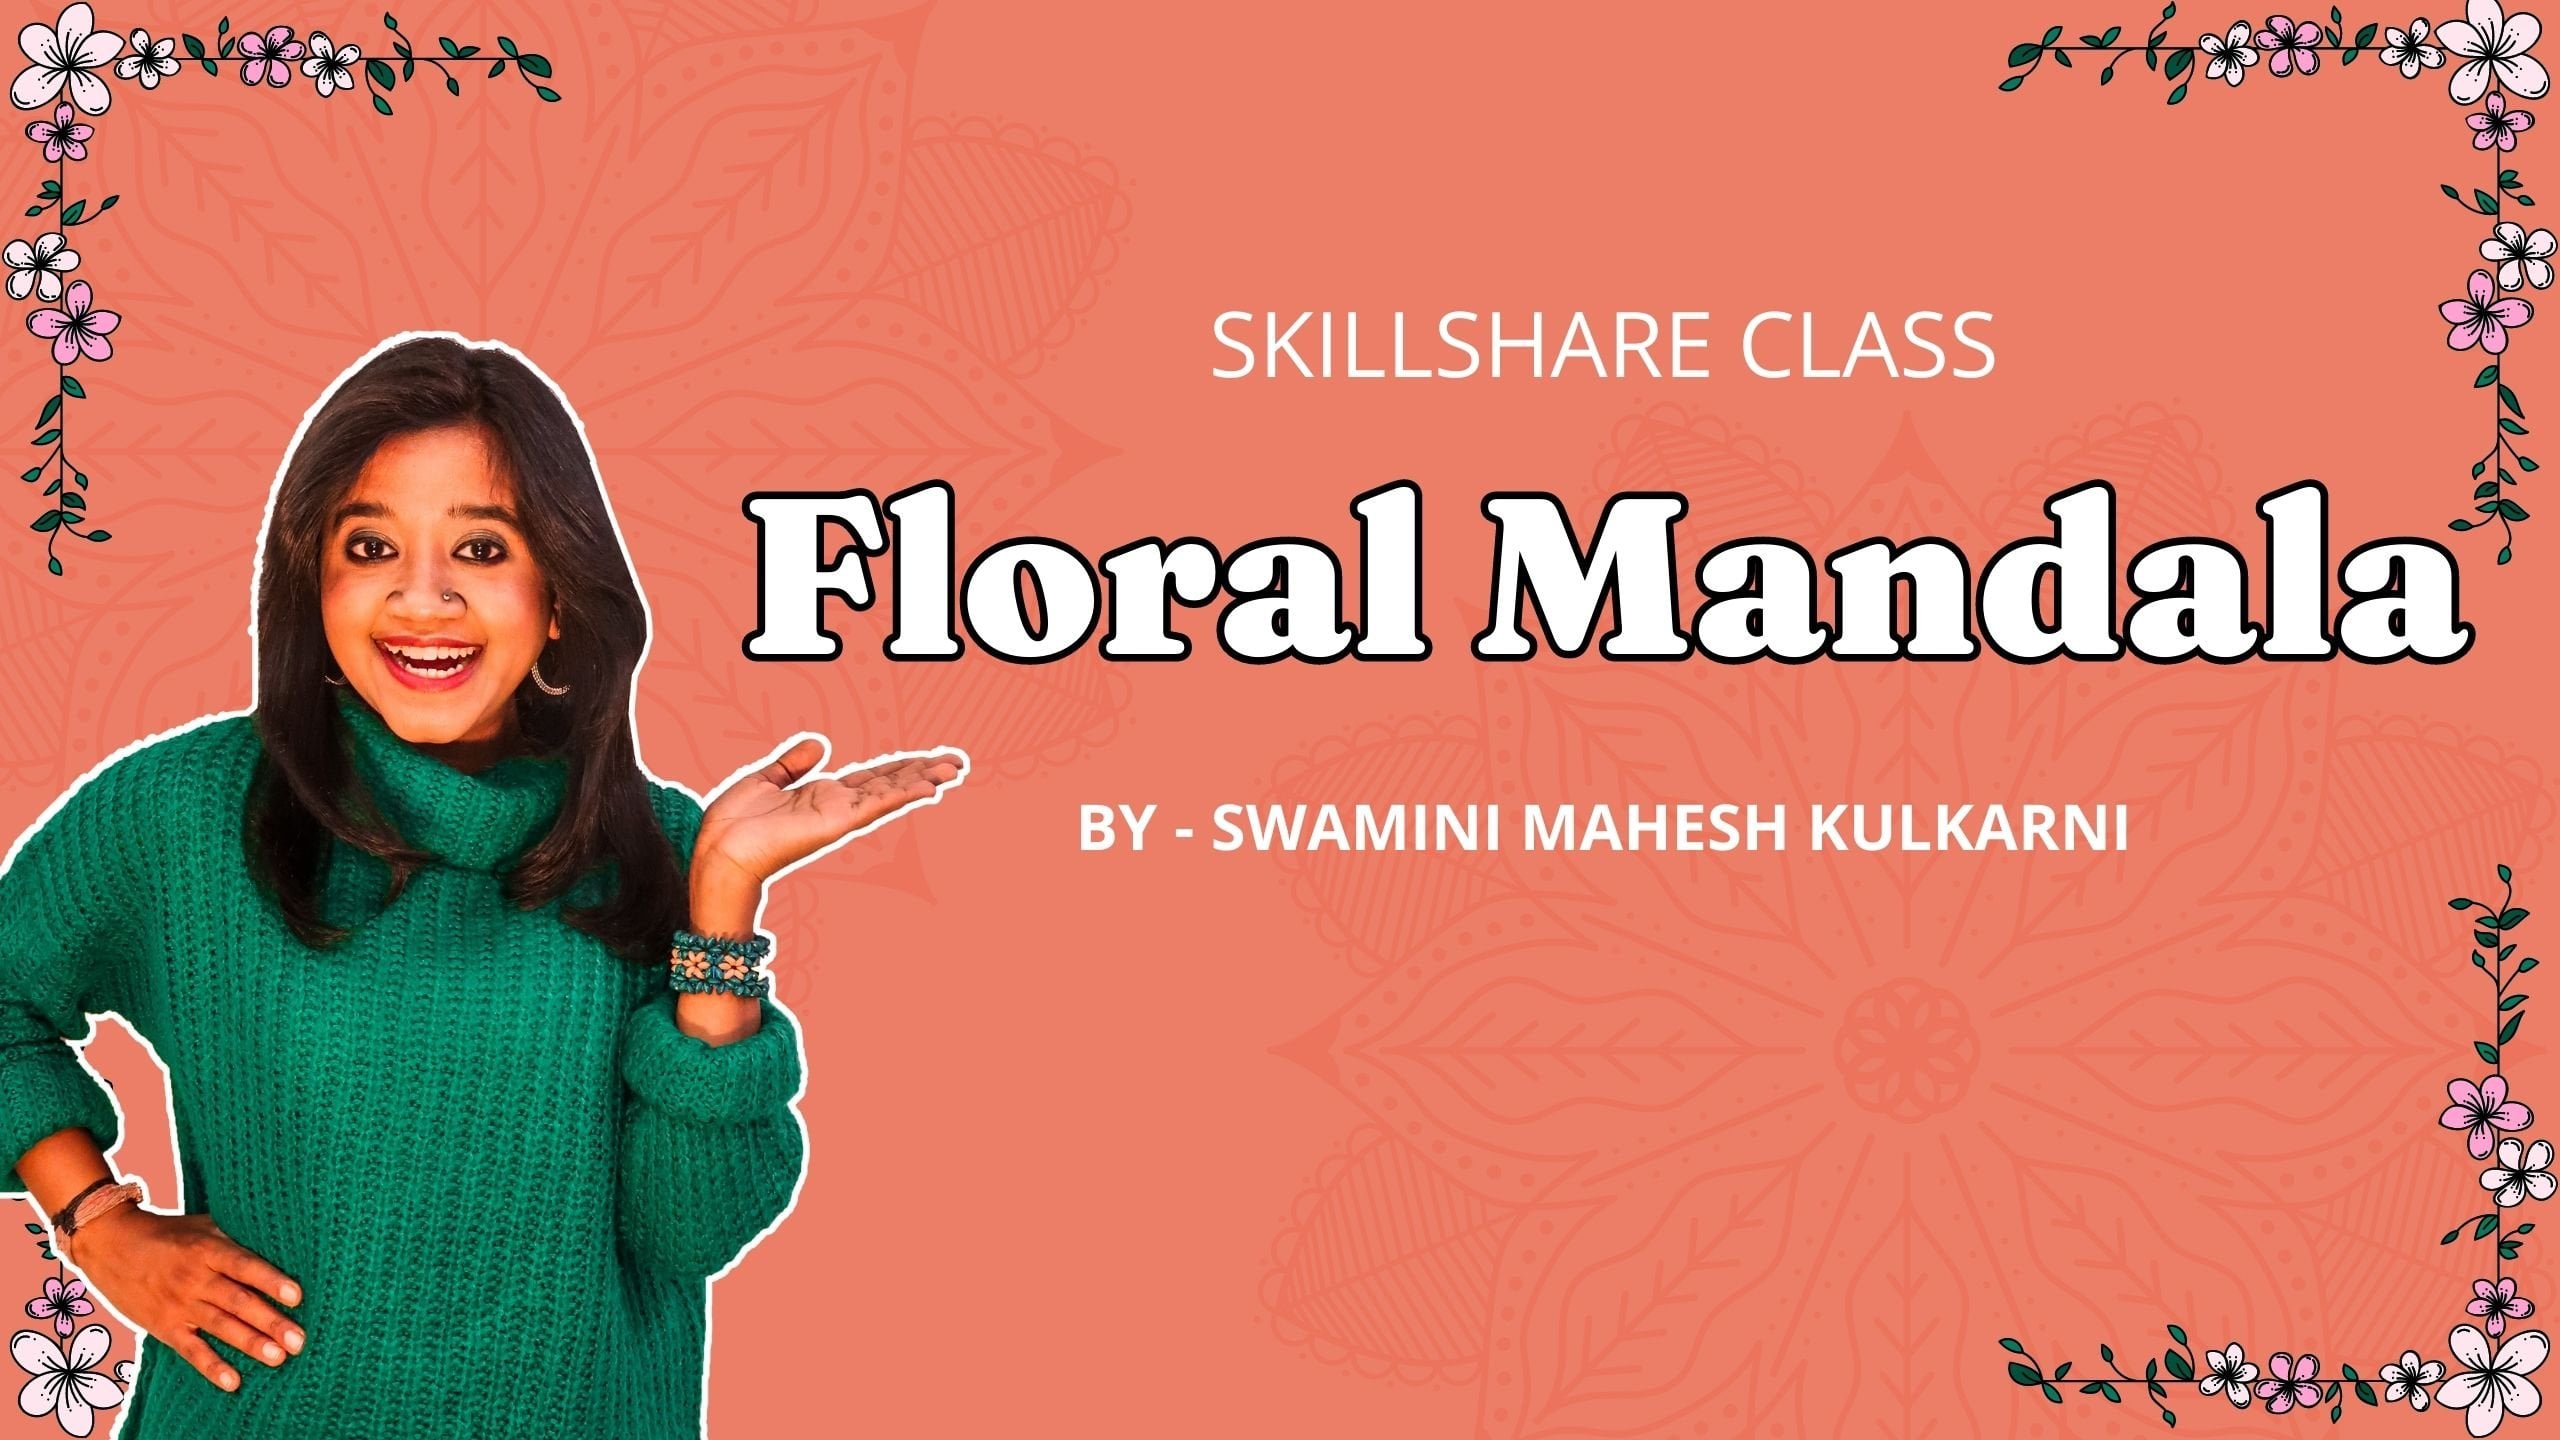
the white space. By doing this, the artwork looks more precise on skilsure. You can also learn how to
create only floral mandalas. I have a separate class
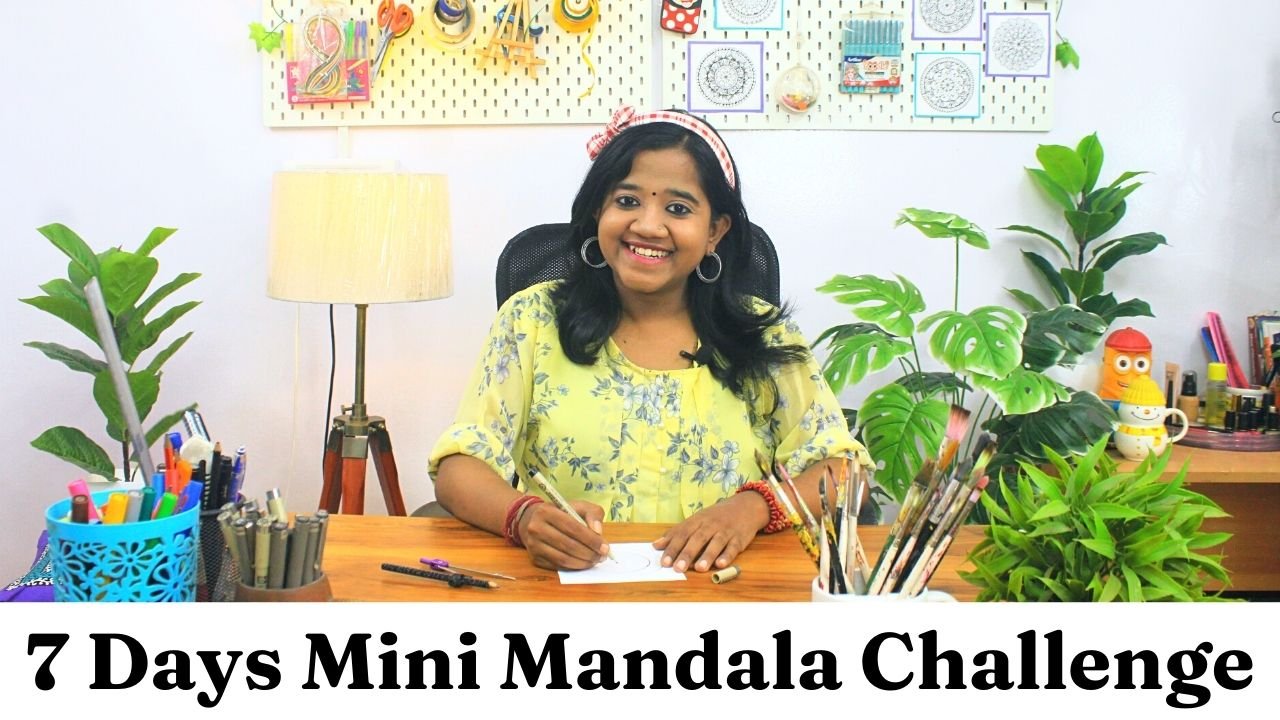
on that topic as well. And if you want to start
doing mandala regularly, then I have also created
one class in which I have created seven days
challenge of mini mandalas, which you can easily
start creating. And it will be more
creative journey for you all to start your
Mandala passion. I've created designs
in some patterns, and some patterns are white, as I'm going to experiment
them with different colors. So when we have to
color doodle mandala, just keep in mind that you have to take one shed at a time. And by using these kind
of multicolor patterns, your artwork looks
more beautiful. And it also gives a fresh
look to all your thoughts. That's how we have created doodle mandala using watercolor. See you in the next lesson.
8. Watercolour Circular Mandala: Hello everyone and welcome to the sixth lesson of
Watercolor Mandala. Now in this lesson,
we are going to create a complete mandala
using watercolor. We are going to create
a circular mandala. For that, I'm using rounder protractor pencil and watercolor handmade
paper of 300 GSM. As I mentioned in
my every class, measurements of your artworks
should be decided by you. First, I'm creating
rounded petal flower, and in between, I'm creating
small semicircles again. After that I'm creating
rounded petals in small size. Then creating pointed petals. You can change the speed on the screen so that it will
be more easy to copy. The same thing that you can
see on the screen right now. This is a pattern
of pointed petals which looks really beautiful. In between, I'm creating
two semicircles. The floral pattern
is looking really beautiful now adding one line and one.in each rounded petal, as we are creating
watercolor mandala, we have to balance the
importance of design and color for these kind of artworks. You just have to
create boundaries, or you have to use more
lines in your artworks. You can also use swirl patterns
as shown in the video. That's how I have created
these patterns in each petal. As you can see, the patterns are looking really
beautiful and precise. Now I'm started doing coloring. First I have chosen blue
color, then red color. After that, I have created
this leaf pattern. For that, I'm using green color
for outer rounded petals, I'm using orange color again, I'm using blue color
for small semicircles, light green color,
sky blue color. Then yellow colors for main rounded petals and alternate combination
of yellow and red. And then I'm using
dark green color. And at the last, I'm using yellow color
for rounded petals and created some shading using
red color on orange color. That's how we have created this circular watercolor
mandala artwork. See you in the next lesson.
9. Thank you and Class Project: For class project,
you have to do a circular watercolor
mandala with me, which we have created in the sixth lesson of
watercolor Mandala class. And submit your results in
the project section below. I will be personally
reviewing them and share my honest
reviews with you. I hope you have liked and enjoyed learning
Watercolor Mandala class. See you in the next class.
 Swamini Kulkarni @miniswa_, I am an Artist, Singer and a Youtuber!