Transcripts
1. Introduction: Hello, everyone. I'm
Swamii Mahesh Kulkarni, and welcome to my class. I'm an artist, singer, an art educator, and
a graphic designer. Thorn Skillshare,
I have uploaded many classes related
to Mandala art. And today, I'm here
again with a new class, which is a seven day
watercolor challenge. So in this seven day
watercolor challenge, we are going to create
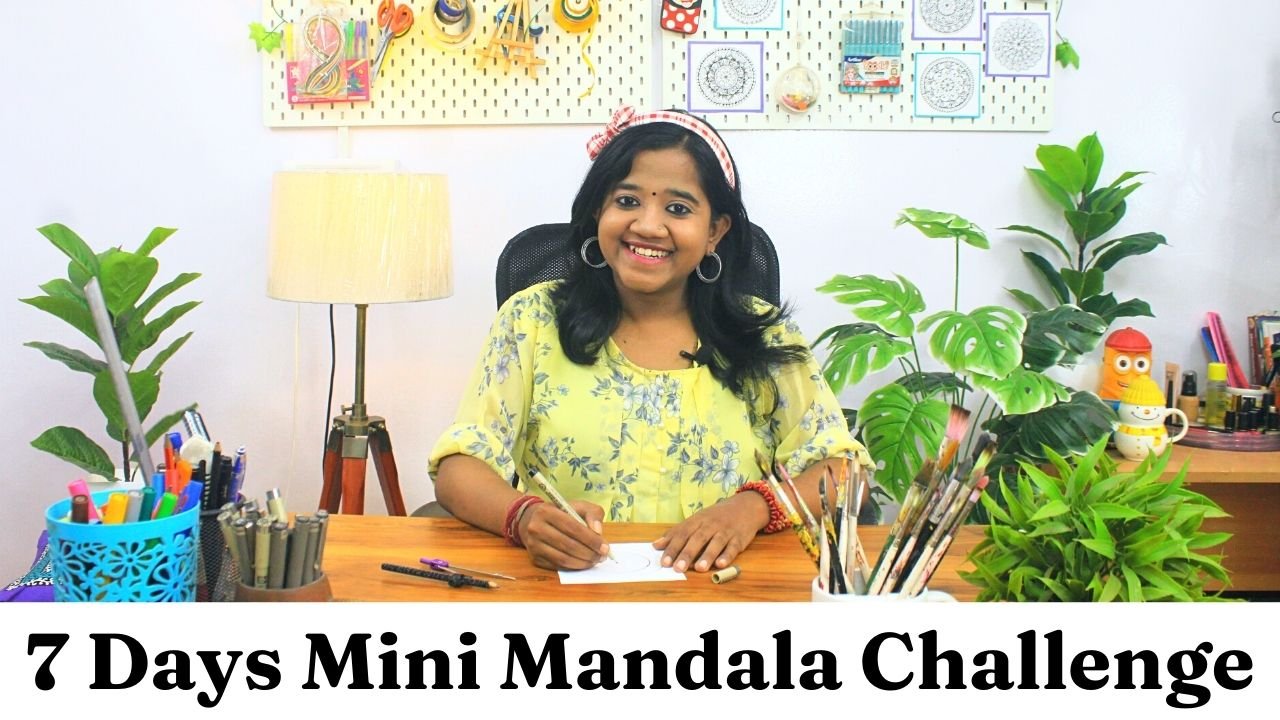
beautiful bookmarks using Mandala designs. I've uploaded a seven day mini Mandala challenge
class on Skillshare. You can check that out as well. But in this class, we are going to create different
and creative bookmarks using all types of
Mandala designs, Mandala borders, and
Mandala patterns. I've created this class in a form of challenge
so that you will not get bored and the process
will remain very creative. So first, we will understand
what is Mandala art, and I have explained that in
many of my previous classes, So before you start this class, I would like to recommend you to learn all my previous classes. But if you're a beginner, if you want to start your
art journey in very basic, as well as in a creative way, this class is really
perfect for you. In this class, first, we will be learning what is Mandala art. And after that, we'll
also discuss what you will need to create
these kind of bookmarks. There will be seven days. For each day, we will be
creating a one new bookmark using Mandala
patterns and lots of color combinations
using watercolors. If you want to learn
watercolors in detail, you can check out my previous
class watercolor Mandala. So that's it for
the introduction, I'll see you in my first lesson.
2. Materials Required: Hello, everyone. Now, first, we will understand
what is mandala art. So Mandala is an ancient
meditative art form in which we draw repetitive patterns
inside concentric circles, often termed to as
separate geometry. Now, to create watercolor
Mandala bookmarks, you will need watercolor cakes. A flat brush. A
rounded flat brush, small size round
brush, a pencil. This is 100 GSM and Md pepper. To create these
mandala bookmarks, with shod be around
seven centimeter. And you will also need a black pen to create
mandala designs. So that's all you need to create watercolor
Mandala bookmarks. See you in the first lesson,
3. Day 1 - Leaf Pattern: Hello, everyone, and welcome to the first class of Watercolor
Mandala bookmark challenge. So as I said before, we are going to create
seven bookmarks using Mandala designs
and watercolors. So for first bookmark, we are using warm color scheme. If you want to learn in
detail about color schemes, you can definitely check out
my watercolor Mandala class, which I have posted
before on Skillshare. So first by giving wash, I have just randomly
given the shades of red, dark orange and light orange. So from bottom, I'm going to start creating Mandala designs. So while creating bookmarks, we have to keep in mind shape of the bookmark is vertical. When you create mandala
designs in vertical form, you should always
keep in mind that your design pattern should
be more rounded so that the space of that particular
canvas becomes more large So as you can see, I have used pointed petals, rounded petals, swirl
patterns in large quantity. After that, I'm also
going to fill up these pointed petals with
small sized rounded petals. And using lots of
swirl pattern so that it will give a very nice and creative look to this bookmark. We are going to experiment
different kinds of patterns and
designs on each day. Now here, I'm going to
create a doodle form, which is leaf patterns. Instead of creating
decorative leaves, I'm going to create
leaves in small size, and I'm going to feel each
leaf using black color. So as you can see, this
design looks very beautiful. Now, again, I'm using rounded
petals and pointed petals, creating boundary from inside. And between each rounded
and pointed petals, I'm creating small circles and filling those up
with black color. I'm also using one
line and one dot. Again, creating swirl patterns. And now I'm creating
a mirror image of rounded and pointed
petals pattern. And again, here, I'm
creating leaf pattern. Now, I'm ending this
bookmark by again creating swirl and
floral Mandala patterns. To create these patterns
with more ease, do check out my previous
classes on Mandala designs. You can also
practice them before and then start this
Mandala challenge. But if you are comfortable doing these kind of
patterns directly, then you can
definitely enjoy this seven days watercolor
Mandala bookmark challenge. Again, I'm here creating rounded and pointed
petals together. We just have to combine
different kinds of patterns together and create one new
pattern using those patterns. And at the end for border, I'm using Black Sketchpen. You can also use the
current pen which we are using to create
these Mandala patterns. And this is how we have created our first Mandala bookmark. See you in the next lesson.
4. Day 2 - Aesthetic Mesh: Hello, everyone, and welcome to the second class of Watercolor Mandala
bookmark challenge. Now for day two, we are using light orange yellow and light
yellow color combination for our Mandala bookmark. So first, I have given
one wash of water, and after that, first I have
given the color orange. Yellow shade looks very bright. And you just have to bland
all the colors together. So now here, I'm going to
create some bold patterns. I've created an
alternate pattern of rounded and pointed petal. Then I have used pointed swirls, creating boundary from outside, and again covering them
with two rounded lines. Now, creating big
pointed petals, again creating boundary
from inside each petal. Now, from center,
I'm going to create swirl pattern to right side and three rounded
petals on left, filling up the white space
in between and on right, I'm just creating
one small circle. In the middle, I'm going to
create rounded petal with one line and one dot and
creating boundary from outside. Now to fill up the space, I have created two lines and
one small rounded petal, which has boundary from outside and slanting
lines for background. Now, again, an alternate combination of rounded
and pointed petals. I have again created
boundary from inside, and in between, I have created mirror imaged swirls and filling up the
white space with black color. Now, for each pointed petal, I have used floral design. And for rounded petals, I have just use sea lines in
different shapes with dots. Now, for day two, we are going
to create floral pattern, which looks like
an aesthetic mash So by joining these
lines to these flowers, it looks really beautiful and you can see a
very nice design. I'm creating some
border lines for flowers and these lines as well. That's how we have created
our second Mandala bookmark. See you in the next lesson.
5. Day 3 - Floral Wall Hanging: Hello, everyone, and welcome to the third lesson of Watercolor Mandala
Bookmark Challenge. So for our third bookmark, we are using color combinations, dark red, dark orange,
and light orange. Now here, we are going to create semicircle pattern first. After that, I'm using alternate combination of pointed petals and
swirl patterns. Then completing this semicircle, creating small circles in between and filling
up the wide space. After that, I'm creating big
pointed and rounded petals. Creating boundary from outside. For pointed petals, I'm creating two rounded petals and
one pointed petal flower. And below that, I'm creating two swells
from both the sides. And for rounded petals, I'm just creating
vertical lines. Now, from both the sides, I'm going to create
half semicircles. First, I'm creating
long rounded petals. Creating lines
inside each petal. After that, creating
rounded petals again, filling up the white space in between and creating
one line and one dot. After that, only pointed
petals in between creating swirl patterns and created
boundary from left side. And again creating swirl pattern
and some floral designs. Now, on the left side, I'm
creating pointed petals and creating boundary inside each petal and creating
slanting lines. Now, in the middle, again, I have created
small semicircles. Creating some swirl
patterns, again, pointed petals in small size and filling up the space in between with swirl
and black color. On top of that, I'm creating
big swirl patterns, creating boundary from outside. And now I have created one big pointed petal from
this whole design. Now, on the other side, I have started creating floral pattern with one
big swirll pattern. Then created one big swirll now I'm creating the
design like wall hanging. So it is looking very creative
and beautiful as well. Created small sized flowers. And I have used some small
circles and triangle shapes. Again, created lines
for background. And that's how we have created our third Mandala bookmark. See you in the next lesson.
6. Day 4 - Border Designs: Hello, everyone, and welcome to the fourth lesson of Watercolor Mandala
bookmark Challenge. So for fourth bookmark, we are using chades
of blue color. Light blue, dark blue, and little bit mixture of
light and dark blue together. Now, for this bookmark, we are creating a different
pattern of lines. So the horizontal line of these borders are
obviously small in size, but these kind of borders on bookmarks look very beautiful
and aesthetic as well. So for first border design, I have used alternate
combination of pointed petals
and swirl patterns. For the next one, I
have again created small sized pointed petals and on the right side
of each pointed petal, I have created three
pointed petals as shown in the video. Filling up the white space using small circle
and black color. For the third one, I have created swirls from
both the sides. Two rounded petals
in the middle and created three pointed
petals from that base. Inside this pointed petal, I have created five
rounded petals. So we have created
a very nice pattern of floral Mandala border. Now, in the third slot, I'm creating some
Doodle Mandala. So if you want to learn
Doodle Mandala in detail, you can definitely check out my previous class on Skillshare. That class has covered all the topics related
to Doodle Mandala. So that's how I have fill up this whole space creating
these kind of Mandala designs. And now we are creating
borders from both the side. I have created big
pointed petals, created boundary from
inside each petal. And after that, creating
floral pattern, creating swirls from
both the sides. After that, I have created
again pointed petals, and this looks really beautiful In between, I am again creating floral pattern only
using pointed petals, filling up the white space. And to complete this polder, I am using two lines
and one.in between. This pattern gives very
abstract design to our artwork and also it
gives a lot of space And that's how we have created our fourth Mandala bookmark. See you in the next lesson.
7. Day 5 - Circular Pattens: Hello, everyone, and welcome to the fifth lesson of Watercolor Mandala
bookmark challenge. For our fifth Mandala bookmark. I'm using two shades only. First is glue color and
second is green color. We are just going to
blend these both colors. We are going to create
circular patterns, so you just have to create
circles in different shapes. You can also create semicircles. So for first one, I have created a complete
floral mandala design. And I have just randomly created pointed petals, as you can see. For this semicircle Mandala, I have created two
semicircles in between and swirl patterns
from both the sides. After that pointed petals. Creating boundary from outside. And again, overlapping them
with plain pointed petals. Now for the third patterns, I have created pointed petal
f. And in the background, creating just swirl patterns. To all the pointed petals, I have created one
line and one dot. We are creating very
simple designs, but these simple
designs are looking really beautiful because we
are just repeating pattern. Now for the next one, I have
created leaf patterns first, and then half floral pattern. The design looks more creative. This is again corner design. So again, I have used
some swirl patterns, and now I have created flower
using two types of petals, one pointed petal
and rounded petal. And completing the
pattern with some lines. And for the last semicircle, I have created floral pattern
from right and left corner. First, I have created rounded petals and two
swirls from both sides. And in between, now I have
created pointed petal. And again, creating rounded
petals in that pointed petal, creating two boundaries
from outside, filling up the white space
using circle and black color. Now, I have just created two bigger rounded petals
from both the sides and one small pointed
petal in between and fill up the space using
swirl and black color. And that's how we have created our fifth Mandala bookmark. See you in the next lesson.
8. Day 6 - Two Semi-circles: Hello, everyone, and welcome to the sixth lesson of Watercolor Mandala
Bookmark Challenge. So for this bookmark, we are again using three colors, leaf green, light green,
and light yellow. So I have just blamed all
the three colors together. For this bookmark, we are creating slanting pattern
of two semicircles. So first, I have
created slanting lines, as you can see in the video, and I'm creating semicircles
from both the sides. You can take any
measurements you want. In this class, we are
creating bookmarks. Always keep in mind
that when you are creating bookmarks
all by yourself, you have to add
your personal touch to your every bookmark. So as you can see the
space in the middle, you can write down your name or any thought which you like. So moving on to our
first Mandala design, I have created
rounded petals and fill up the white space using small circles
and black color. After that, I have created floral pattern of
pointed petals. And as you can
see, the design is looking really creative
and beautiful as well. Every petal is
looking very nice. Now outlining this semicircle. And now, filling up the white
space using black color. As you can see, when we are adding black color
in the background, the design looks very
thy and beautiful. Now for the next semicircle, first, I have done the outline. And now we are again
creating aesthetic mesh. Here we are creating
aesthetic mesh in only one direction using one
line and one small circle. This design looks very pretty. I have explained
what is Mandala art in detail in my
previous class as well, and also I have explained
that in this class also. So whenever you are creating
these kind of patterns, keep your mind calm
and try to get involved in this design
while creating it, you will definitely feel
very lighter and peaceful. For the next semicircle, I have used pointed petals and created boundary
from both the sides. And at the last just
creating slanting lines, we have to repeat
the same design for our second semicircle. And that's how we have created our sixth Mandala bookmark. See you in the next lesson.
9. Day 7 - Full Bookmark Semi-circle Mandala: Hello, everyone, and welcome to the seventh lesson of Watercolor Mandala
Bookmark Challenge. So now for our last bookmark, which is seventh bookmark, we are using yellow color, light orange color, and little
bit of red color together. I'm going to mix these colors. Now, for this Mandala bookmark, we are going to
create semicircles. First, I have created
floral pattern using pointed and
rounded petals. After that, I have created
only pointed petal flower. Outlining both the semicircles. Then creating boundary
from outside. After that, creating
boundary only from left side inside
each pointed petal. And now from right side, I have created one circle and
now creating rounded petal. Now for the next semicircle, I'm using alternate combination of pointed and sole pattern. Creating boundary
from right side. Now making two parts of each pointed petal and on right side, I'm creating slanting lines. Created boundary from outside to each sir For background, I have created
slanting lines from both the sides so that it
will look like a proper mesh. Now, for the next design, again, I have created swirl pattern
and rounded petal flower. I'm trying to create
more floral patterns. Your design should be related
to your color combination. As here, we have picked up
yellow and orange color. I have created more
floral designs here. Now, again, I have
created slanting lines here and given black
dots in between. Creating semicircle patterns. And at the last completing the artwork by creating
slanting lines, so that's how we have created our seventh Mandala bookmark. I hope you guys enjoyed learning this watercolor Mandala
bookmark challenge. See in the class project video.
10. Class project : Or a class project, you have to create any Mandala bookmark, which we have learned in
the seven day challenge, and you can share your artwork in the project section below. I will be personally
reviewing them, and I'm also going to share
my honest reviews with you.
 Swamini Kulkarni @miniswa_, I am an Artist, Singer and a Youtuber!