Transcripts
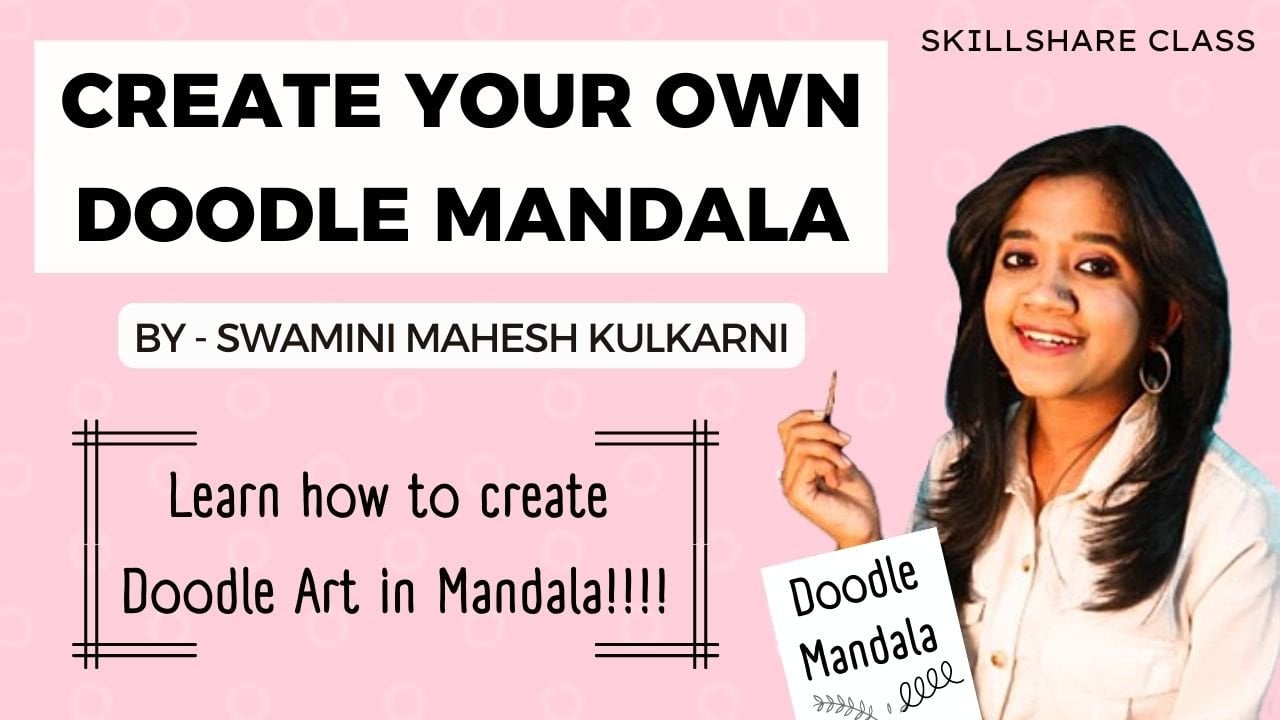
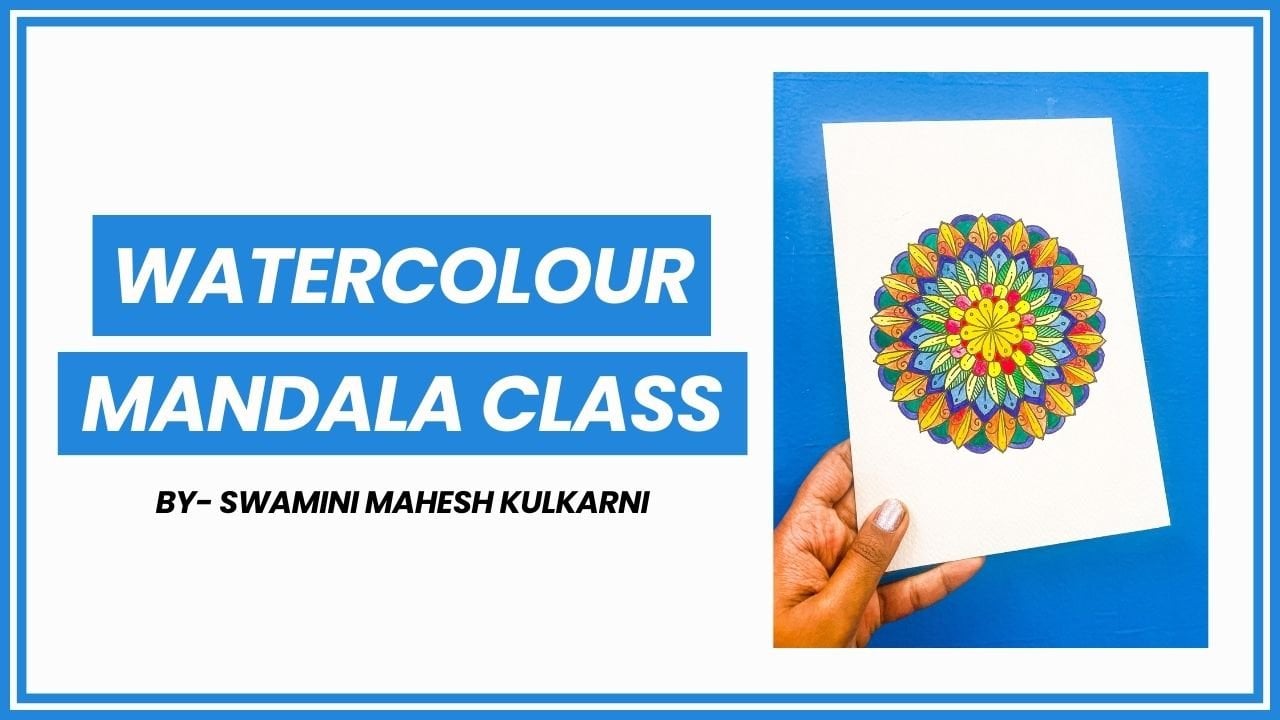
1. Introduction: Hello everyone. I'm
Swami Mahesh Kulkarni and welcome to my class. I'm an artist, singer, graphic designer,
and a YouTuber. So on Skillshare,
I have uploaded a couple of classes
on Mandela art. And today I've come up with a
new subject in Mandela art, which is Floral Mandela. First, we will start by
understanding what is my MLA. I am very excited
about this class because in this
class we will learn all the details about
floral designs. Different patterns to create floral Mandela's lots
of combinations, designs, patterns with which you can create your own designs. And by the end of this class, you will learn a
complete floral Mandela with my step-by-step guidance. And for now, this is
the introduction and I'm very good to see
you in my first lesson.
2. Material Required: First we will start by
understanding what is manila art. So Mandela is an ancient
meditative art form in which we draw repetitive patterns
inside concentric circles, often don't do as
sacred geometry. You will need a
Blaine might be both. A square root sheet. You can use any pen
you have. Here. I'm using Micron
pens, but I'll not. A Benson and scheme.
3. Basic Patterns: Hello everyone and welcome to the first lesson of
Florida Mandela class. To create some basic buttons, you will need both
square doors sheet. For the first pattern, I'm creating swirl design. So this design is a combination of semicircle and
audio swirl baton. For this design, I am
using total boost squared. Direction of this one
is from left to right. Now I'm going to draw a small
circle between eats world. And that's how we have created our first basic pattern
for the next design. Again, I'm creating swirl
pattern using semicircle. So you just have to start
drawing semicircle from 1 and in the semicircle
by creating soil baton. This design is also in
traditional drug only patents. Now for this semicircle shape, I'm creating a semicircle
inside each button. And again, drawing small so
good between each pattern. And that's how we have created
our second basic pattern. Now for the third one, I'm using long pedis
lines and small circles. So as you can see, I'm creating long petals
from the center lane of two squares and drawing
lines from both the sides. And creating small circles
between each pattern. I'm also creating a small line and circle in each lung better. And that's all I have created
this third basic pattern. Now for the fourth pattern, I'm again using
swirled his name. And here I'm creating
was from both the sides. So this pattern is
very easy and you can use it frequently in all
your Mandela designs. You just have to
be careful while you create this wall buttons. Just make sure that all lines are touching
properly to the square root. Now between TX was, I am again drawing
small circles. And for the last pattern, I am creating flagship
using three long petals. And again creating lanes
from both the sides. And with the help of these
tiny circles and lines, I have created this
floral pattern. And that's how we have created some basic patterns to practice and use them in
all your Mandela designs.
4. Border Design using Basic Patterns: So in this lesson we
are going to create border designs using
floral patterns. For the first pattern, I'm creating swirl
design and I'm going to create a mirror
image of this one. And then I'm going to
continue the design. Then I'm creating small. So it goes between both this was and creating baton off exclamation mark using
line and small, so good. During this design between
each group of swats, an underdog drawing
straight line. Now between each one, I'm going to draw small, so good and feel the whitespace. And that's so we have created
our first border design. Now of all the second pattern, I'm creating long
pedal upside down. And again using lines and dots. The design. Now drawing line in each lung better and creating small
circle below each long petal. Now on the top of
the main circle, I'm going to create
three rounded petals. And that's how the
pattern looks. At the last, again, I'm creating straight
line on the top. And that, so our second
barter design is complete. For the third one, I'm using soil
Patton in the first squared and creating flagship
using for long petals. And using the open
net combination of swirl and floral shape. Now between each
small and flat shape, I'm creating small, so good. And here I'm drawing straight
line below each pattern. For the fourth pattern, again, I'm creating swirl from
the down direction. And after that creating pointed petal between two squares. The size of this pointed
petal is medium. Again, I've going
to combination. I'm just going doing the baton. Now outside the pointed petals, I'm creating the same shape
using blue lines and one. So using three lines inside each point get better. And creating straight
line on the top. For the last pattern I'm using, pointed by del squared and creating swirl in small size
next to the pointer button. Now inside each pointed petal, I'm drawing tiny
line. And so good. Again, adding so-called
between each batten. And yet I have drawn straight
line below the Biden. And that. So we have created new different barter designs
using floral patterns.
5. Flower Patterns: So in this lesson
we are going to create some flour buttons. For the first button, I'm going to draw a
circle in the middle. And first I'm drawing rounded petals and creating
a very simple flat, which we'll draw in
many of our drawings. So you can also use these
floods in your doodle designs. To create a complete flat. You will need total 40 squares
problem square root sheet. As you can see, I'm
drawing a circle in the center and then creating
pointed petals inside four. And that's how we have
created our first pattern. For the next one, again, I'm drawing circle
in the middle. Now for this flag, we have to create
some semi pointed. As you can see, I'm trying to draw straight lines at the top. Just follow the steps. Whenever you create Florida. Make sure to draw up
and down button first. Now in this flowerpot, then I'm adding a
small line inside each by this spin help your design look more
beautiful and attractive. Now for the third one, I'm again doing
sub-goal in the middle. And here I'm drawing
open betters. So as I said before, you have to create petals
from up and down direction. And the last to have to complete the middle
gaps to create a BYU different flood and continue the button. And that's so odd. Third
Biden is also complete. Now if you wanted to
create some doodle, a normal floral Mandela, then you can use
this last pattern. As you can see, I'm drawing
a real flower petal. Again. I'm continuing
the logic of up and down direction and then completing the flat by drawing on the left
and right side. And that. So if you
have clear data are beautiful flower pattern sheet.
6. Border Design using Pointed Petals: So in this lesson we
are going to create floral design in
point that betters. So first obviously, I'm drawing pointed petals
using four squares. So you have to create a
complete boiler using pointed petals for the
first design I'm creating. So I've got to in
the middle and on the right side,
I'm creating soil. Then I'm drawing
one more semicircle and the Dobhoff,
the smallest semi. So good. And from the middle
I'm creating long betters. Just make sure that all your long petals are touching the line
of pointed pedal. On the left side, I
am using three lines, and on the top of that I'm
drawing small, so good. Now between long petals
there is some gap which I'm filling out
using small circle. And that's so edifice
design looks. Now just continuing
their design. So using this floral
designs in pointed petals, you can create many
types of Mandela's. And once you practice
these on daily basis, you can create your
own designs like this. At the last, I'm creating
line from bottom. Again for the second one, I'm forced to creating
long by dose. And here I'm drawing swats
from bounded action. In the center, I'm
drawing pointed petal. Now I'm going to connect this
tooth was to this rounded by creating small Poincare petal on the top of this round petal, filling out the
remaining mites space using smallest circle, again, getting a medium-sized
pointer button and then drawing semicircle
pattern on the left side, small point debt by Dell in
the middle and continuing the semicircle button on the right side inside
each Samy. So good. Drawing this tiny line, also creating one line N
dot in rounded petals. And the last filling
the void space. And continuing their design. Now for the third one, I'm going to create swatches
from both the site, creating a semicircle
shape in the middle. I'm adding one more to
semicircle from the top. Then I have created around it burdens from both the sides. I'm going to do it by
Dell in the middle. Now in that emitting whitespace, I'm creating lines,
creating one more point. Inside that point it better. And dividing that pointed
petal using one line. And again, grading slanting
lines from the left side. And that's how the
leaf shape is looking. And that's so we have created this beautiful floral
design in pointed petals.
7. Floral Mandala Artwork: Hello everyone and welcome to the last lesson of this
floor and Mandela class. So here we are going to create
a complete floral Mandela. So first I'm creating
so goods using rounded. So do create your artwork. You can use any
measurements you want. Here I have given some
rough measurements which you can use to
create your own artwork. So first I'm grading slanting
rounded and a semicircle, and then filling out
the remaining circle using black color. Now in the second, so good, I'm creating these
long by bills. Now as we're creating
floral Mandela, we have to create designs and guidance related
to floral designs. You can also use
the shapes reached we have created in
our previous lessons. Here I'm teaching
completely new designs to create this floral Mandela. So as I have created
a complete flower using long petals
between each petal, I'm creating a smallest so good and filling
out the whitespace. Using these kind of techniques, you have to look, looks more
beautiful and attractive. Then creating a line from
the center in each petal. After that grading one
more circle from outside, then I'm using a
pure soil pattern. So you have to create
this was reached, touches every line
from all the sides. Again, I'm filling
out the white space. Now again between eat
while I'm creating, so good, I'm filling out
the remaining space. Now in the next circle, I'm creating pointed petals. So whenever I create these
kind of my Ballard Designs, I always draw
freehand Mandela's. But if you want, first you
can create designs using pencil and then just do the outline using
any pen you have. Now in this point that
virtual host M creating small rounded button
and after that creating outline from outside and creating swatches from
both the sides under GAAP. Again. Now at the top of this was creating so it goes and filling out
the remaining space. I'm going to make their design
in all the pointed petals. Now between each
point dare pedal. Now we have to create Samy pointed Purdue's as I'm drawing. First, I'm creating long
button and then using line. And so continuing their
design in each pointer. Now just fill out the whitespace
as shown in the video. This is how it looks now. Now in the mix. Again
creating pointed petals. And again continuing
the baton by creating Samy point good pedal between
each point, debt burden. Now in the remaining
white space, again connecting, so good. Now in the middle point then
petals, I'm drawing lines. Gratings was from
down direction, creating two
semi-circles appointed by and smart rounded petals and filling out the whitespace. Now for the main
pointed petals, first, I have created one more point
and parallel from inside. Then drawing to swells
from both the sides. A semicircle creating three
pointed petals on the top. Also willing to
create small size of three pointed petals on both. This was filling
out the whitespace. I'm now going didn't in their
design to all the petals. Now add the last, again creating one more pointed. And in that also creating
semicircle pattern in middle soils from
both the sides. I'm bounded by those. I'm so GSS. And that Soviet I've created this beautiful floral
Mandela I book.
8. Class Project and Thank you: For class project, you have to draw the flooded Mandela from the last lesson
along with me and submit your deserts in
the project section, I will be personally
removing them and share my honest
views with you. So I hope you liked and enjoyed watching and learning my glass.
 Swamini Kulkarni @miniswa_, I am an Artist, Singer and a Youtuber!