Transcripts
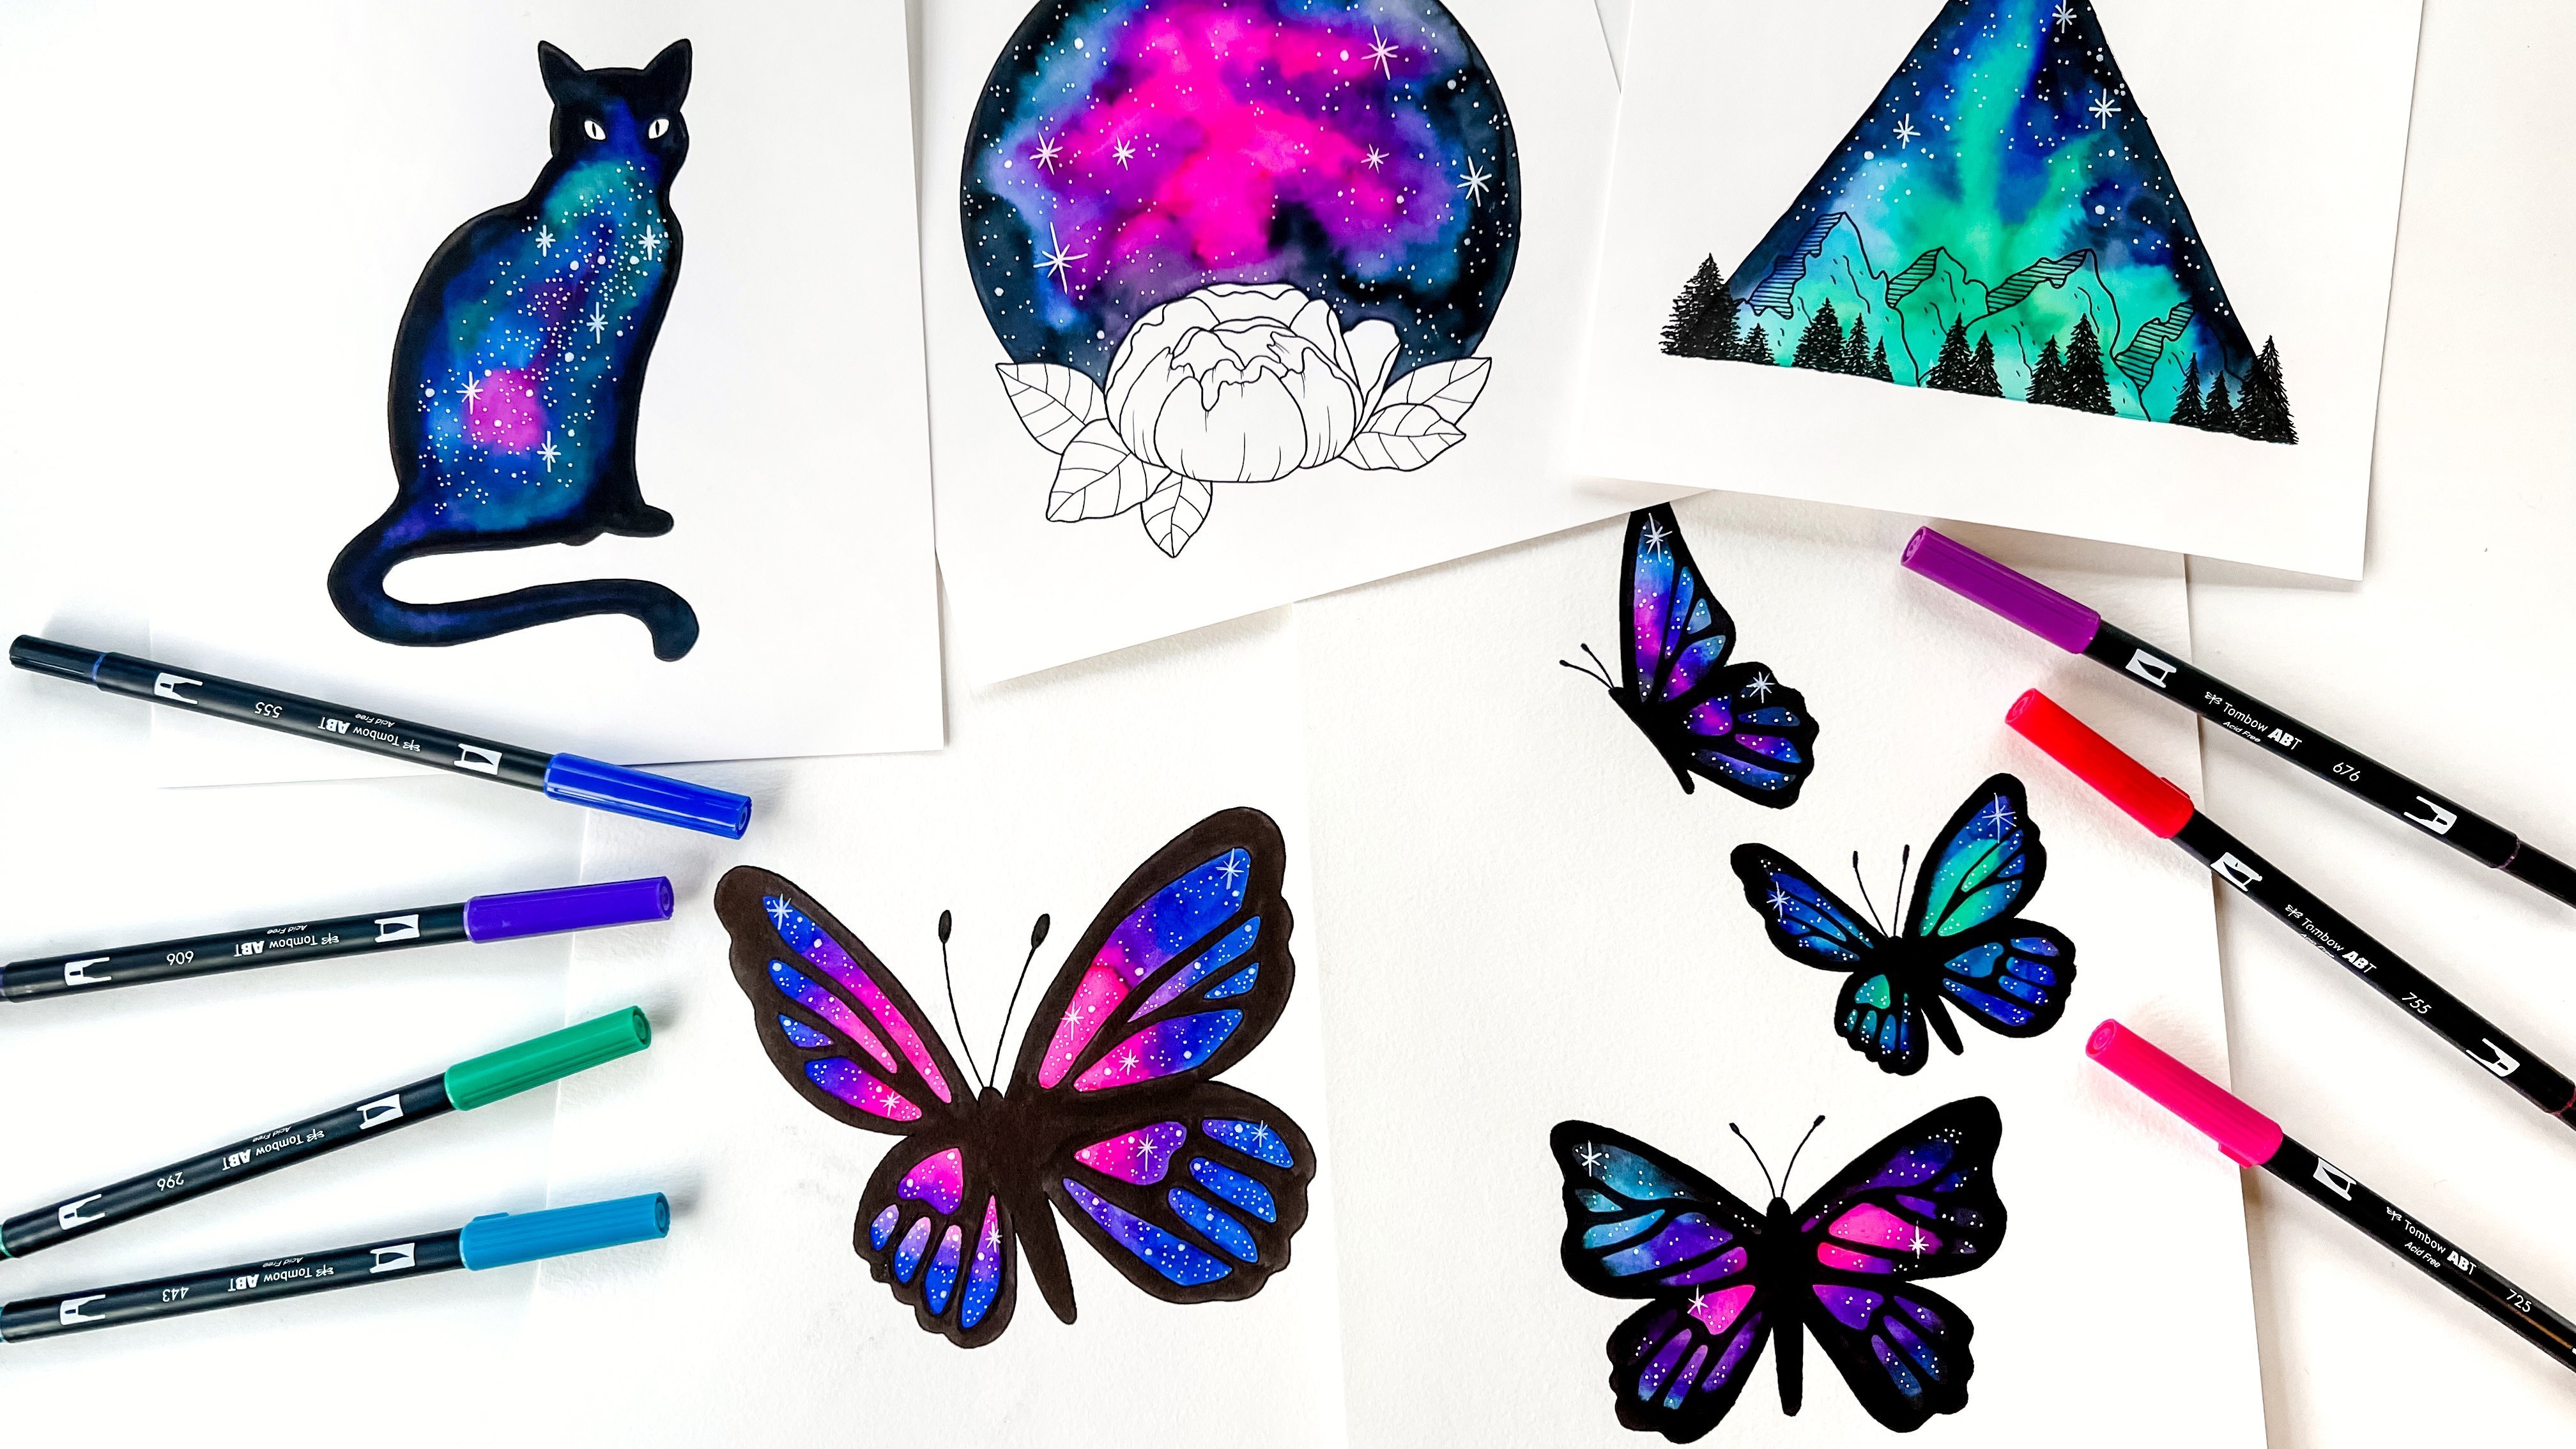
1. Introduction: Hi, I'm Jessica from Brown Paper Bunny. And today I'm going to show you how to use water soluble markers to create a watercolor effect in your paintings. I'll show you how to color, mix and blend and create a huge range of colors from just five markers. And I'll teach you a few different techniques to get various different looks in different types of blends, and then together will create a project of the end of this cute water color race. I hope you'll join me.
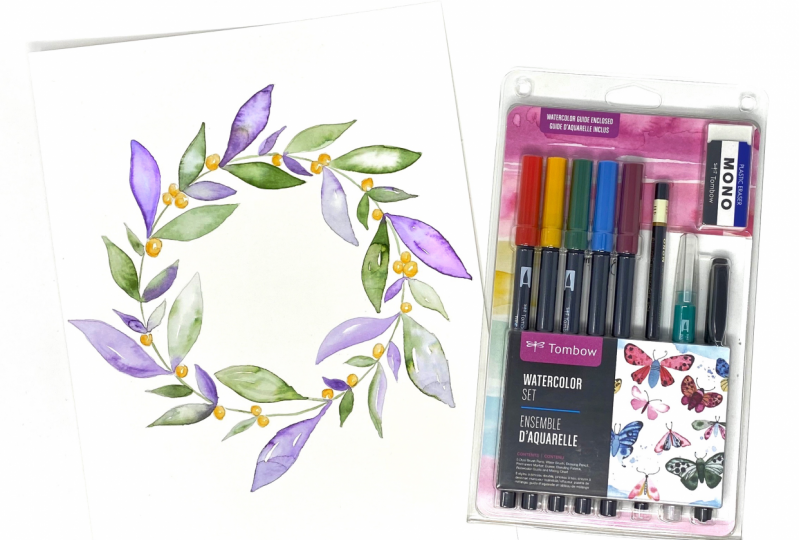
2. Supplies: Okay, We're gonna go through our supplies first. Now I'm using the tumbler of water, Color said, because it has everything that I'm going to me. But as long as you have some water soluble markers like the jewel brush pens, a pencil, a water brush or paintbrush and a waterproof marker, and in a razor you can use whatever supplies you have at harm. Let's hope in this. Oh, see what's in here. So this set comes with a really handy mixing guide so you can make your own color wheel and experiment with how the different colors mixed together. And it also has a color mixing chart, which I'm gonna take you through. There is a blending palace, which I'll show you how to use. It will come in handy, and then we've got our Jewell brush pens. We've got the warm red, which is 885 We've got the yellow, which is number 993 The green, which is 249 blue just 5 to 6, and purple, which is 757 and surgery brush. Pyne's coming 108 different colors, so you can use whatever colors you'd like, but you'd be amazed at how many different shades you can makes from just these five markers and then in the set fizzle. Sorry for age pencil, which is important because this led is really nice and light, and so it won't smudge when you put water over the top. If you use a darker lead, pencil it. My, um, muddy a pure water and cause It's kind of played around a little bit, and there's a water brush in here as well to fill it up. You just open it, fill it up from the tap, close it up again, and it's got the paintbrush end, and you just squeeze it gently to get that water flowing. So it's very portable, not messy It all you don't need a jar of water. That and then we've got the modern twin pen, which I love. It's one of my favorites. It's because to tip, so it has a slightly bigger bullet. Tip that end and a full point tip on the other end for really fine details, and it's waterproof once it's dry, so it's great for using with water color markers, and then you got your monitor plastic, a razor and The really nice thing, too, is that you can actually arrays pencil lines even if they're underneath the ink. You can't do that with a lot of watercolor paints or other types of paints, but you can with the jewel brush cakes that's really handy. And then 100 me everything. This sound. There's a little guide to mixing colors, and it shows you a few different techniques, and there's even a little project in there, too. So that's really handy toe. In addition to pull of these supplies, you're obviously going to need some paper. So you've got to use watercolor paper or really thick mixed media paper because we're going to be using a lot of water. And if you try to use marker paper copy paper, it's going to buckle. It's not gonna absorb the water in the way we want, and you won't be out of blend the colors unless you're using a nice watercolor paper
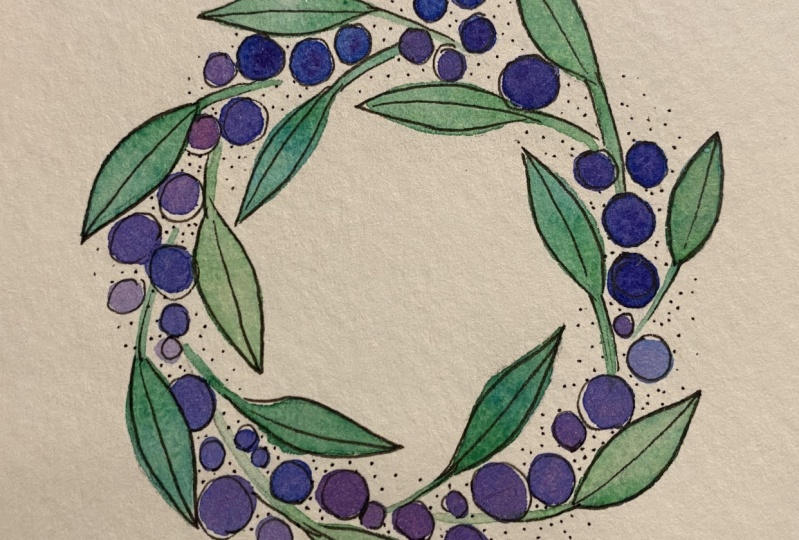
3. Blending: Hey, I'm gonna show you a few different hick needs for mixing and blending the marker. Think birth on the paper directly and using your lending power. Uh, I should have mentioned this in supplies, but it also helps to have a little piece of paper towel to clean your brush or, you know, Deb up any excess water, that kind of thing. So this 1st 1 here I put the ink down directly on the paper, and then I dropped in a little bit of clean water, which pushed the rest of the Inca way and created this nice bloom effect, which I really like. It's one of my favorite things about using traditional water. Color is the variation that you get these things dry and the pigments move around so you can create that look very easily, which I'll show you. This next one is just blending two different colors together on the paper directly. This one is out a blue background with dropping in a little bit off the purple, and then he is the difference between putting it directly onto the paper versus using the blending palette and transferring the ink over. So let's go through these exercises together, you can use any color that you like, but it's really fun to play around with the different blends and the different techniques that you can achieve just into your comfortable with. So let's start with the purple and first I'll show you have drawing directly onto the war car paper and what that looks like, and you get a much more saturated and vibrant look, putting it directly on the paper. Then you do. If you use the blaming palette, which waters it down a little bit, so it just depends what look you're going for. Um, if you want a softer, more water, you feel, then you're going to use the blaming palette. You want it really vibrant and colorful. Draw directly onto your paper. So once you've drawn a little bit of ink on the paper, just give your brush gentle squeeze to get the water flowing and just stop wedding him blending that say you can really made it around the paper. Just blend it all together, and that's what it's gonna look like, um, directly onto the paper to clean up your brush. Just take the paper towel and gently squeeze until it runs clear, and to give you this bloom effect, just drop a tiny little bit of water in the corner, and you can see it starts to push away the pigment, so to blend from the blending palette. I'm sorry to moving from the blind appellate onto the paper. You just draw a little bit of ink onto the palette, then wet it with your brush. Transfer it over. You can see the difference in the vibrancy and how it's a little bit more watery and soft. Can do the same thing, dropping a little bit extra water into the corner. Can you push that pigment away? Pain? Not a blend. Two colors. But first I'll show you on paper and then we'll do it. Using a blending Palin. It's put down a little bit of ink. I love too men. I'm going to use the warm bread, which is 88 Fun. I don't think there here, too now, just going toe. Wet each side and drag them into the middle until they blend so you can leave it like this , where each color is still shown just by themselves on the outside and just blend in the middle. Or you can go across with water and blend the entire area together to make a whole new shade, which is she's your blending palette. Just drop a little bit more water on limbs the two colors together, and then transfer that ink over to your paper. You can see what they would look like if people ended the two colors together. Another fun thing you can do to get a little bit of variety is to drop some extra color into one of the corners in the same way we did with the water. Who here? So just fed up with your water brush? Just drop it into the wet, and as it dries, it will spread and give us a really cool effect. Hey, so there's your different techniques. Now I'm going to show you the color chart and how to blend different colors together and really work out which one's you prefer and which ones you'd like to use for your project. So let's clean off our blending palette with our paper towel, and we'll move on to the next year
4. Making a Color Chart: Okay, Now I'm gonna show you a little bit of color mixing. So the tumbler watercolor set comes with this guide that I showed you in the supplies video , and it has instructions from making your own color mixing chart. This is a really great way to get a feel for how the different colors blend together and which colors you might like to use for your own projects. So what? I've done his copy out the guide onto a piece of watercolor paper. And then I've looked at wait which colors interest sect and added those colors into each of the squares. So, for example, in this square here, I've got the green and the raid. So that's what I put in there, this woman's blue and red and so on. And once you put all of the ink into the squares, just use your water brush to blend them together and fill up that hole square. - And there you have your color chart old mixed up, and you can decide which colors you really like. And which ones, or maybe not your favorites. And it's just a great reference guide toe have for whenever you're working on a new project , and here's what it looks like once it's dry. It's always a good idea toe. Let it dry to really see how the colors are going to turn out.
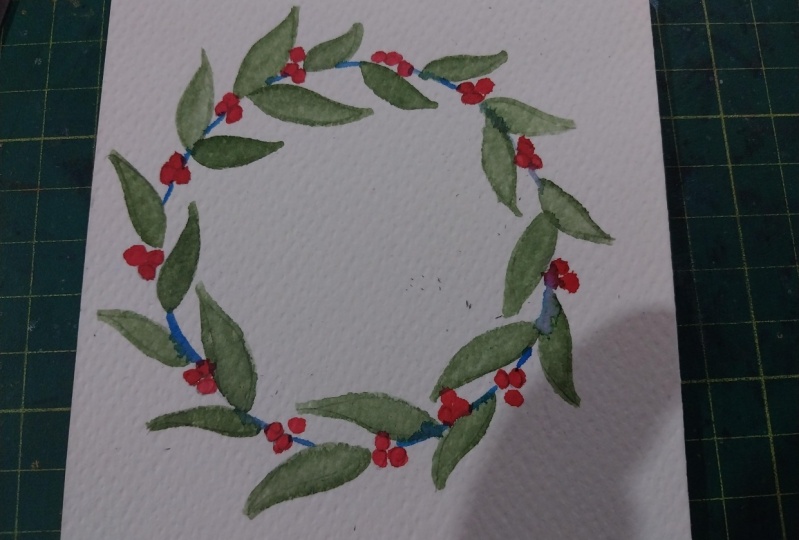
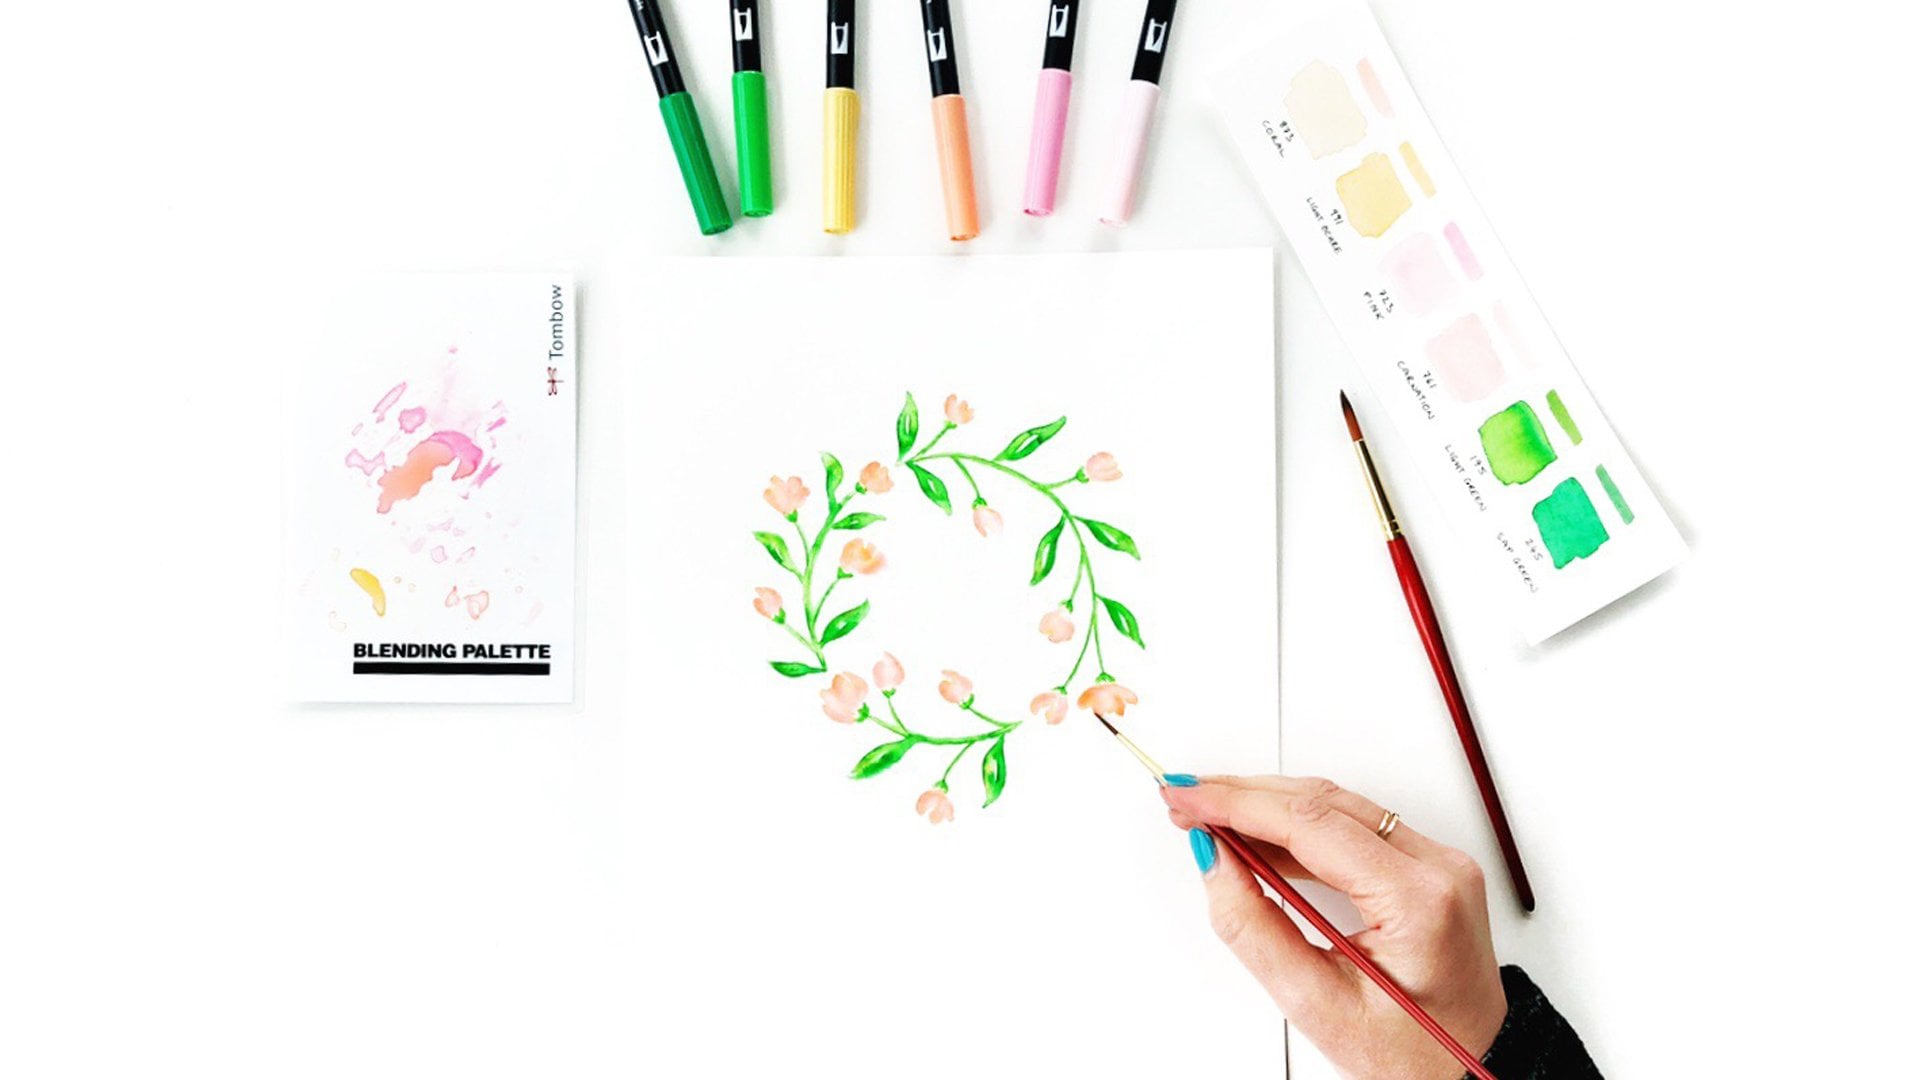
5. Project: Watercolor Wreath: OK, now it's time to work on our rate for our final project, so you can choose any colors you want. You can do a green. You can dural pink whatever you like. This is where I recommend referring back to your color chart and deciding which colors you really want to use on your wreath. So to begin, you're going to need a circle, and you can draw that just freehand. Um, if you have a circle maker or other tool like this, you can use that or just get a bowl from the kitchen, tip it upside down and draw a circle around it and use you a four h pencil. It's nice and light, and you'll be able to erase those pencil lines once we're finished. Okay, now we're going to just draw some Leif shapes all the way around. I try to have them all pointing in the same direction and do some lodge, and then we'll do some smaller ones to feel in the space, followed by a few little Berries, just to add some variety in a pop of a different color. So just curving leaf shapes and you can either have them coming out of the same spot. Or you can stagger them a little bit, which might stagger these a little, just work your way around, heading in these leaves. And now I'm going to go around and fill in these gap areas with some smaller leads, like these ones. - Okay , Once you filled in all of your gaps, then just Rosen little circles in groups of 12 or three in any little remaining spaces that you have around your wreath. Okay, Once you've drawn your wreath in your happy with how it looks, it's time to start painting. Okay, grab our lending palette, okay. And I'm going to do similar colors to what I've done here. But I'm not going to use a straight purple. I'm going to mix it with a little bit of blue as well. Surges to Drollet the purple ink onto your blending palette or whichever color your using and mix in the other colors you want to use. Then grab your water brush. Just let me squeeze it to get a little bit. I was very little bit of water onto your ink and then start lending the colors together. And the more water use the lighter the color will be. So if you just think about it, if you want it to be really vibrant or you want it to be a little bit softer and more watery, more water, Okay. And you can always test the color on a little scrap of paper if you like, and keep mixing until you've got it. Exactly how you wanted. I'm pretty happy with that. So I'm going to stop painting, um, alternating leaves old way around the reef and under kid too much if I go outside of the lines because, you know, like of engine, before I'm going to erase those lines once we're finished. So I'm putting down the first base color and then just to make make it a little bit more interesting, going back hand and dropping some extra color, particularly towards basically just for something a little, little extra special. And if you like, you could even I had a little bit more blue to your blending opponent, and then you could use the balloon just separately, had some water and touch in a little blue here and there, just for something a little bit different. And, you know, if you decide it's too much. You can clean your brush. You can actually kind of suck up some of that ink and just wipe it onto your paper. Tell inside you want a little bit of a softer and so you can see that I left a little bit of white space in the middle there. I just like some of the paper to show through. And I feel like that gives it more of a water color Look a swell, which is pretty fun. Hey, sit in. Do this one too. Just do the same thing. Keep working away around your reef and then we'll move on to the next step. - Okay ? So just clean up your brush, and then you might want Teoh Give this a few minutes to dry before we move on to the next color, and you can just clean off your blending palette using your paper tell and then we'll move on to the next cover. Okay, for this next color, I'm going to mix up some green and some yellow and then separately, a little bit of yellow, which all used to drop in tow, provide a little bit of variation to the color. Okay, screen men. Some extra yellow at the bottom. Okay, I'm going to start with the lightest color London off and then mix up the green and the yellow, and then it's exactly the same process as we did before going. Teoh. Paint the color on and then drop in a little bit of that yellow into one or two areas and again, if you want the color to be lighter, add more water if you want to be darker, had less handing just a touch Fieler and then just keep going until you finished all of your leaves. - Okay , so just let those lost lives dry for a little while and then we're going to move on to the Berries. Okay, for the Berries were going to do at least two layers will start with a yellow base layer, and then once that's try, we can go over it again. Either with think from our blending palette or directly with the jewel brush pen itself, which I'll show you. So stop by Prince Um Inc down on the blending palette. And if you like, you can add Hey, touch of red. It's still a little bit just a mix up that color slightly, cleaning my brush. Okay, so you drop some water on mix that color of together can add a little bit more water. I want this first base layer to be quite pale, okay? And just work your way around filling in all of ther's little circles. - Okay , Now be finished. All the Berries I'm going to let those dry and thin will add another layer. But while I'm waiting for that to dry, wanted to show you what to do if you mistakenly get a little bit of pink somewhere that you don't want it. So, for example, I accidentally marked my paper with some yellow ink and just make sure my brushes nice and claim what you can do is flood that area with water and then just quickly use your paper towel two circuit up, and if you're quick about it, you can see you can make it home was completely disappear. So that's one way to get rid of any mistakes. You can also clean up some of your lines as well, because the Jill brush pens are really wet Herbal. If that's a word, even once it's dry, you can go back in with a wet, uh, water brought ashore paintbrush and just re wet some of those edges and clean them up or re blend certain areas. If you don't like how they drive, okay, we're going to just let those drive for a few more minutes, and then we'll go back in with our second layer. Okay? Now that all the Berries air try, I'm going. Toe had a second layer, and I think I want to punch them up a little bit. Made them a little bit more orange. So I'm going to mix up some yellow and some red on the blending palette. A lot of yellow, a little bit of red. And then I'm going to use that mix to add some detail and have a little bit of shadow to the outside edge of each of these Berries. Sorry, just painting a little bit around the outside. - Okay , now that we've done that layer, just clean up your brush. And while we're waiting for that to dry, I might mix up some color and had it in between all the leaves and Berries to create kind of a stem toe. Hold everything together. So going to mix ups agreeing and a little bit of Miller hand mine actually had just a touch of blue as well. Hey, Chantel, squeeze on the water fresh and mix that color up together A little bit more water. Here we go. And now I'm just going Teoh, carefully draw along those lines in the middle Here, it's to create a stim. - Okay , clean up your brush. And once everything is completely dry, you can erase all your pencil lines and your wreath will be finished. You can leave it as it is you can let or something on the inside. You could do a small one and put it on a card to somebody. That's really all kinds of things that you could do with this. So I hope you've had fun. Thank you for joining me.
6. Bonus Project: I thought I'd show you this little bonus project where you can create a fun little hot silhouette filled with leaves using your watercolor market. So first you'll need some watercolor paper and I'm going thio, going to show you on a smaller heart so that I can then turn this into a card and send it to a friend. You'll need a blending palette, and I'm using Tom Virgil Brush pen. Seven. Sorry, 679 and 6 to 3, but you can use any colors you like. I just recommend a T least using a light in a dark shade of any color that you choose. I've got a four h pencil, so it's nice and light, and then I've got my number, water brush, and I might also just use a paintbrush in a jar border today to have done that in a while. I've been using my water brush a lot, and you'll wanna have a little bit of paper tell on hand as well. So first things are to just draw or sketch out your heart, using pencil minds a little bit lopsided. I'm just going to expand. That had a little bit and something I really like about the jewel brush pen ink is that once it's dry, you can just raise the lines right out from underneath, which you can always do with water, color and other types of paints. So that's really handy. And for the first layer, you can see the background layer I did was quite light. So we're gonna start with the lightest color. I'm going to use. The blending palette just put some ink down quite a lot and then had to go. But he's a paint brush and Charles water, so just get some water onto her cheek, mix it up, and then use the paintbrush to transfer it over to your paper and just start drawing or painting leaf shapes. So you might want to start with a stem leave at the end, then had leaves all the way down like more, Okay, and then to make sure that you can tell the shape is a heart, ones you're finished might want to just go around the edge and make sure you dio a few more shapes and leaves that go right up to that line so that you can make out that shape once you raise the pencil marks, so you want your shape to be fairly well filled in, and you didn't have to do a heart. You can do any shape you like. You can draw a cat or a dog silhouette or a dinosaur or, you know, really whatever you want. This'll works really nice nicely to If you wanted to draw on outline off the state that you live in and then fill it in, that's something I've done before. And that could be really fun. Just keep working your way around filling in some of those white spaces. It leaves as if they're coming off the edge of the paper, not me. You'll you'll really be able to tell that it's a hot shape once you're finished. And if you run out of ink like I have here, just scribbles more on, and then whether it again and just keep going, I find it's best to start with your lightest layers and work up to your darkest layers. It's a lot easier to paint dark over the top of light when it comes to ink or water color. I know it's kind of the opposite. If you're working with acrylic and said all the mediums, but tend to go lightest to darkest. One more over here. Well, leave shape and maybe one more half a leaf. Here came prints off your brush and the easiest way to just clean this blending palate is with some paper tell and just wipe it down while it's still wet. Okay, we're gonna wait for this to dry, and then we'll move on to the next step. Okay? I am just mixing up a little bit of birth of my job rush pan colors. And I've added quite a lot of water because I don't want it to be too dark. And then I'm actually going to switch to a smaller brush. I mean, you can use whatever brush you're comfortable with. Many is the smaller one, because this next layer of lays I'm going to draw these little smaller ones over the top with a slightly darker color than the one we use before. So you can just start wherever you want, and it's fine for them to be overlapping. Just get more Hank from your blending palette whenever you need it. Simple little leave shapes, nothing fancy. They're looking a little bit like you can just dab in some extra ink that keep in mind, they always tend to you or anything that you water down, whether it's Angkor or the car paint. They always tend to dry quite a lot lighter than they look when they're wet. So you want to make sure you've had it enough color. Okay, now we just have to wait for this later dry, and then we'll move on to the final layer. Que just mixing up a little bit more color. And I've added less water this time because I want this layer to be the darkest layer. And then we're just going to add a few more leaves. And this time I'm just gonna do them in groups of two or three rather than Ah, whole stem with lots of leaves. Gives me a little bit more flexibility to just fill in some of those gaps, - and I think he'll be done, sir, Once that is completely dry, you can just go in and a raise all these pencil lines and you've got yourself a pretty card that you consent to someone. Thanks for watching
7. Conclusion: Thank you so much for joining the clubs. Don't forget to upload your project. And if you want to share it on social media, I'd love if you tanked Brown paper. Funny, so I could have a look. And if you had fun, please leave a review. So you next time.
 Jessica Mack, BrownPaperBunny