Transcripts
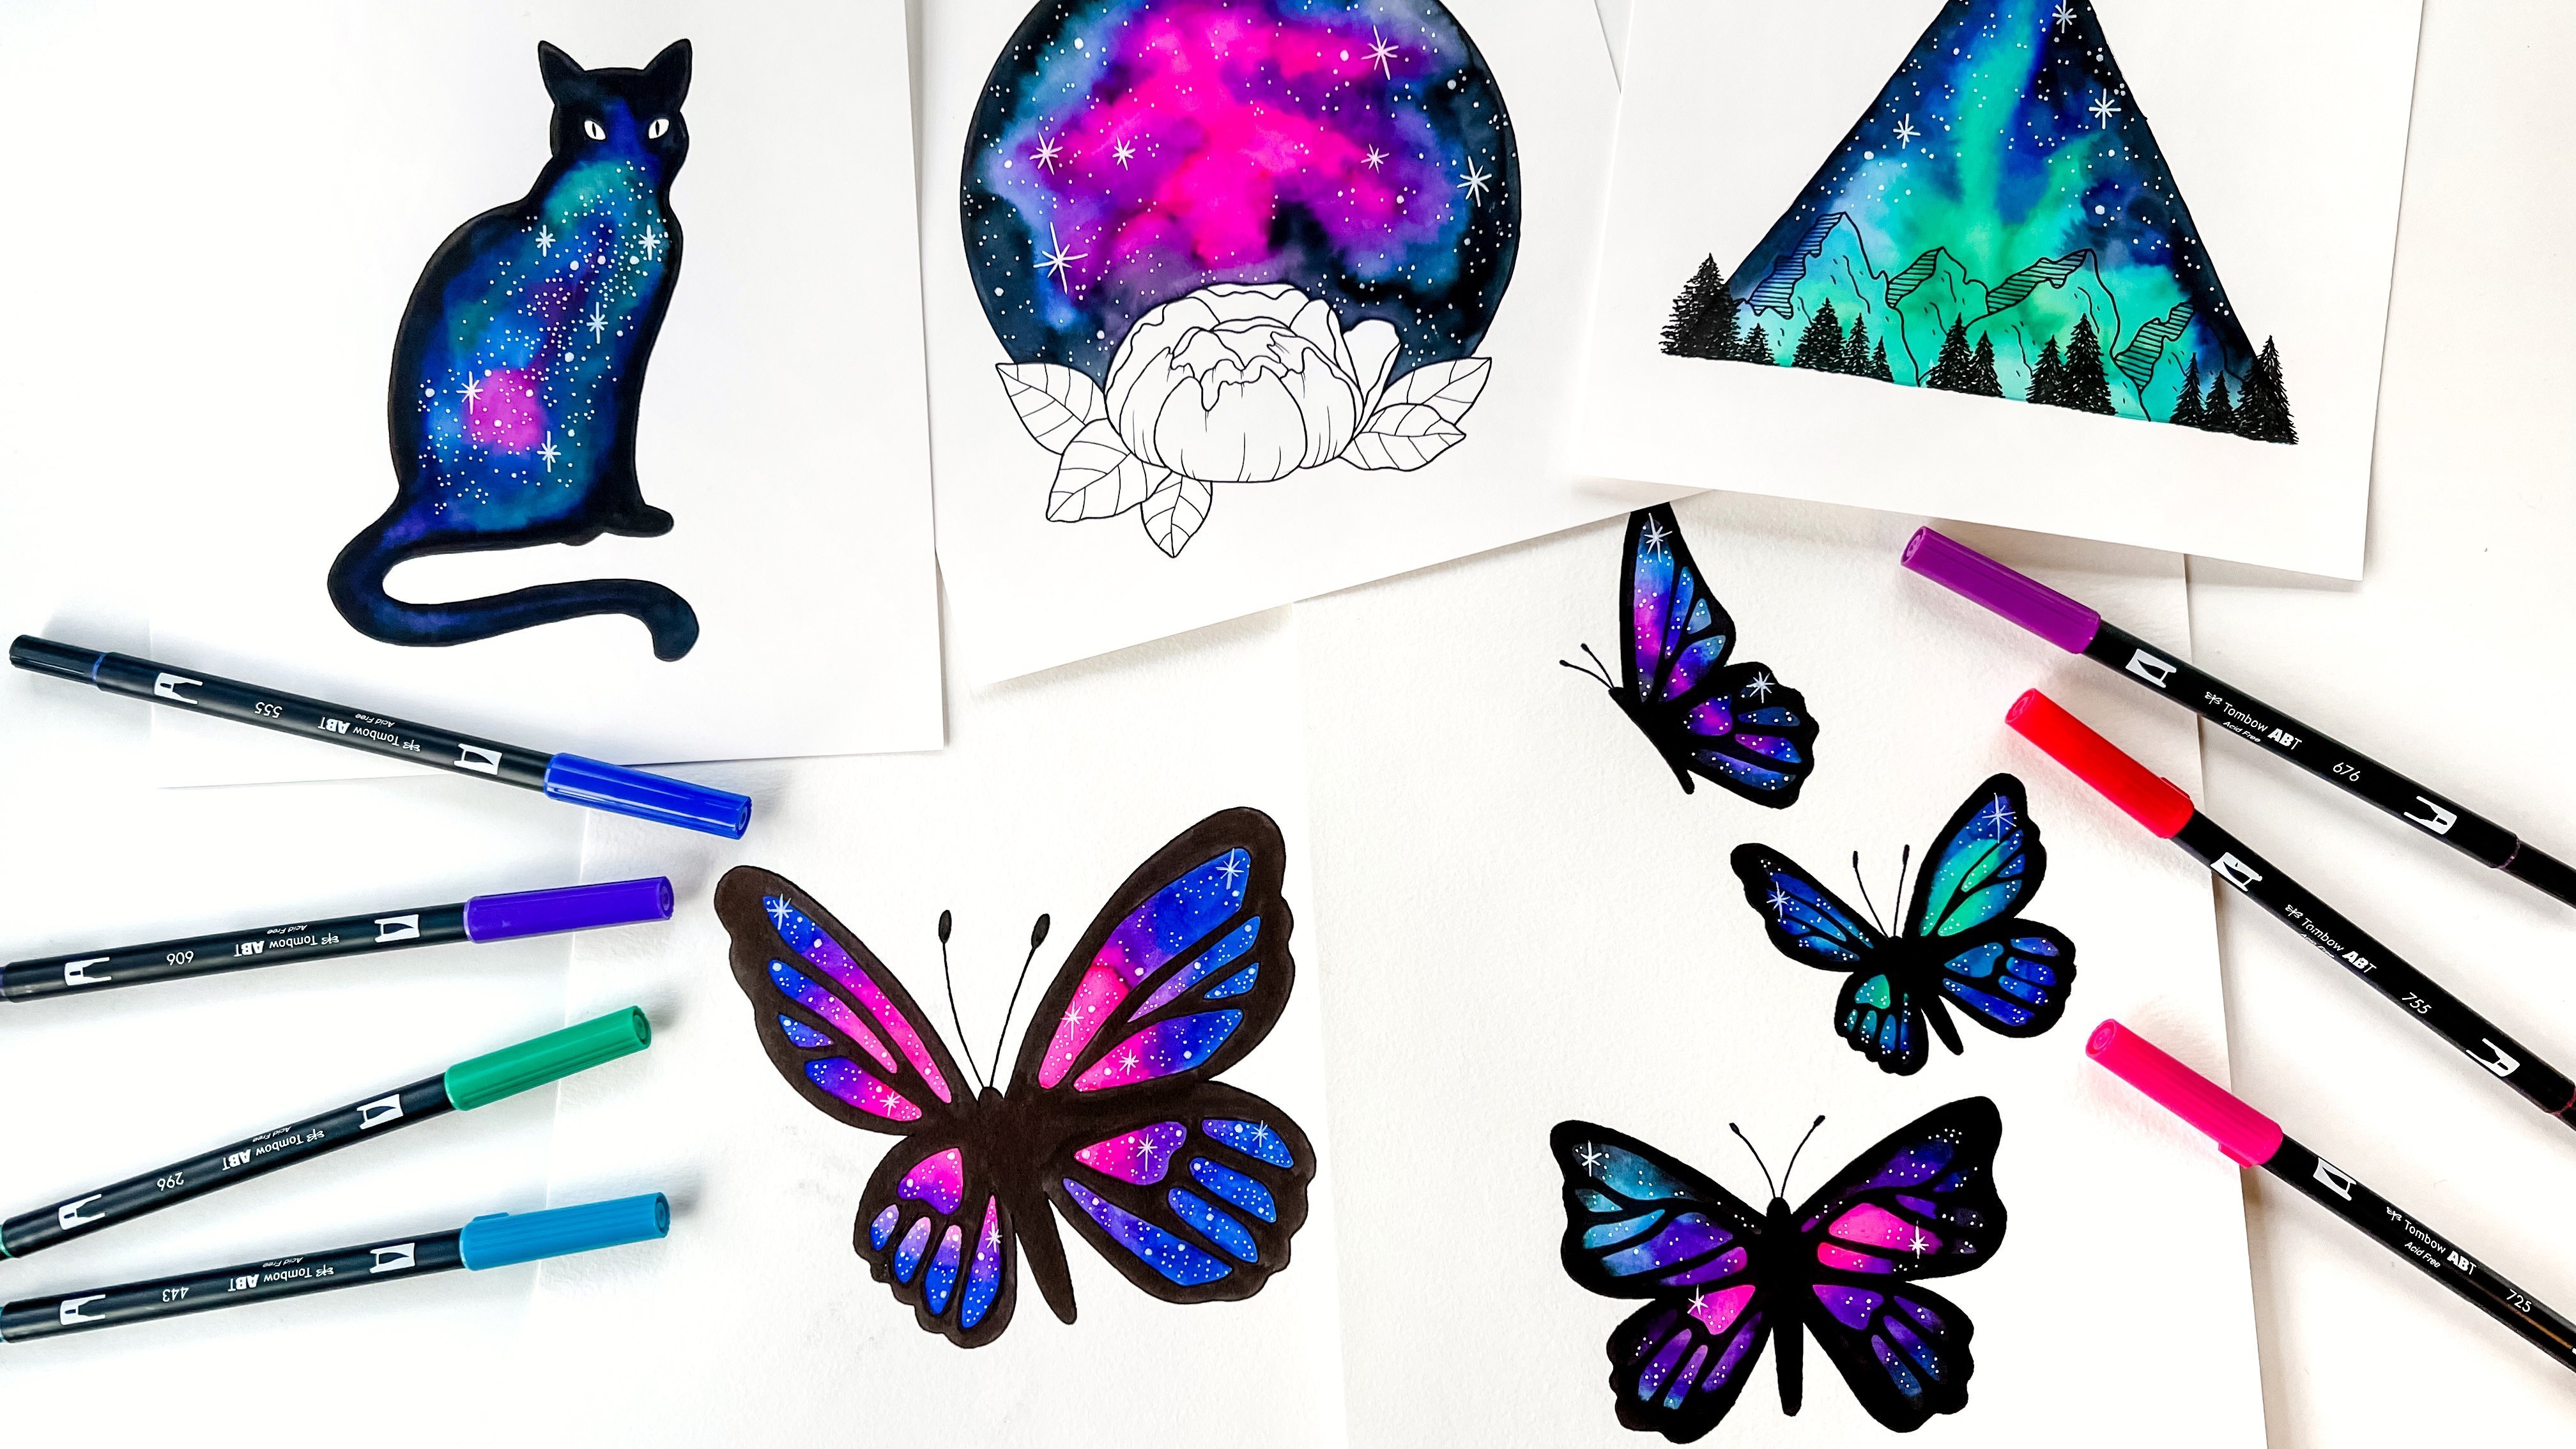
1. Introduction: Watercolor Galaxy Bookmarks Using Markers: Hi, I'm Jessica from brown paper bunnies Studios. And today I'm going to show you how to make your own watercolor galaxy bookmarks, easy markers. Here are some examples.
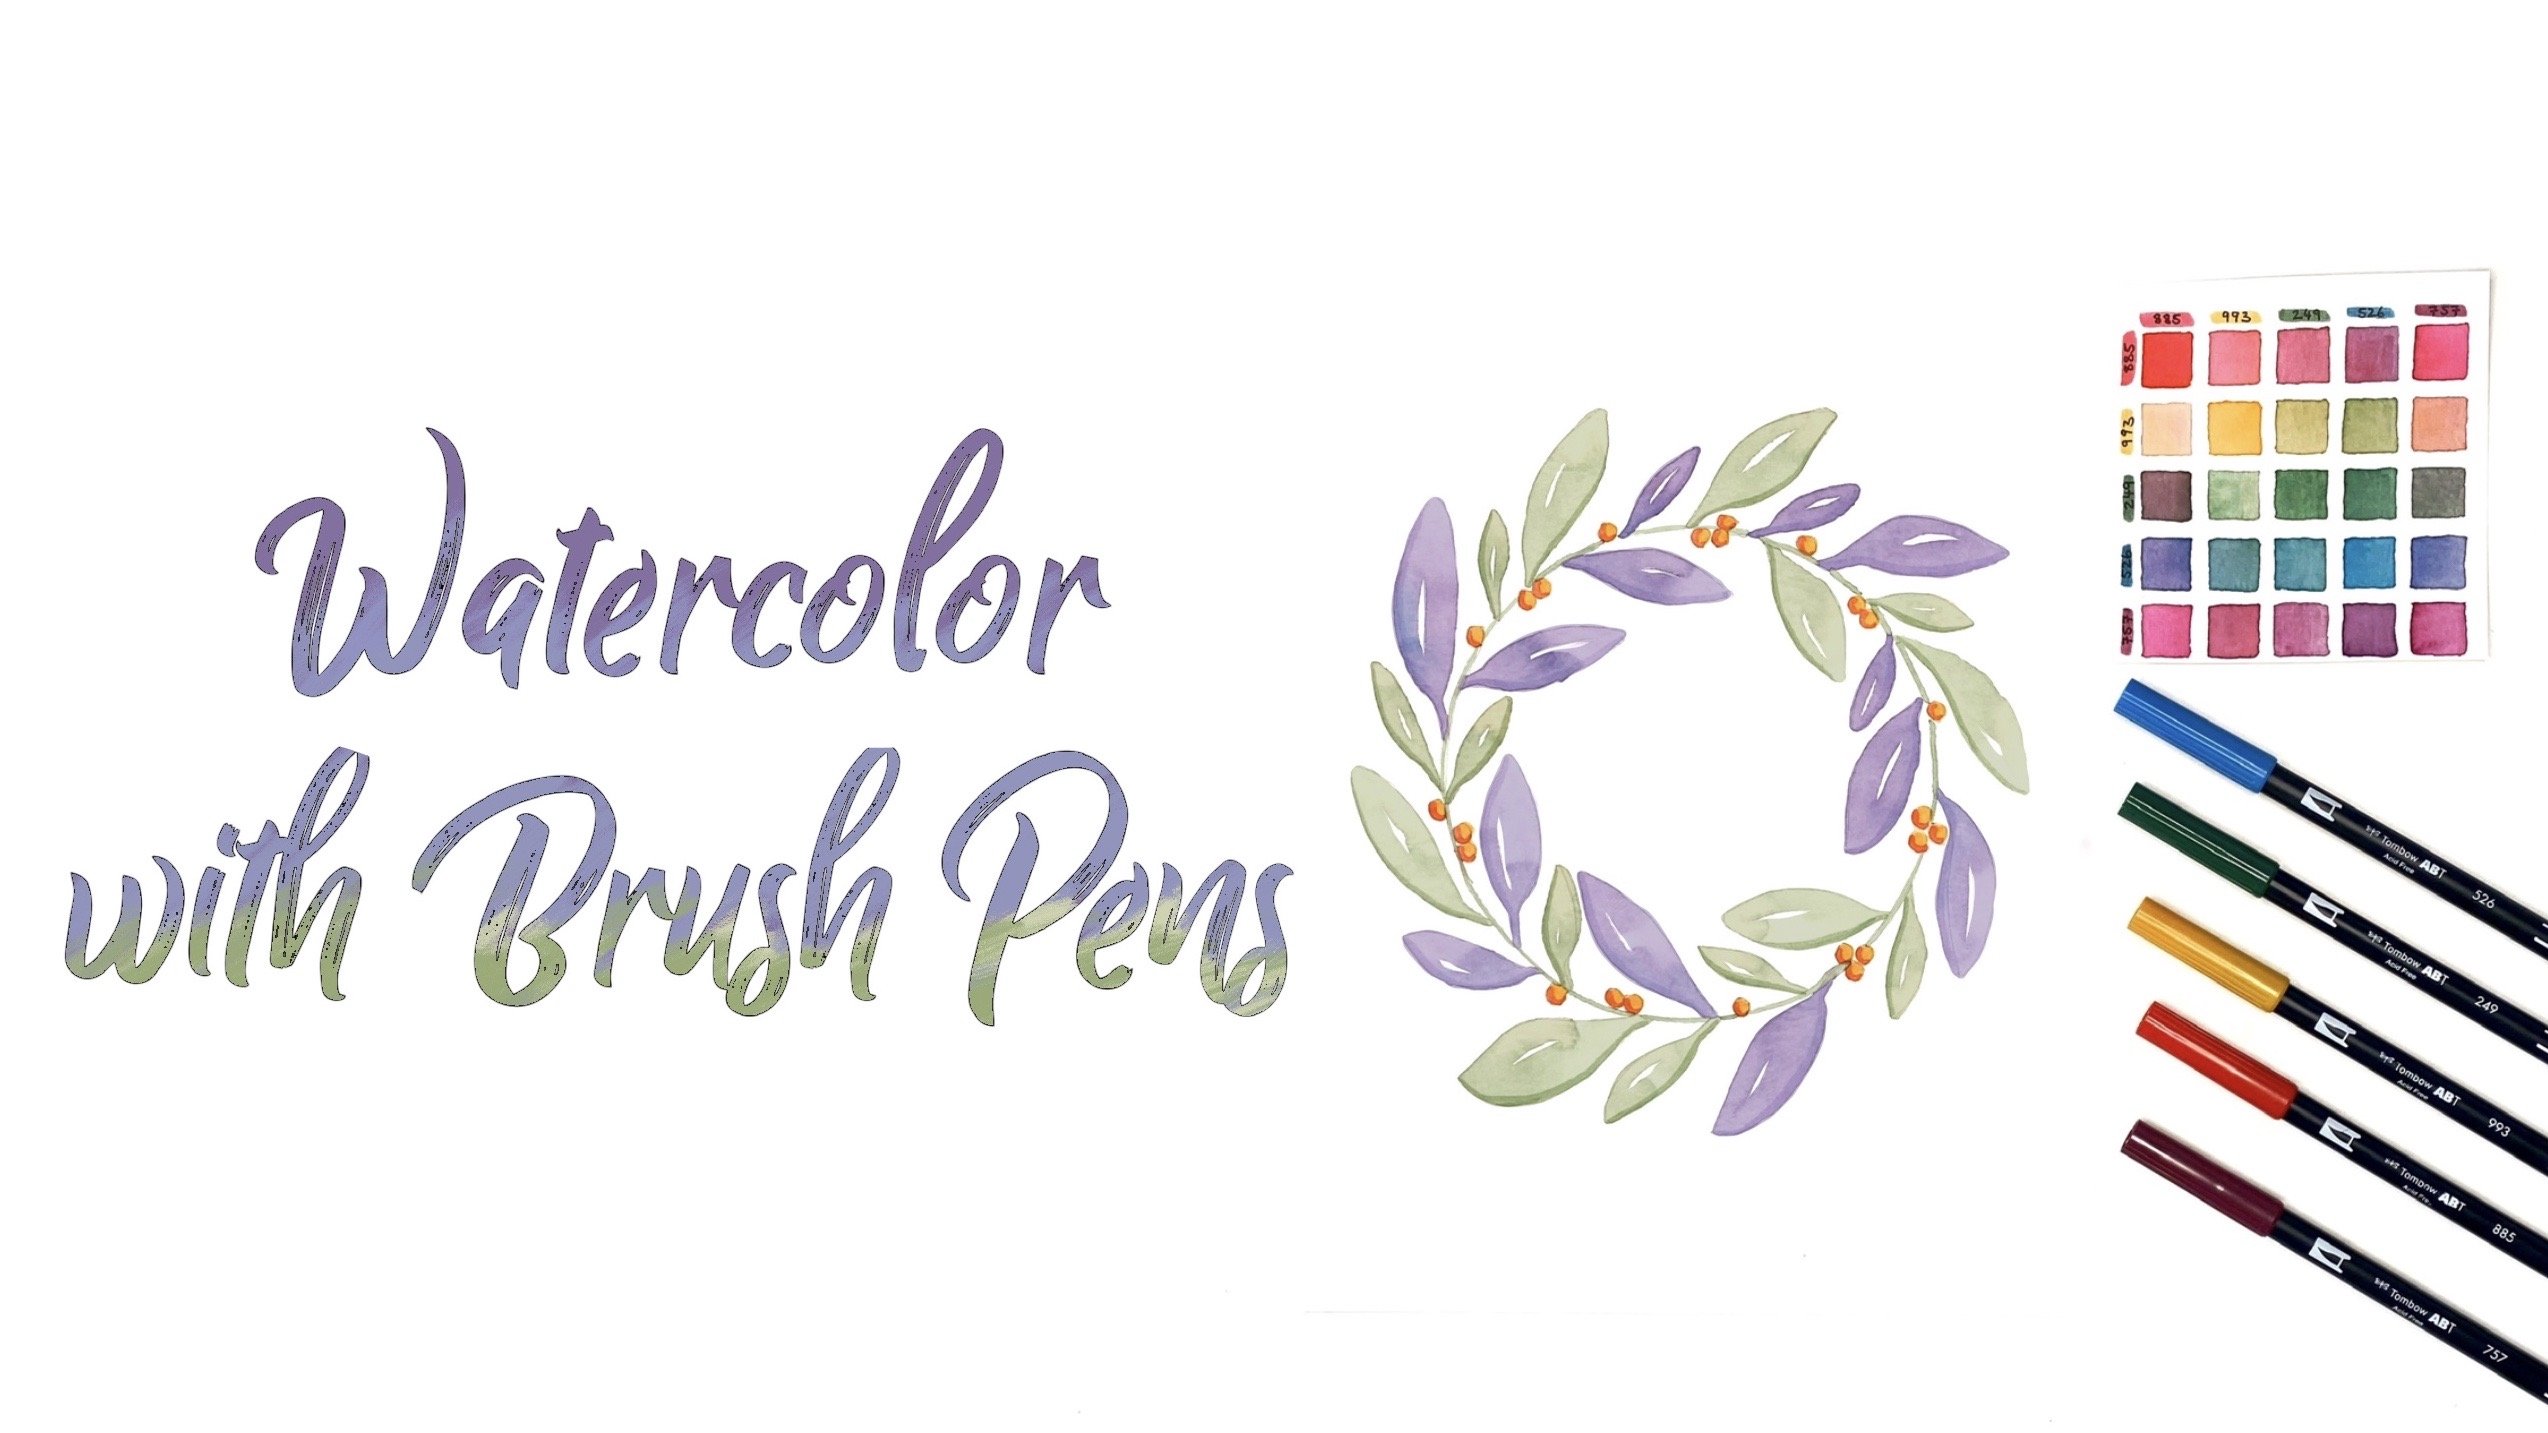
2. Supplies: Lesson you'll need to get started is some water-soluble markers. I'm using Tombow dual brush pens, and I've got the galaxy set, which has already curated with colors that blend really beautifully together. You'll also need either a paintbrush and some water. I'm using a size six round. But if you have a water brush that's refillable, you can use that as well. You might like to use a pencil if you want to sketch out your design ahead of time. And you'll also need a waterproof pen of some sort. I'm using the timber monitor twin because I love that it has a bullet sorry, no Go point a or point on one end and a bullet tip you can see on the other end. And of course you'll also need some watercolor paper. And I really like these Strathmore 300 series. It blends really well and holds up to quite a white border. Let's get started.
3. Step-by-Step Dragonfly Galaxy Bookmark: Now, with the waterproof marker, you can either draw in your line work ahead of time, so it's easier to save what you're doing. But if you're happy with pencil lines, you can just go ahead and do the markers to make it easier for you to say what I'm doing. I'm going to put the ink work down first. Starting, retire little drag applying. Now is the fun part. You can choose which color combos you want to use and maybe you want to try a different color combination or different blend for each one of your foot parts if you make more than one. But the beauty of these tumblers sets is the colors are already sort of curated and they go so well together that it takes a lot of the guesswork out of it. So I think for our dragonfly might use pink, going to a purple to my cup, purple. And I'm just can use pinks and blues for this first one. Now you're just going to start with your lightest color, which is going to be the pink for this one. And scribble him some some color on your bookmark. It doesn't have to be precise. And I'm going to go up to the edge of the dragon fly, but I'm not going, I should I call it the dragonfly. Maybe I will color curve of the dragonfly. I was going to leave it for the dragonfly was white. But I think I will include some color. And this is why it's handy to have a waterproof marker. Because if you use a water-based marker, when you apply the water, you're black inks, inclines where it's sort of smudge everywhere. Hence sometimes I can be a cool look, but it's not what I'm going for today. So just switch to your next color. Hence impede music and a blend together so you don't need to be precise when you're putting me down on the paper. I would advise that you don't go right up to the edge of your bookmark. Because then when you're adding water makes it more difficult to stay within the lines. So just leave little bit of whitespace around the outside just to give you a bit more flexibility and freedom to blending ink without going program. Unless of course you want to go outside the lines. I mean, that's your prerogative and your creative license. Dark blue. And then I'm going to use my n 25, which isn't actually black. It's like a dark, very dark charcoal. I'm just going to add a little bit from the very edge here. Now, it's magic time. Grab your water, get your brush nice and wet, but not too dripping. You can just tap off some of that excess. And starting on your live as color in the middle, we're just going to whip that ink because we want it to blend on the edges, but we don't want the whole thing to be blended because then you just have one solid blended color. And we still want to be able to see each of these individual colors and rinse off your brush. Give it a tap. And then start on the next color. And just let it blend on the hedges. And the pink and the blue will make a nice kind of purple word. Herb blends together. If it starts to blend too much, just wash your brush off again. Go back. Just keep working. You want to work relatively quickly because he don't want areas to dry too much. Before you finished blending everything. Rinsed brush to my darkest ink. You can push some of that in a little bit. How many areas that you want to darken up. Just keep working. And now you can land the ink up to that outside line that I created. And you want the ink to be fairly wet, but you don't want it to be you don't want your brush to be surge repeat that. You end up with big puddles of water. And if that does happen, just use the corner of your paper towel to soak up some of the extra water. Going to mean that the dragonflies wings gray outside the rectangle. I'm going to paint those in as well. Rents up your breath. Pat it dry. And now we have to just wait for it, this hint to dry before we move on to the next step. Okay, Now that our ink is all dry, you're going to go in with a white gel pen, which I'm just realizing I completely forgot to tell you you needed in our introduction, but you need a white gel pen. Or if you have some white gouache, you can use that who has long as it's fairly opaque. And we are going to add some stars to our galaxy. So you might want to do a couple of little starburst shapes. You might want to just do some little clusters of dots carefully consider in the video. Just as many as you'd like. I really want to add some larger dots surrounded by little clusters of smaller ones. And just keep working until you feel like you have enough on your galaxy. I'm happy with that amount of stars. So I'm going to move on to the next tool and just show you a couple of different color blends that you can create it.
4. Step-by-Step Tree Galaxy Bookmark: I'm going to stop by drawing this one out with my Mono Twin. Just see you can see what I'm doing a little bit better. Okay, Now that we've got our trade and our bookmark outline can achieve some colors. I think this time we'll use blue and green. So I'm going to start with the green on the inside for determining how I want this shape to go. In a little bit here. I want this lighter color to be near the tracer. You can really see the silhouette of the tree. If I go too dark, too quickly, you can lose that a little bit. And then switch the light blue filters. We can actually work. Fortunately, the charcoal just around the edges to dark in a batch. All right, let's blend this together. I would recommend switching out your border in between because he can see our purple this is, and I don't have any purple in this bookmark, so it's going to make the colors look a little bit muddy. So let's just fix that. We're ready to go grab your paint brush again. And just like with the last one, start on the lightest colors in the middle and work your way to the outside. Hi. The fourth degree. Hi. Yeah. Once you've finished blending or just rinse your brush pen to try. And I'm going to bless this funnel, but the hairdryer for a couple of minutes. I think it's derived, but going to do the same thing. These are white gel pen to add some styles. And then this bookmark will be done as well. Okay, I think that's enough stocks, right? The very last bookmark I'm going to do.
5. Step-by-Step Flower Galaxy Bookmark: Mark, I'm going to tell you, he says on the flower and I am going to leave the flower completely unpainted. So I'll just do the line work and then I'll show you a third color blend for this book, Black. Okay, and now we've interna flower. For this one, I'm going to use pinks and purples. He's over phase actually k. So again, start with your lightest color. My lightest pink. Move on to next. Now I've got a warm purple and a cooler purple. But I think they didn't look pretty cool together. How cold it interesting, I should say. And then just like we did with the other two, I'm going to use my dark charcoal around the edges. Now that I'm looking at this, I feel like it's got a lot of pinks and warm purples, but not a lot of these cool purple. So I'm just going to go over a little bit more. K. Change my water. Crappy paintbrush, and start with your lightest colors in the middle. Hello, One. Now when you get down to this bottom flower area, because you don't want the paint to go inside the flower shape. Sometimes it's easier to just turn your paper around and go along the edges. One of your brush. And now we're just going to wait for this one to dry. Now. It's all dry and it's time to do stars. Okay, I think we've covered enough stars.
6. Final steps: Now, if you like, you can cut these help, maybe with some fancy scissors. You could laminate them. But most of all you can use them to marketplace in your favorite book. Thank you for joining me today. I hope you had fun and I hope you'll share what you created and tag me from paper beanie on social media so I can take a look.
 Jessica Mack, BrownPaperBunny